Boig Motorsports

Visit our community sponsor

Thanks Thanks:  0
Likes Likes:  0
Page 2 of 3 FirstFirst 123 LastLast
Results 41 to 80 of 113

Thread: Bob's build

  1. #41
    Senior Member
    Join Date
    Feb 2011
    Posts
    211
    Post Thanks / Like
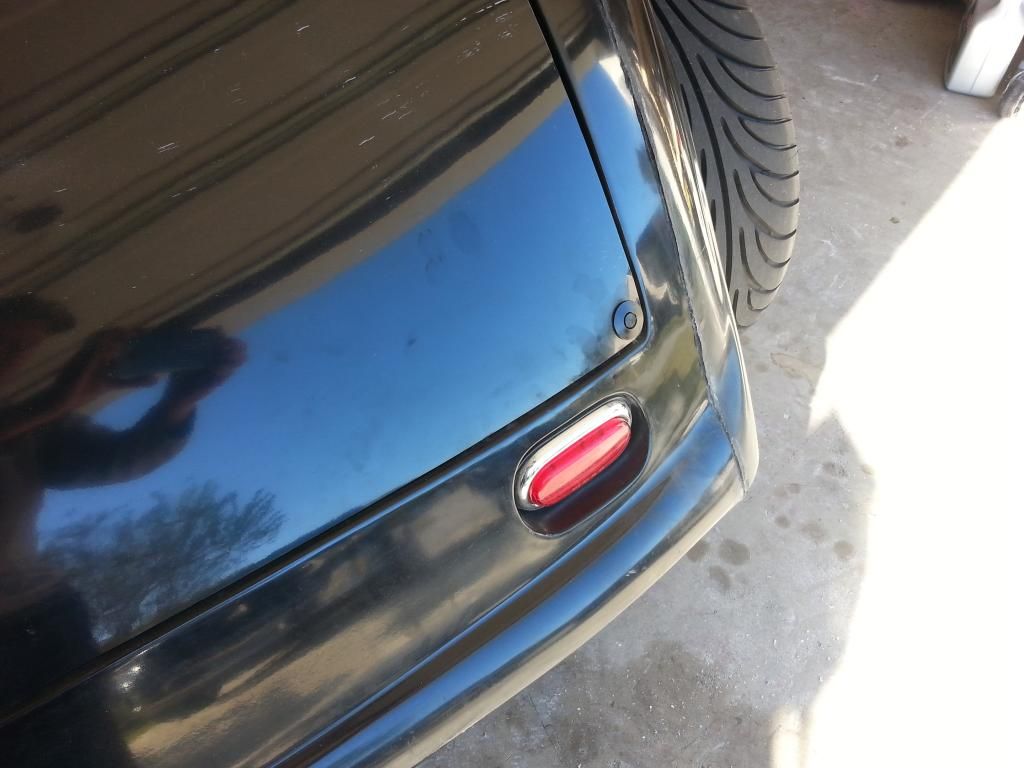
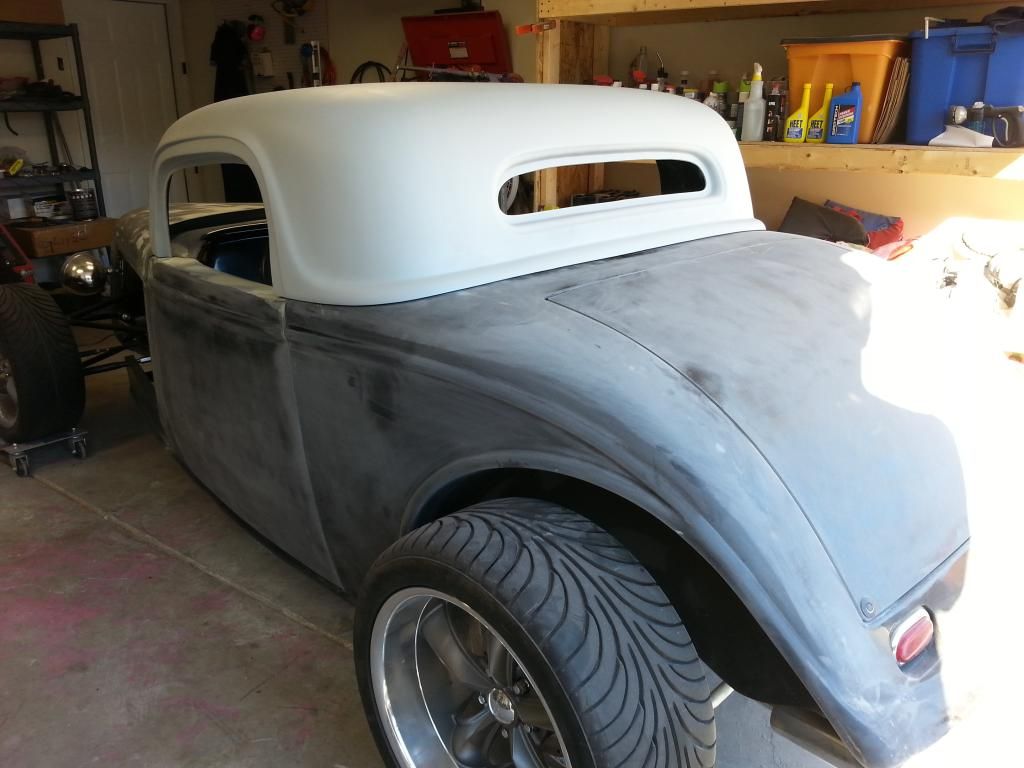
    Setting gaps on the trunk.


    Mini latches on the trunk


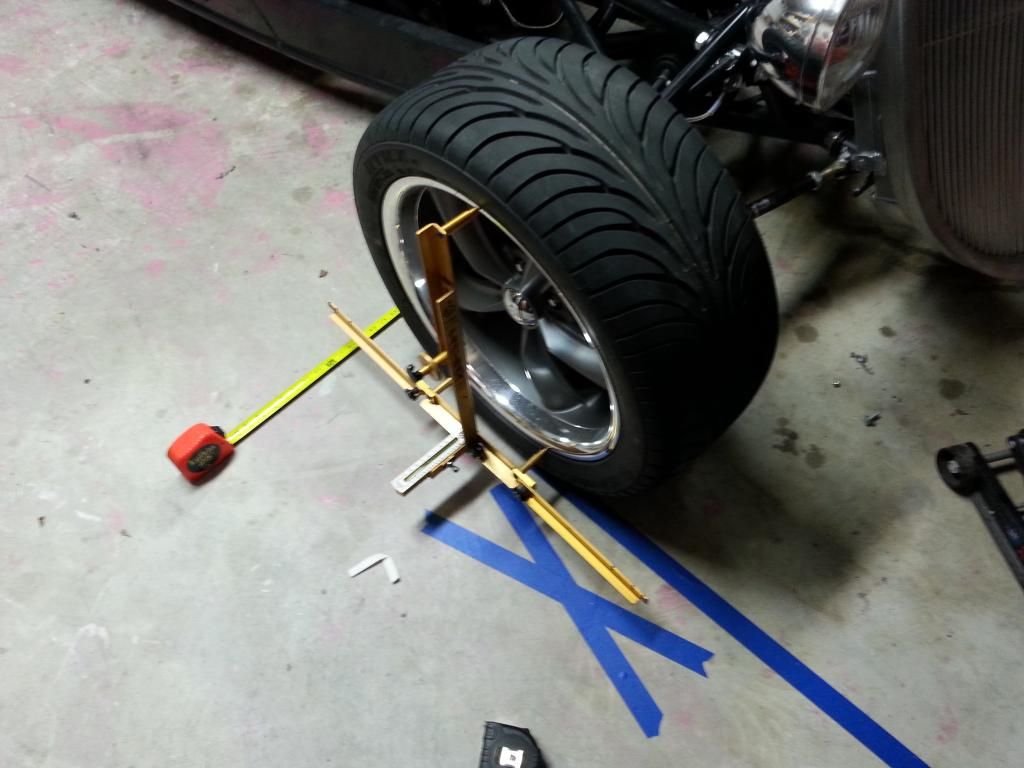
    Also did my own alignment using the fastrax system..great product.

  2. #42
    Senior Member
    Join Date
    Feb 2011
    Posts
    211
    Post Thanks / Like
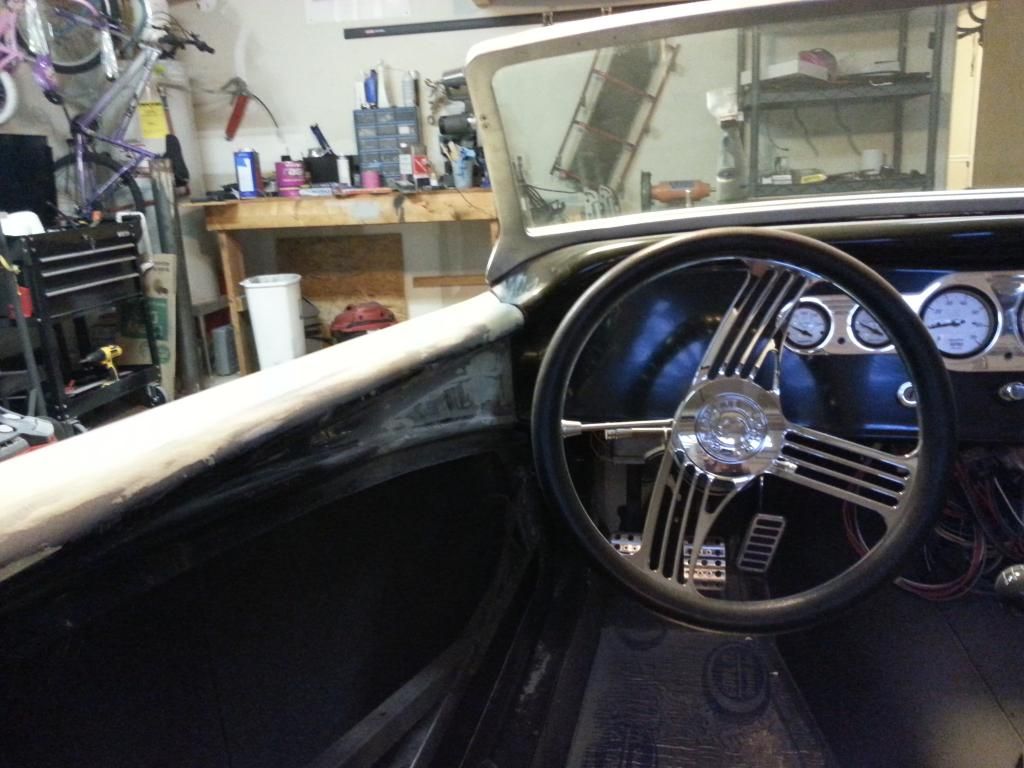
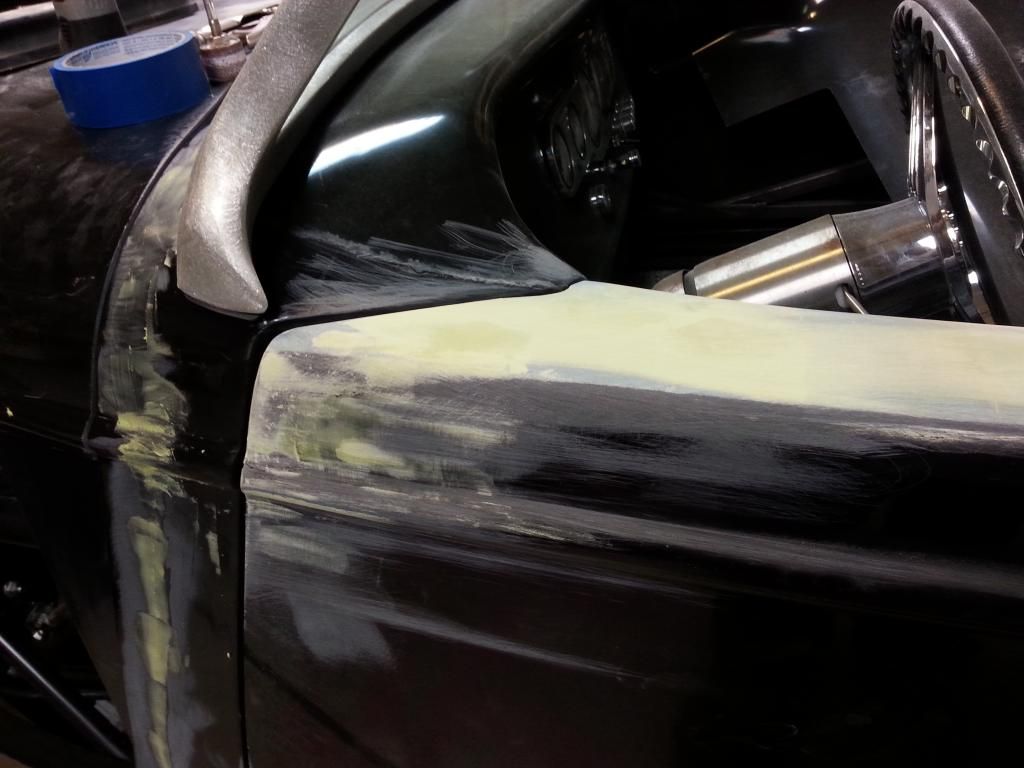
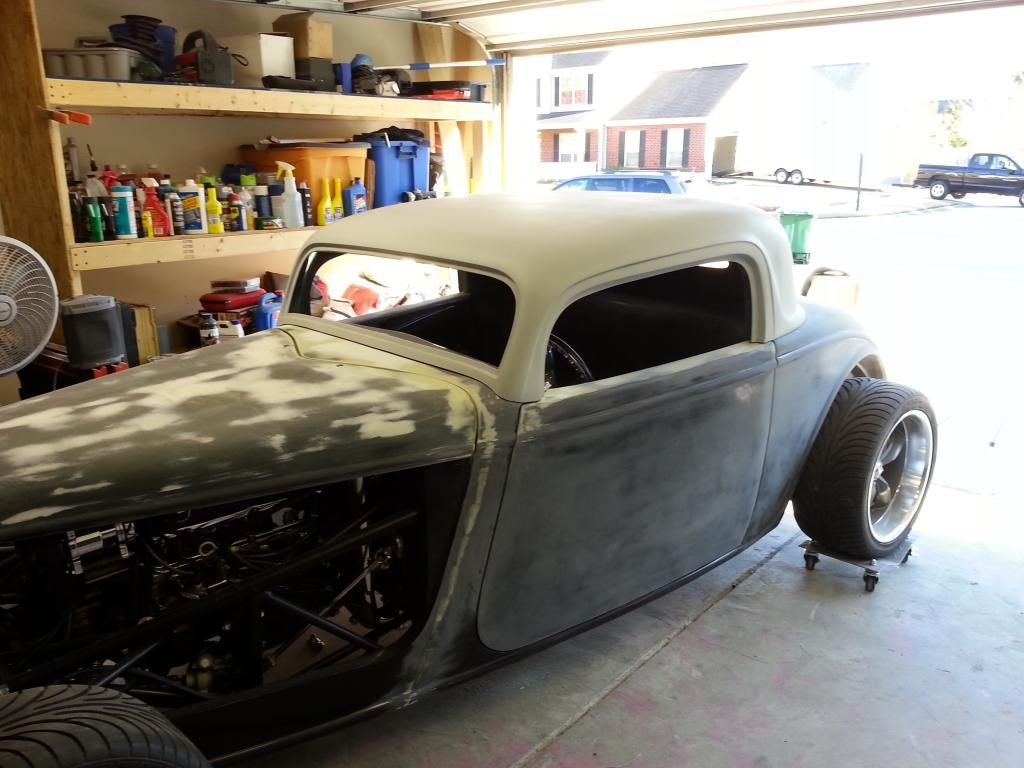
    Got the rough body work on the top of the doors done..looking much better


  3. #43
    Senior Member esff32's Avatar
    Join Date
    Oct 2012
    Location
    La Verne, Ca
    Posts
    560
    Post Thanks / Like
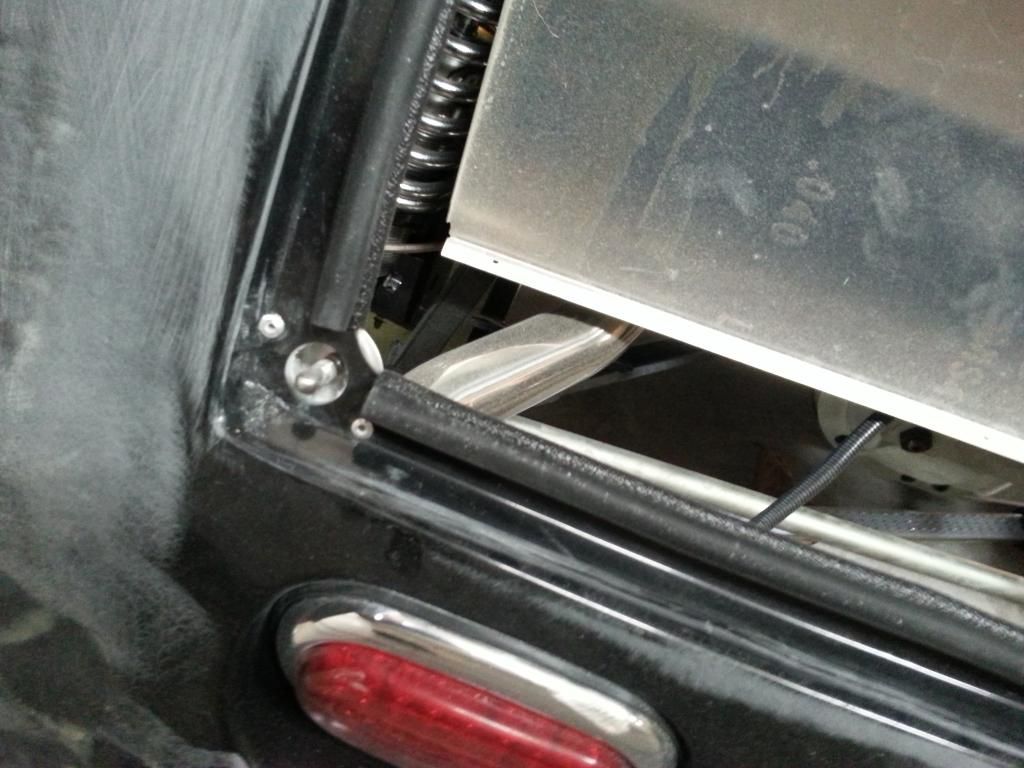
    Looking good Bob. I haven't updated my build lately either...probably because I haven't worked on it. I was thinking about using the Quik latches on the trunk too. I used them on the hood and they work good. I was wondering if you could post a picture of how you installed the bucket for the base of the quik latch. Thanks in advance Bob.
  4. #44
    Senior Member
    Join Date
    Feb 2011
    Posts
    211
    Post Thanks / Like
    I will probably drill out the rivets and just use small button heads so I can have a little bit of adjustment.

    There is enough room in the corners though. You could even trim the bucket a little and still run the gasket in the corner.


  5. #45
    Senior Member esff32's Avatar
    Join Date
    Oct 2012
    Location
    La Verne, Ca
    Posts
    560
    Post Thanks / Like
    Thank you Bob, I appreciate the help. Looks good, I will consider doing the same. Thanks

  6. #46
    Senior Member
    Join Date
    Feb 2011
    Posts
    211
    Post Thanks / Like
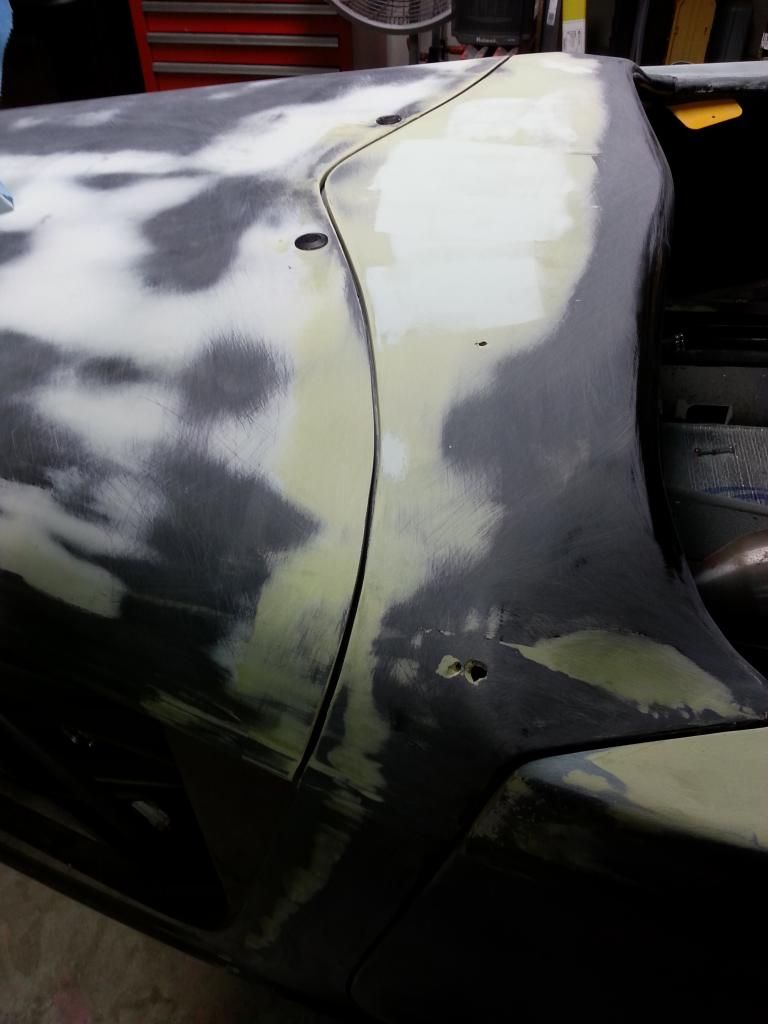
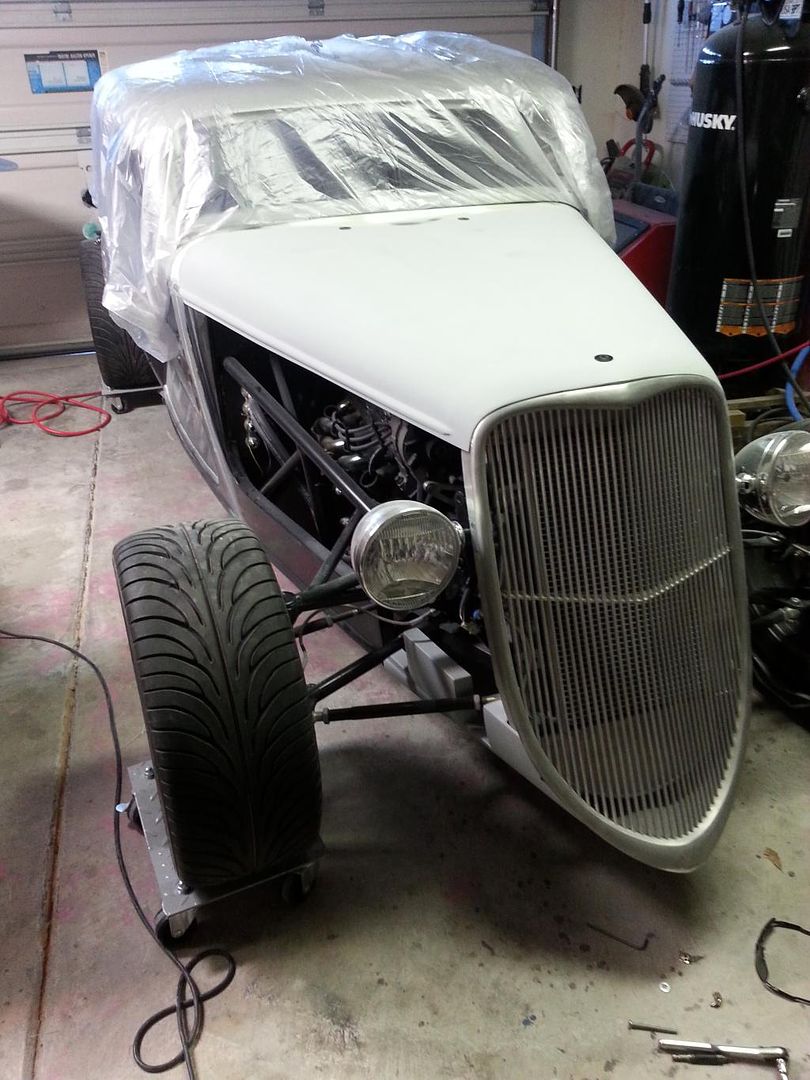
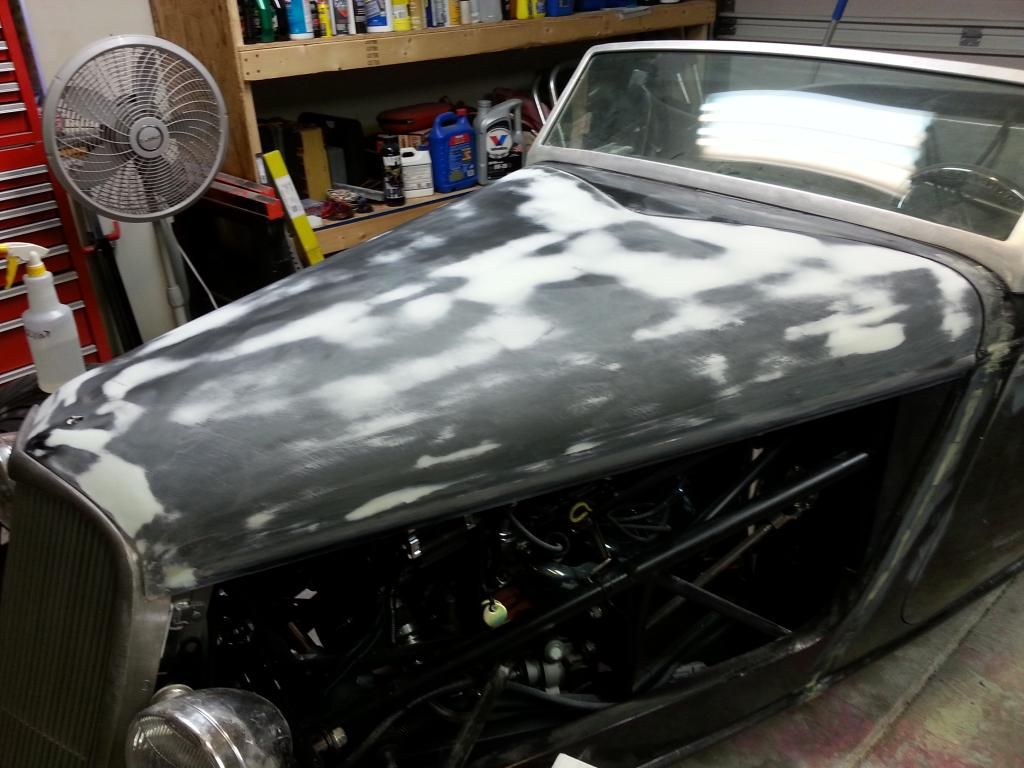
    First round of blocking and filling the hood with 3m platinum glaze. I also bought some evercoat super build 4:1..will let you guys know how that works out.


  7. #47
    Senior Member
    Join Date
    Feb 2011
    Posts
    211
    Post Thanks / Like
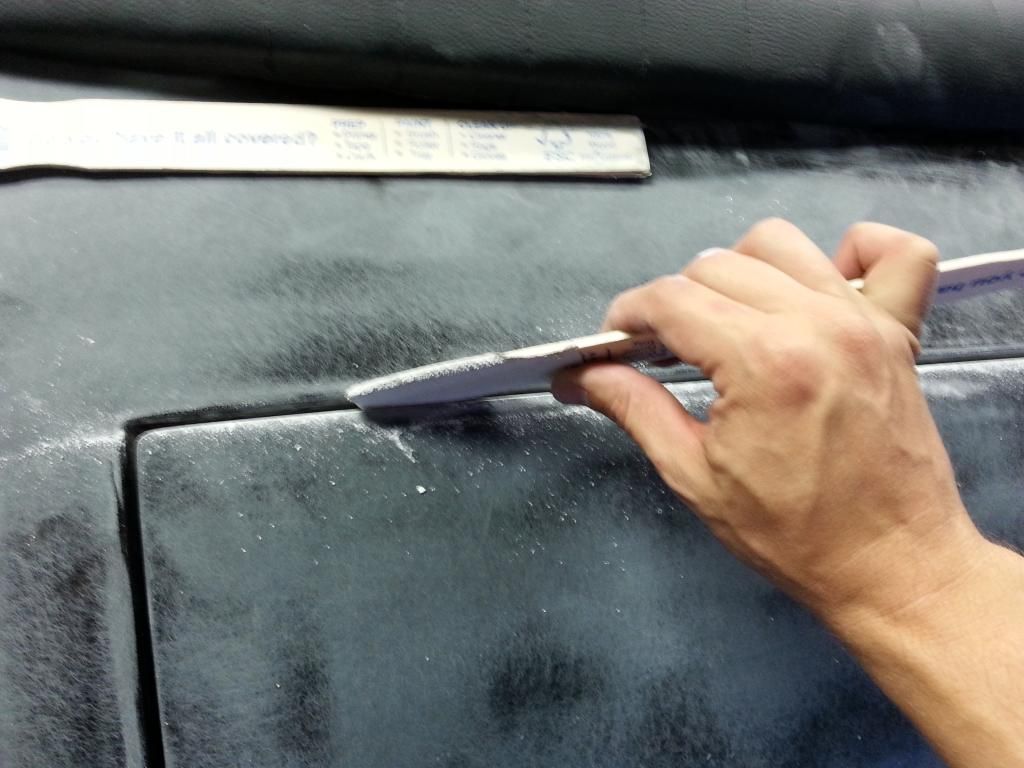
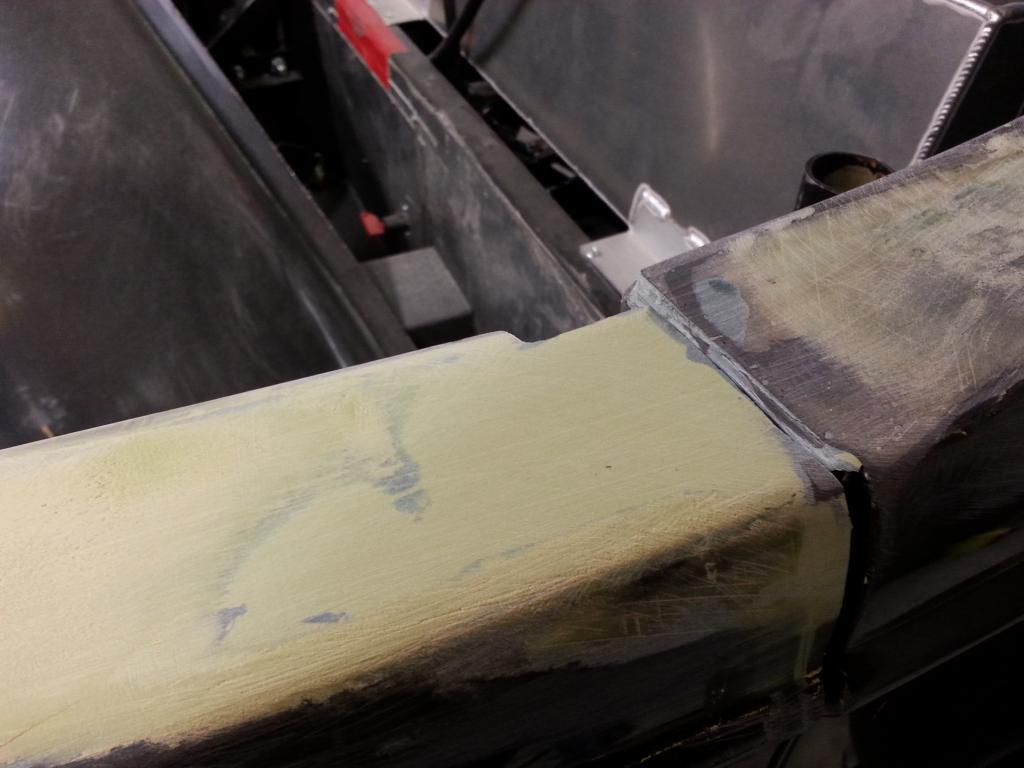
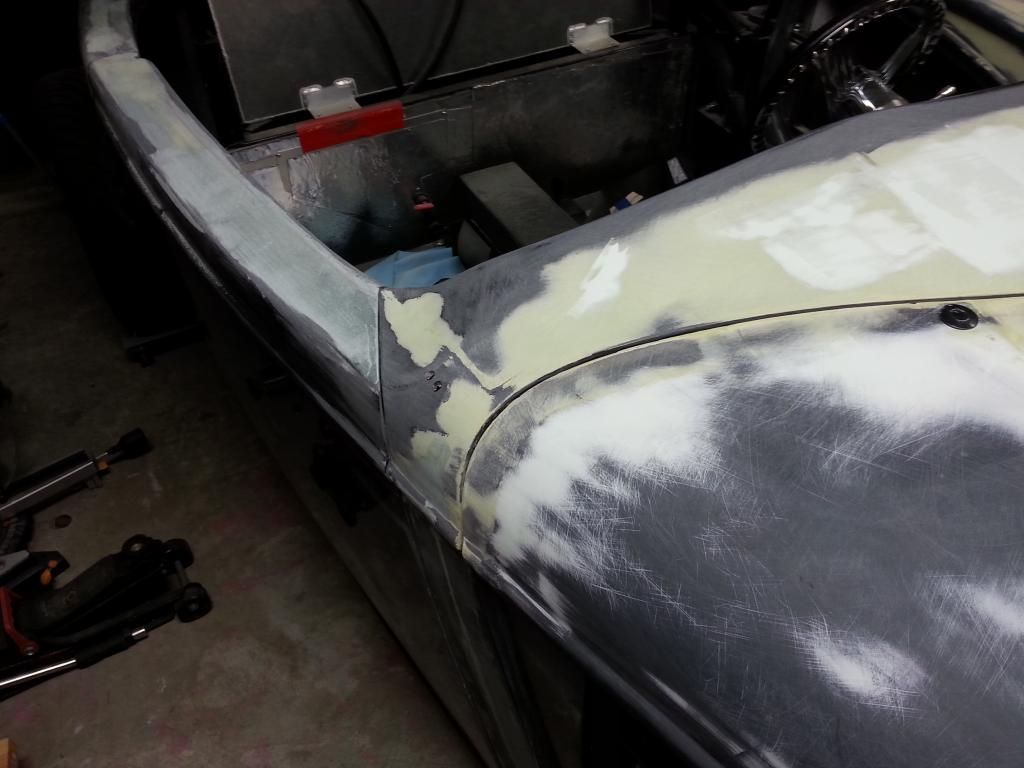
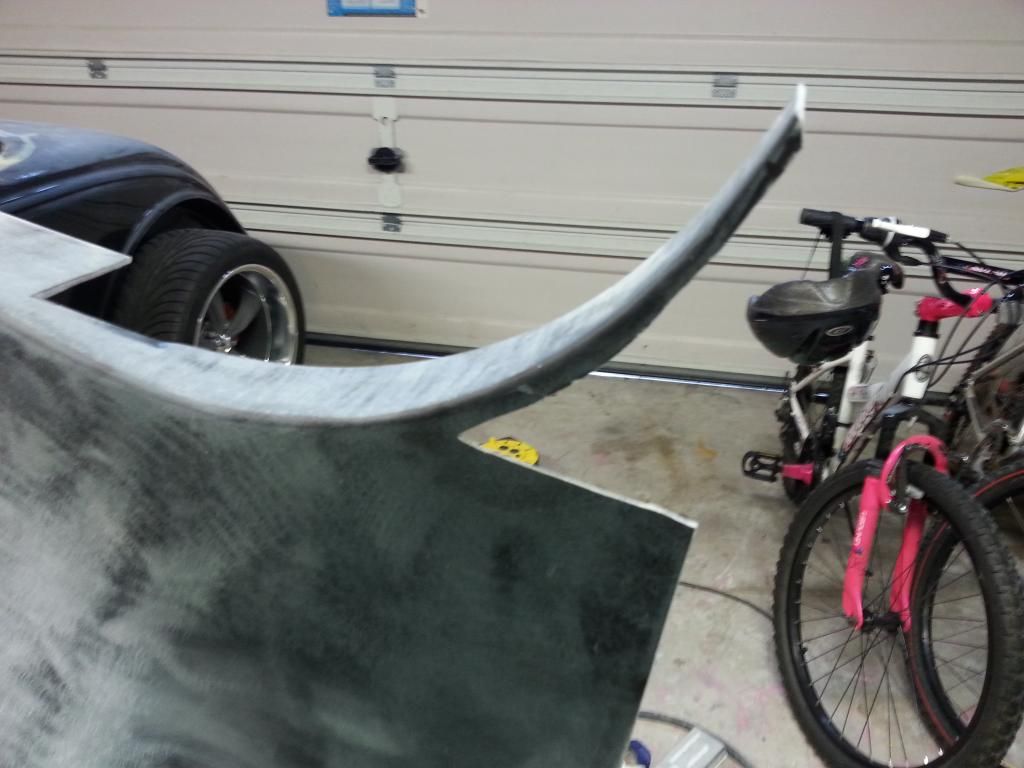
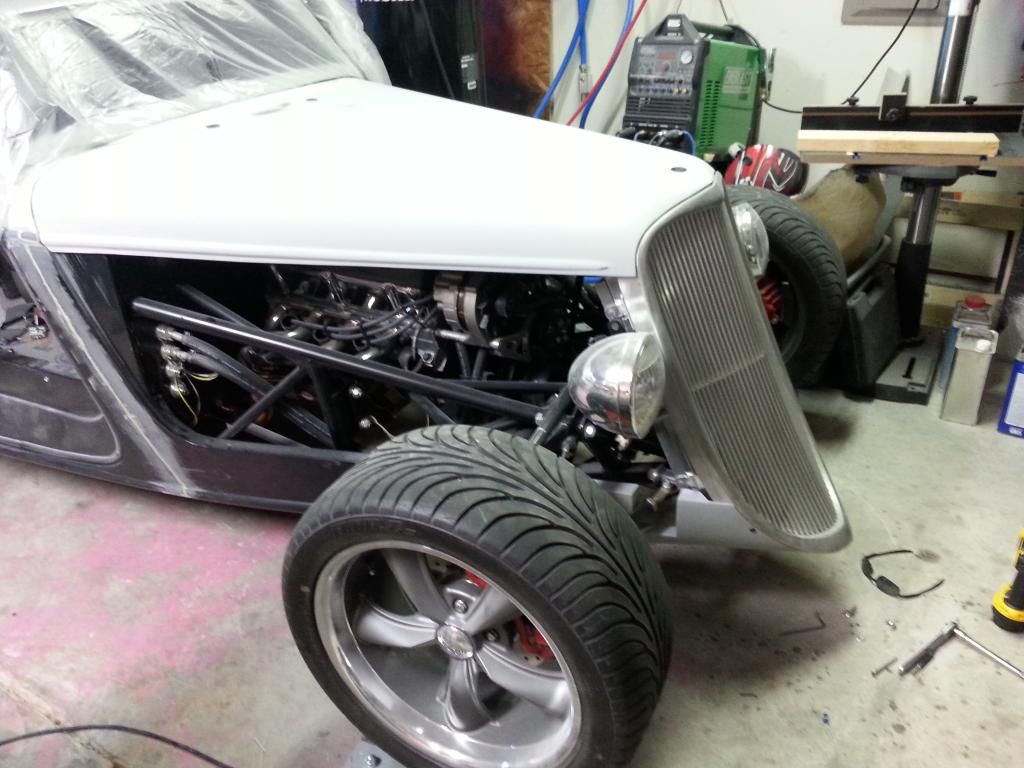
    Been a busy few days. Mostly sanding, sanding, sanding. Got the gaps set pretty well on the hood.


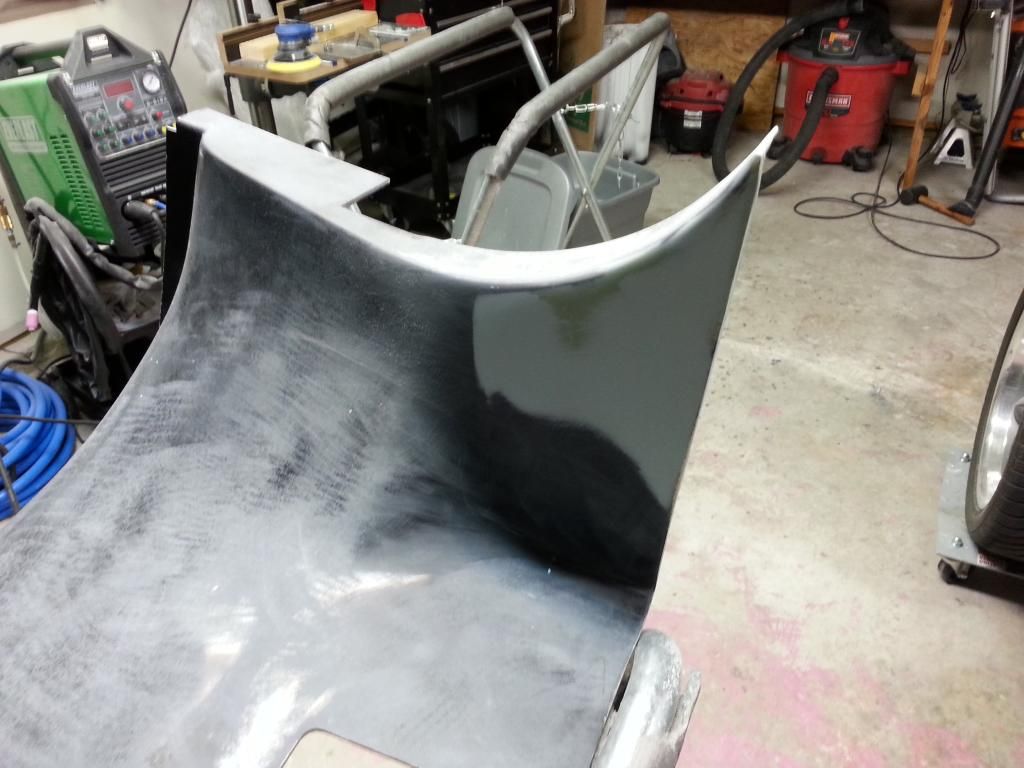
    The waterfall fit needed some massaging.


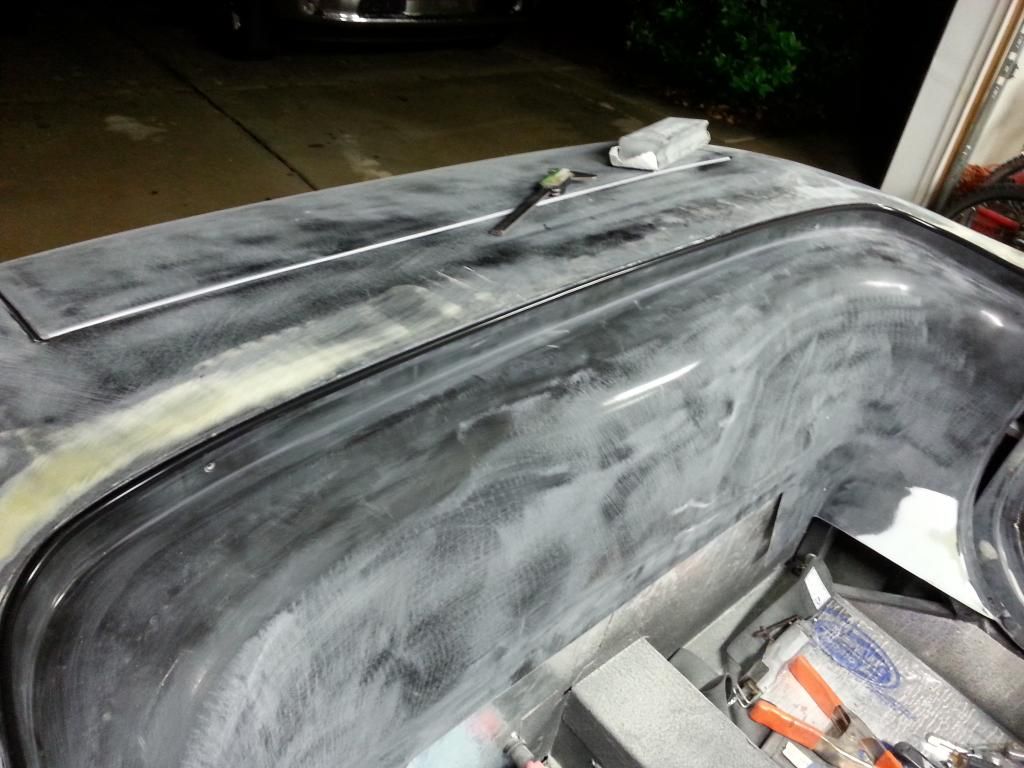
    I also added some trim to the top of the waterfall. Looks much more finished off now.


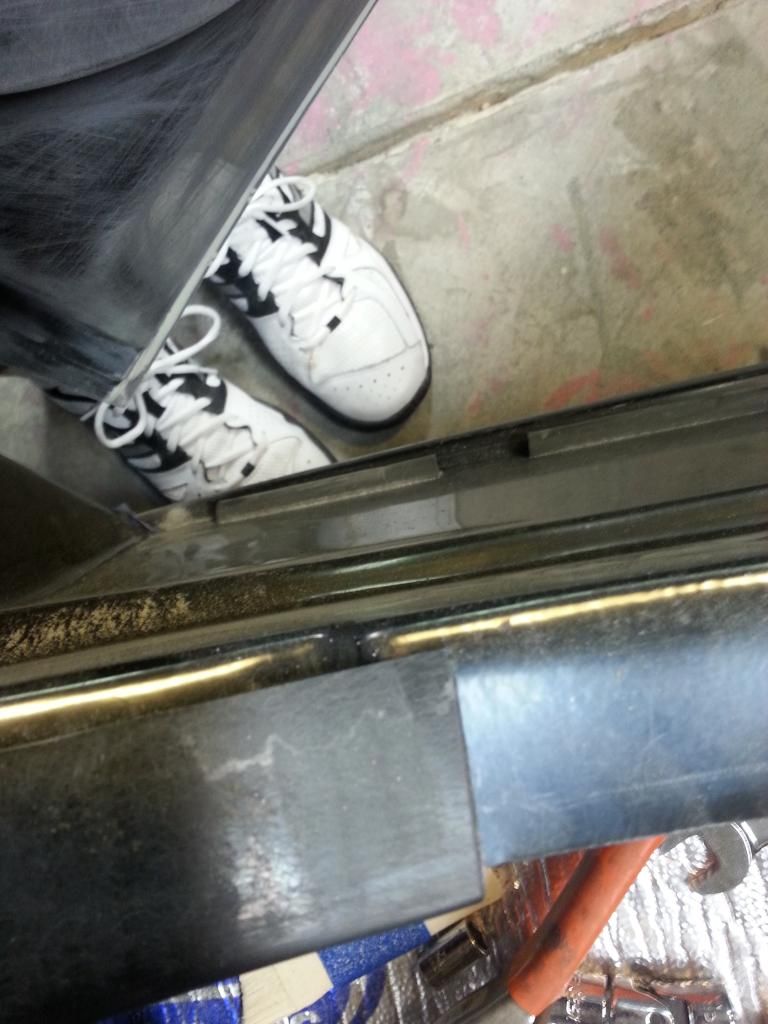
    I also finished the tops of the doors so all the body lines actually match up.


  8. #48
    Senior Member esff32's Avatar
    Join Date
    Oct 2012
    Location
    La Verne, Ca
    Posts
    560
    Post Thanks / Like
    What did you use to finish off the top of your waterfall Bob?

  9. #49
    Senior Member
    Join Date
    Feb 2011
    Posts
    211
    Post Thanks / Like
    Door molding trim..from autozone. I got the black stuff but they have different colors.

    http://www.autozone.com/exterior/doo...im/177859_0_0/

  10. #50
    Senior Member esff32's Avatar
    Join Date
    Oct 2012
    Location
    La Verne, Ca
    Posts
    560
    Post Thanks / Like
    Thanks for the help Bob

  11. #51
    Senior Member
    Join Date
    Feb 2011
    Posts
    211
    Post Thanks / Like
    No problem.

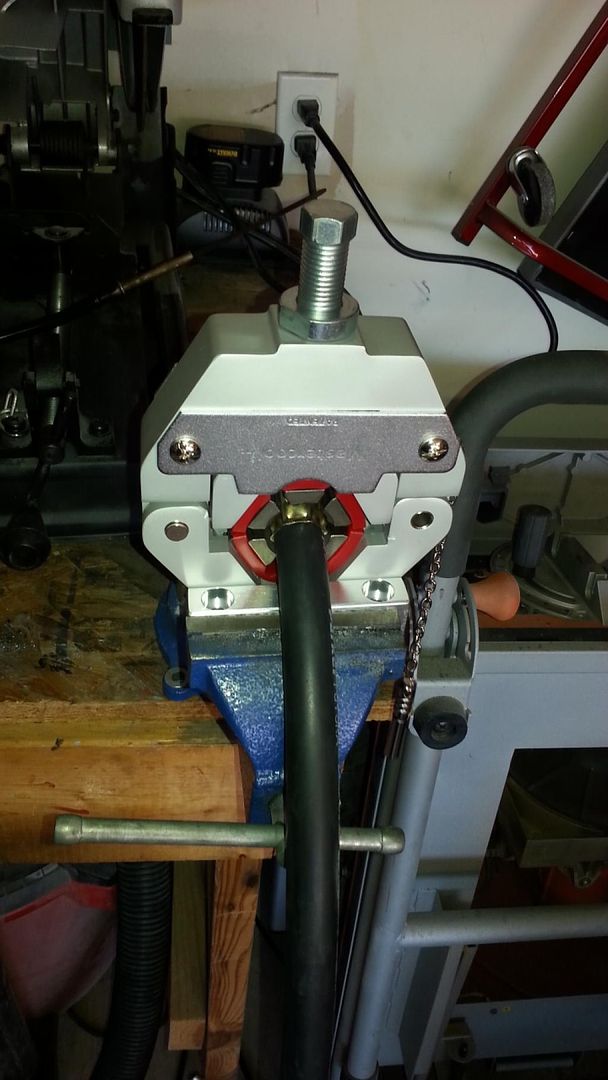
    I started to install rivnuts in the back of the waterfall area with the kit supplied tool...and realized after I installed one on the side that I couldn't unscrew the tool from the rivnut so I ended up cutting the damn tool off with a cut off wheel...ugh.

    I did get to test fit the roof again and it fit great actually. I was kind of worried that with all the work on the doors and cowl that it wouldn't fit right..but nope..fits great. I could probably get away with just using the weather strip and calling it a day. I am just happy that I had 1 body part that actually fit good.

    I think I have a couple weeks left till I will be ready for primer..if that (and if I can stay motivated)..then I can take off the body and get the fuel injection system and the RFID/ push start alarm installed. Can't wait to see the difference.

  12. #52
    PLATNUM Supporting Member
    wallace18's Avatar
    Join Date
    Apr 2012
    Location
    Trenton, Florida
    Posts
    5,382
    Post Thanks / Like
    Super job! looks great. Can't wait to see it painted.

  13. #53
    Senior Member
    Join Date
    Feb 2011
    Posts
    211
    Post Thanks / Like
    Thanks man.

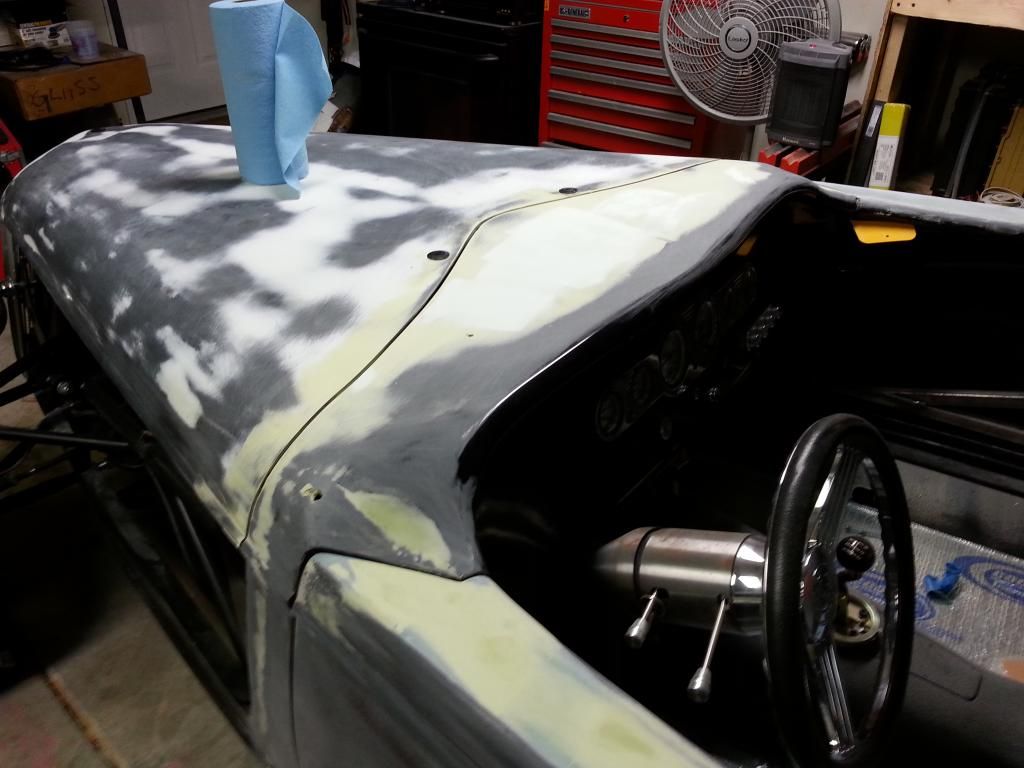
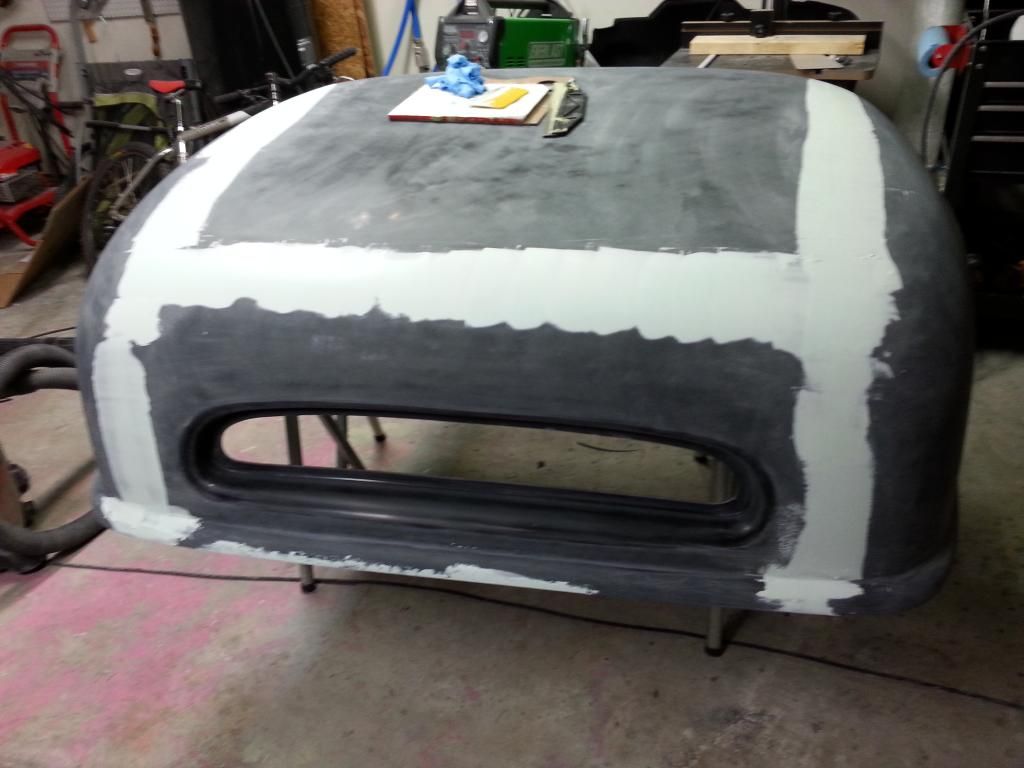
    Got most of the rough body wok done on the top and got it in primer before the first block. I used the super build 4:1..sprayed well and nice build.


  14. #54
    Ol Skool
    Join Date
    Oct 2013
    Location
    upstate NY
    Posts
    816
    Post Thanks / Like
    Bob,
    Thanks for the pictures, I'm about 2 months behind you so its really helpful to see your progress!!

  15. #55
    Senior Member
    Join Date
    Feb 2011
    Posts
    211
    Post Thanks / Like
    Np. Well I have had to slow down with the priming and all since it cooled down this last week here in SC. I still have plenty of priming and sanding to go but have the hood..chin and top mostly done. I am tinkering with some custom painting practice..and trying to figure out exactly how I am going to paint it. I kind of envy the guys who know early on "I am going to paint it XXX" and that's how it is. Not me...I change my mind on a daily basis.

    Anyways..a couple pix of the slow progress.


  16. #56
    Senior Member
    Join Date
    Feb 2011
    Posts
    211
    Post Thanks / Like
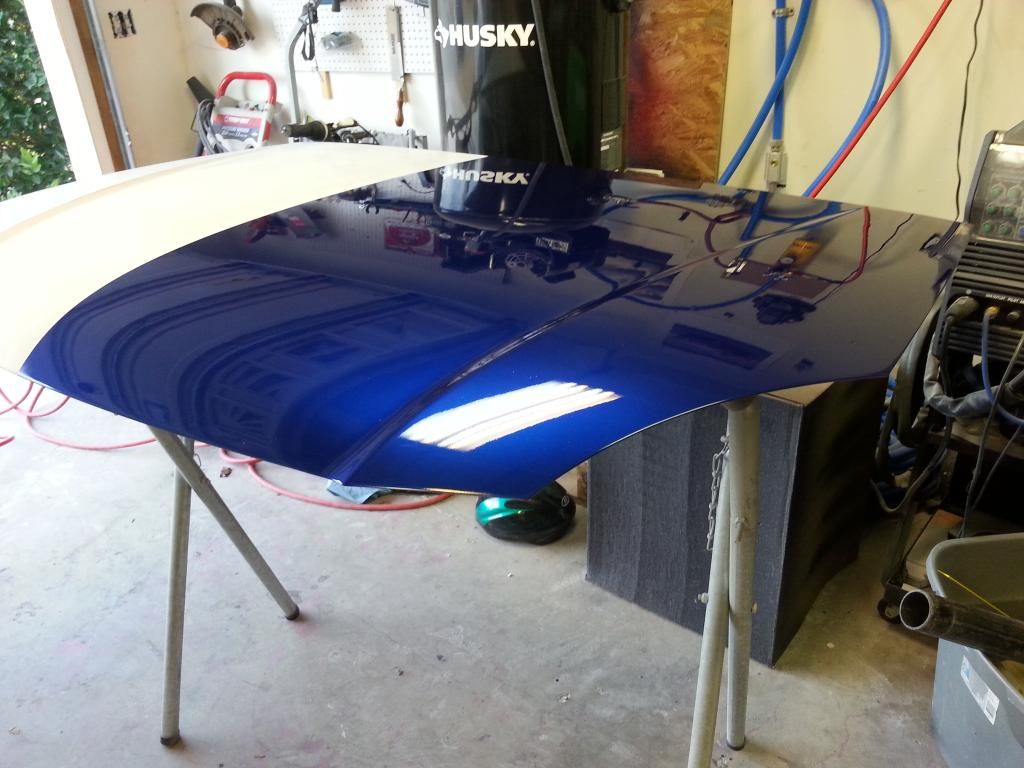
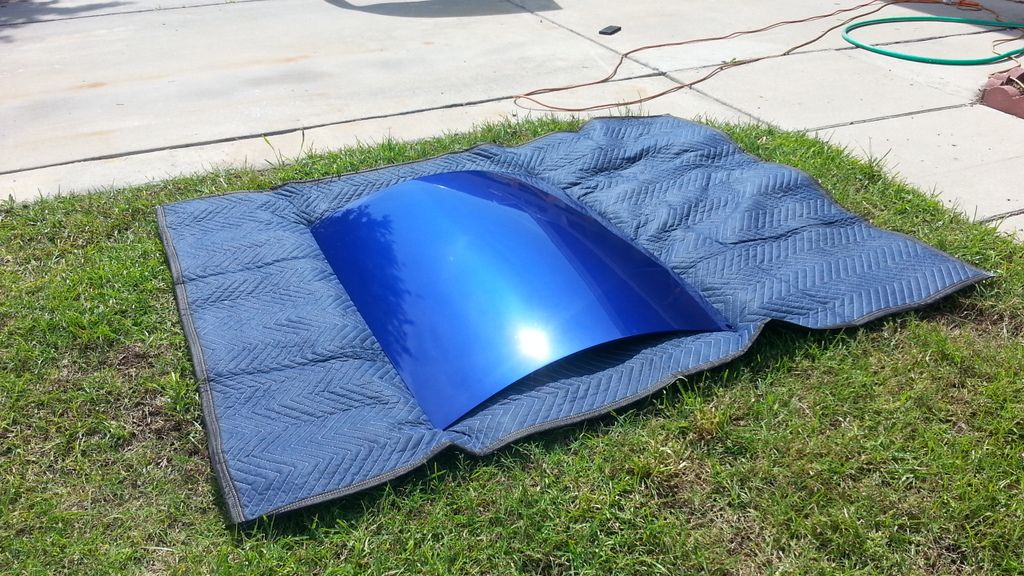
    Decided to get a hood and practice spraying a little. Mainly to make sure I can spray the blue metallic without tiger striping. The metallic laid out great with no striping or mottling so I think I can safely spray it without screwing it up. I will be practicing a lot more as my body work continues.

    Anyways..here is the blue..not bad for doing it in my driveway

  17. #57
    Senior Member
    Join Date
    Feb 2011
    Posts
    211
    Post Thanks / Like
    Well not a lot to update these days other than sanding and priming..and repeating. I am practicing painting and messing with some custom stuff with an airbrush which has been fun.

    On another note..over all though it has been a good year. Not only have I had the opportunity to work on this car....I had a lot of time off to spend with the family before I go back out to sea. I got to (almost) finish my masters degree...and me and the wife both got in the best shape of our lives (I lost 20+ lbs) and both became beach body coaches.

    Hope 2015 is just as good

  18. #58
    Ol Skool
    Join Date
    Oct 2013
    Location
    upstate NY
    Posts
    816
    Post Thanks / Like
    That blue looks awesome!! When you're out punching holes in the water, wishing that you were priming and sanding, know that we all appreciate your service. Happy New Year!

  19. #59
    Administrator David Hodgkins's Avatar
    Join Date
    Feb 2011
    Location
    Corona del Mar, CA
    Posts
    6,072
    Post Thanks / Like
    Blog Entries
    7
    Man it's really coming along! You seem pretty fearless with the 'glass and body work!

    Looks great!


    FFR 5369 Pin Drive, IRS, Trigos, Torsen, Wilwoods, FMS BOSS 302 "B" cam , Mass-flo. CA SB100 (SPCN) Registered
    Delivered 4/23/06. "Finished" 4/2012 (still not done!)


  20. #60
    Senior Member
    Join Date
    Feb 2011
    Posts
    211
    Post Thanks / Like
    Thanks! I have been working with fiberglass for years doing custom car audio work so that has made it much easier..although this is my first time doing anything like this.

  21. #61
    Senior Member
    Join Date
    Feb 2011
    Posts
    211
    Post Thanks / Like
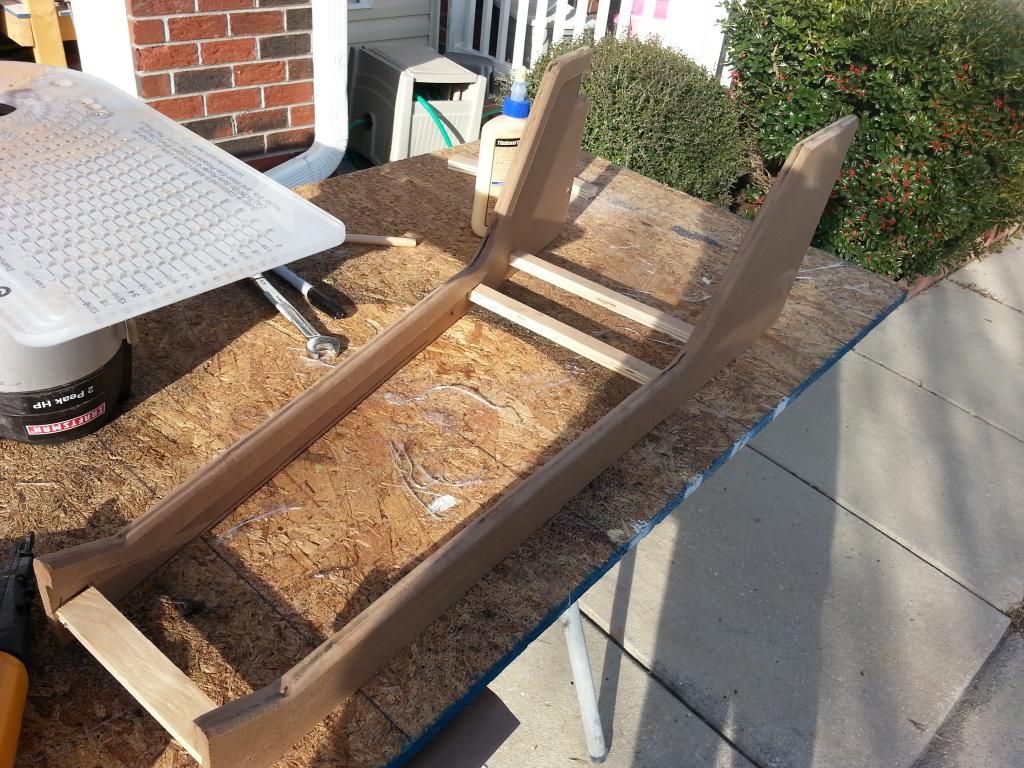
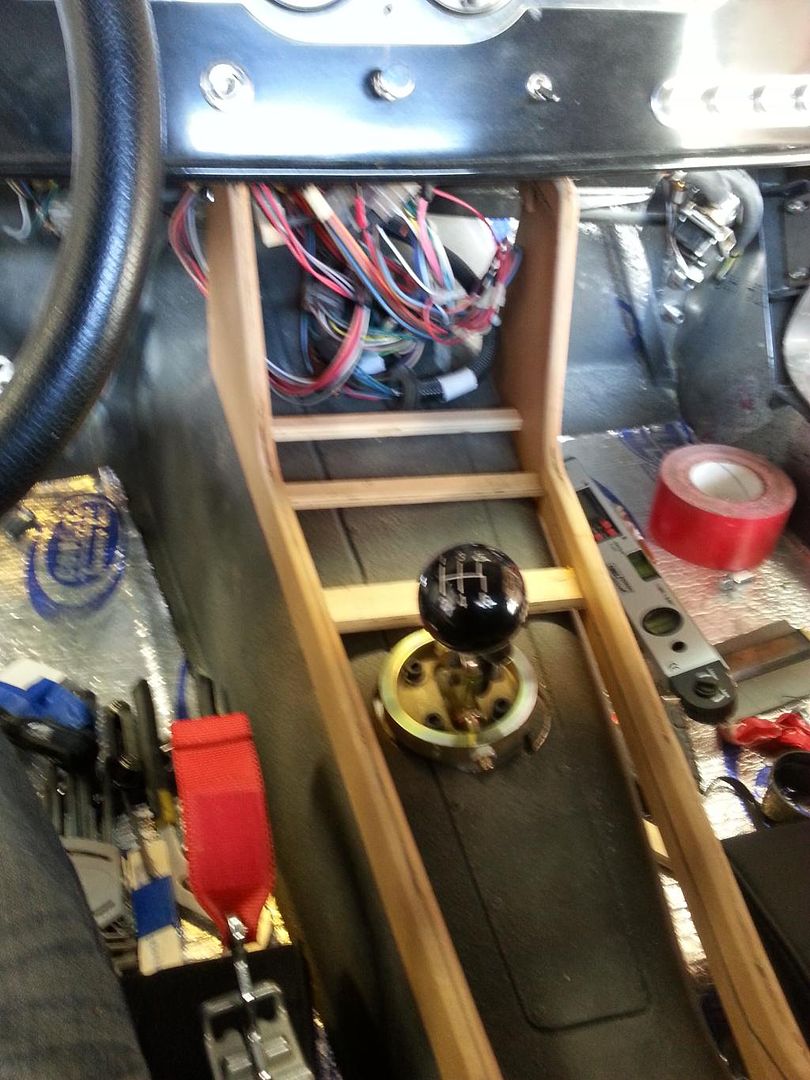
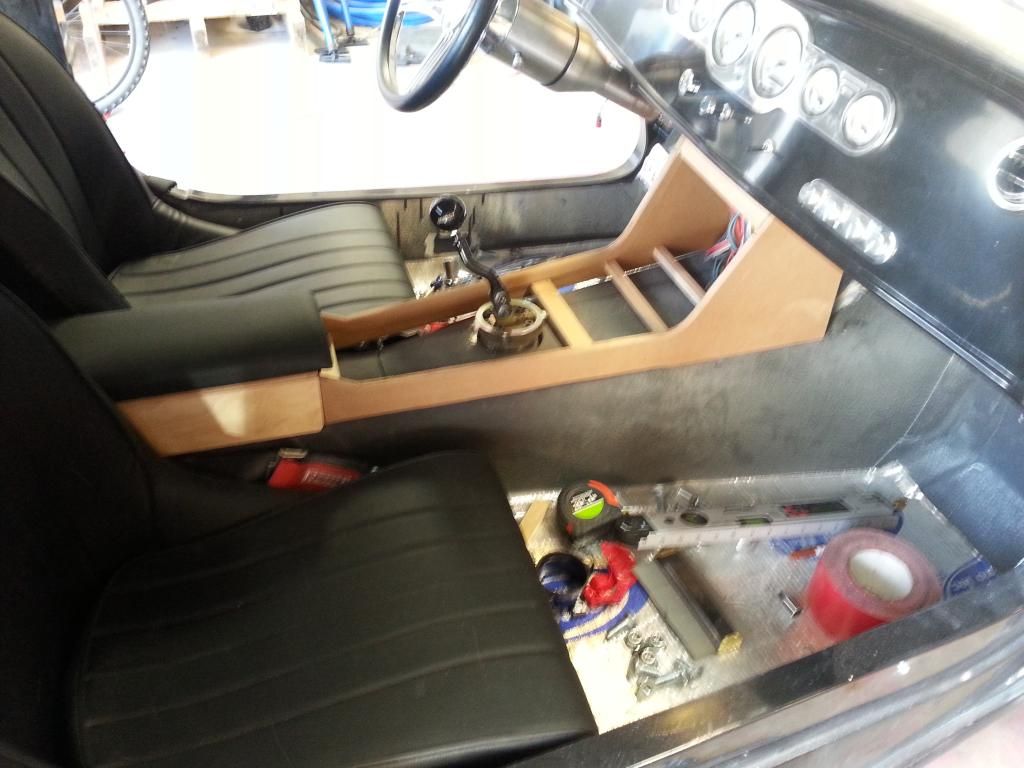
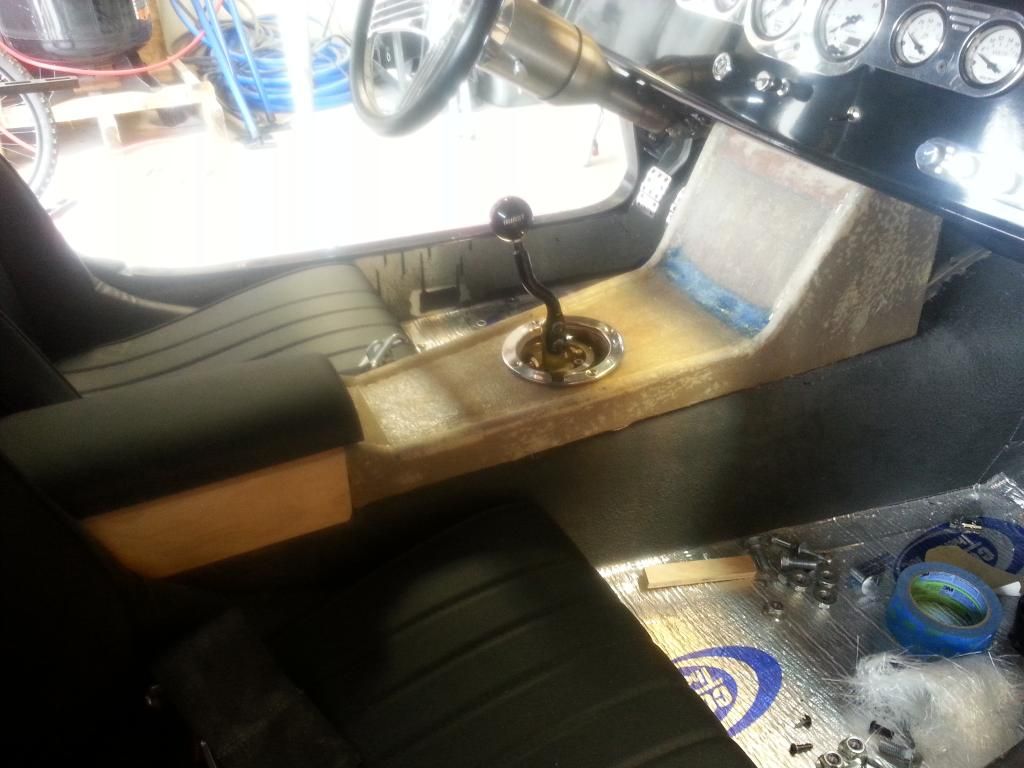
    Got a little work done on my center cosole..wanted to get it done before I pulled the body off again. The frame is done..now I will just stretch fleece over it and fiberglass it. Ended up building it in 2 separate pieces so I can get it in and out easier.


  22. #62
    Senior Member
    Join Date
    Feb 2011
    Posts
    211
    Post Thanks / Like
    Got the console wrapped with the fleece and then fiberglass. Still have a bunch to do but got enough done that I can go to taking off the body to install the EFI and push button PKE/RFID setup.


  23. #63
    Member
    Join Date
    Nov 2013
    Location
    Foristell Missouri
    Posts
    61
    Post Thanks / Like
    Hi Bob,

    I like what you did for the console, I'm probably going to do something similar. It will be a great place to mount the radio and a few other items. Are you using the stock mufflers? They certainly look nice but I was not sure how loud they were. For me, I would like to be able to have a conversation when going down the road.

  24. #64
    Senior Member
    Join Date
    Feb 2011
    Posts
    211
    Post Thanks / Like
    I am using the stock mufflers for now...but will switch them out in the future. Right now the wife is starting to get irritated with how much I am spending since I passed my budget 13k ago if you don't count the car trailer I just ordered

  25. #65
    PLATNUM Supporting Member
    wallace18's Avatar
    Join Date
    Apr 2012
    Location
    Trenton, Florida
    Posts
    5,382
    Post Thanks / Like
    Looking great! It is easy to blow a budget on any FFR kit. Ask me how I know. LOL.

  26. #66
    Ol Skool
    Join Date
    Oct 2013
    Location
    upstate NY
    Posts
    816
    Post Thanks / Like
    Nice Console. Rather than budget we discuss "avoided cost" at my house. Avoided an SRT8 something, etc.

  27. #67
    Senior Member
    Join Date
    Feb 2011
    Posts
    211
    Post Thanks / Like
    Yeah...at this point I think I have everything I NEED to finish it but I want to do the little things to make it mine now. It was either make this one the way I want it or go out and drop 70k on a new vette or something so she let me get away with it haha. (I will probably still go get the vette..she just doesn't know it yet)

  28. #68
    Senior Member
    Join Date
    Feb 2011
    Posts
    211
    Post Thanks / Like
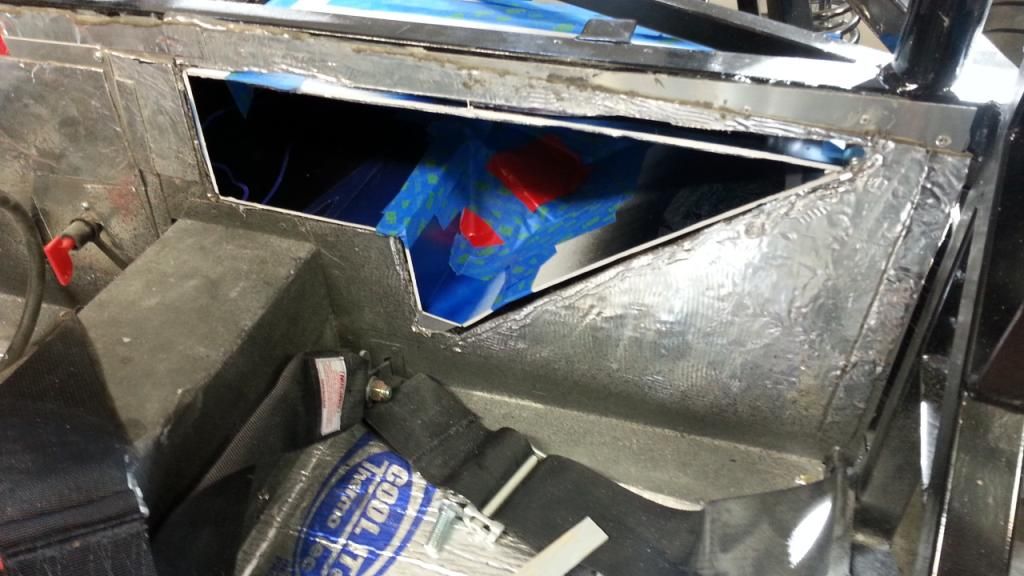
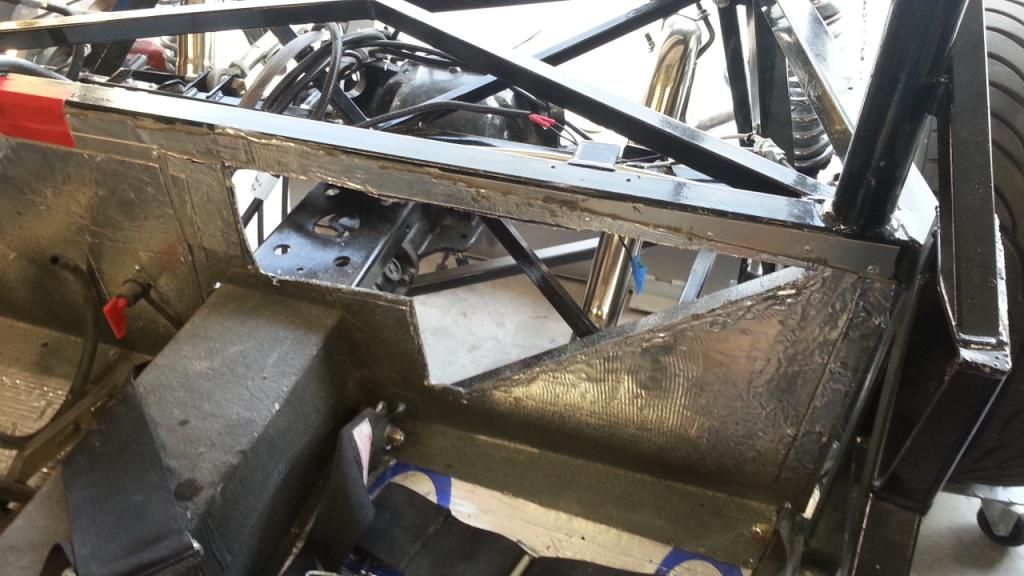
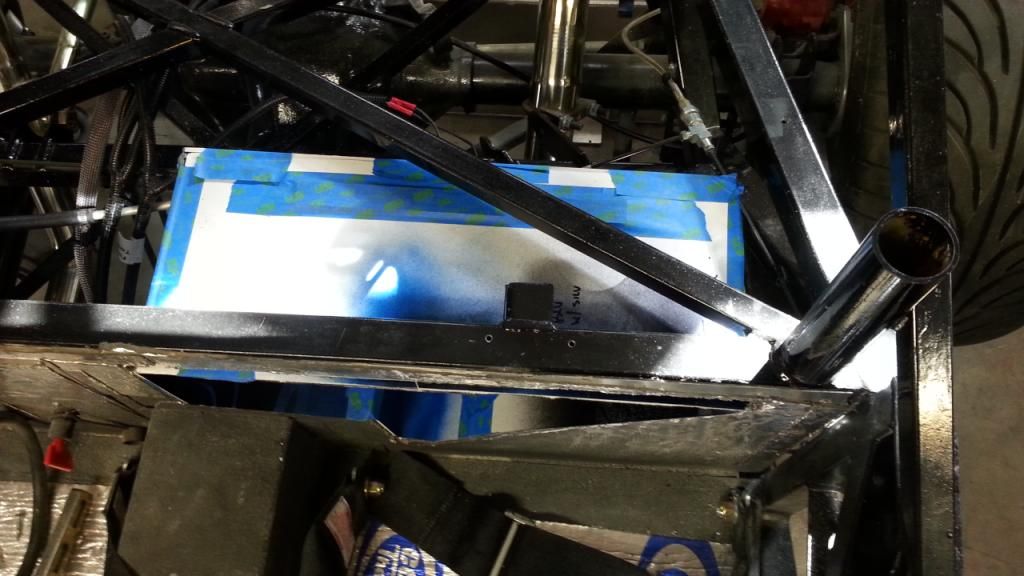
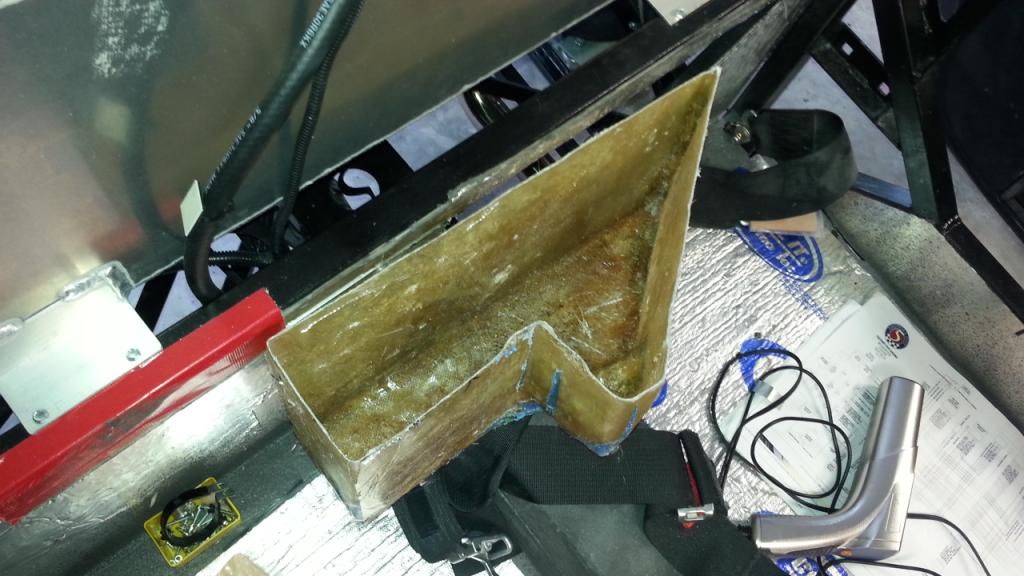
    I got the body back off and started the install of the EFI system. Missing a couple fittings so I am on hold on that. In the mean time I started the subwoofer install behind the drivers seat. I will be building a fiberglass box and it will have about .5 cubic feet. Here is the start of the box.


    On another note.....one of the reasonsI did this build was to learn along the way on every part of car building to include machining. I have been looking for a lathe and a mill for a long time and finally came across a little atlas 618 on craigslist and traded him an old guitar and amp. This guy had no idea what he had because I got a TON of stuff with it..on the order of 10x what my trade was worth! I also got a bunch of books and a couple hundred machining and miniature engine building magazines (worth over 1300 themselves)...so needless to say I am pretty stoked

    Anyways...sorry about the tangent

  29. #69
    Senior Member
    Join Date
    Feb 2011
    Posts
    211
    Post Thanks / Like
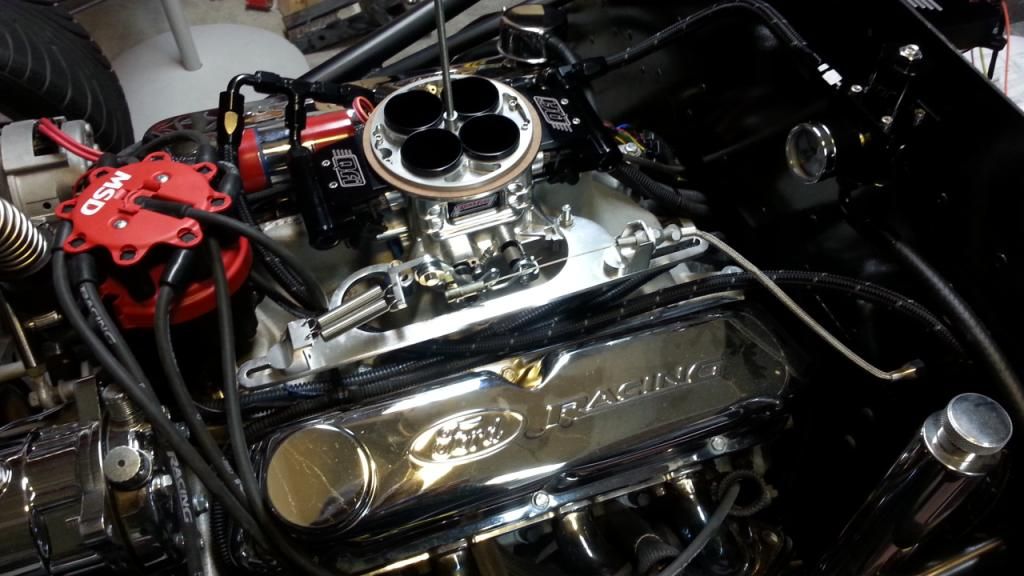
    One step forward..2 steps back. I got the EFI system installed along with a new MSD distributor..ran great but then I noticed some sparking from the wire going from the coil to the distributor. I disconnected the wire and reconnected it..and now the car won't start. Gotta look into some ignition stuff I guess.


  30. #70
    Senior Member
    Join Date
    Feb 2011
    Posts
    211
    Post Thanks / Like
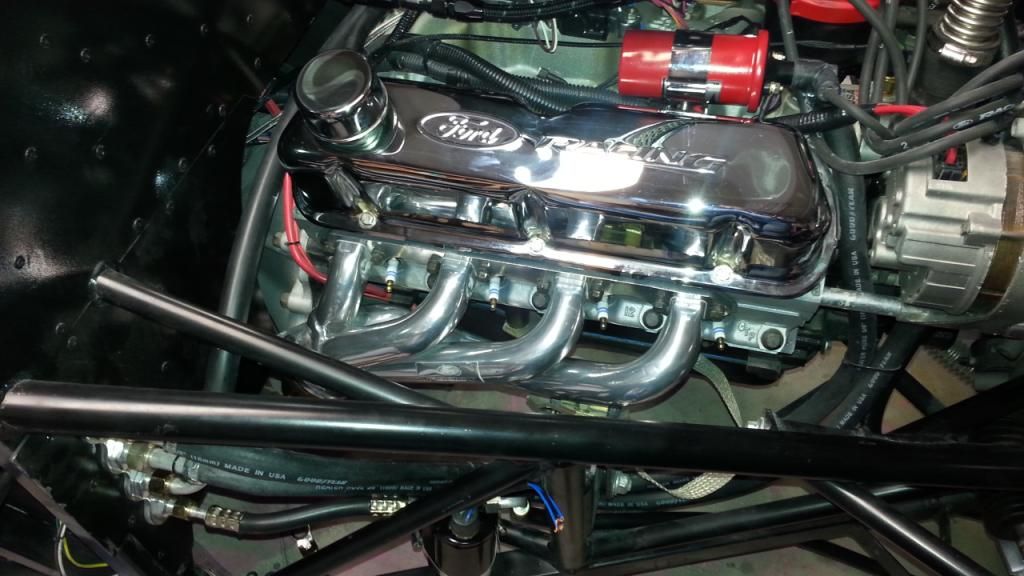
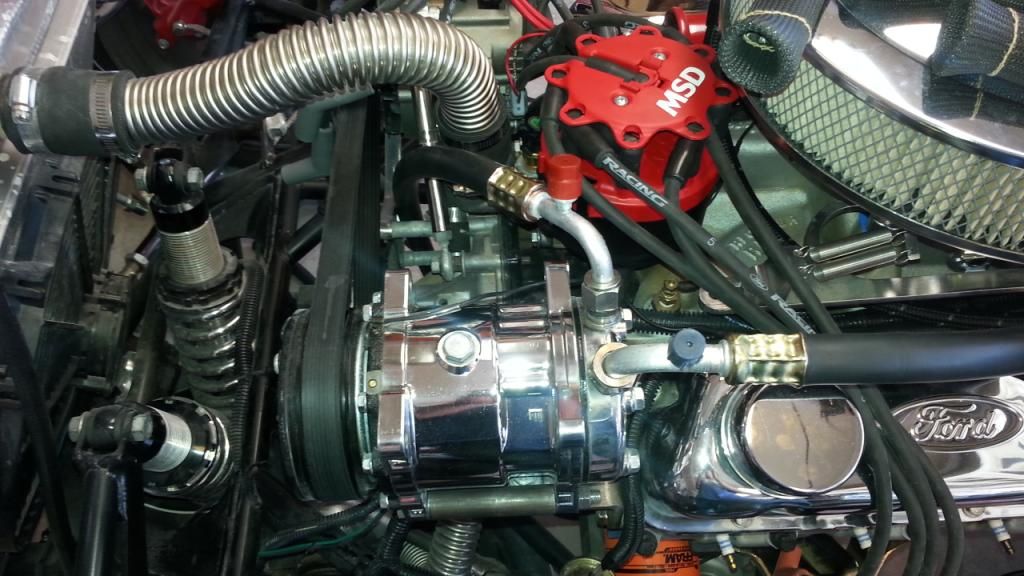
    Moving forward..finally. Had a few issues on the ignition front. The coil to dist wire was faulty so I replaced that and it was still starting really rough. I found a couple of the spark plug boots were completely melted and causing arcing/not firing cylinders. I think the EFI was sensing that extra fuel with the wideband and trying to lean it out which obviously didn't work. So..I am rebuilding all the wires with high temp boots and I also got the ford racing headers that are meant for my gt40p heads..I had to have them (atleast thats what I told the wife lol)


    Also got all the A/C plumbing done but somehow was missing 1 fitting so I have to wait to charge the system.


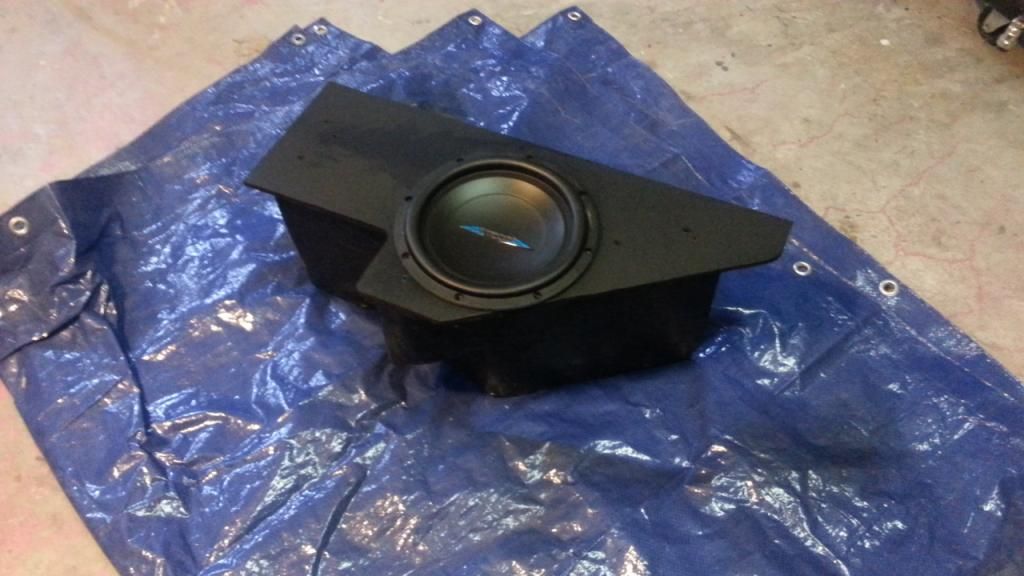
    A little more work done on the subwoofer box. Endedup being .43 cubic feet so I think that will be perfect for a nice little 8" sub right behind the seat.


  31. #71
    Senior Member
    Join Date
    Feb 2011
    Posts
    211
    Post Thanks / Like
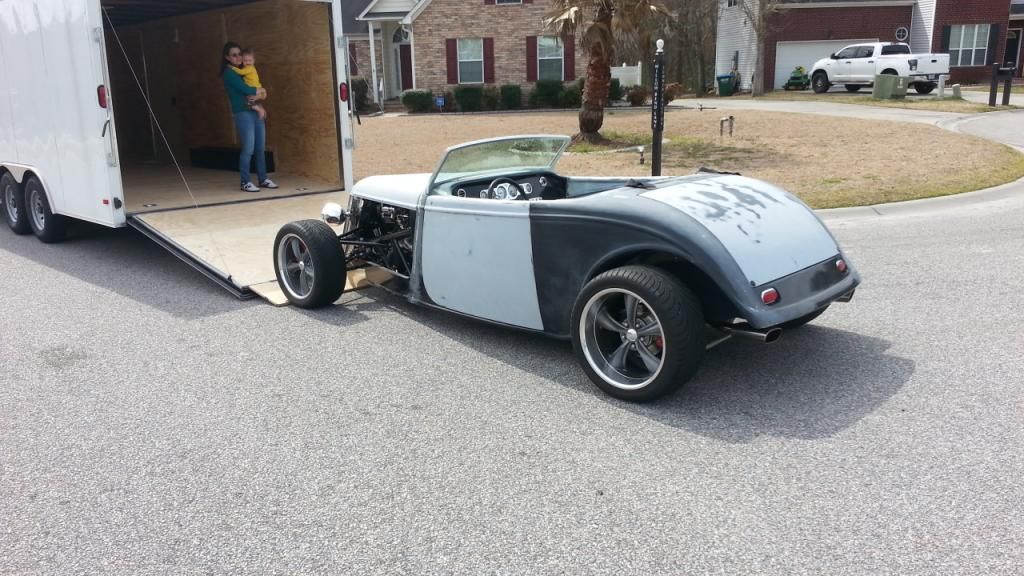
    The hotrod on the trailer going to get the VIN verified. So..basically the DMV not knowing what the heck they are doing worked out in my favor and I was able to get it registered today with plates in hand. (They are no supposed to be able to register it there..state is required to do it)...oh well. Time to do some cruising before blowing it apart for paint


    Also finished the sub box.


    Now I am going to do a little driving to shake down the car before blowing it apart for final body work and paint.

  32. #72
    Senior Member H R Lucky's Avatar
    Join Date
    Jun 2012
    Location
    CrossRoads, Pa.
    Posts
    272
    Post Thanks / Like
    Bob,
    Nice job on the speaker box.
    Happy trails on your shake down cruise.


    Nevin
    Nevin, AKA H. R. Lucky
    33 Hot Rod sn 524 build started 3/18/2013, First Start-5/09/2015, Go Cart-6/01/2015
    5.0 Coyote engine, 9in. Ford rear, 4 Link, Wilwood 12in. front brakes
    AC, power steering, FFR 17/18in. Hot Rod wheels

  33. #73
    Senior Member
    Join Date
    Feb 2011
    Posts
    211
    Post Thanks / Like
    Thanks, Nevin. First shakedown went pretty well..put maybe 10 miles on it. The EFI system definitely needs to do some more learning. My turn signals were also acting a little weird too. Otherwise..nothing big found yet. Oh...one thing I would recommend is to put a switch for the power steering for anyone using the unisteer unit. It was pretty squirrely when I was up to highway speeds.

  34. #74
    Ol Skool
    Join Date
    Oct 2013
    Location
    upstate NY
    Posts
    816
    Post Thanks / Like
    Bob, Is "twitchy" unisteer common? you don't seem surprised. how much caster are you using? Maybe the bow planes just need a little trimming on the feedback synchros??

  35. #75
    EFI Rules and Carbs Drool Arrowhead's Avatar
    Join Date
    Feb 2011
    Location
    Stillwater, NY
    Posts
    599
    Post Thanks / Like
    With the power steering you can run a lot more caster (like 6-7 degrees) so it will be a lot more stable on the highway.

  36. #76
    Senior Member
    Join Date
    Feb 2011
    Posts
    211
    Post Thanks / Like
    I have heard of a few people saying the same thing. I do have about 6-7 degrees of caster though. I still have a bunch of dialing in to do so we will see.

  37. #77
    Senior Member
    Join Date
    Feb 2011
    Posts
    211
    Post Thanks / Like
    I probably have 80 miles on it so far and still working out the bugs but I did decide to swap out the mufflers for 11225 Magnaflows....much better IMO. More comfortable for the wife to cruise along with me..which means less headaches for me lol.


  38. #78
    Senior Member
    Join Date
    Feb 2011
    Posts
    211
    Post Thanks / Like
    Well I have a good chunk of miles on it now and I have been banging my head trying to get it tuned. The Quick Fuel EFI system is supposed to be mostly self learning but out of the box is NOT set up to run well. I was having huge bucking issues at WOT and realized that in the VE tables from the factory were all messed up. They had entire rows zeroed out for 400 RPM gaps..so when I hit those RPM's it was like hitting a brick wall...and there was no way it could have self learned that out when it couldn't get above 3200 RPM. Anyways..got that fixed and now it is running great. Hopefully get back in to the body work this week

  39. #79
    Senior Member
    Join Date
    Feb 2011
    Posts
    211
    Post Thanks / Like
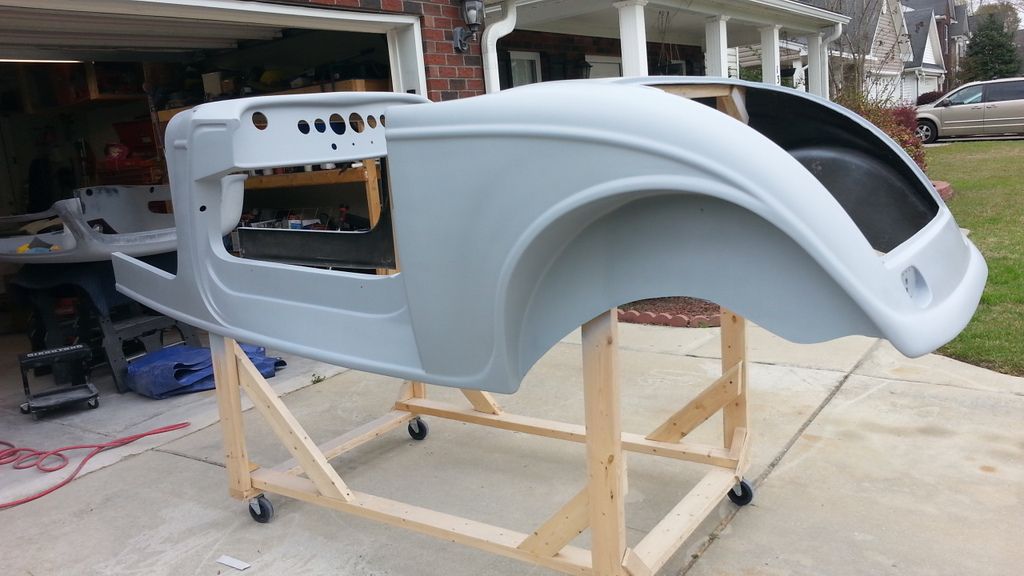
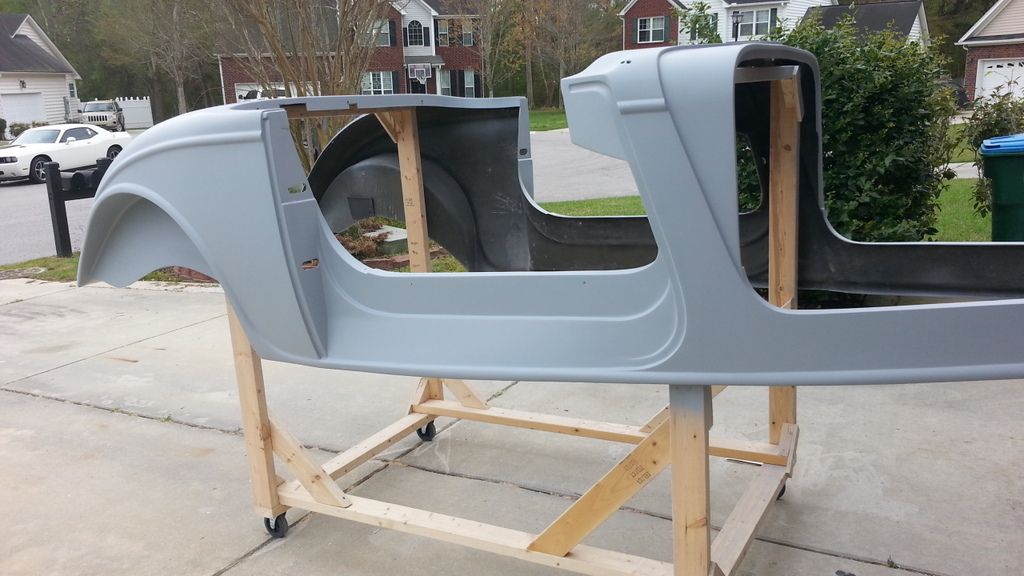
    Well been on and off working on the car..I am in the Navy and moving to CT before too long so I have been house hunting..got that taken care of so now the car is blown apart again. All the panels are starting to come together and finally got the main body primed. I see I still have a little filling to do here and there but over all it isn't bad at all. I have to say when I first started doing the body work I was using slick sand...I started using TAMCO 2k high build primer and that stuff really is awesome. High build and sands much easier than slick sand..and it is already a 2k so you can just thin it out and use it as a sealer.


    Last edited by bbksv; 03-26-2015 at 05:02 PM. Reason: image

  40. #80
    Senior Member
    Join Date
    Feb 2011
    Posts
    211
    Post Thanks / Like
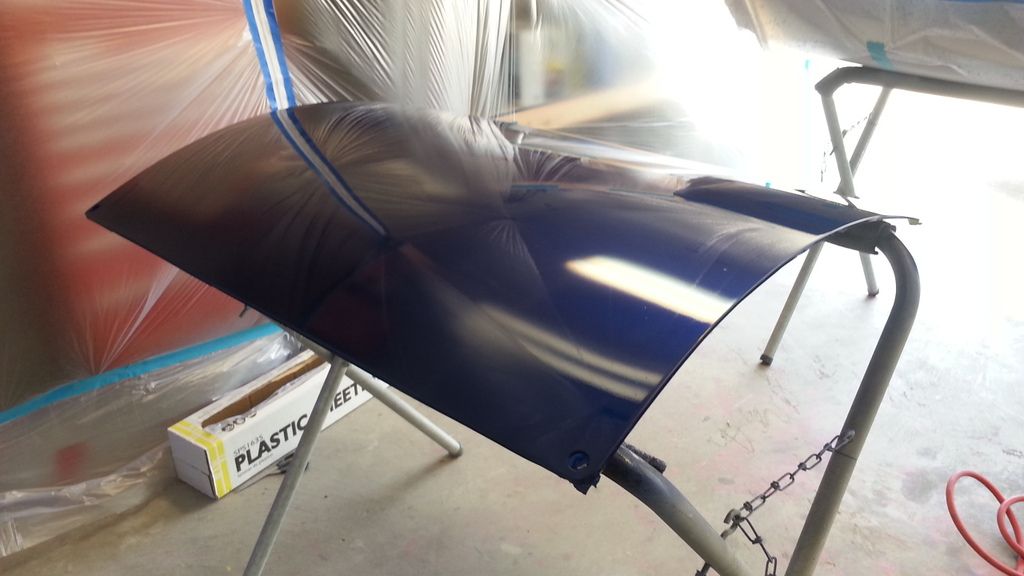
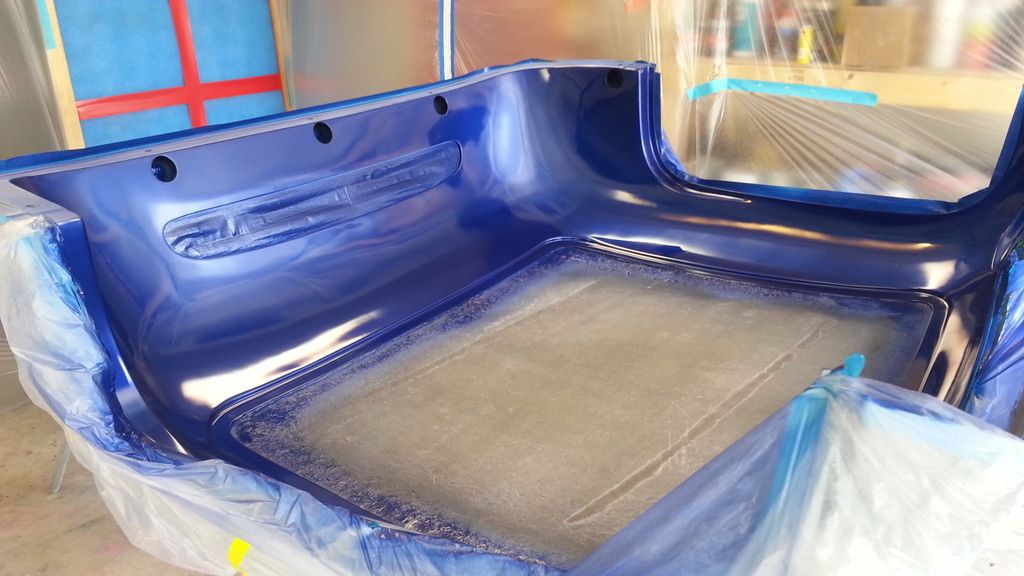
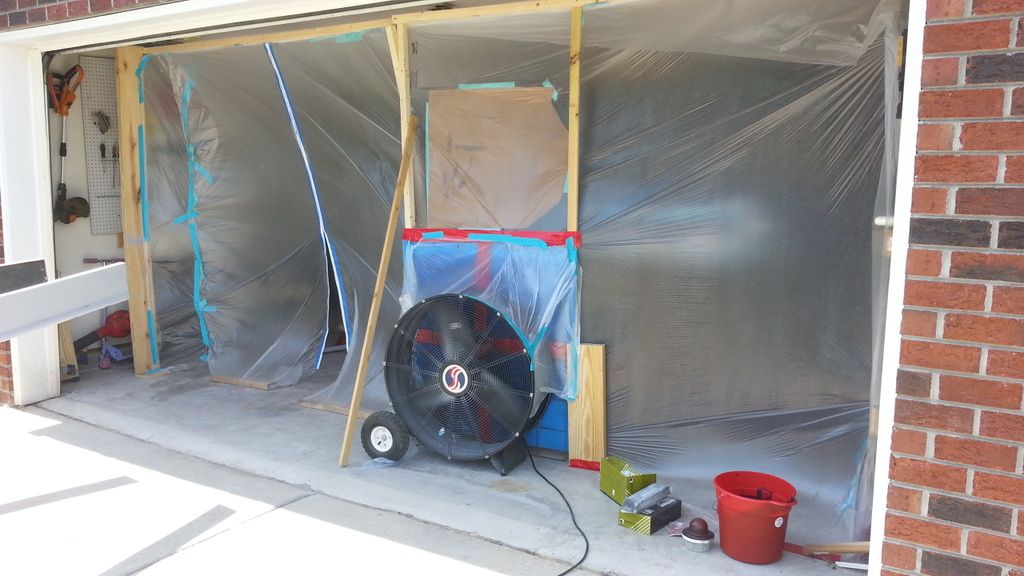
    First couple panels are painted. I need to figure out a way to control dust a little better because as it sits now I will be doing a lot of sanding to get the dust nibs out...but over all I am just glad to see color start to get on.


Page 2 of 3 FirstFirst 123 LastLast

Posting Permissions

  • You may not post new threads
  • You may not post replies
  • You may not post attachments
  • You may not edit your posts
  •  

Martin's Dent and Collision Shop

Visit our community sponsor