-
What is the difference
Aside from the side pipes, what's the difference between the two designs.
-
Wait while I go get the popcorn.
-
Out Drivin'

Google is your friend on this one, but it's a good topic for here. If you do a search, please share what you find!
Later,
Chris
"There are no more monsters to fear, and so, we have to build our own."
Mk3.1 #7074
-
 Administrator

TONS of differences! Starting at the front: "D" shaped grill opening, no pad under the marker lights, headlights more pronounced, front wheel flairs more "angular", the FIA had transverse leaf springs not coilovers, the hood scoop is longer with a different opening with a screen, the dash is different, the doors and trunk are different, oh heck, the whole car is narrower and with more pronounced flairs, the rollbar downtube goes into the cockpit, not to the rear, the gas lid is in the center of the trunk...
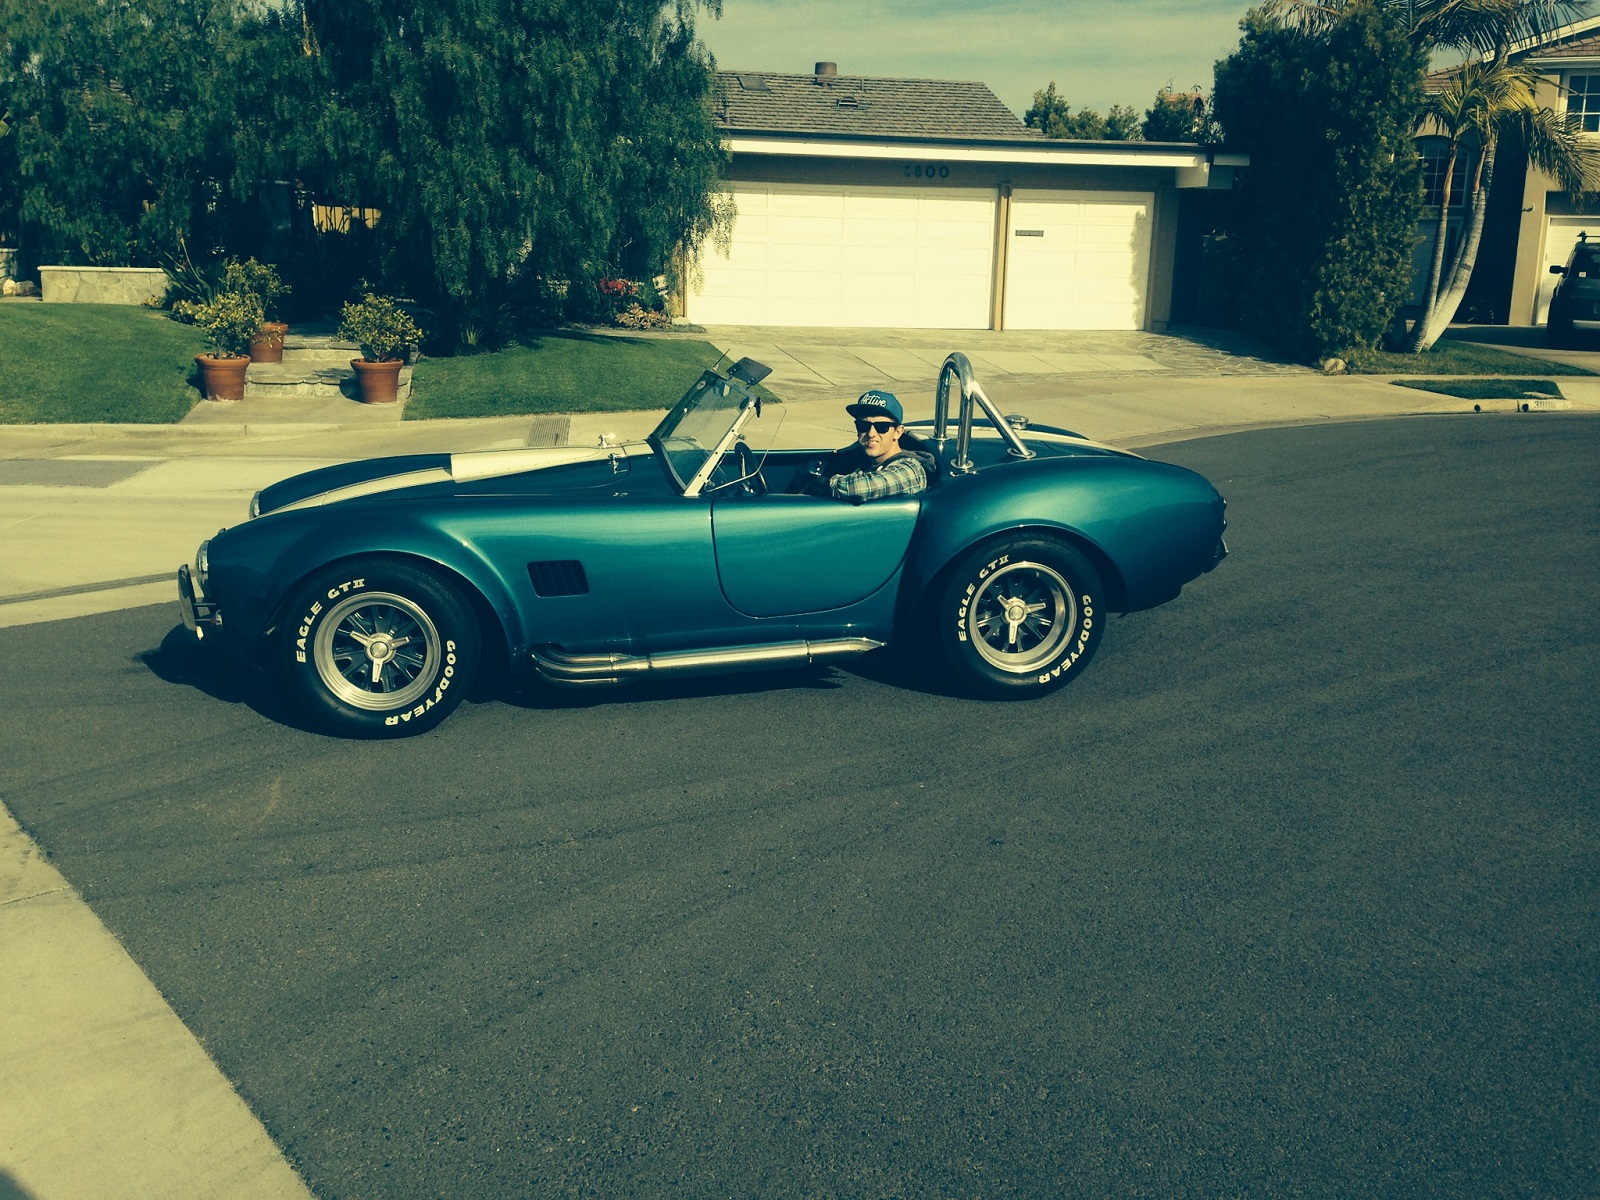
Here's a pic of CSX2001:

Here's a pic of my 427 (body style), F5R1005369RD:
HTH,

FFR 5369 Pin Drive, IRS, Trigos, Torsen, Wilwoods, FMS BOSS 302 "B" cam , Mass-flo. CA SB100 (SPCN) Registered
Delivered 4/23/06. "Finished" 4/2012 (still not done!)
-
Post Thanks / Like - 0 Thanks, 1 Likes
-
Not a waxer

-
I'd like to know what the difference is between the two FFR versions.
Other than the body changes, are there any frame differences?
-
Dan:
On the original cars, the diameter of the main fore-aft tubes was 3.5" on the small block cars vs 4" on the BB cars (I believe) and the spacing between the those tubes was wider on the BB cars. There were also differences in the front and rear suspension mounting points when the change over from leaf spring to coil spring was made. It will be interesting to see what F5 does here regarding track width, etc. I would imagine they would try to minimize any tooling changes for the frame over their established 427 frame to keep costs and part numbers at a minimum delta, but I guess we'll find out on Saturday.
- Allen.
-
Senior Member

CSX 2000 series
Early cars had worm and sector steering, later changed to rack and pinion
Used transverse leafspring suspension front and rear
3" main tubes
Oil cooler scoop riveted on
Hood scoop molded in
260 cubic inch SBF to start, later changed to 289
FIA cars used SW gauges and a Sun tach
Street cars used Smiths gauges I think. Not positive
Forward braced roll bar. This was necessary as the gas tank was mounted on the deck behind the cockpit in the trunk. No room for the rear brace
Brake cooling ducts under car on race cars
Narrow hips on street cars
Race cars used a shorty header and the exhaust pipes went under the rocker
Wider hips and cut back doors on FIA cars
Rectangular tail lights
Radiator and expansion tank from. 327 Corvette
Some cars had same expansion tank as the 427 cars. I think they are the later models.
CSX 3000 series
4" main tubes wider apart
Different front radiator opening
Oil cooler scoop molded in
Hood scoop riveted on
Hood hinge ring riveted on to prevent loss at high speed
Some had rectangular tail lights, most had twin round ones
Smiths gauges
Roll bar with rear bracing
427 side oiler in race cars, 428 in most others
Long tube exhaust headers exited the body via a cutout and were located on the outside of the body higher up for increased ground clearance
Bigger radiator opening
Brake cooling ducts in body
Ford Fairlane expansion tank
Coilovers suspension
Rack and pinion steering
Wider track
Wide rear hips
Last edited by 2FAST4U; 06-20-2014 at 03:46 PM.
-
It's been a while since the last post on this thread and with my own FFR 289 build on the not too distant horizon I thought i'd re-ignite the discussion and try to solicit some feedback from those that have completed their 289 builds and had a chance to reflect.
In your experience how different are the two build recipes (MKIV vs 289)? Other than the obvious roll bar differences would it be reasonable to say they are the same FFR under the fibreglass? Or are there some fundamental differences that a "would-be" builder like myself would benefit from knowing upfront?
Thanks in advance for any input! :-)
-

Hi Dan, Looks like there has not been much of a response to your question. I am the builder of the FFR 289 FIA car but have never built the MK IV. My understanding is both utilize the same exact chassis. There are a few differences in the aluminum panels that make up the foot boxes and splash shields, but again not a ton of difference. The mounting points on the front suspension, upper control arms, are different than the 427 car and it is possible that the rear differential housing is narrower. As has already been pointed out here, the bodies are completely different between the two cars. First, the 289 FIA is just dimensionally smaller than the 427 car. The front clip, radiator opening, flares, doors and rear clip are all changed. Tail lights are single lens, there is no body cut out for the side pipes which rest under the rocker panels, and the fuel filler is on the rear bulkhead area rather than in the rear fender as in the MK IV. The rollbar is completely different as are the door latch components, body mount in the front and a few other small things like the hood scoop, etc. Frankly, you use about 85 to 90% of the same assembly manual as in the 427 car to build the 289.
So, the short answer to your question is yes, a lot is the same under the fiberglass. The devil, as they say, is in the details depending upon how you intend to "finish" the car. I went for the period correct look and so deviated at times from the FFR build specs. By the way, you cannot get the 15" pin drive wheels and the IRS in the same package. If you opt for the IRS you are limited to five lug wheels. Also, no anti-sway bars are available for the 289 when using pin drive wheels.
There are some great 289 FIA builders on this site who will be really helpful to you and virtually everyone on the Forum represent great people who have storehouses of knowledge. Joel
-
Post Thanks / Like - 1 Thanks, 1 Likes
-
Senior Member

Couple things to do first is mark the trunk aluminum for trimming before you take the body off and make sure the lower rear of the body is trimmed. Some bodies weren't and there were areas of interference with the aluminum and fuel tank.
Another nice to do is mark where the forward roll bar tube contacts the passenger floor panel and make the cut before installing the panel.
Be aware that not all mkiv aftermarket upgrades may fit as intended and will need to be tweaked somewhat to work. An example is the Breeze upper radiator mount. The radiator angle is different, so the install is a bit different than stock. I showed Mark mine at a show and we talked it over.
Congratulations on your upcoming adventure and welcome to our little club. As Joel said, feel free to ask questions, everyone is happy to help.
FFR #8833 289 FIA 3-link
1965 289, TKO600 from Forte's Parts Connection
Body and Paint by Mike's Auto Restoration
Picked up 3/5/2016, First start 4/22/2017, MA legal 7/11/2018
Build Thread
http://thefactoryfiveforum.com/showt...FIA-build-8833
"Insanity is contagious" - Joseph Heller
-
Thanks for your response guys its greatly appreciated. I have been following your threads to date and really enjoyed reading about your build journeys!
Chris, You mentioned in post #66 that you weren't sure if you'd be able to use the Breeze lower radiator mount, how did that work out in the end? Did you have to find another solution? Also, in post #68 mentioned that some of the body interference may have been due to some of you previous build decisions, do you still think that is the case? If so what would you do differently?
Some builders have has challenges with the Gas Cap mounting, but I cant visualize what the issue is, could either of you explain for me?
Apologies for the detailed questions but I'm trying to visualize the build process and piece it together before i start! :-)
Dan
-
Senior Member
Hi Dan,
I'm planning on installing the lower mount this spring when I put the car up on the quick jack to get it ready for the season. The bad decision on my part was riveting the radiator aluminum and not verifying the radiator angle and position relative to the nose openings. By switching over to bolted joints I could make the assembly process more flexible. Moving the Breeze upper mount back a bit helped give me the rest of the clearance I needed. That and getting a longer rubber elbow for the lower radiator hose.
The lesson here is to mock up things before installation. Trust but verify. I zipped through it making assumptions and it bit me.
The gas cap mount is another exercise in patience. This takes several mock up attempts which involve installing the body, getting it centered, making the hole big enough to allow the body to go on and off but not too big, marking and drilling the attachment points on the trunk floor, then tweak from there. Repeat as needed.
Last edited by cnutting; 02-05-2019 at 07:20 PM.
FFR #8833 289 FIA 3-link
1965 289, TKO600 from Forte's Parts Connection
Body and Paint by Mike's Auto Restoration
Picked up 3/5/2016, First start 4/22/2017, MA legal 7/11/2018
Build Thread
http://thefactoryfiveforum.com/showt...FIA-build-8833
"Insanity is contagious" - Joseph Heller
-
Post Thanks / Like - 0 Thanks, 1 Likes
-
Thank You both, I appreciate the feedback! 


 Thanks:
  Likes:


 Reply With Quote


