-
Senior Member

Hood Progress and Prop Rods
I'm making some slow but sure progress getting the hood installed. My approach is based largely upon forum wisdom:
- Center hood in the hood opening. I used 3M 1/4" vinyl tape on the hood to show me where to remove material for an even gap around the perimeter. I used an orbital and block sander combination until the gap is a solid 3/16". My goal is to make the hood gap functional, not perfect. That will be up to the body Pro later on.
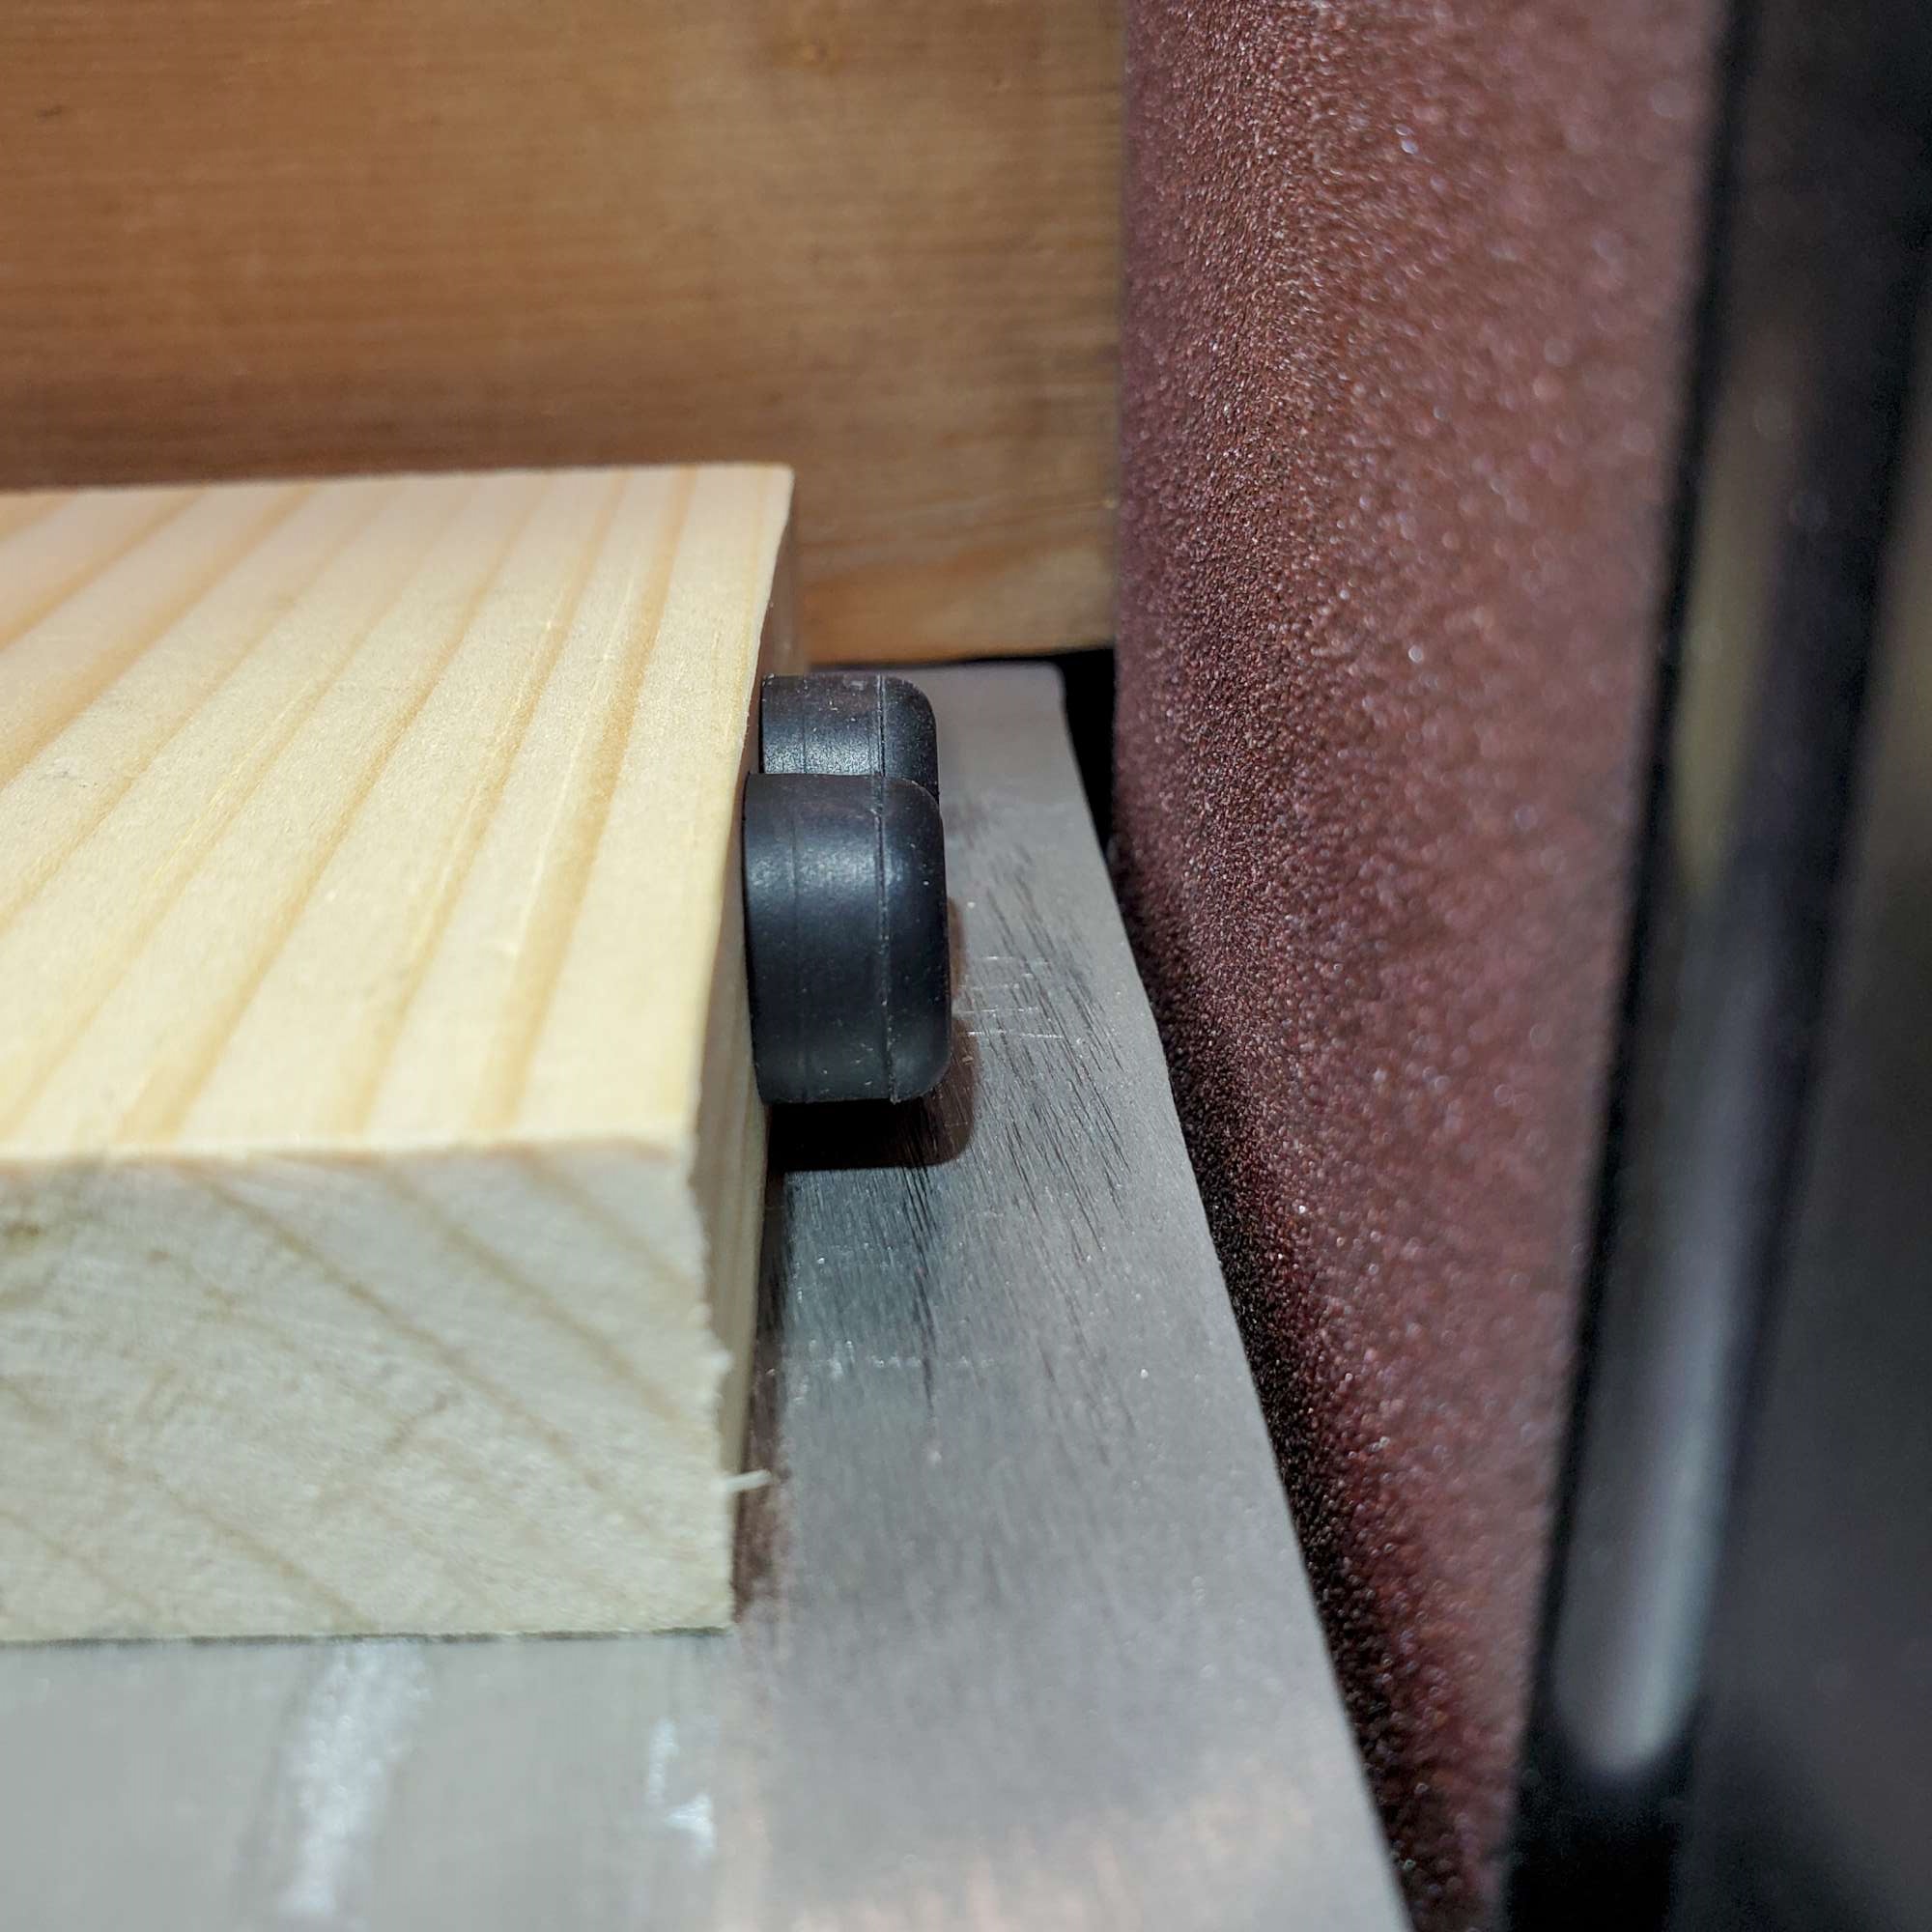
- Bumpers: tape down kit supplied rubber bumpers to get hood at even plane with the body. From a tip from Edwardb, I used my belt sander to shave the bumpers to their respective heights--see picture below. I don't think I'll put any bumpers at the front, as the hinge brackets seem to be providing adequate support. Note: I'm not going to install the bumpers permanently until I'm completely done with the hood. I'm noticing little changes in hood position as I center and adjust front hinges, and rear latches.
- Front hinge brackets: adjusted position of hood (forward/aft, left/right, and up/down) with the front hinge brackets to get the hood centered and in-plane with the hood opening/body.
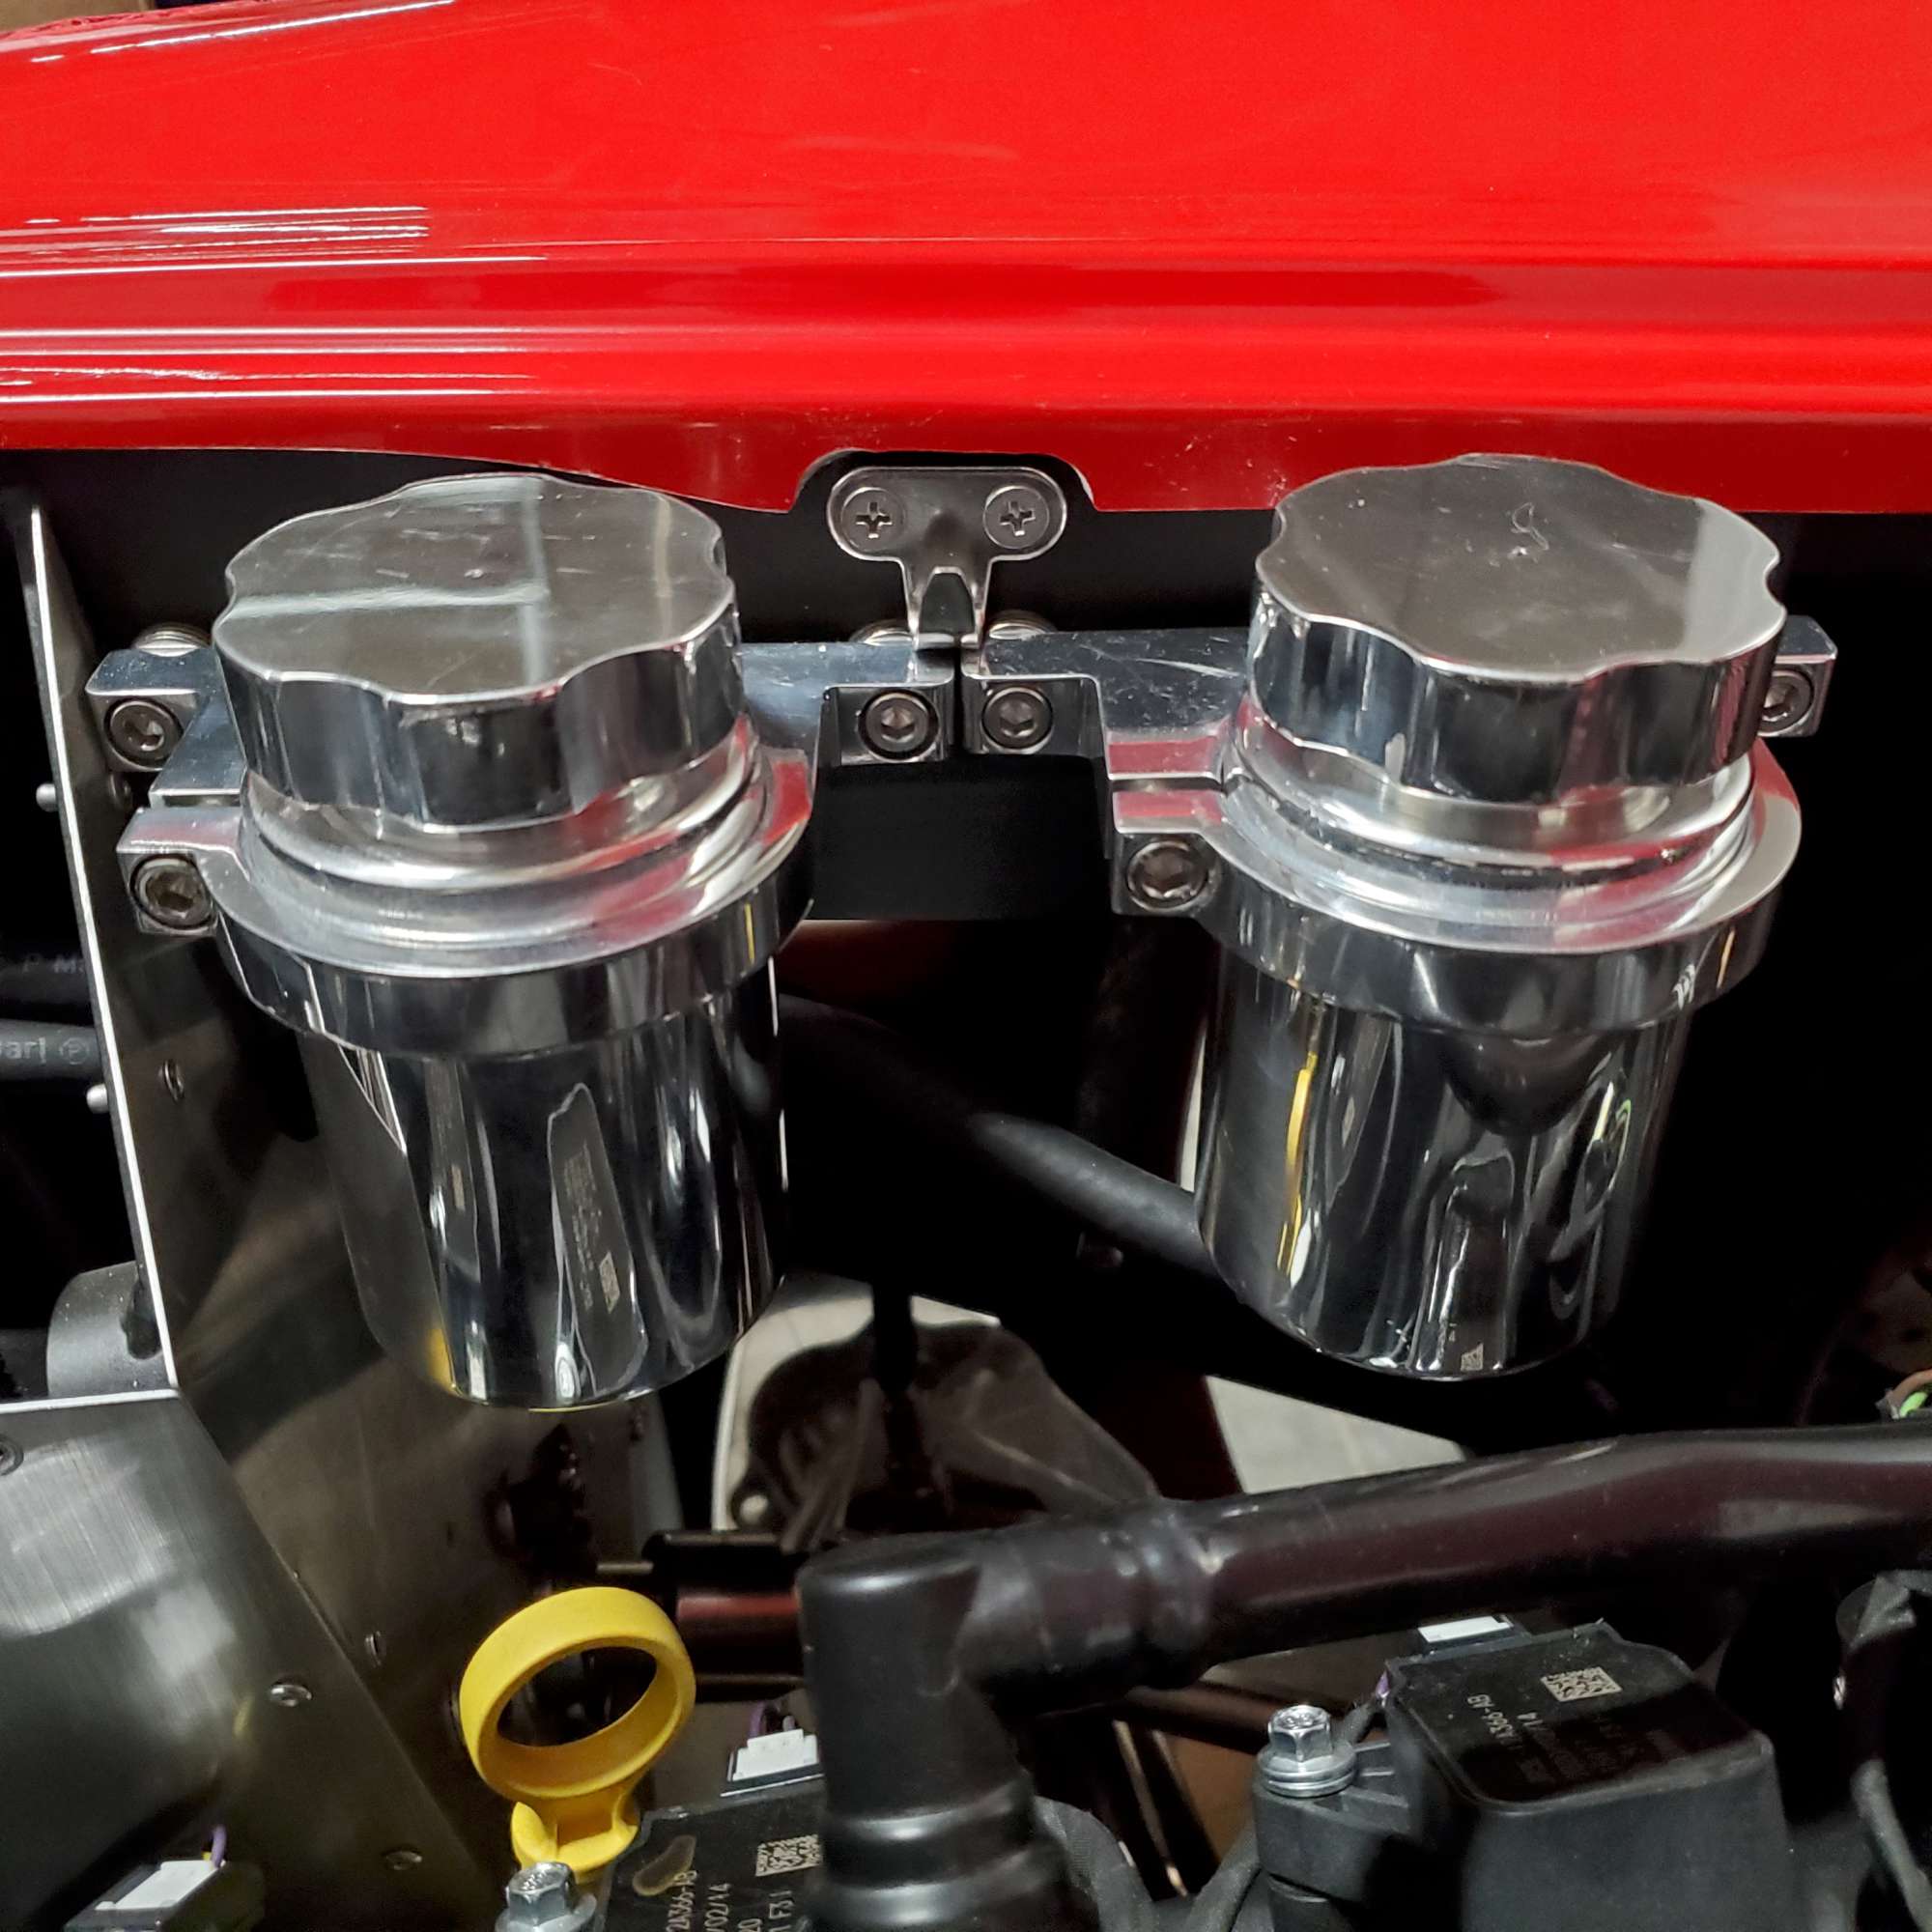
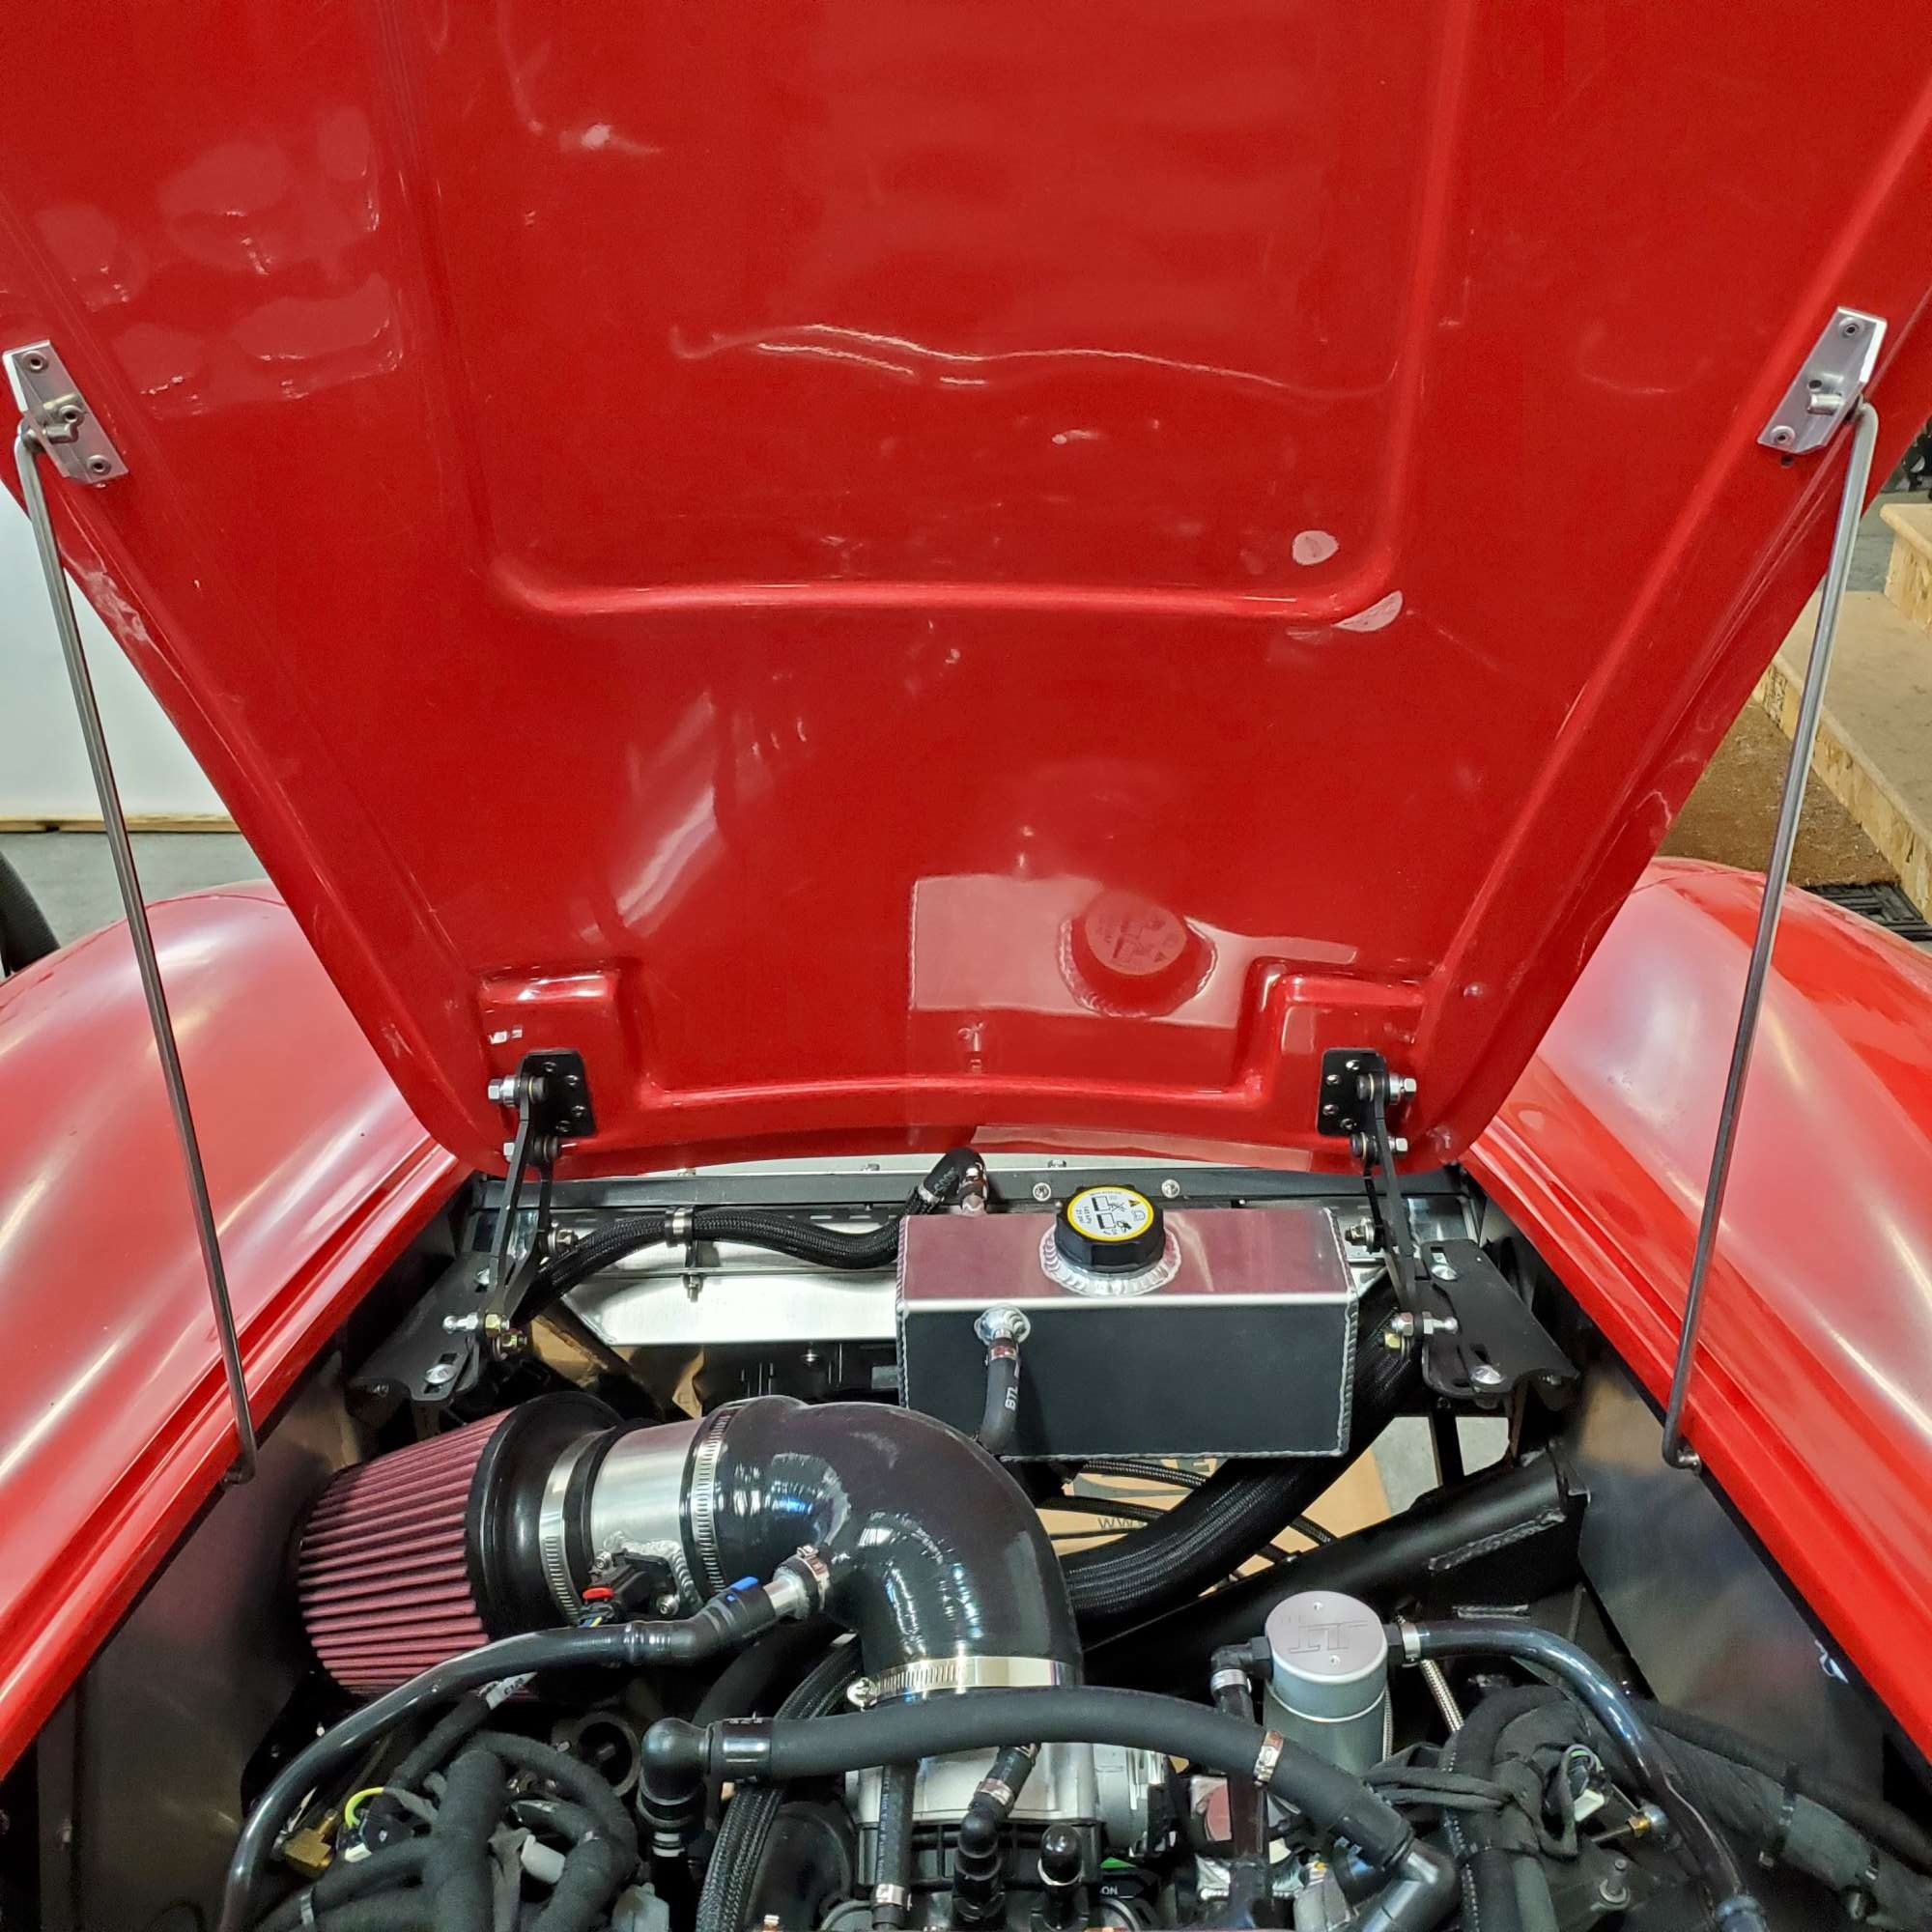
- Prop rods: installed left and right SS prop rods from Breeze. These are 5/16" in diameter. Boy, do they hold the hood solid. I much prefer the look and function of the prop rods to the kit supplied gas struts. However, the DS gave me quite a bit of trouble, because it needs to lay down between the brake reservoirs and 3/4" tube. To make a long story short, I spaced the reservoirs out from the tube, and added a couple spacers to the rod keeper bracket. I also had to grind away a halfmoon shape below the plane of the hood opening. This created a large enough gap for the prop rod to nestle down in between and engage the keeper. See pictures below. Tip: this is probably common sense, but I recommend mocking up the prop rod using the positioning in Mark's instructions to determine best placement for the aluminum brackets on the hood. I didn't, and had to relocate the PS bracket. Now it engages the hood where it naturally wants to be.
Tip from Edwardb to attach bumpers to a block of wood in order to shave them down as needed.
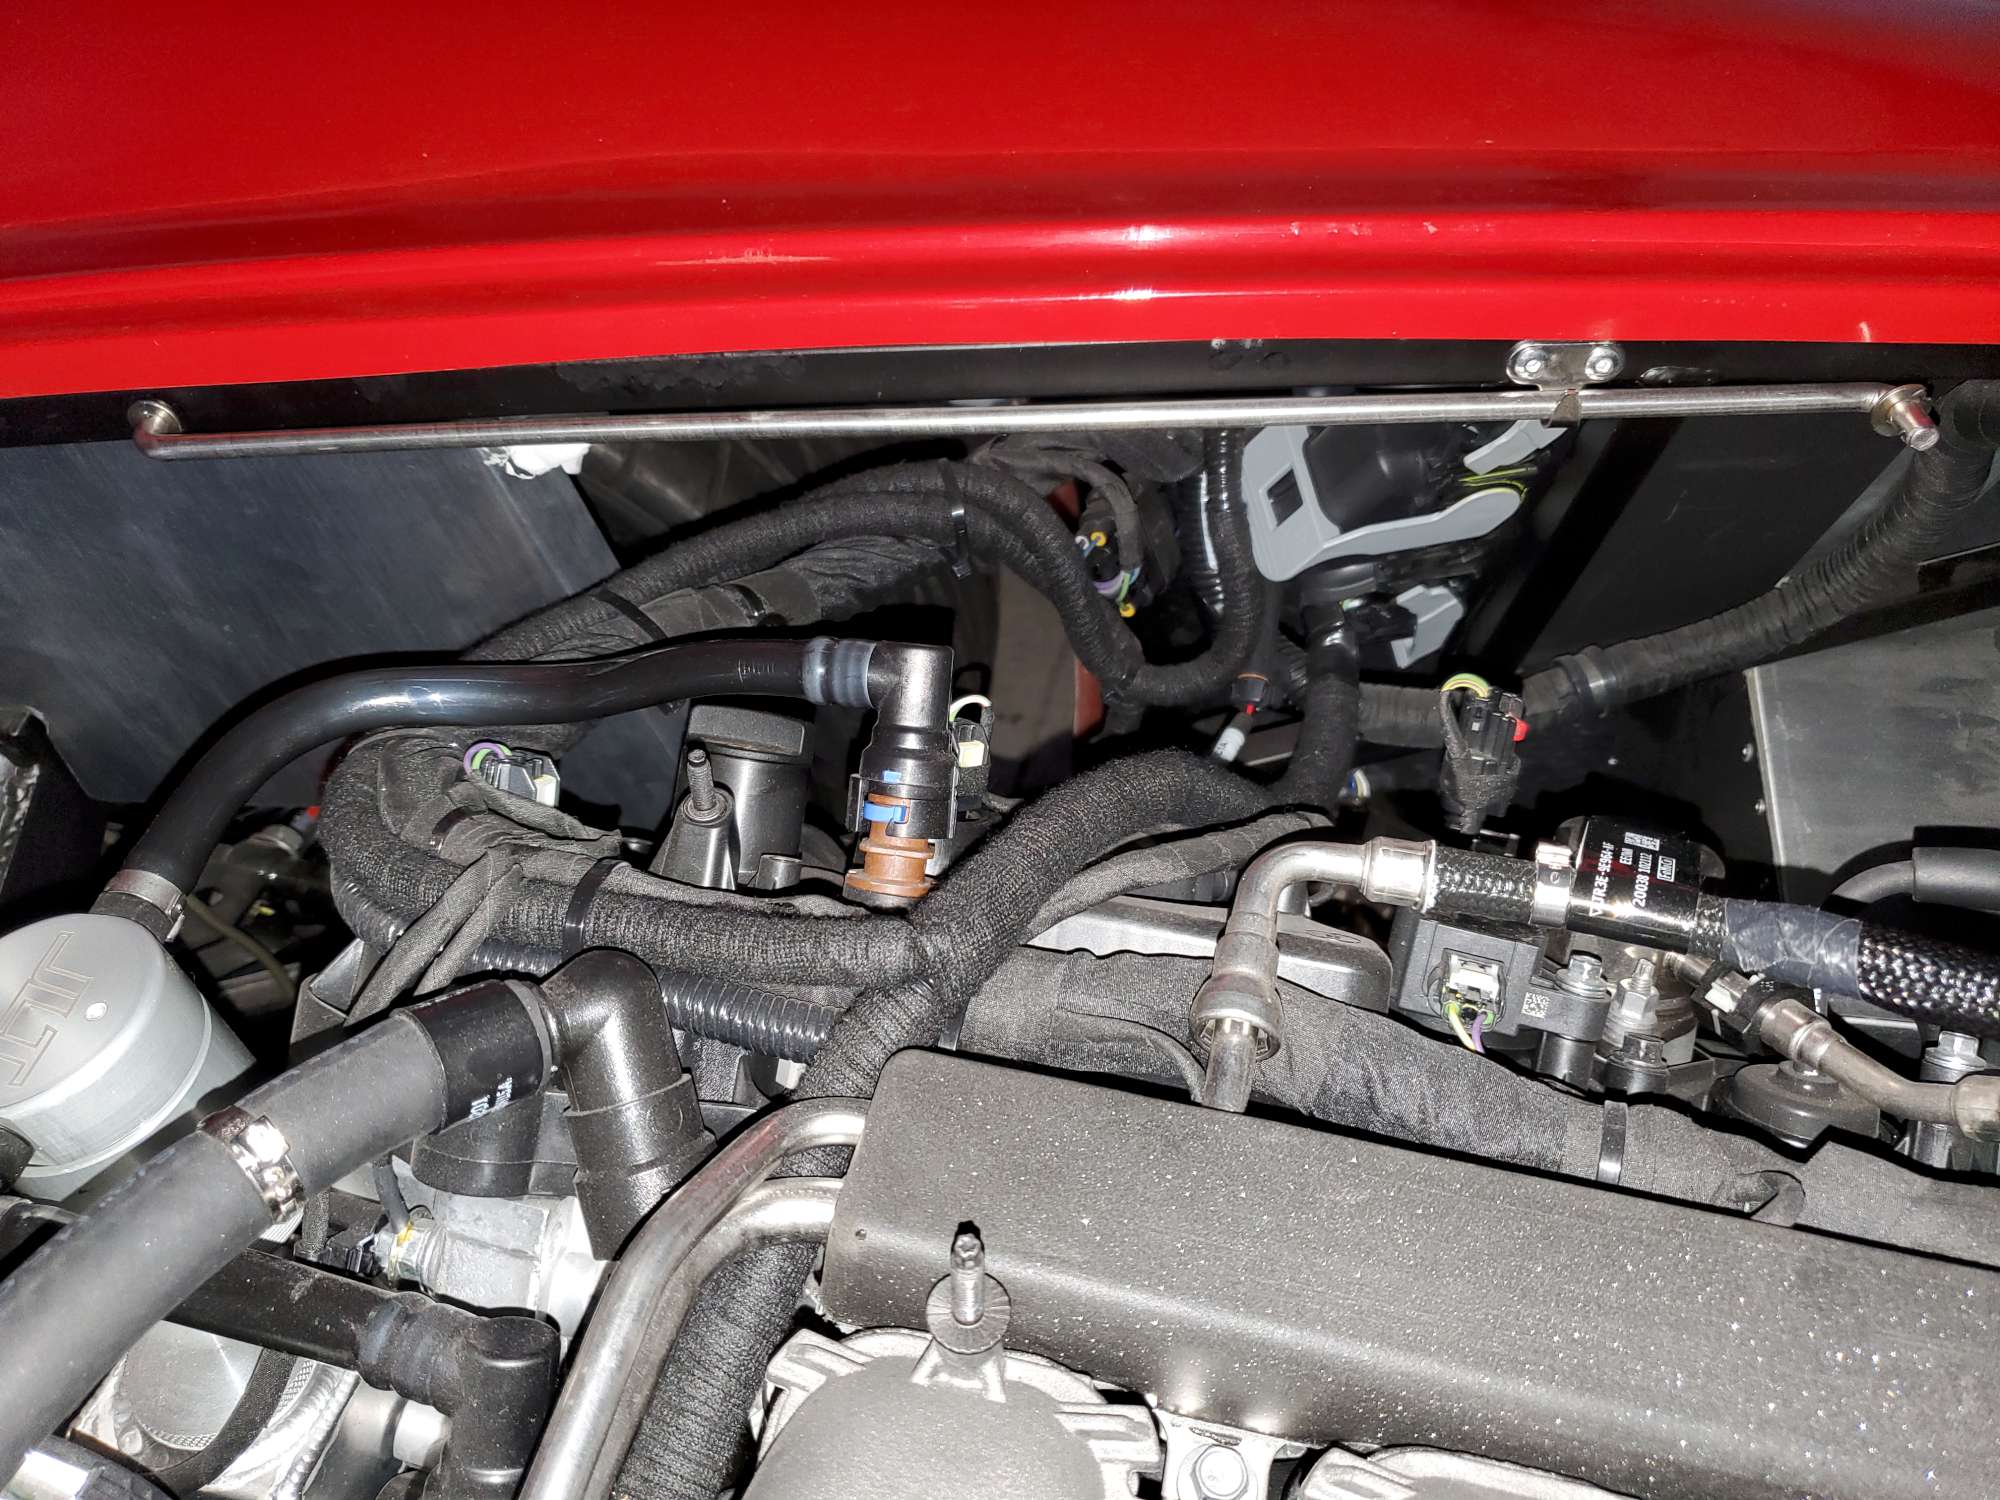
As I described above, I had some work to do to establish a gap between my brake reservoirs and 3/4" tube. Here, the halfmoon shape I ground out is visible just below the plane of the hood opening. It's tight, but fits now without interference.
Top view of the same, but with prop rod in place:

View of the PS prop rod.
Two functioning hood prop rods. It's a good feeling to be able to open, close, and prop the hood in place. With two prop rods, I can lay down the one on the side I'm working, but still support the hood with the rod on the other side. Should be handy for future maintenance.
I'm pretty far along with installing hood latches and hood scoop. Hope to be able to complete these steps soon and have a finished hood.
Happy building.
Last edited by 460.465USMC; 04-06-2023 at 09:07 AM.
Chris
Coupe complete kit delivered: 4/22/24.
Build Thread. Coyote. T-56. IRS w/3.55. Wilwoods. PS. HVAC. Side windows.
MK4 Complete kit.
Build Thread Index. Delivered: 10/15/2020. Legal: 7/25/23. Coyote Gen3. TKO600 (0.64 OD). IRS w/3.55. PS. Wilwoods. Sway bars. This build is dedicated to my son, Benjamin.
Build Thread.
-
Post Thanks / Like - 0 Thanks, 2 Likes


 Thanks:
  Likes:


 Reply With Quote
