-


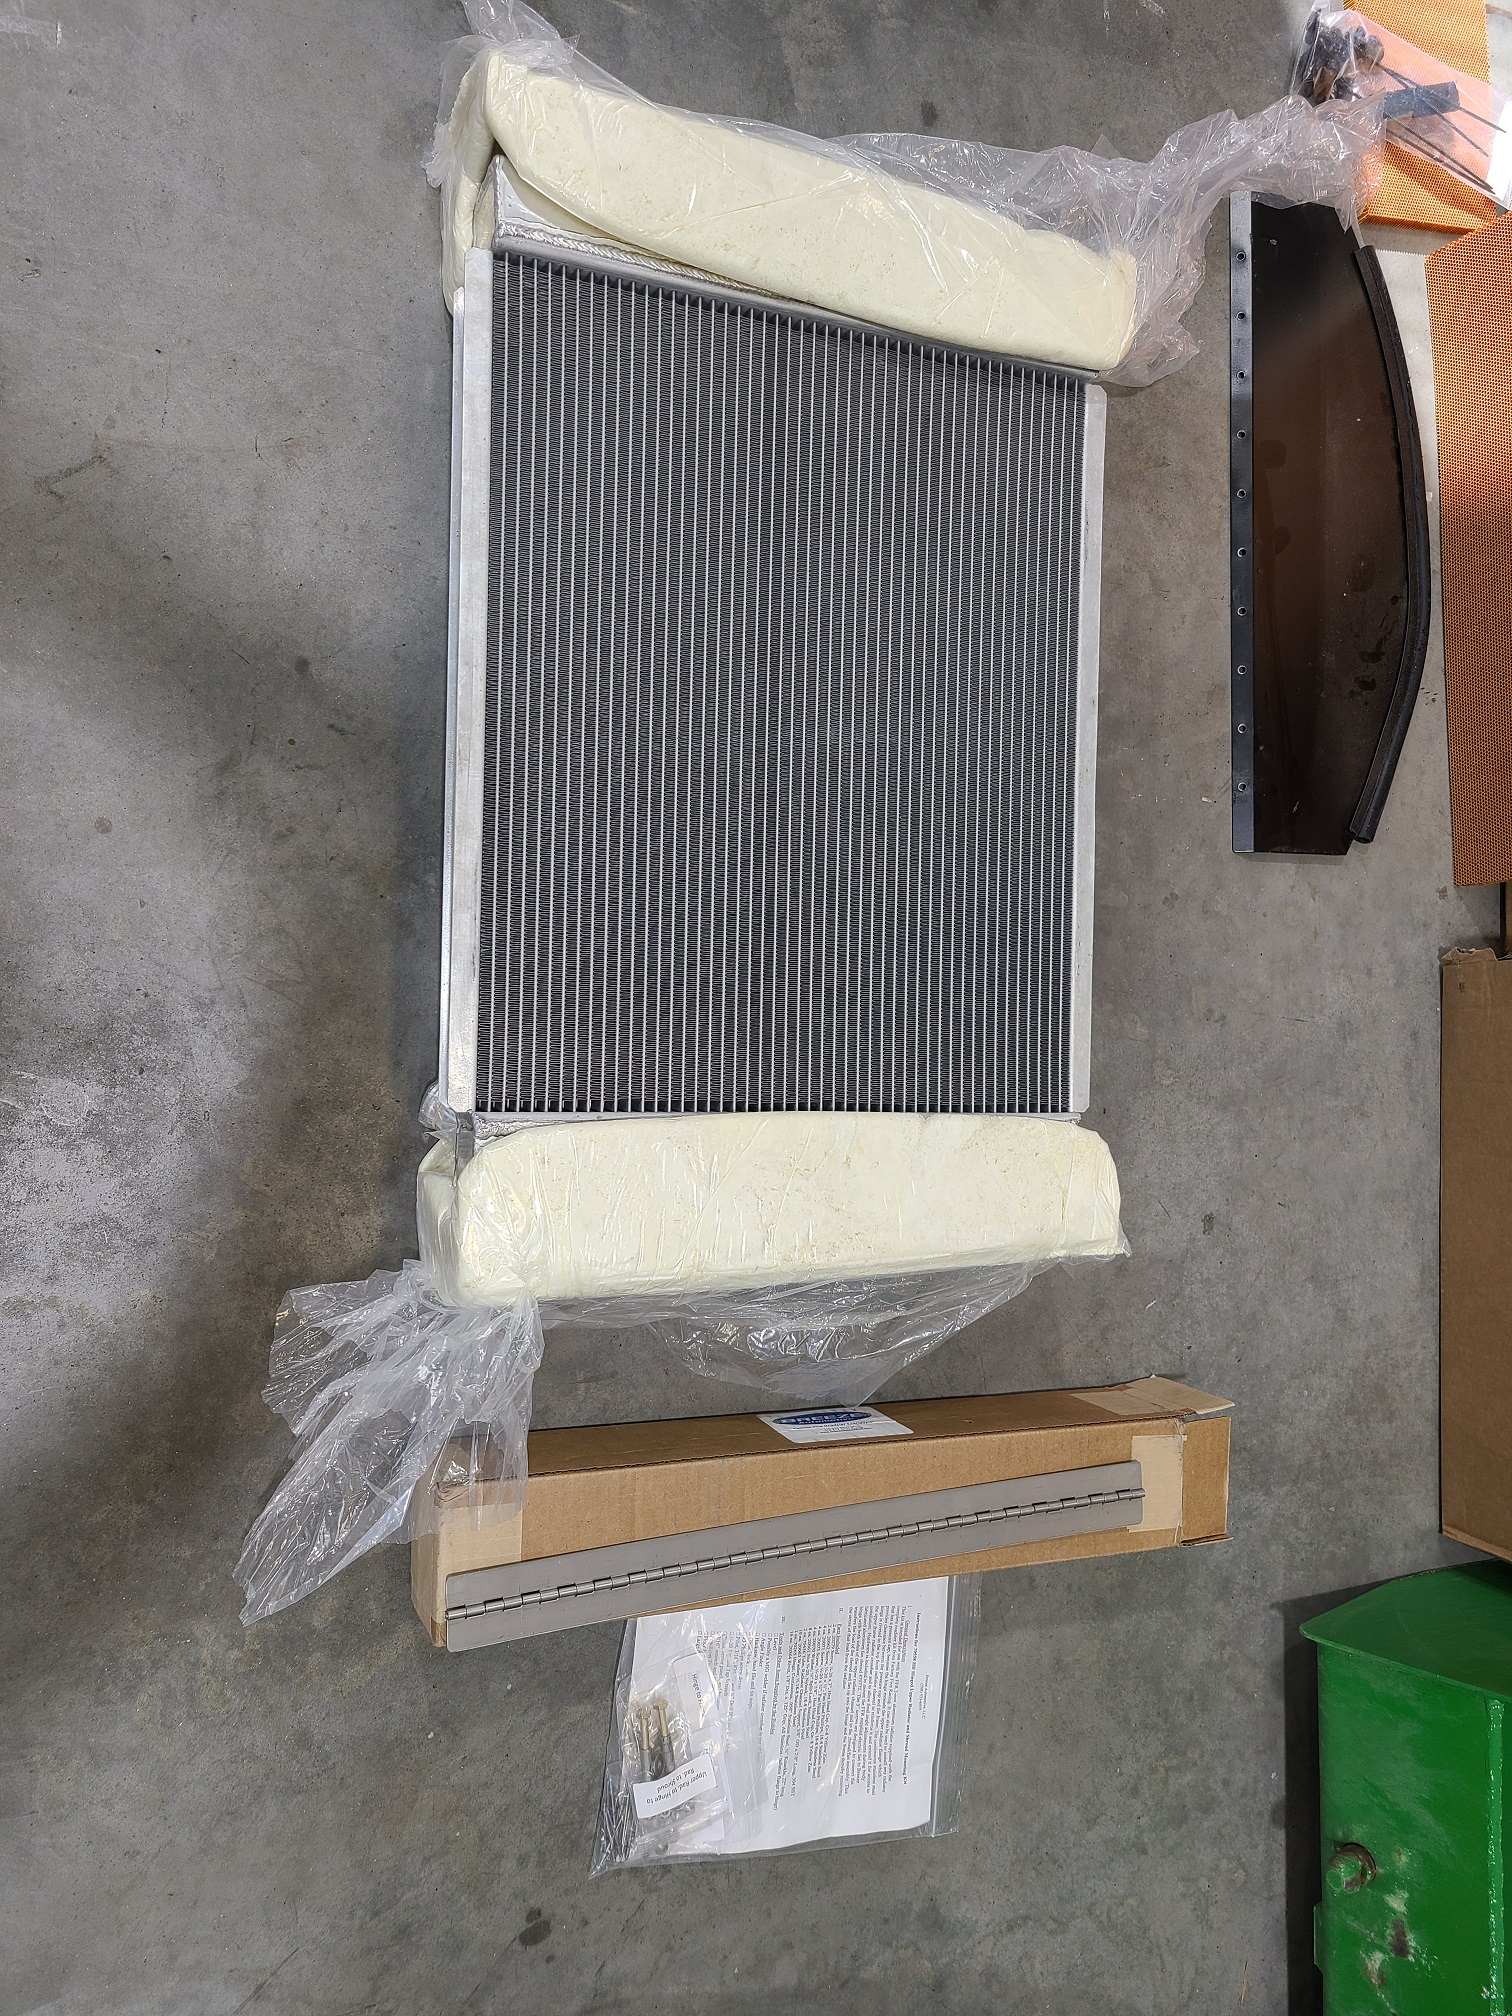
Today was a very long and tiring day. I did the radiator replacement with the new Breeze radiator top mount. I already had the lower mount, shroud, and cowl piece.
First I had to get the old radiator out of the car. Not too bad a job with the lift. Once I had it out, I removed the fan and the shroud. At this point, the area of the leak was obvious.
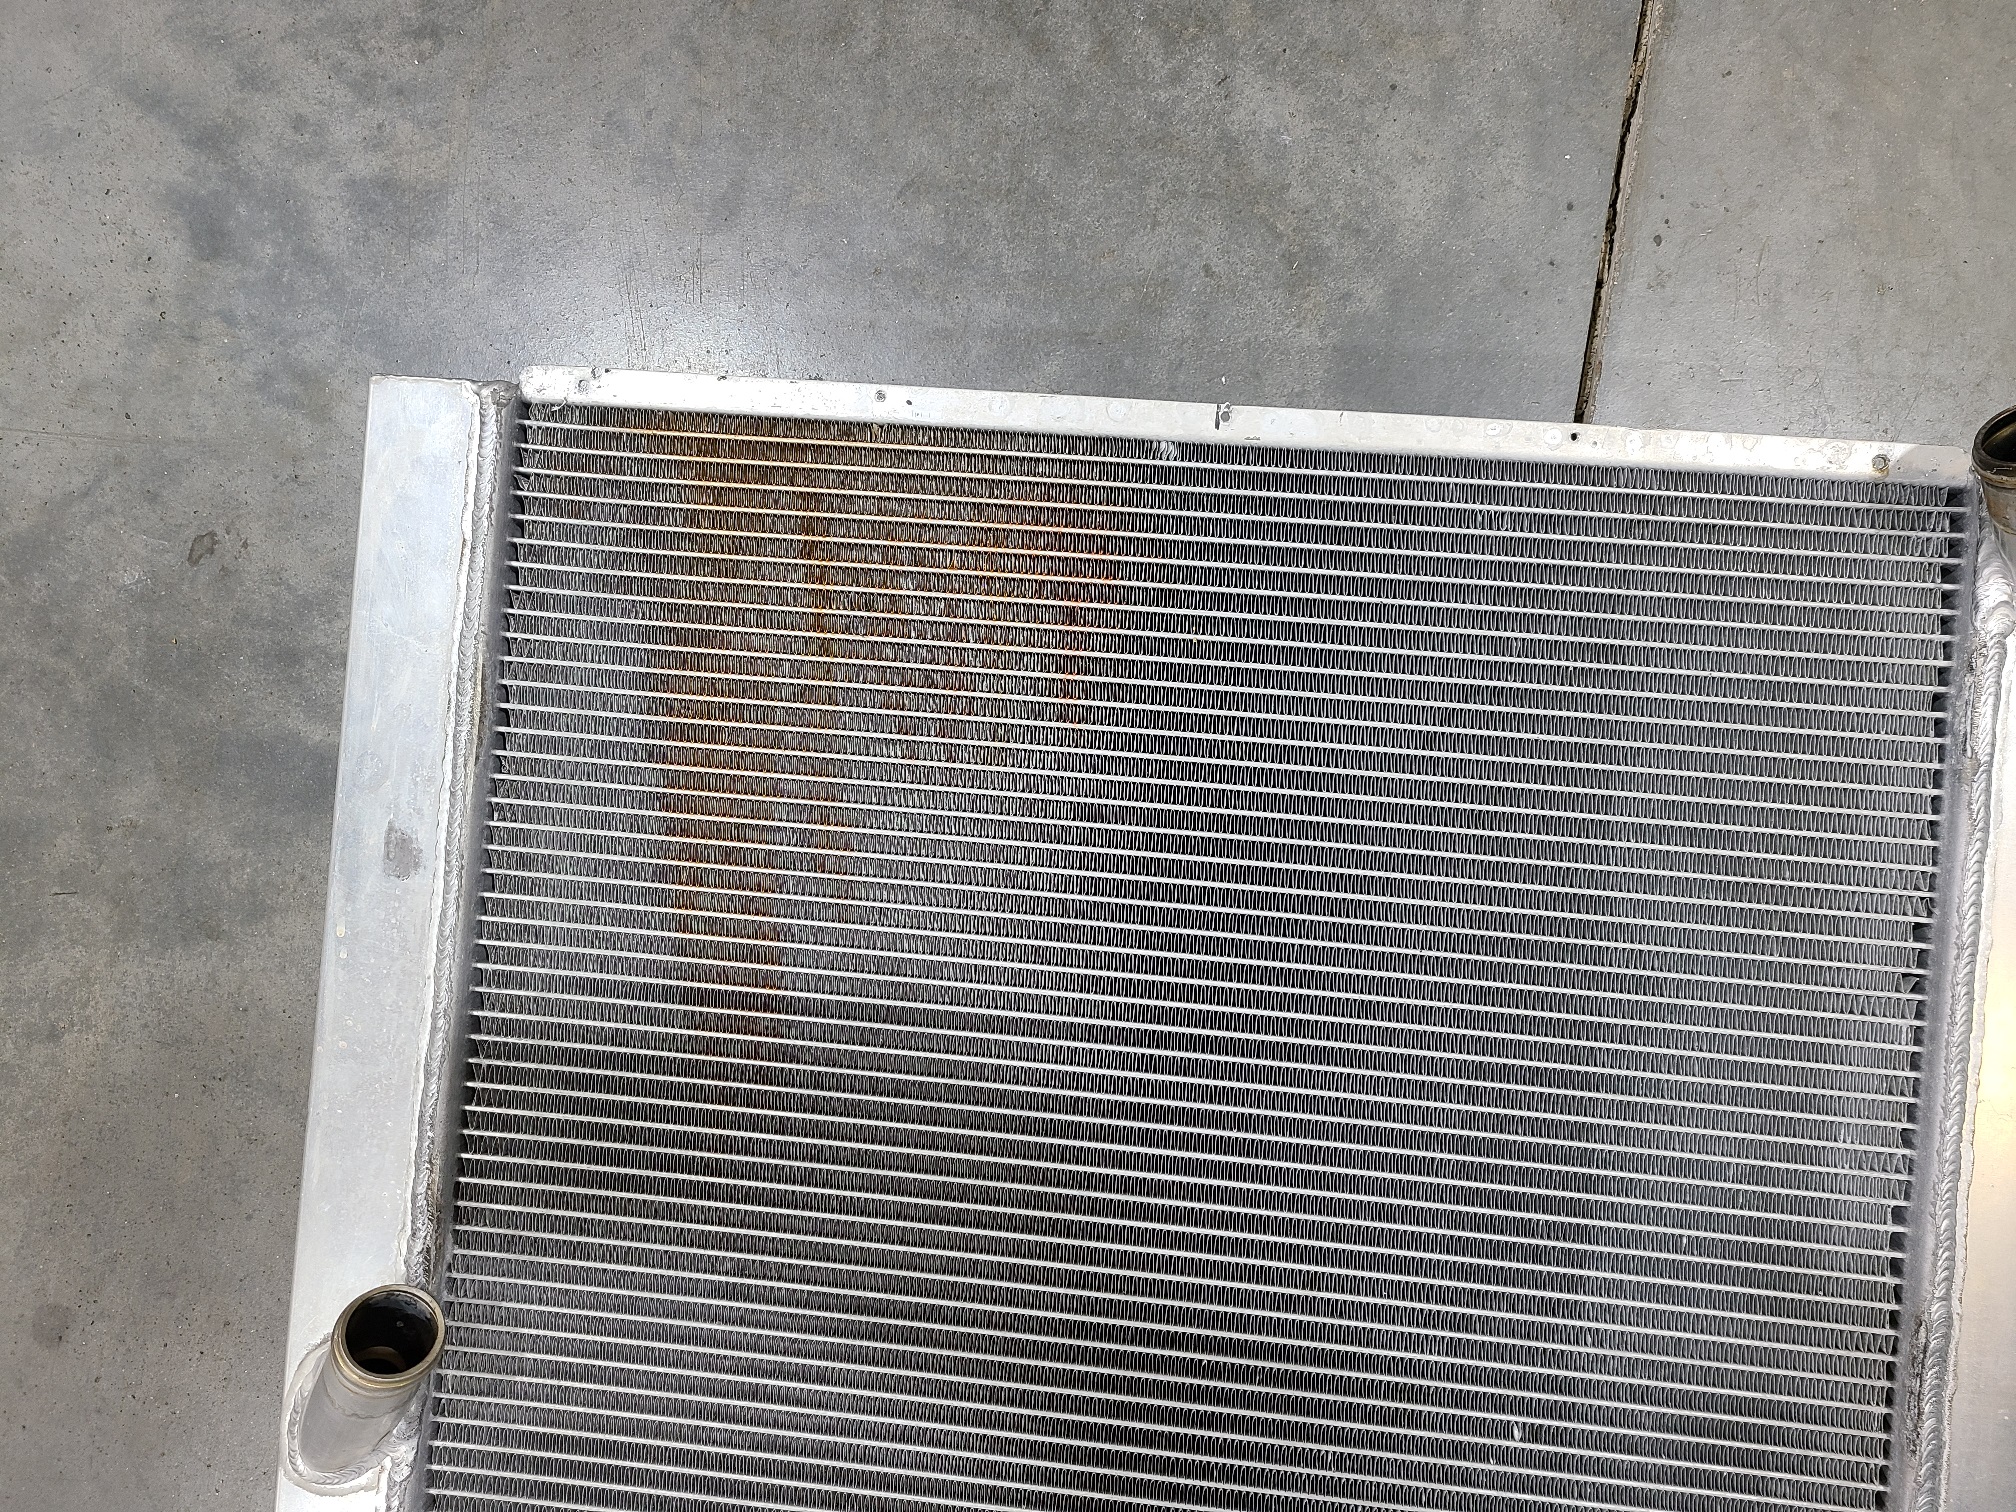
I'll take it in to see if it can be repaired at a reasonable price. That way, I'll have a spare if I ever need one. Next was prepping the new radiator with the top hinge and using all the new hardware in the kit to mount the fan and shroud. Much better than what I'd used on the first installation.
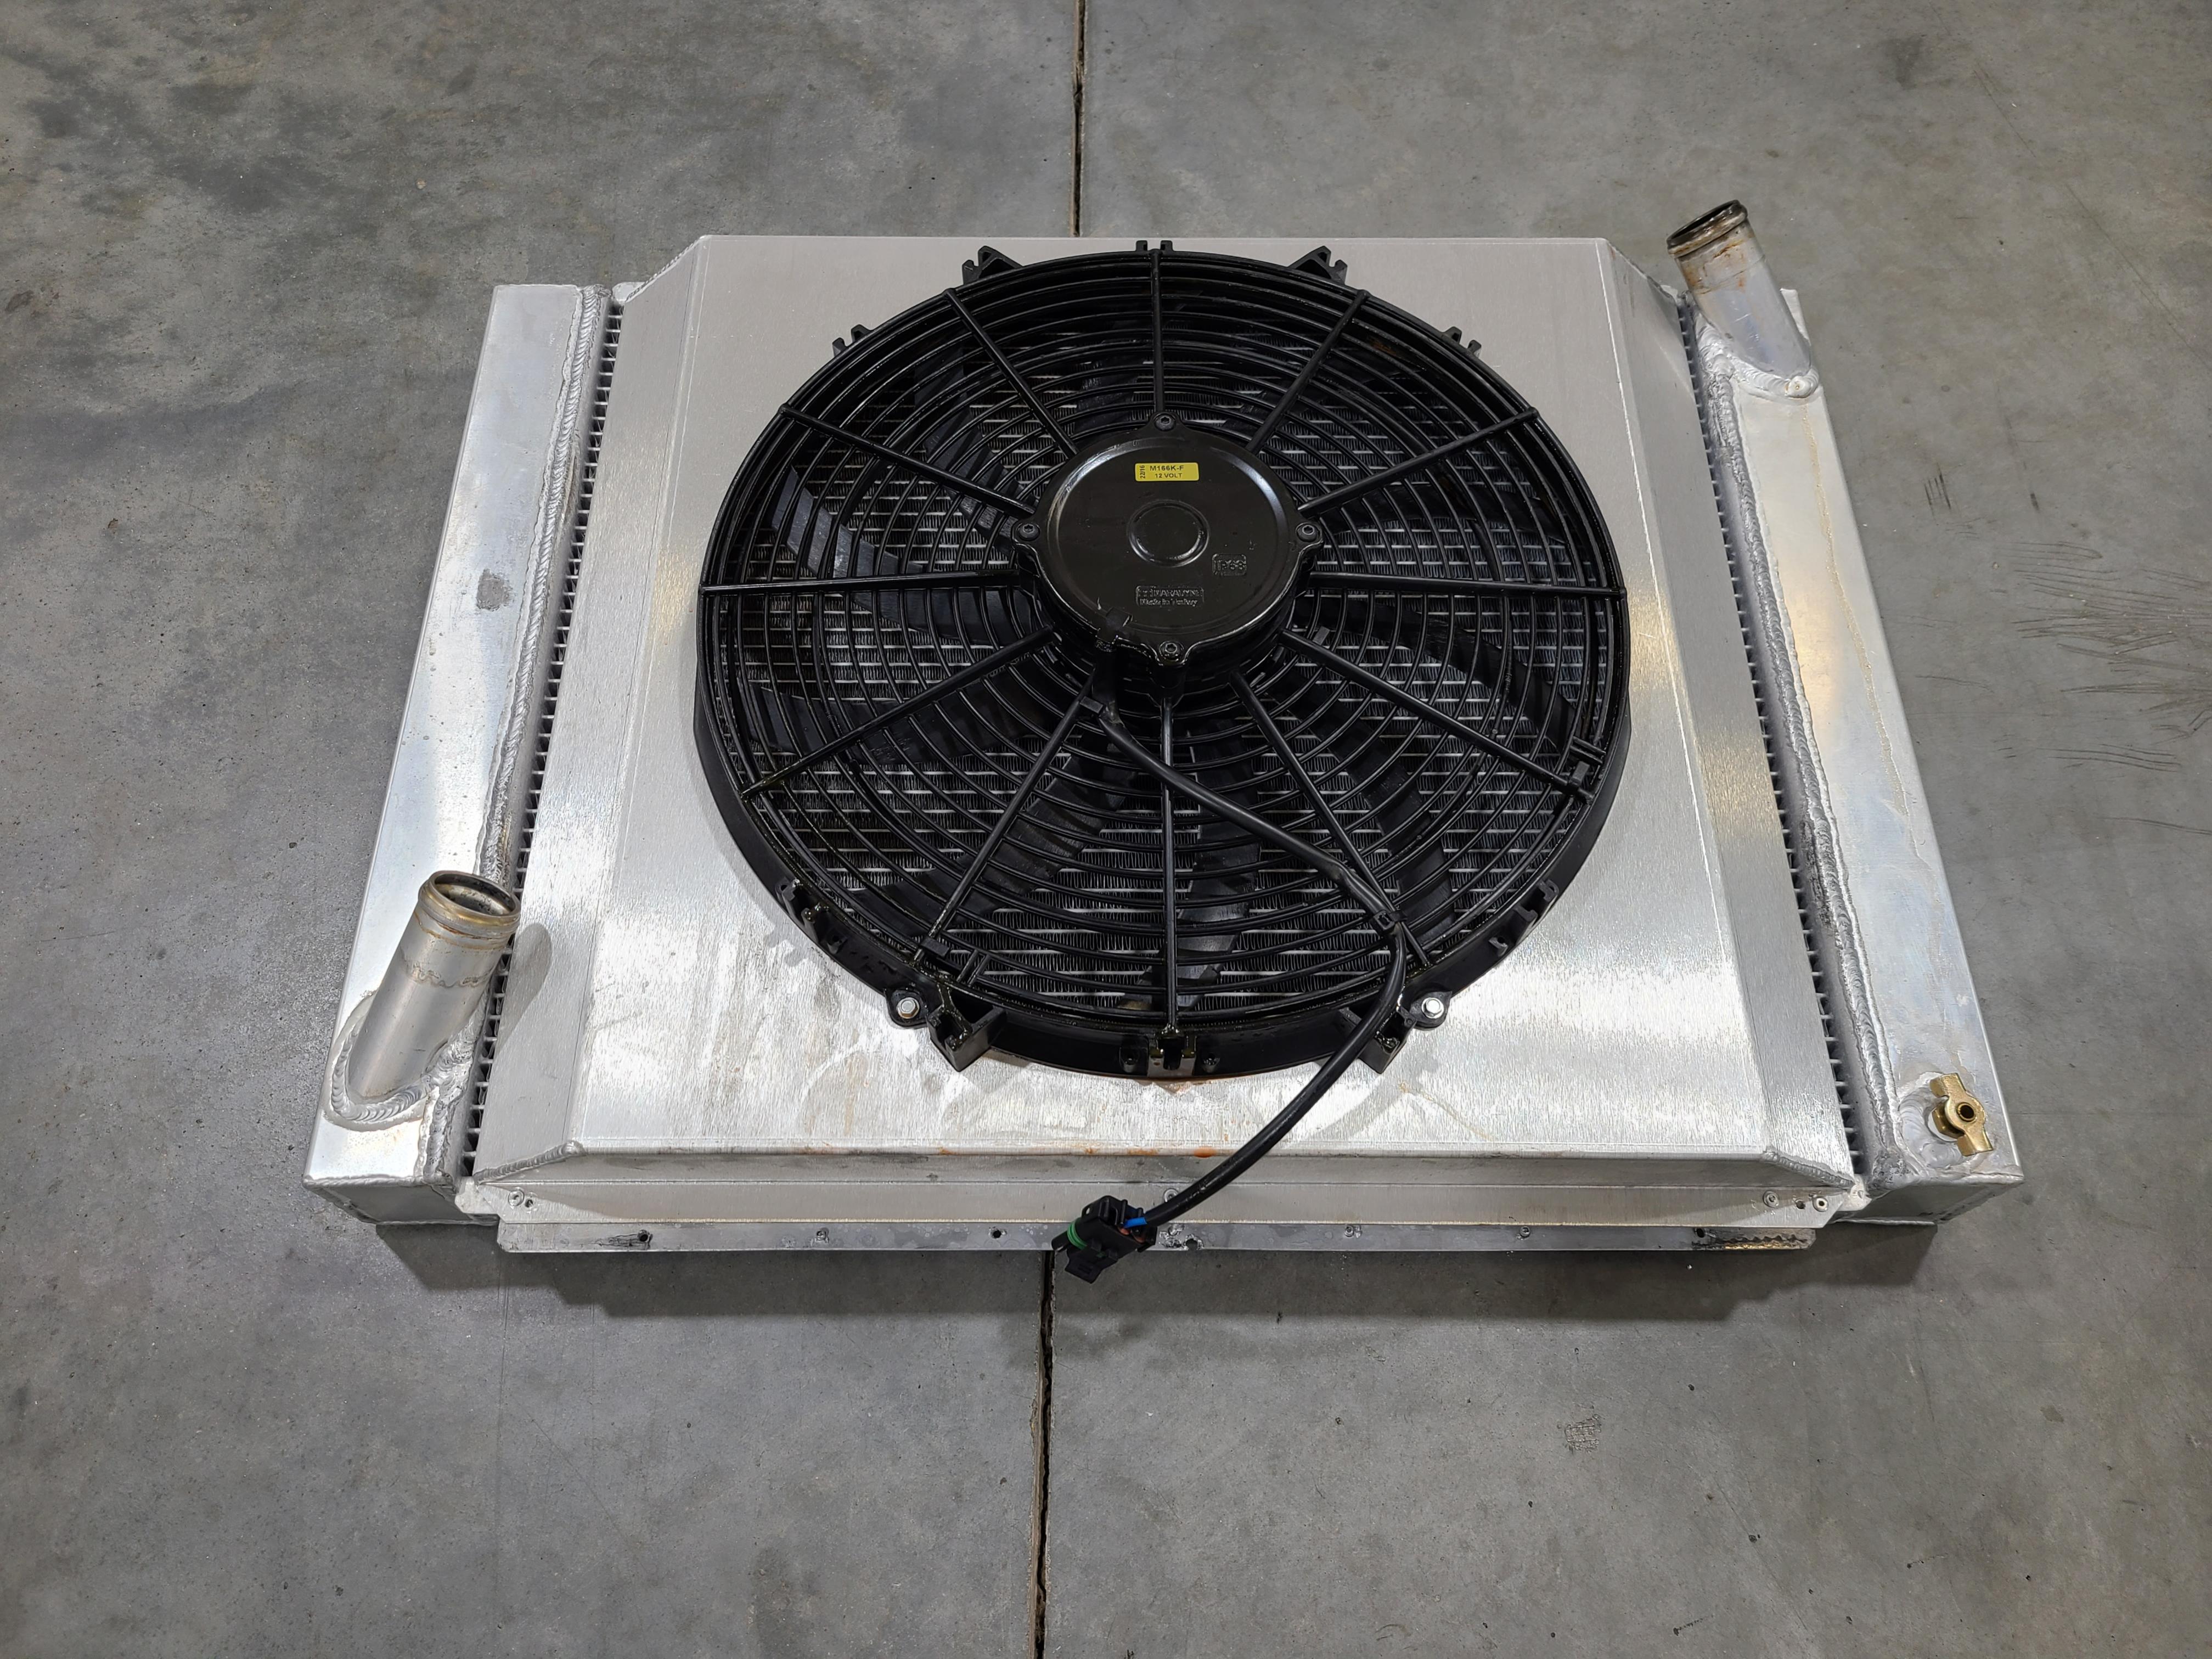
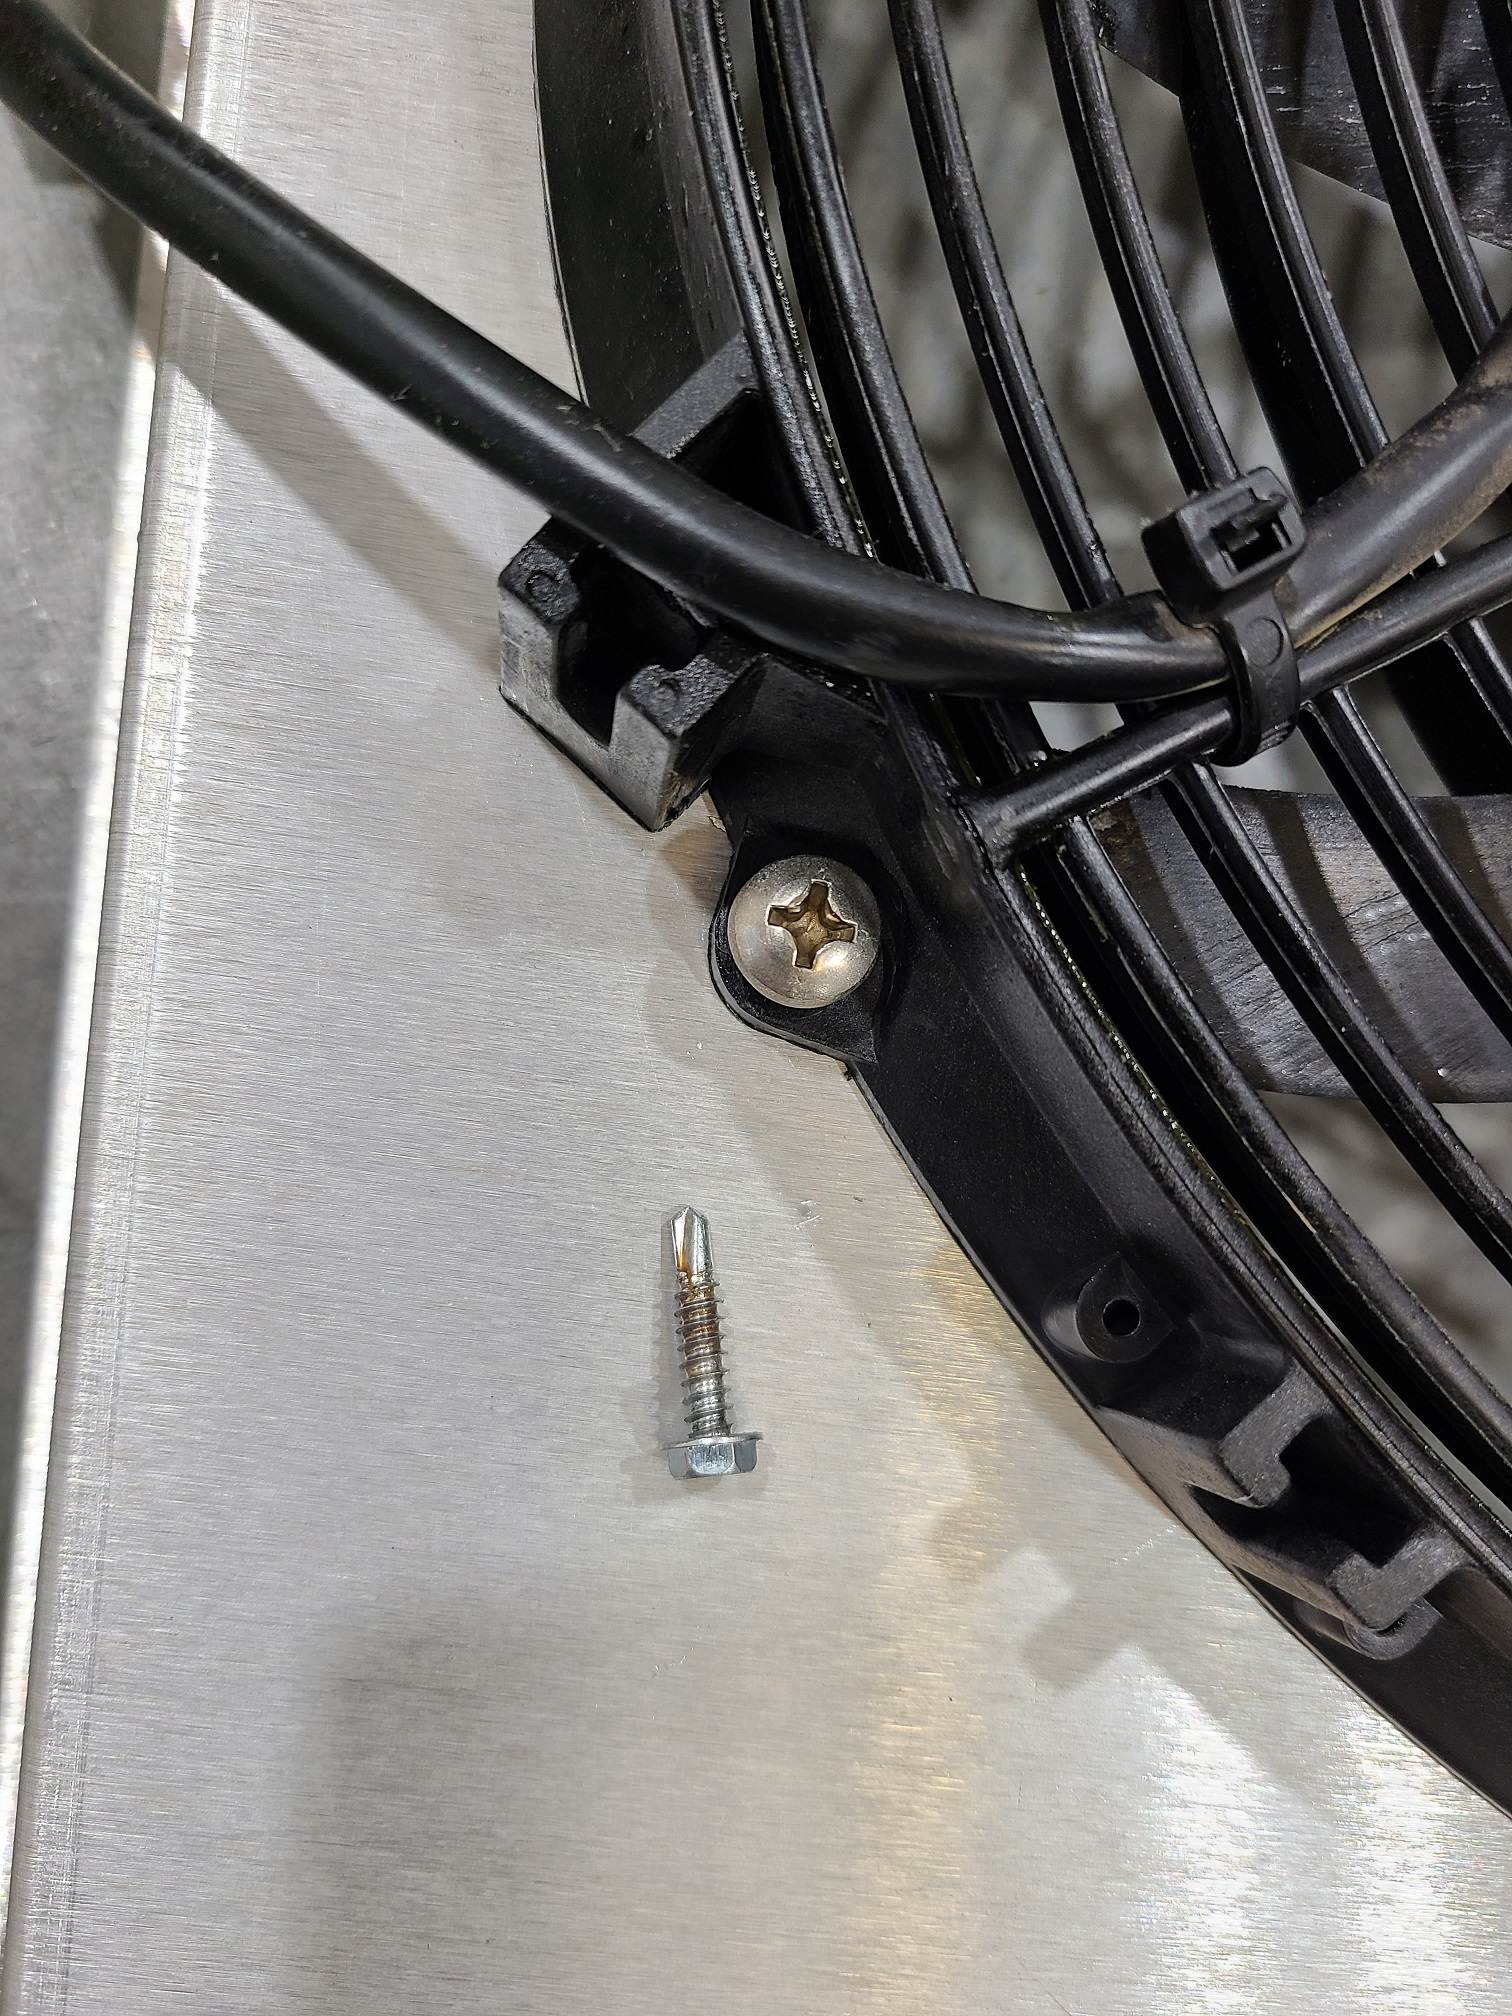
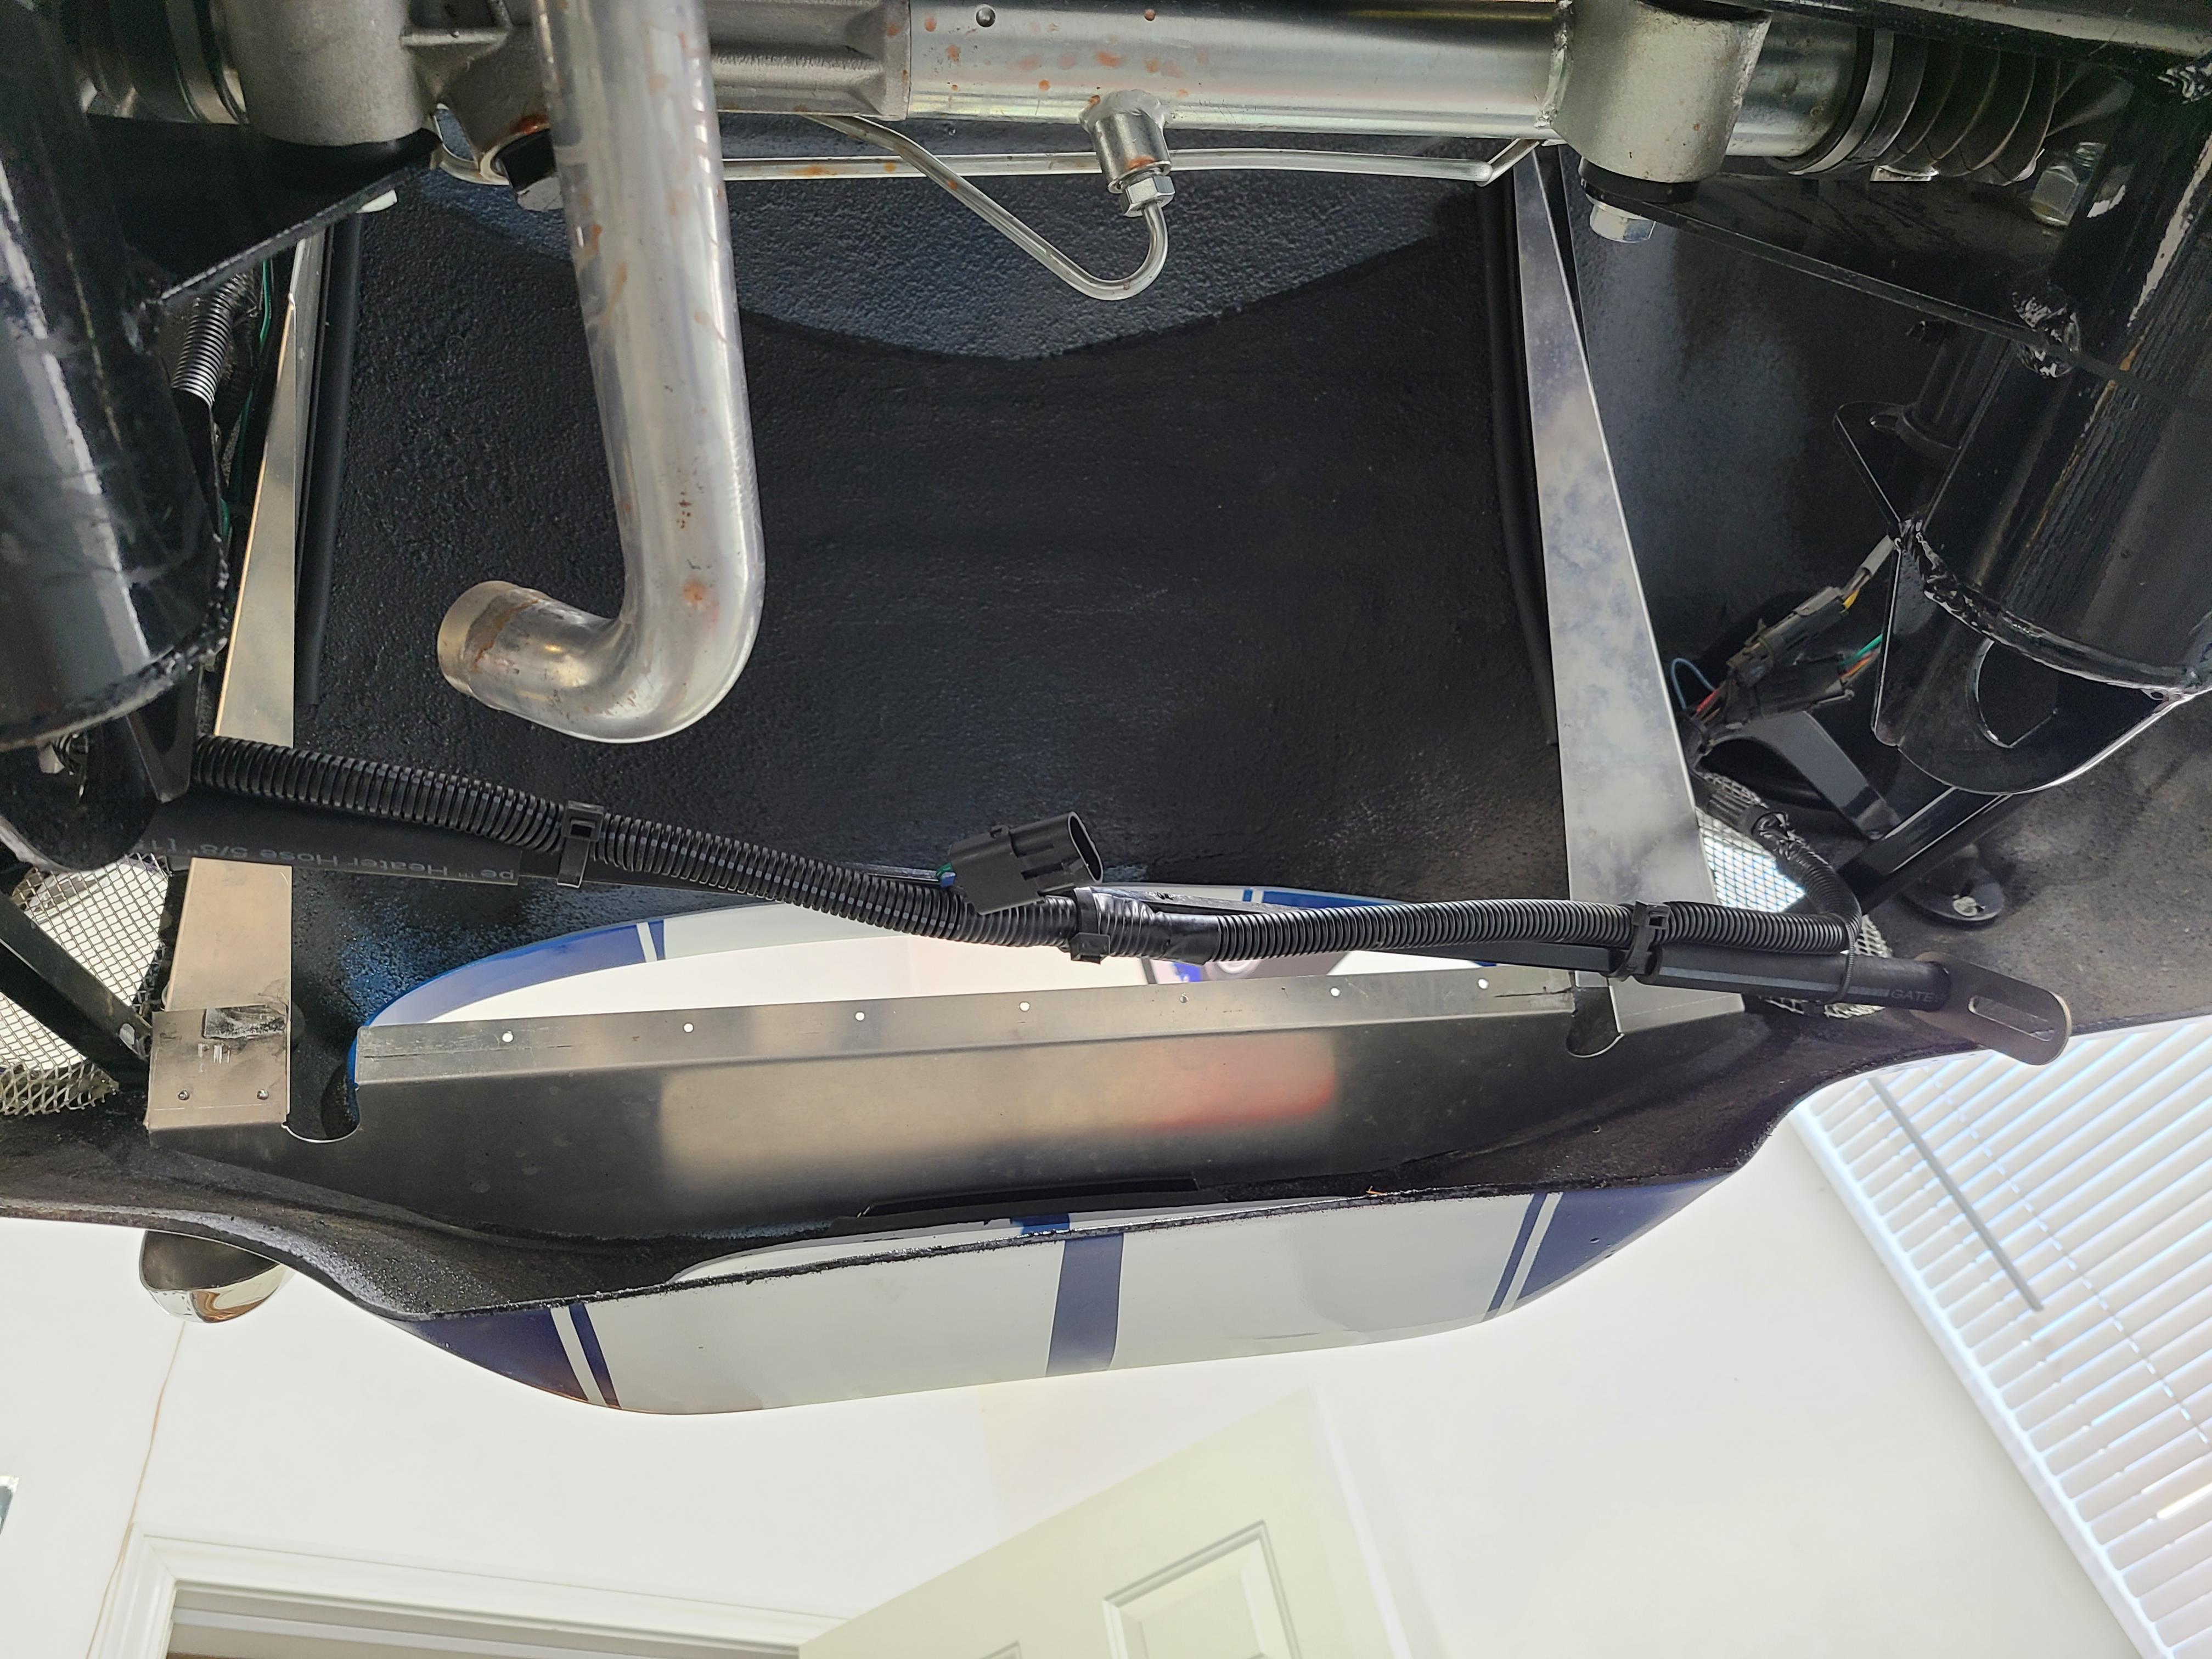
Next was the worst part of the install. I had to remove the two small sections of the 3/4" tubing. I covered the car with old blankets to protect the paint from the sparks and used a cutoff tool and a grinder to remove the unwanted pieces. I then cleaned up the area and rattle canned some gloss black paint. This would have been so much easier without the body on the car. If anyone reading this is debating using the Breeze setup for the top mount, do it before the car is done!!!
Now it was time for the install. With my wife's help, we got the new radiator positioned and clamped in place at the top. I was then able to reset the lower mount. In addition to the new hardware, I installed the NOMEX honeycomb that I never installed during my build, but had sitting in a box still. Some satin black paint and in it went. I then re-drilled and riveted the lower radiator aluminum back in place. Last, I drilled and tapped the 3/4" tube for the top bolts. It was tight, but I had just enough room to get my small pneumatic drill in the opening at the front of the hood to drill the tubing and then tap from the top and the bottom. Three of the four bolts actually went in as they should. The last one didn't line up. I'll need to fix that with a longer bolt at some point.
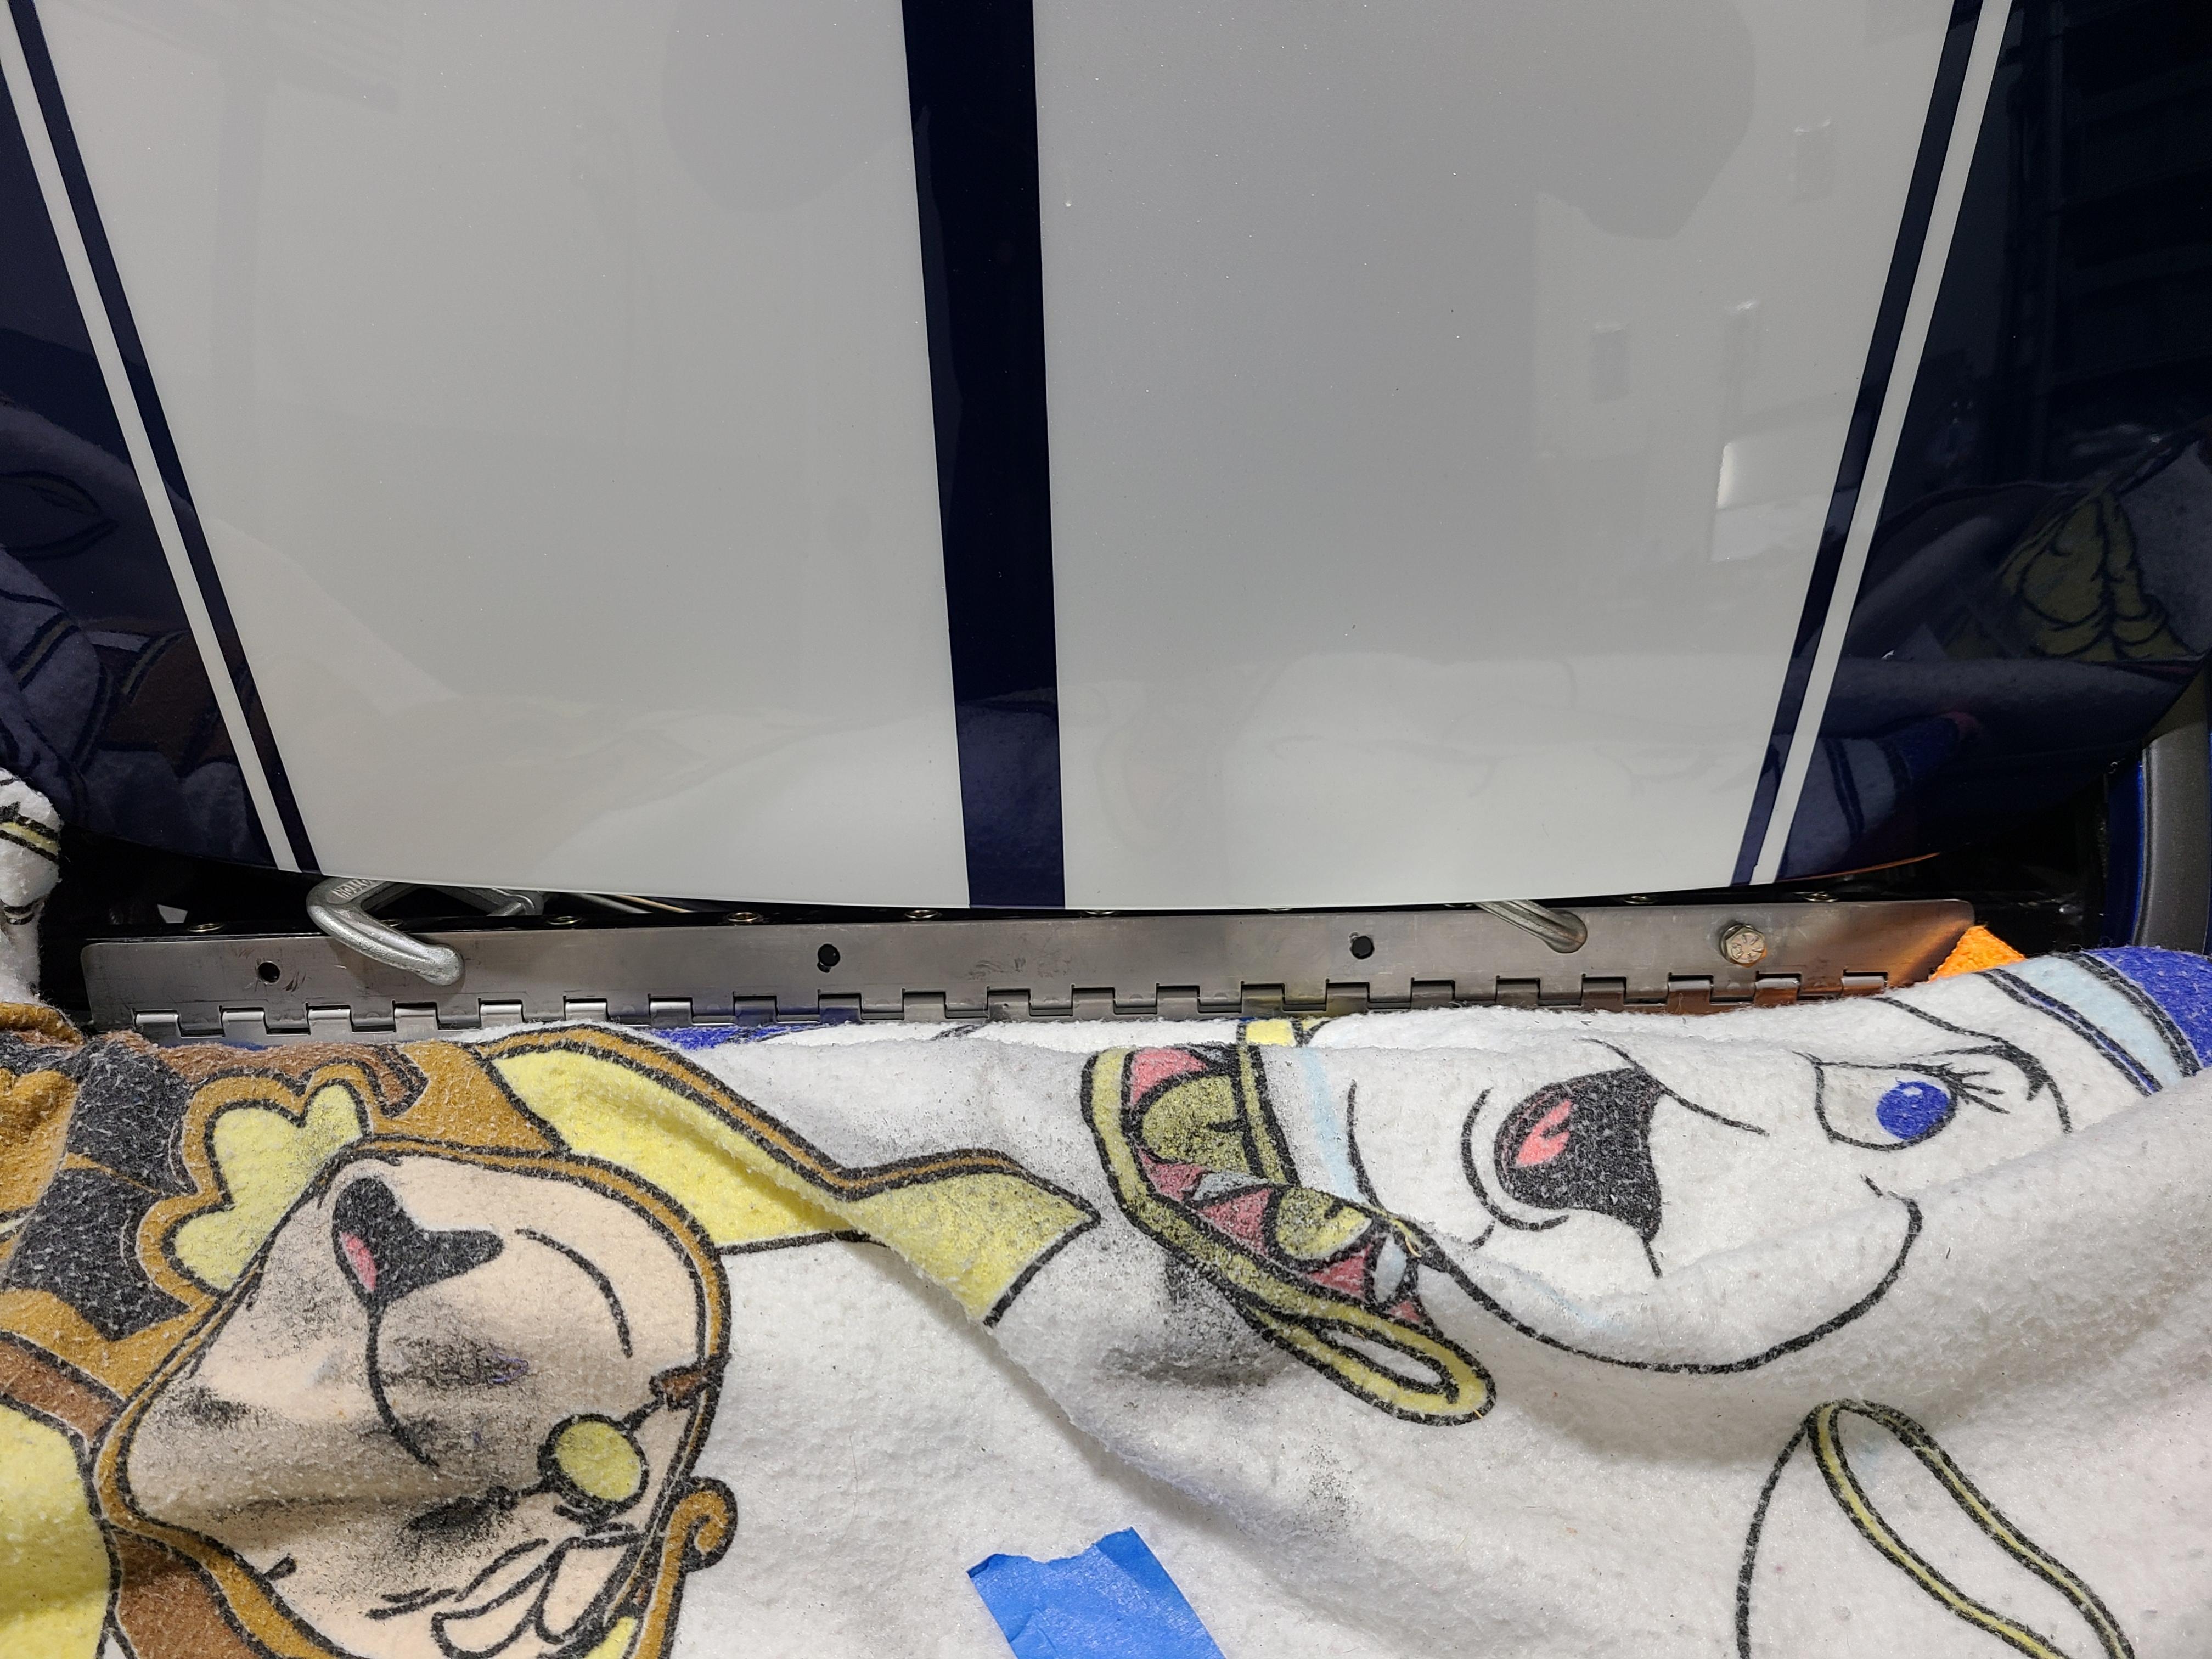
After reconnecting all the Boig tubes, I filled it with fresh coolant and started the car -- no leaks! Once the roads are clear and dry again, I'll do a road test. If everything checks out, I'll get in touch with the tuner and see if we can get this thing running like it should.
Last edited by Papa; 01-03-2022 at 10:11 AM.
-
Post Thanks / Like - 1 Thanks, 0 Likes


 Thanks:
  Likes:


 Reply With Quote