-
Thanks to everyone for the recommendations. I went ahead and flipped the shocks over and there is a lot more clearance as expected.

My OCD got in the way while I was doing the flip and I pulled the springs off and flipped them over so that the "Factory Five" markings were in the proper orientation.

Last edited by Papa; 04-22-2018 at 12:31 PM.
-
Post Thanks / Like - 0 Thanks, 1 Likes
-
-
Evidently Photobucket doesn't want me to use their service to provide "third party" links without a $399.00/year subscription! I switched to another service and re-posted my photo links in this thread.
-
-

Steve >> aka: GoDadGo


Originally Posted by
Papa

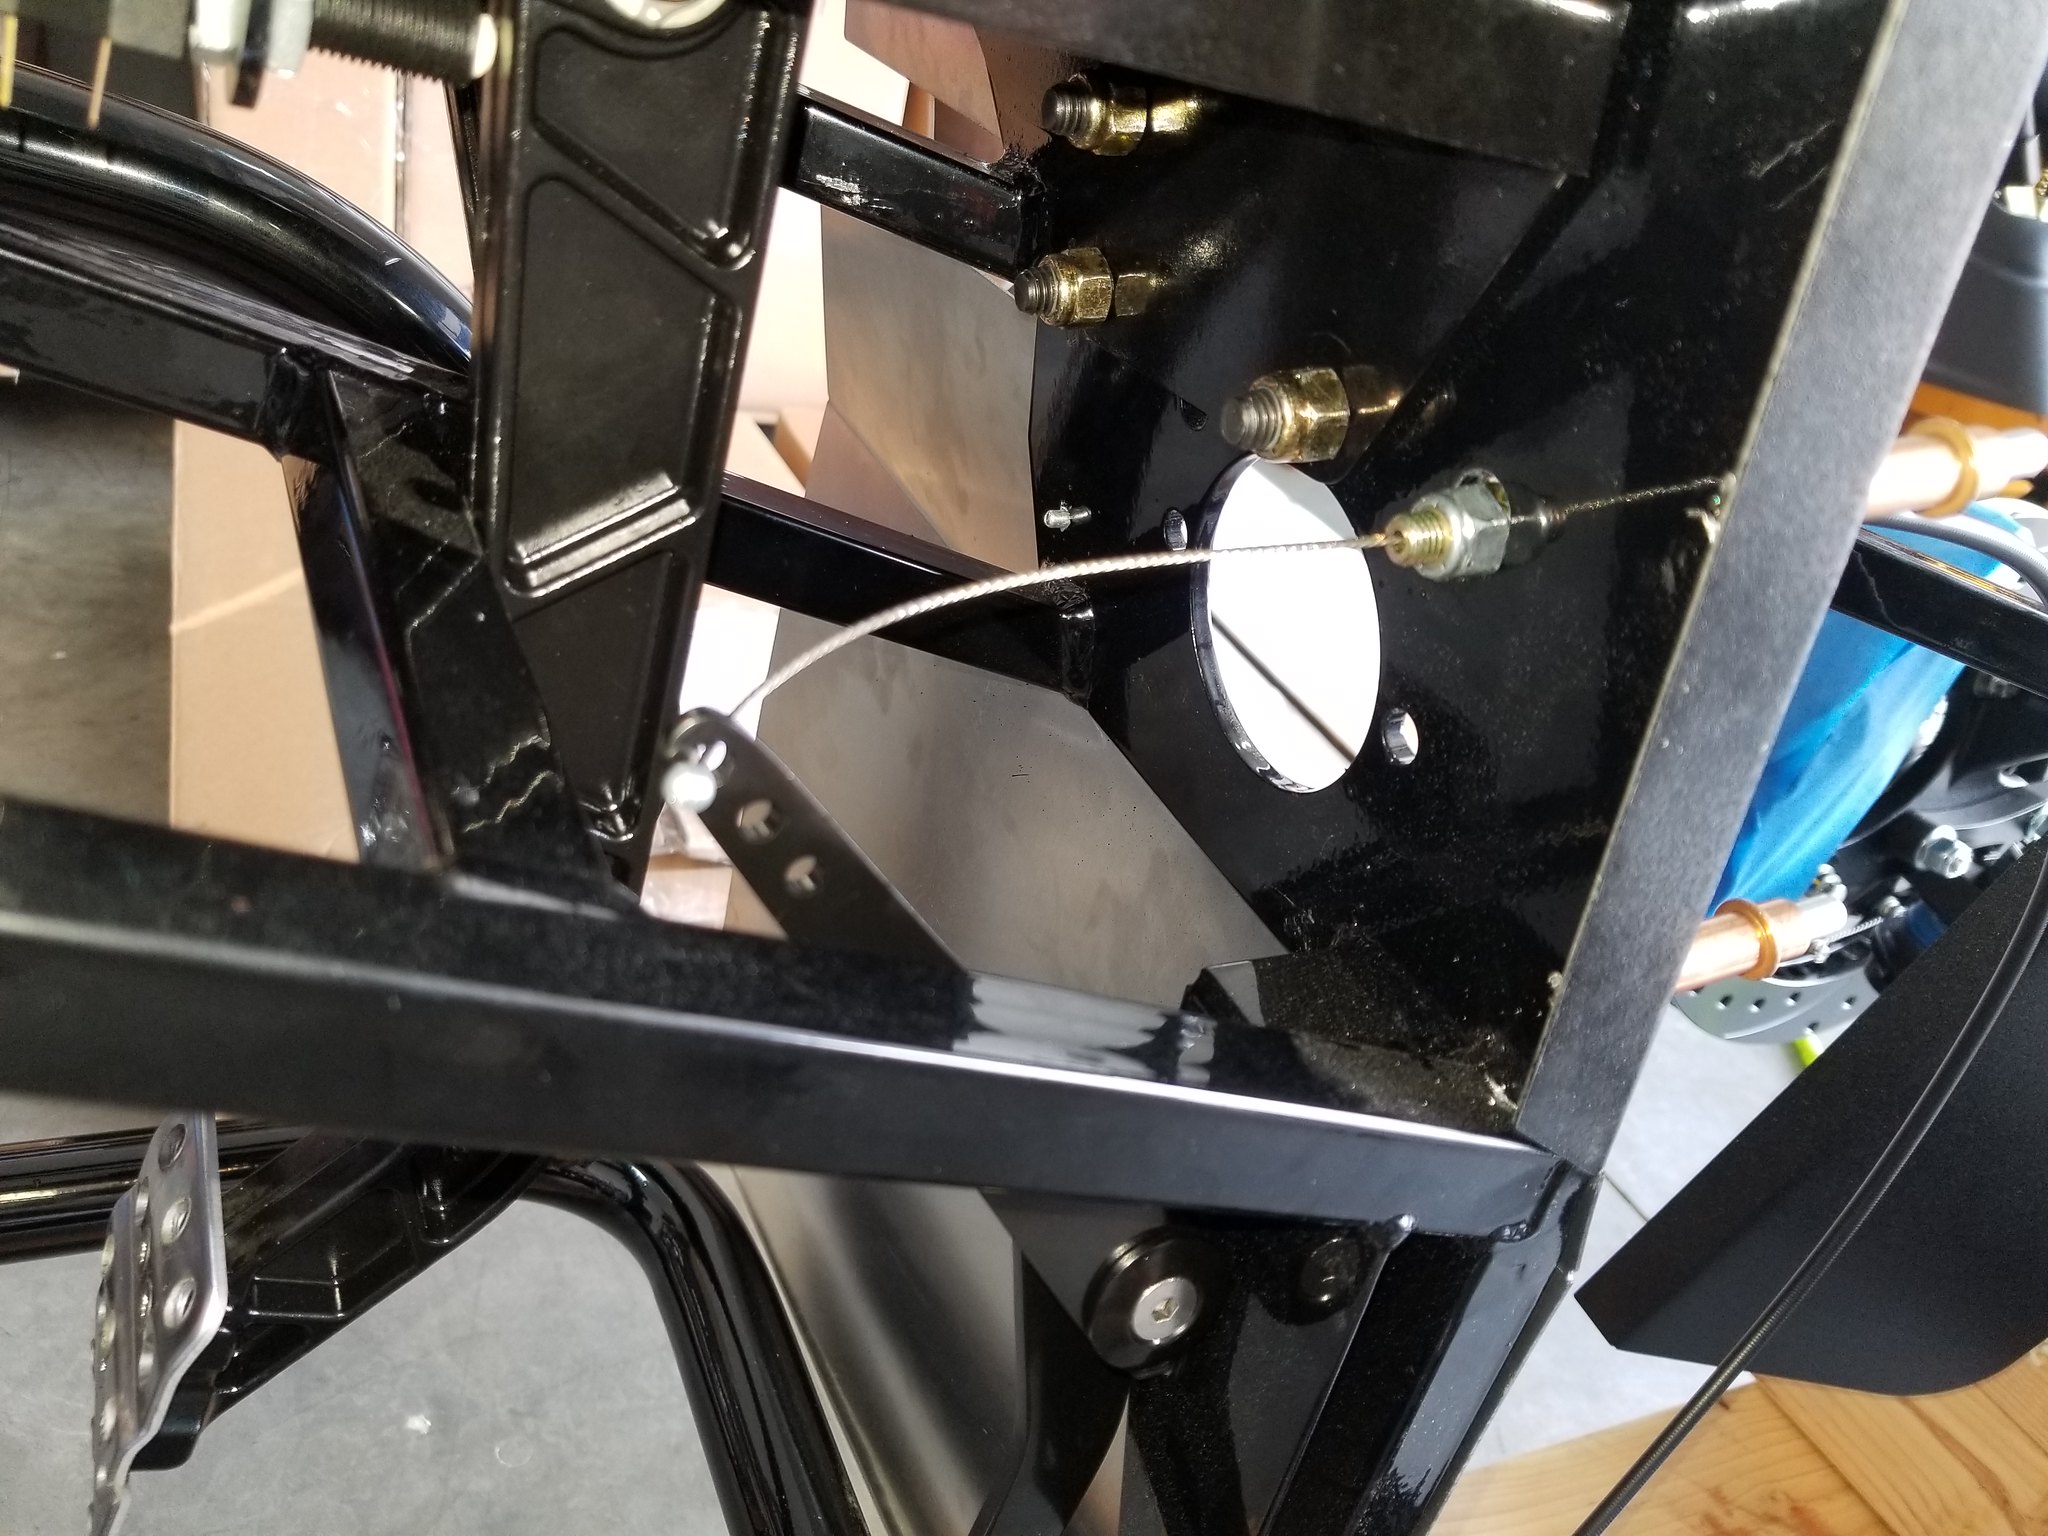
Is this really the way everyone is attaching the throttle cable?

No, your kit comes with two clip on ball and sockets.
One for your Carb or Throttle Body the other for your Gas Pedal; however, it will work they way you have it shown.
-

Originally Posted by
GoDadGo

No, your kit comes with two clip on ball and sockets.
One for your Carb or Throttle Body the other for your Gas Pedal; however, it will work they way you have it shown.
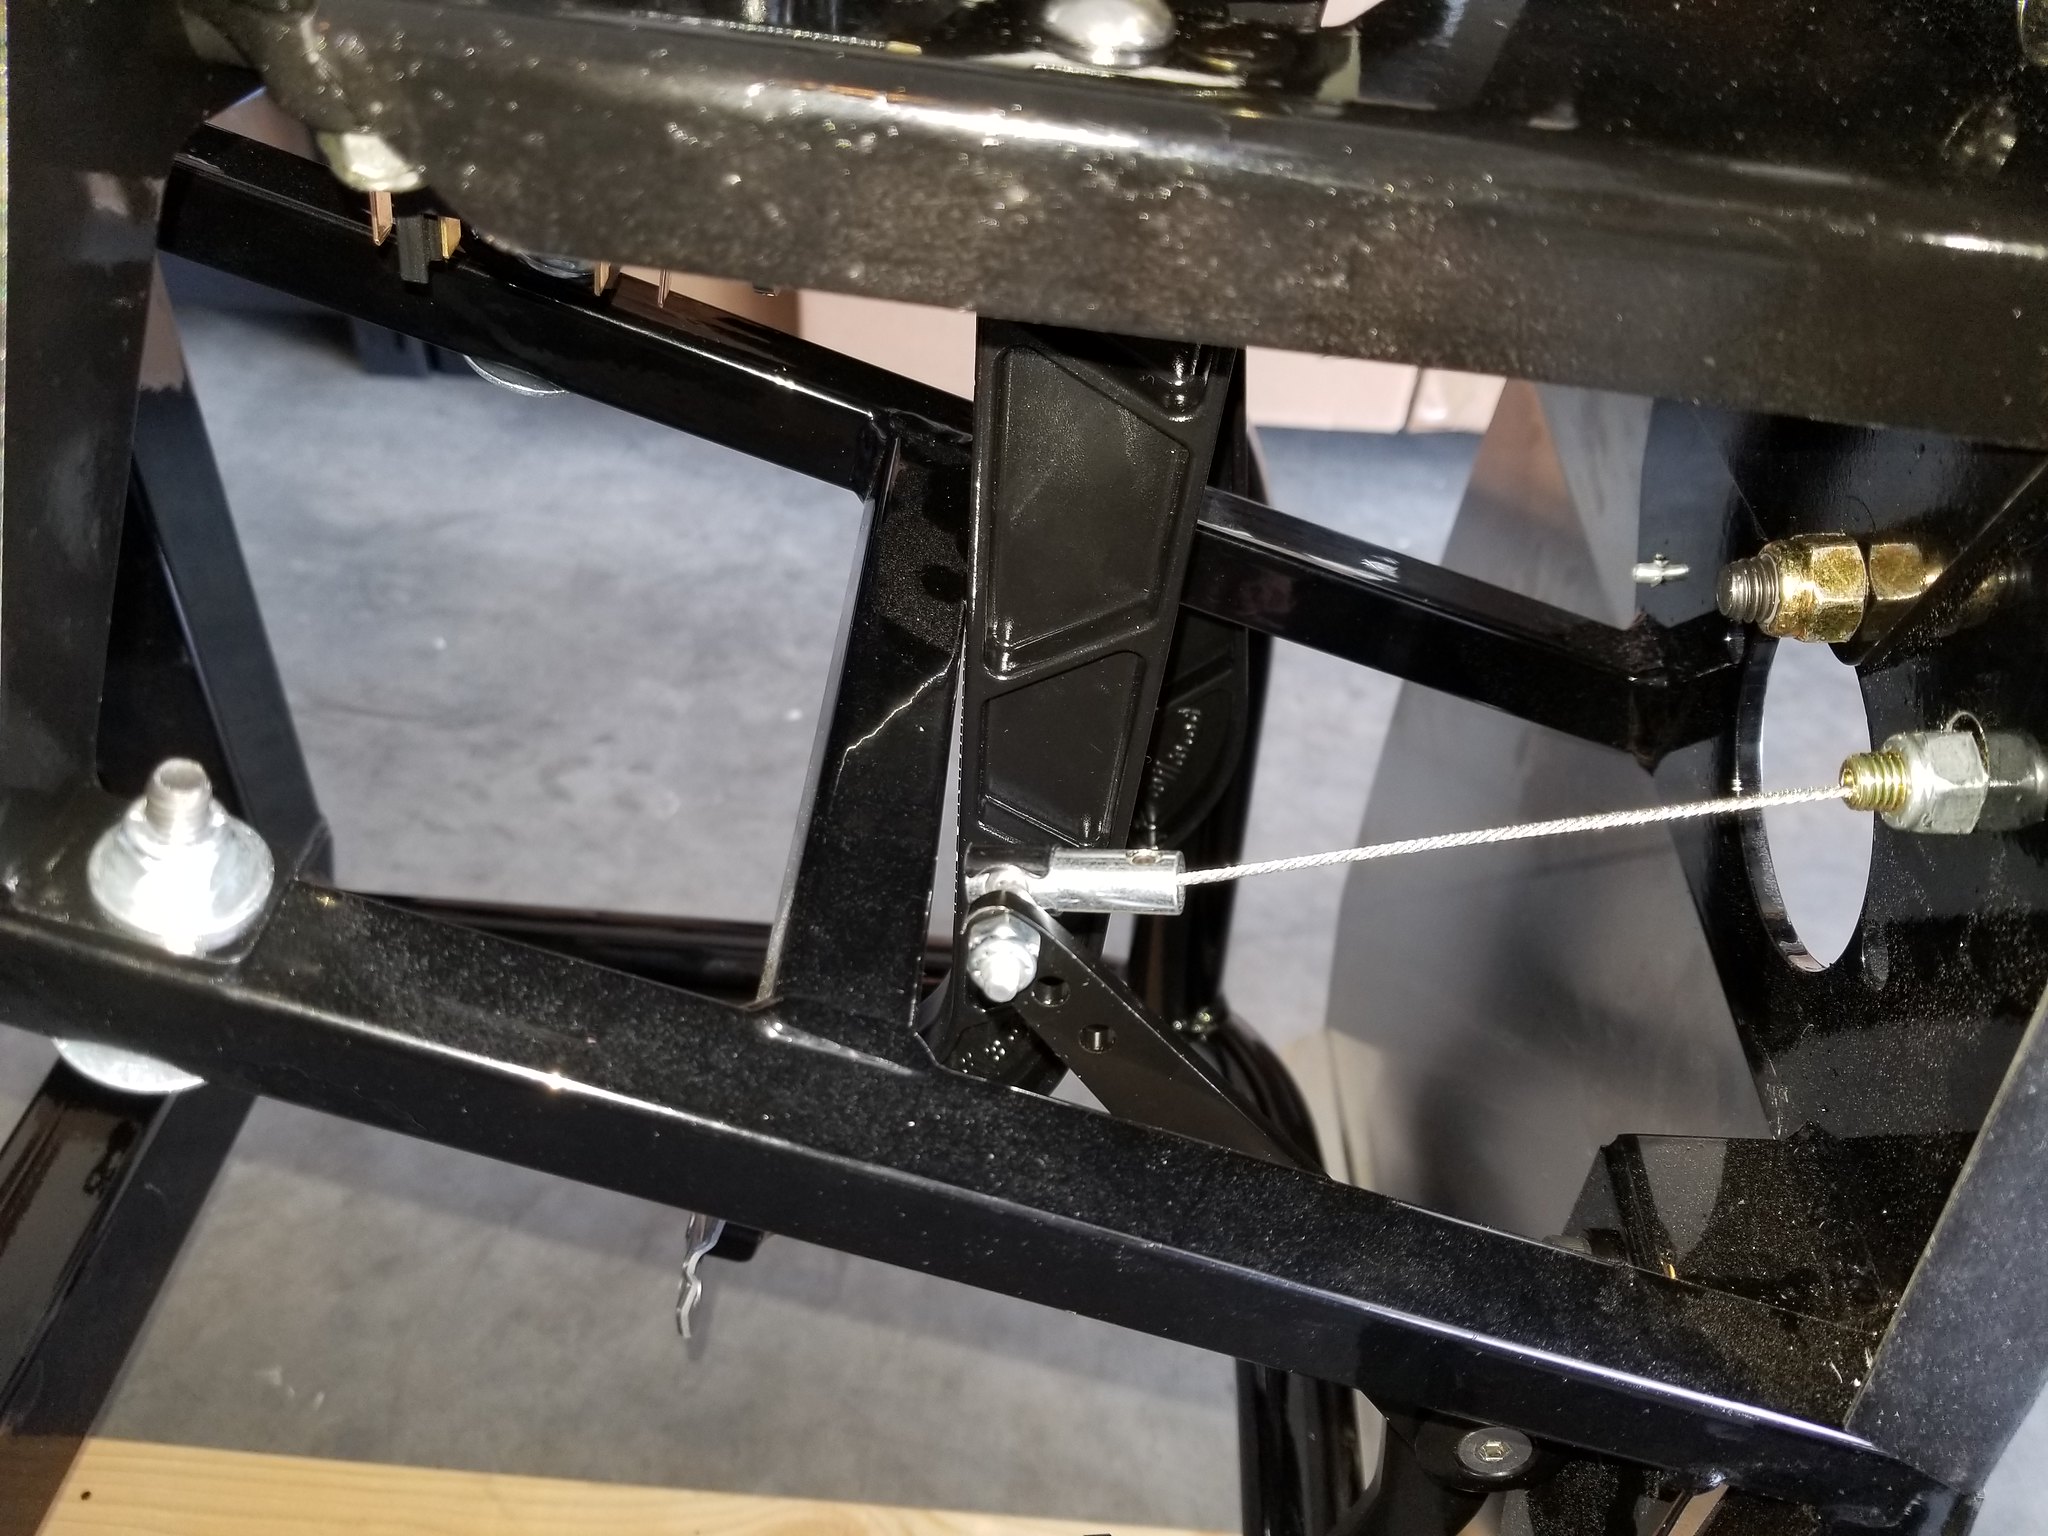
Cool. I saw there were two of them, but again, the manual is a bit vague. I'll cut the ball off and use the ball & socket.
-
A bit more elegant:

Last edited by Papa; 04-22-2018 at 12:36 PM.
-
Post Thanks / Like - 0 Thanks, 1 Likes
-

Steve >> aka: GoDadGo

Consider getting an additional Allen Set Screws for both ends.
Some folks have had the cable pop loose so you may consider adding them.
ACE Hardware is where I found them.
-
Post Thanks / Like - 0 Thanks, 1 Likes
-
-
My axle vent is installed:


Last edited by Papa; 04-22-2018 at 12:40 PM.
-
Senior Member

Hey Papa,
Depending on how picky you are with appearance, you may want to consider swopping the black socket head cap screws holding the gas tank and the pedal assembly to stainless steel. I found after one season of driving (not trailering), the supplied hardware started to rust and looked like SH!T. Its much easier to make the switch now before the car is completed.
Good job. The build is SO much fun.
-
Post Thanks / Like - 0 Thanks, 1 Likes
-
Senior Member

Kyle
Complete Kit pickup 09/05/2015, 351w, QF680, 3.55, 3-Link, 15" Halibrands with MT's, Painted Viking blue with Wimbledon white stripes on 03/15/2017. Sold in 08/2018 and totally regret it.
-

Originally Posted by
Dave Howard

Hey Papa,
Depending on how picky you are with appearance, you may want to consider swopping the black socket head cap screws holding the gas tank and the pedal assembly to stainless steel. I found after one season of driving (not trailering), the supplied hardware started to rust and looked like SH!T. Its much easier to make the switch now before the car is completed.
Good job. The build is SO much fun.
Thanks for the tip -- I just placed an order for a set for the fuel strap hardware. I think the pedal box hardware should be fine as-is; not a lot of moisture here in the high desert. I plan to make the pedal box top removable, so if I do have to get in there in the future, I can do it without contorting myself into the foot well.
-

Originally Posted by
Papa

More progress today as I began assembling the front suspension. I decided on black bedliner spray for the exposed aluminum panels and scuffed and cleaned the F-panels then sprayed them. They came out really nice and after several hours of drying time, I mounted them.
That bedliner spray looks great. What brand bedliner did you use? I've been looking for options other than powder coating. Thank you
-
Post Thanks / Like - 0 Thanks, 1 Likes
-
Senior Member


Originally Posted by
Papa

I plan to make the pedal box top removable, so if I do have to get in there in the future, I can do it without contorting myself into the foot well.
I assume you're talking about the inside driver's side footbox top. Would be nice if it were removable, but two sides aren't accessible once the body is in place. The other two sides are open, but depending on how you have things installed, might not be easy to reach. So having the entire top removable isn't really possible. Hopefully you have the sheet metal version with the access panel? That provides about as much access as possible with the body on. The outside driver's side footbox top is completely covered by the body, so assume you're not talking about that one.
Last edited by edwardb; 07-15-2017 at 12:42 PM.
Build 1: Mk3 Roadster #5125. Sold 11/08/2014.
Build 2: Mk4 Roadster #7750. Sold 04/10/2017.
Build Thread
Build 3: Mk4 Roadster 20th Anniversary #8674. Sold 09/07/2020.
Build Thread and
Video.
Build 4: Gen 3 Type 65 Coupe #59. Gen 3 Coyote. Legal 03/04/2020.
Build Thread and
Video
Build 5: 35 Hot Rod Truck #138. LS3 and 4L65E auto. Rcvd 01/05/2021. Legal 04/20/2023.
Build Thread. Sold 11/9/2023.
-

Originally Posted by
RJD

That bedliner spray looks great. What brand bedliner did you use? I've been looking for options other than powder coating. Thank you
It's just RUSTOLEUM bedliner spray. I cleaned the panels with lacquer thinner and then scuffed with a red ScothBrite pad, cleaned again with thinner, then sprayed them. I got one can that wouldn't spray unless the can was upside down, but the others have been fine. Spray one coat then a second about 5 minutes later.
-
Post Thanks / Like - 0 Thanks, 1 Likes
-

Originally Posted by
edwardb

I assume you're talking about the inside driver's side footbox top. Would be nice if it were removable, but two sides aren't accessible once the body is in place. The other two sides are open, but depending on how you have things installed, might not be easy to reach. So having the entire top removable isn't really possible. Hopefully you have the sheet metal version with the access panel? That provides about as much access as possible with the body on. The outside driver's side footbox top is completely covered by the body, so assume you're not talking about that one.
Thanks Paul. I'll have to see what makes sense and I may have to create my own access panel as I don't believe I saw anything like that when disassembling the car.
-
Senior Member


Originally Posted by
Papa

Lots of progress today! I got the body off the chassis and onto the buck and into the eventual parking space for the finished car.


Originally Posted by
Papa

Thanks Paul. I'll have to see what makes sense and I may have to create my own access panel as I don't believe I saw anything like that when disassembling the car.
The DS footbox access panel hole is visible in this picture you posted previously of your delivery. Just under the rear left corner of the hood opening. The actual cover is somewhere in your box of loose aluminum panels. This is a standard feature FF has had on the Roadster for several years now. That delivery picture also shows how the footbox top panel is nearly covered by the body.
Build 1: Mk3 Roadster #5125. Sold 11/08/2014.
Build 2: Mk4 Roadster #7750. Sold 04/10/2017.
Build Thread
Build 3: Mk4 Roadster 20th Anniversary #8674. Sold 09/07/2020.
Build Thread and
Video.
Build 4: Gen 3 Type 65 Coupe #59. Gen 3 Coyote. Legal 03/04/2020.
Build Thread and
Video
Build 5: 35 Hot Rod Truck #138. LS3 and 4L65E auto. Rcvd 01/05/2021. Legal 04/20/2023.
Build Thread. Sold 11/9/2023.
-
Senior Member


Originally Posted by
Papa

I ordered it with my kit from Factory Five. It was shipped direct from Moser Engineering. I swapped out the stock chrome diff cover for the cast one shown in the pictures.
I have the same Moser diff and installed a similar aluminum cover. Here again, I swopped the black cap screws for stainless. There's just something about rust clashing with aluminum that doesn't do it for me. One other consideration. I found the allen head adjustment bolts for the "bearing backers" would wick gear oil from the diff and look terrible. This was solved by removing the jam nut, cleaning the bolts with solvent, and applying a small amount of silicone sealant to the base of the bolt before replacing the jam nut. Not a drop in the 3 years since.
-
Post Thanks / Like - 0 Thanks, 1 Likes
-
Senior Member


Originally Posted by
Papa

Not at all, Steve. I just wanted to know if anyone has had clearance issues. If flipping the shocks over is a good solution, I'll be happy to do what works best in spite of what is written in the manual. That's why this forum is so awesome!
Dave
I did the same thing (flipping the shocks) on my 2012 build. Over 20,000 miles and there's been NO issues. That's how they are installed in the FFR video that came out later.
Last edited by Dave Howard; 07-15-2017 at 02:53 PM.
-

Originally Posted by
edwardb

The DS footbox access panel hole is visible in this picture you posted previously of your delivery. Just under the rear left corner of the hood opening. The actual cover is somewhere in your box of loose aluminum panels. This is a standard feature FF has had on the Roadster for several years now. That delivery picture also shows how the footbox top panel is nearly covered by the body.
Thanks Paul. That helps a lot. I'll plan to rivnut that panel in place when the time comes, but as you said, not much room even with that opening.
Last edited by Papa; 07-15-2017 at 06:29 PM.
-
Today I got the passenger foot box assembled, fitted, and drilled.


All the panels came back off and were painted. Once they dry, I'll reassemble the foot box and rivet everything in place.
Last edited by Papa; 04-22-2018 at 12:42 PM.
-
-
Post Thanks / Like - 0 Thanks, 1 Likes
-

Steve >> aka: GoDadGo

Making Progress Sir Papa!
Keep Those Pop Rivets Popping!
-
Very nice looking build! Keep up the good work.
1972 Corvette Stingray 350 c.i. Manual Steering & Brakes
2003 H-D Softail Deuce 88 c.i. TwinCam
Gen 3 Coupe Dreamer
-

Originally Posted by
GoDadGo

Making Progress Sir Papa!
Keep Those Pop Rivets Popping!
I'm loving the pneumatic rivet gun!
-
Post Thanks / Like - 0 Thanks, 1 Likes
-

Originally Posted by
KDubU

Looking good!

Originally Posted by
Vette1972

Very nice looking build! Keep up the good work.
Thanks! I'm having a lot of fun with it.
-
Looking good. My kit gets delivered in September. In the meantime, living vicariously through your build.
-
Post Thanks / Like - 0 Thanks, 1 Likes
-

Originally Posted by
RJD

Looking good. My kit gets delivered in September. In the meantime, living vicariously through your build.
The waiting is the hardest part!
-
-
I ordered a CNC double fluid reservoir and will be splitting the front and rear brakes into separate systems for safety.
CNC.jpg
I guess now I get to figure out how I want to run the hoses from the master cylinders to the reservoir. I'm thinking of doing bulkhead connectors.
-
We had a sign in a sheet metal shop I worked in the read:
"It is a scientifically proven fact that fingers on the back side of the panel you are drilling are 25% longer than our think"
Keep that in mind when installing those panels. It's a tedious job. Quit when you are tired.
-Steve
-

Originally Posted by
Straversi

We had a sign in a sheet metal shop I worked in the read:
"It is a scientifically proven fact that fingers on the back side of the panel you are drilling are 25% longer than our think"
Keep that in mind when installing those panels. It's a tedious job. Quit when you are tired.
-Steve
Fingers are one thing, eyes are another. I'm wearing safety glasses anytime I'm drilling, riveting, or blowing shavings out of the car.
-
Nice work. I love the look of the black footboxes with the contrasting rivets. Looks all business.
-

Originally Posted by
squareback

Nice work. I love the look of the black footboxes with the contrasting rivets. Looks all business.
Thank you!
-
I didn't get to work on the car today, but made a call to BluePrint Engines and ordered my engine and transmission. I'm getting their 347 with EFI, power steering, and the Cobra (427 style) valve covers. I'm also getting the TKO-600 transmission with aluminum bell housing. For those interested in driving their cars on the track, BluePrint is now offering a steel bell housing as an option. I told Pete that I would be passing through in August on my way to Omaha and he offered me a facility tour. I'll definitely be stopping in to check it out and should be able to see my engine in production if I time it right!
Last edited by Papa; 07-19-2017 at 09:35 PM.
-
Papa-
Congratulations on the engine decision! You will be very happy with Blueprint engines! They do a very nice job, and build a quality engine!! Pete is a nice guy, and was awesome to deal with. I think you will be very happy with your decision!
Please show some pictures when it arrives.
Regards,
Steve
-

Originally Posted by
WIS89

Papa-
Congratulations on the engine decision! You will be very happy with Blueprint engines! They do a very nice job, and build a quality engine!! Pete is a nice guy, and was awesome to deal with. I think you will be very happy with your decision!
Please show some pictures when it arrives.
Regards,
Steve
Thanks, Steve. I am excited to get my build to a point where I can drop the diamond into the jewelry box! I just got notified of more parts arriving next week, my wheels and tires!
-
Nice Progress!
Truck looks great too 
-

Originally Posted by
BluePrintEngines

Nice Progress!
Truck looks great too

Thanks! Here is a better picture of the truck:

I'm the original owner and at ten years old it has just over 78,000 miles on it. It has an 8" ProComp lift and the tires are 37x13.50 on 20x10 wheels. I've had a little work done under the hood and it makes just shy of 500 h.p. and around 900 ft.-lb. of torque.
Last edited by Papa; 04-22-2018 at 12:47 PM.
-
Post Thanks / Like - 0 Thanks, 1 Likes


 Thanks:
  Likes:


 Reply With Quote


