Boig Motorsports

Visit our community sponsor

Thanks Thanks:  0
Likes Likes:  0
Page 5 of 6 FirstFirst ... 3456 LastLast
Results 161 to 200 of 227

Thread: Replicaparts.com 818 build thread

  1. #161

    Join Date
    Feb 2011
    Location
    Norton, MA USA earth
    Posts
    3,345
    Post Thanks / Like
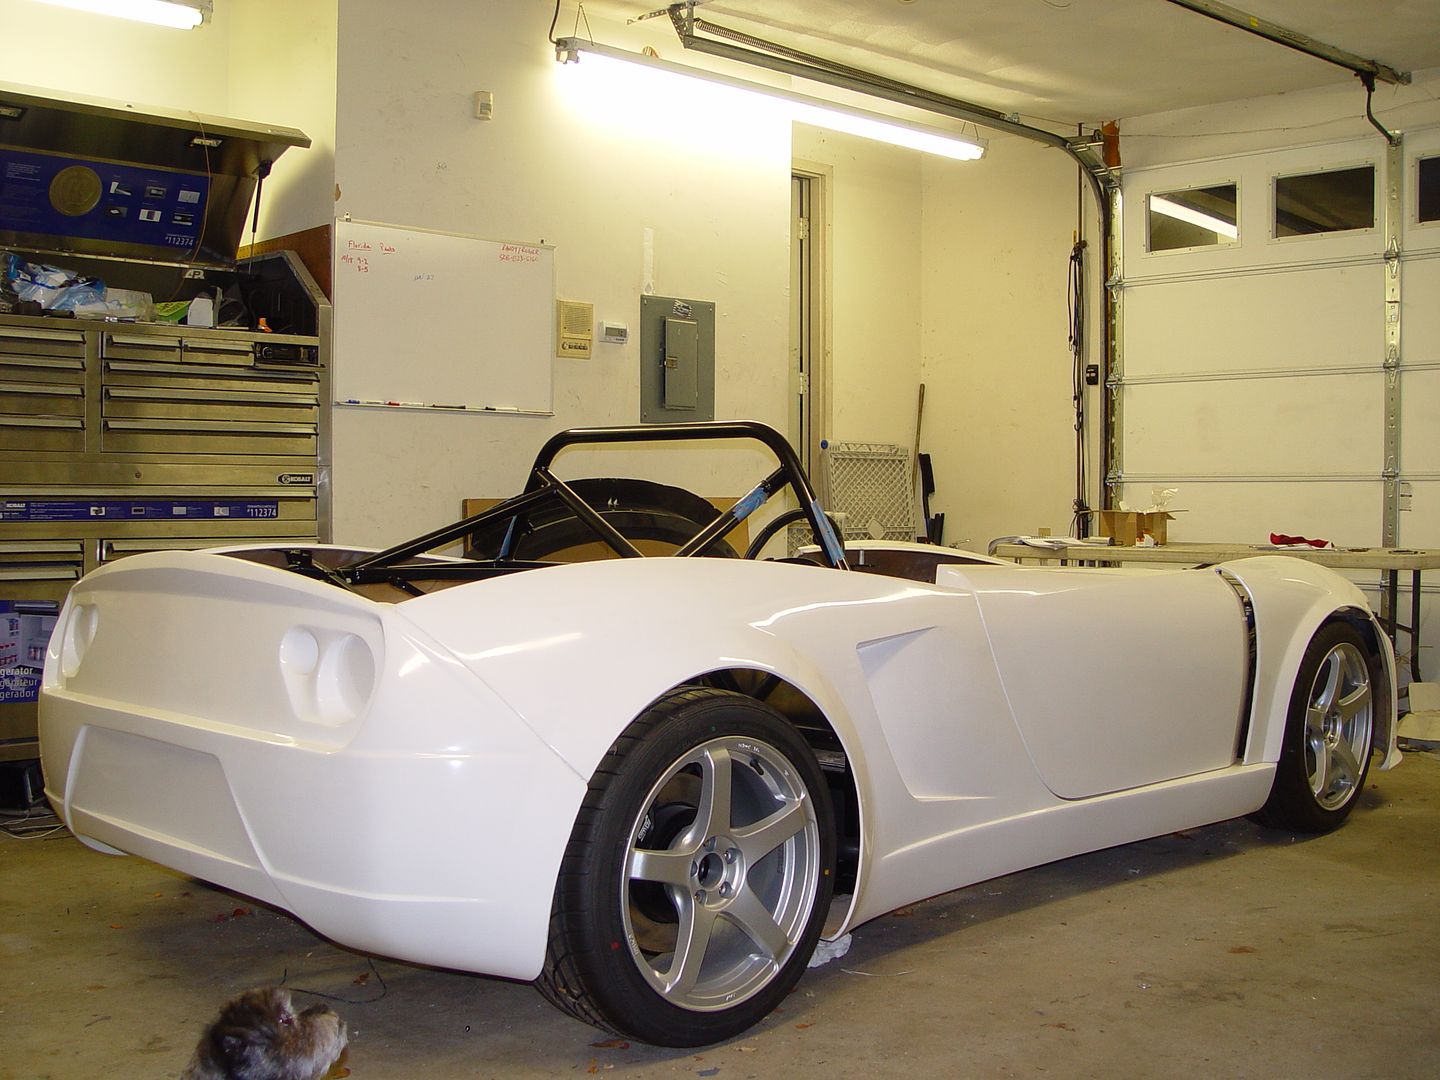
    Its been a long time since I have posted anything. I have been trying to get a HotRod ready for the paint shop. Since that's gone, I should be able to post a little more progress here. I have been jumping around a lot on this build, but there is a method to my madness. I started installing some of the body panels. I started with the side pieces and rear bumper. I then moved on to the nose and concentrated on that.

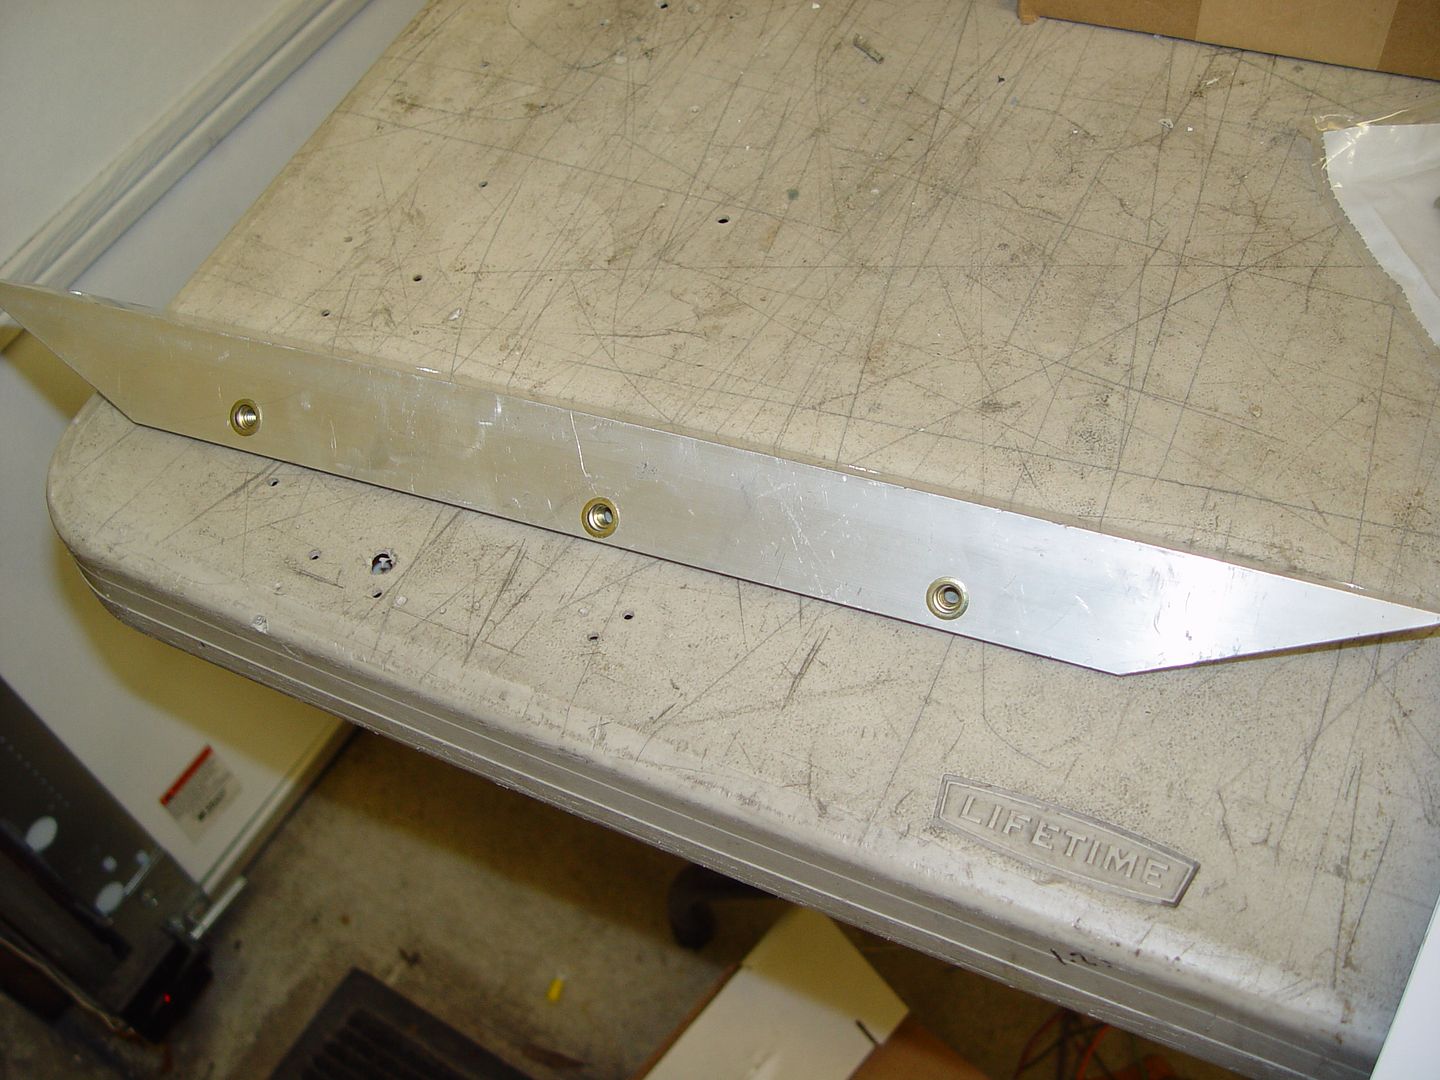
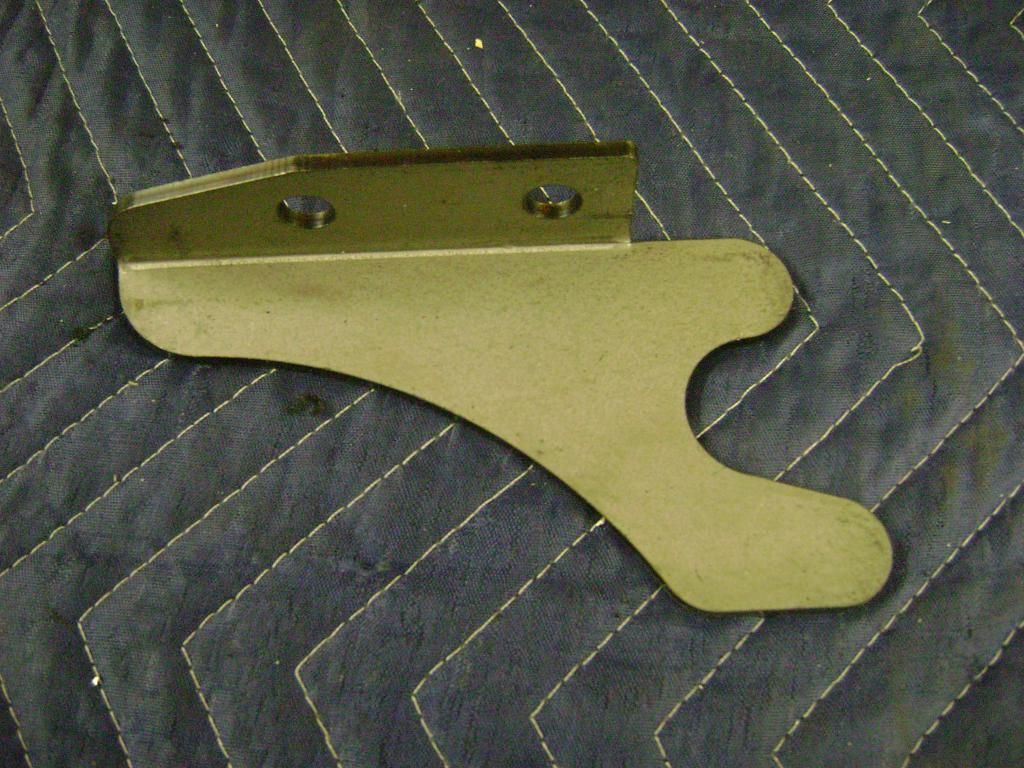
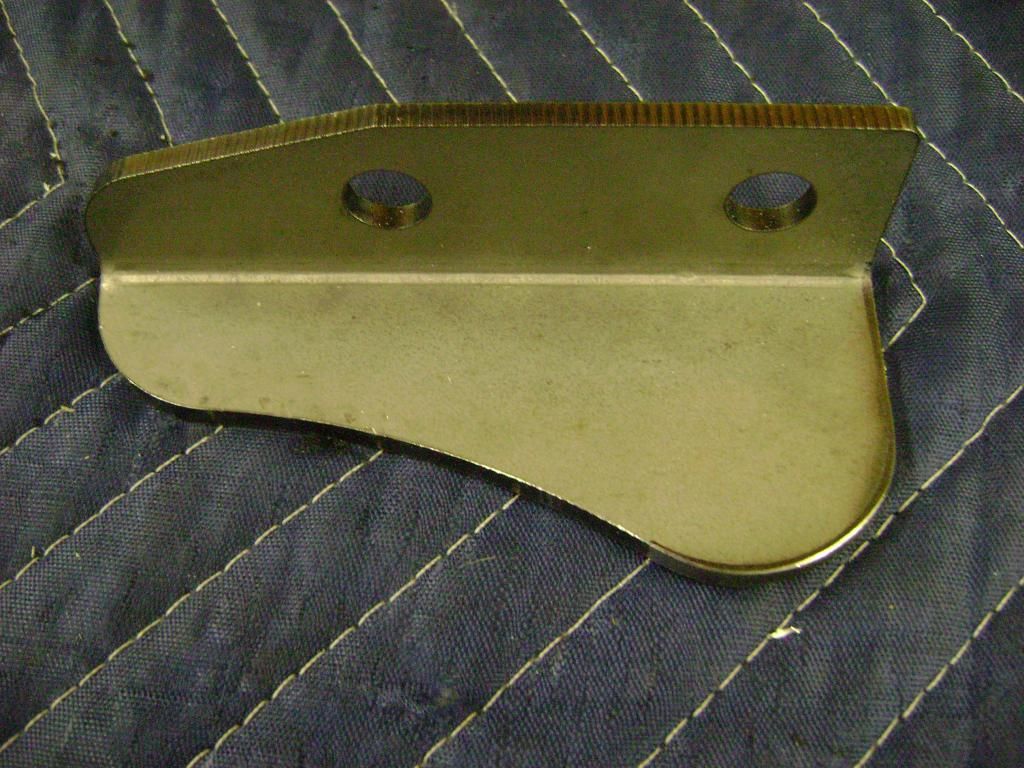
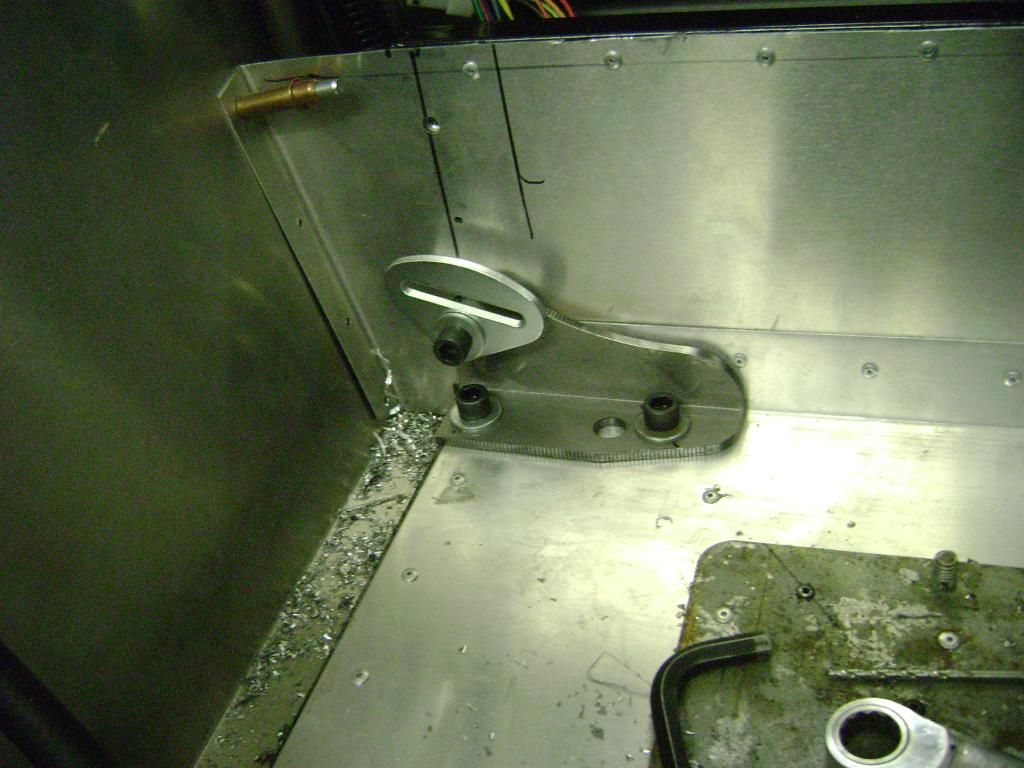
    I found that there was no way to get the bottom of the nose to mount to the radiator cross bar. So I made up a bracket out of aluminum angle.


    This bracket is slotted on one side and has nutserts on the other side. This allows for some adjustment up and down and left to right. The lower holes in the body are slotted as well.

    Here is what the finished bracket looks like


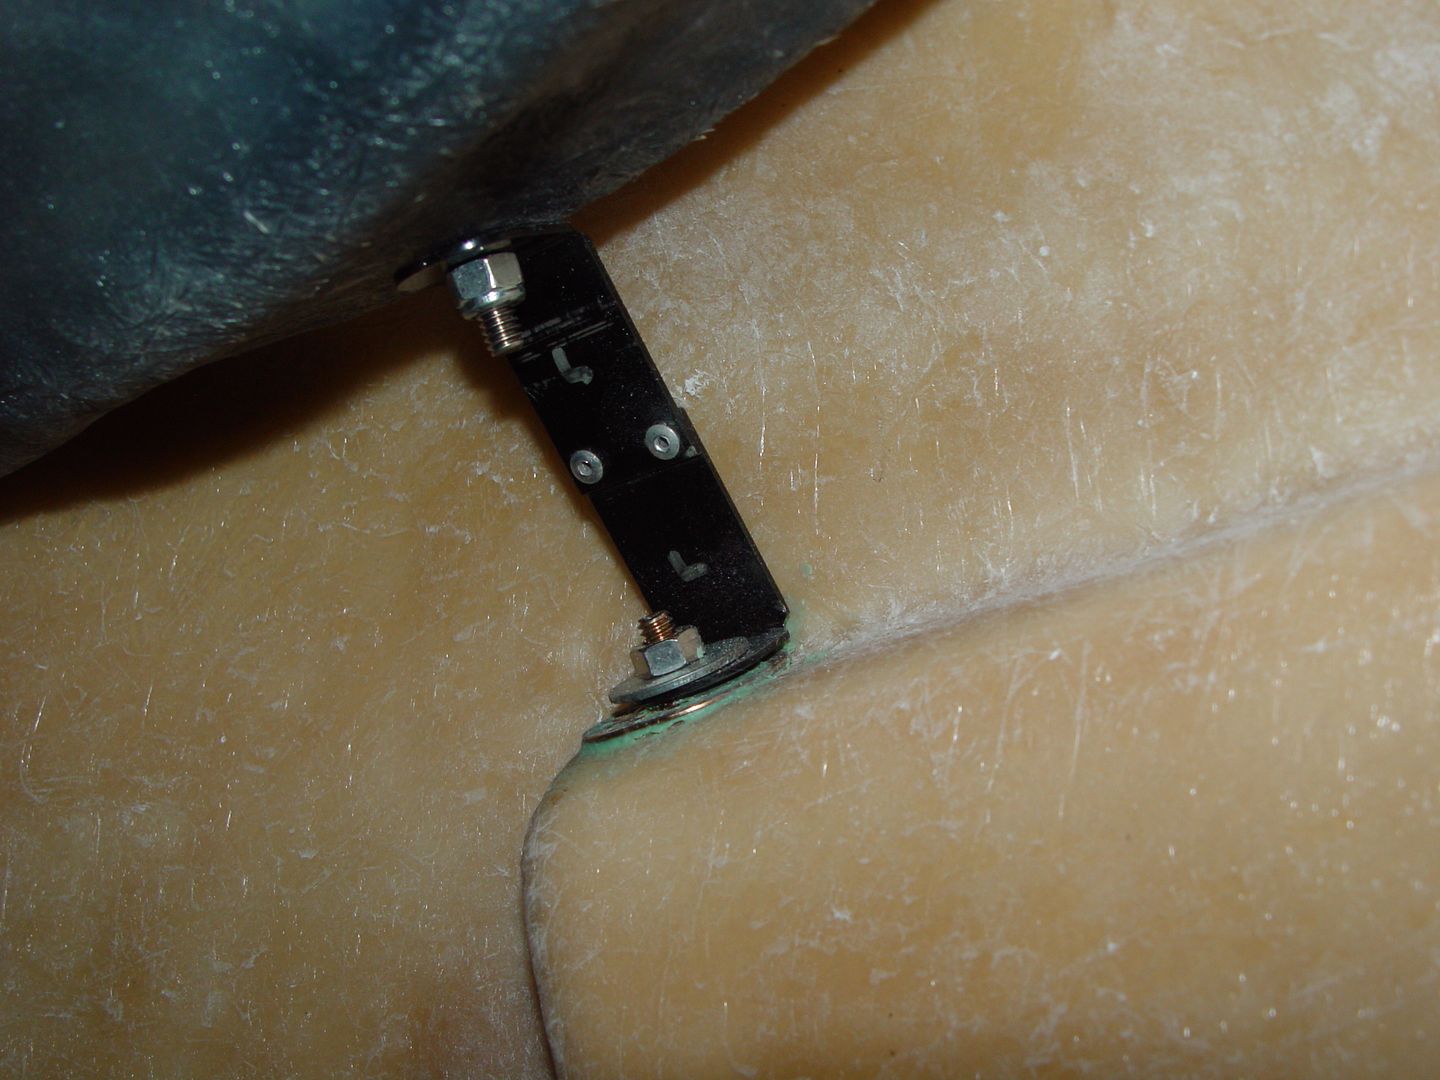
    The headlight buckets went right in with only minor trimming. I went a different route for the lower bracket mounting.
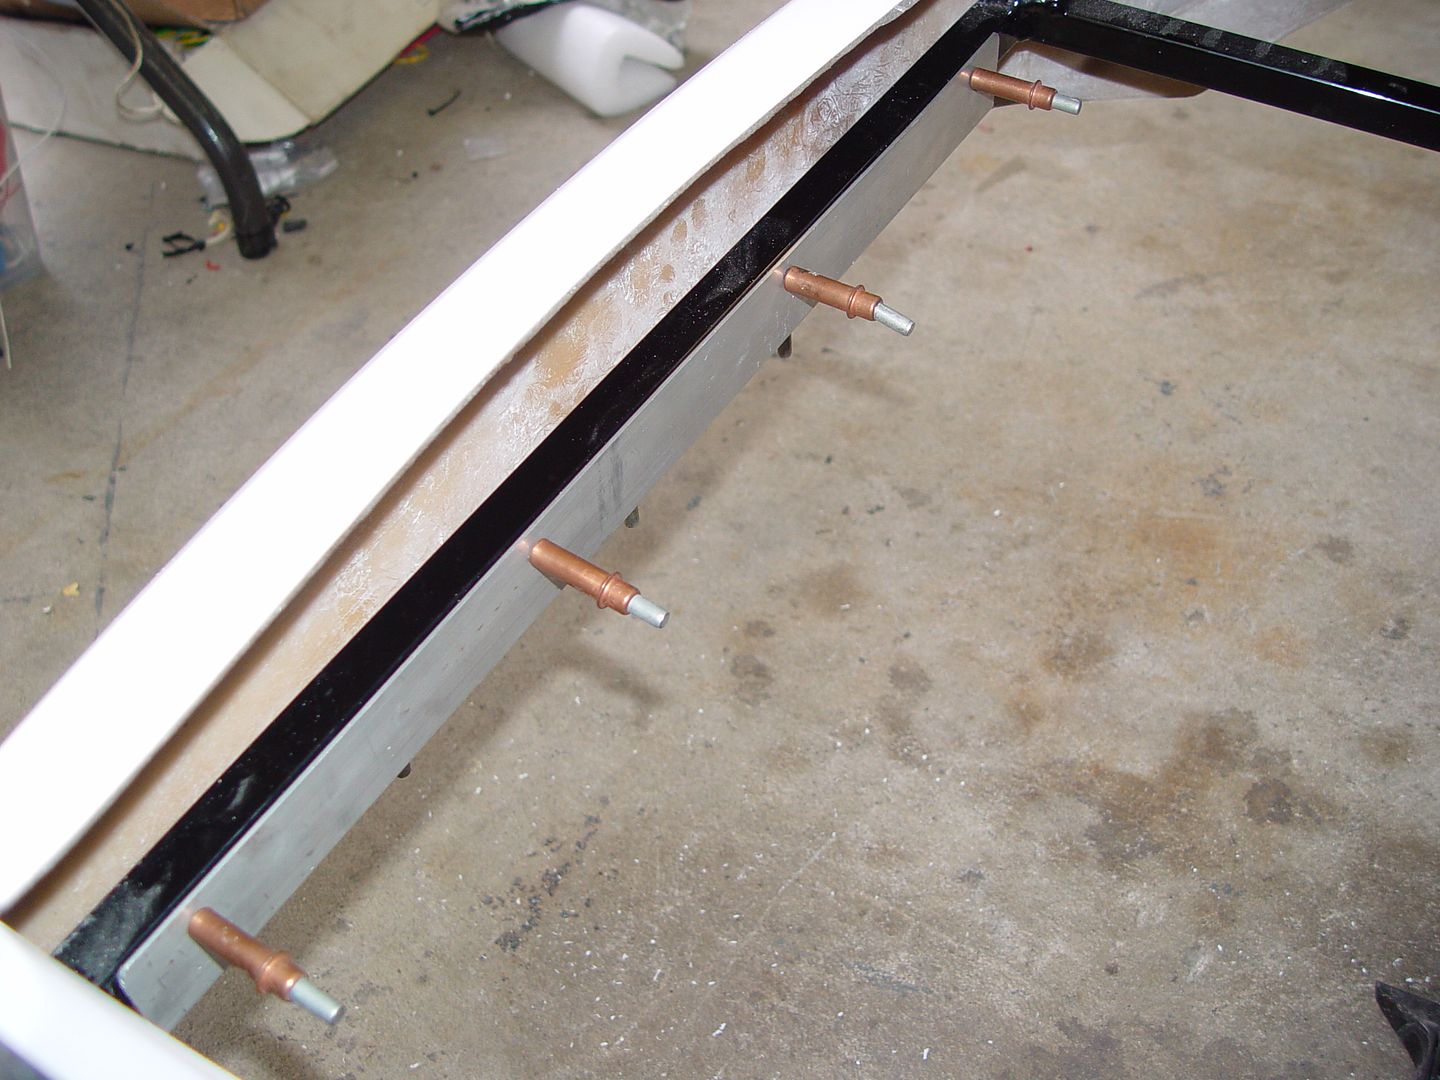
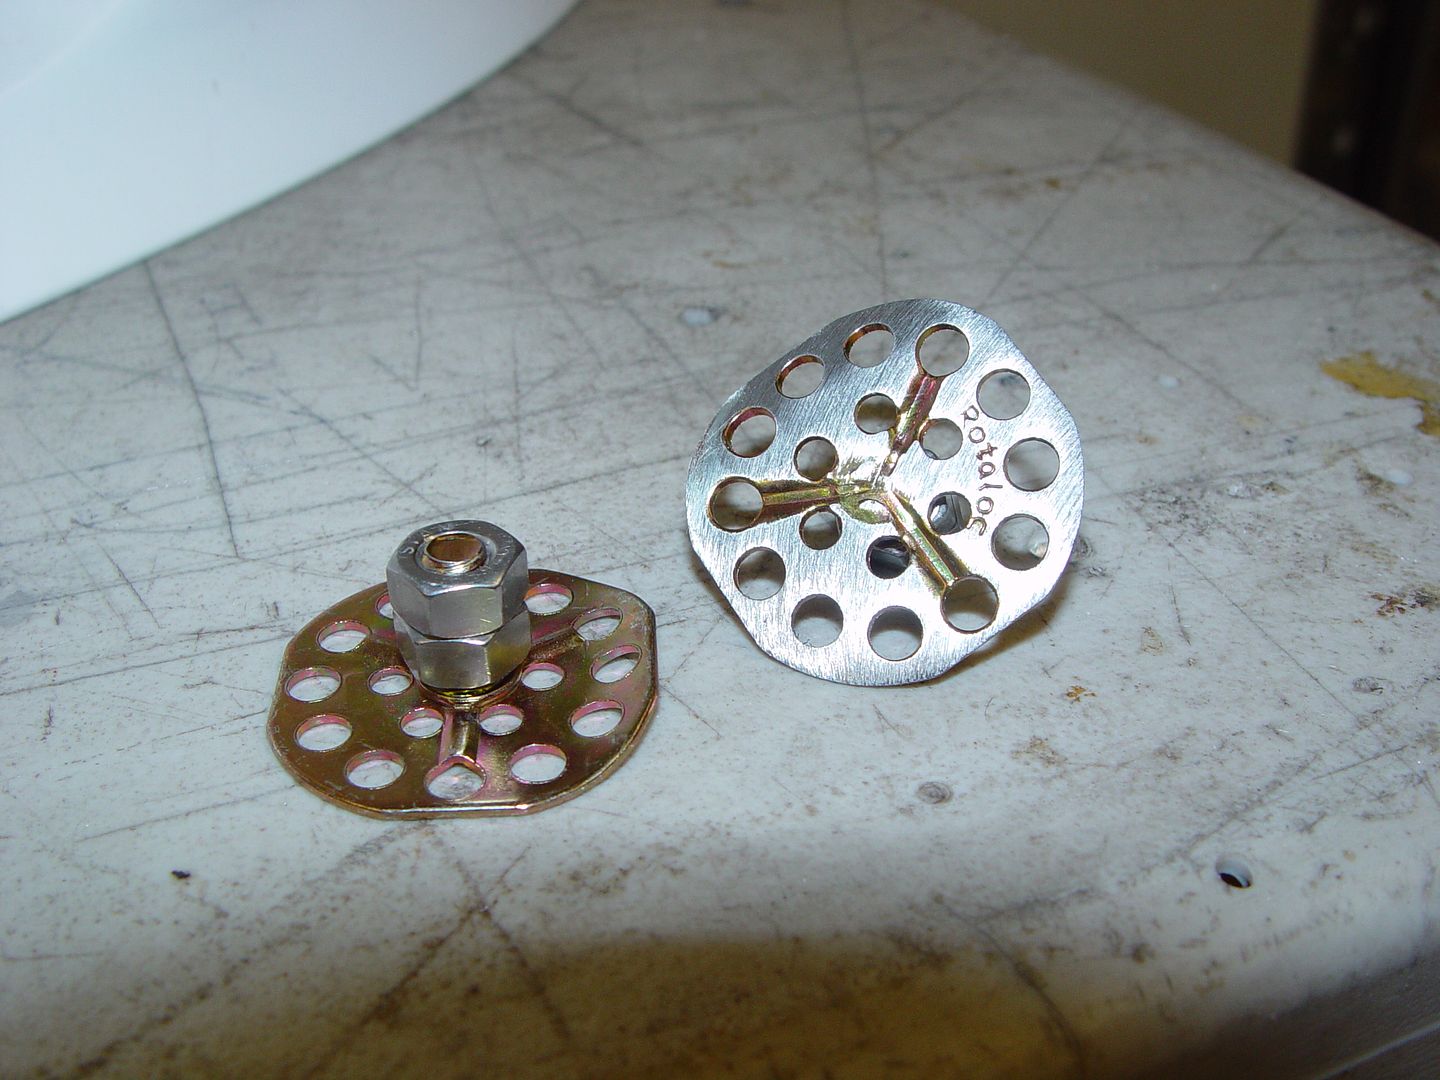
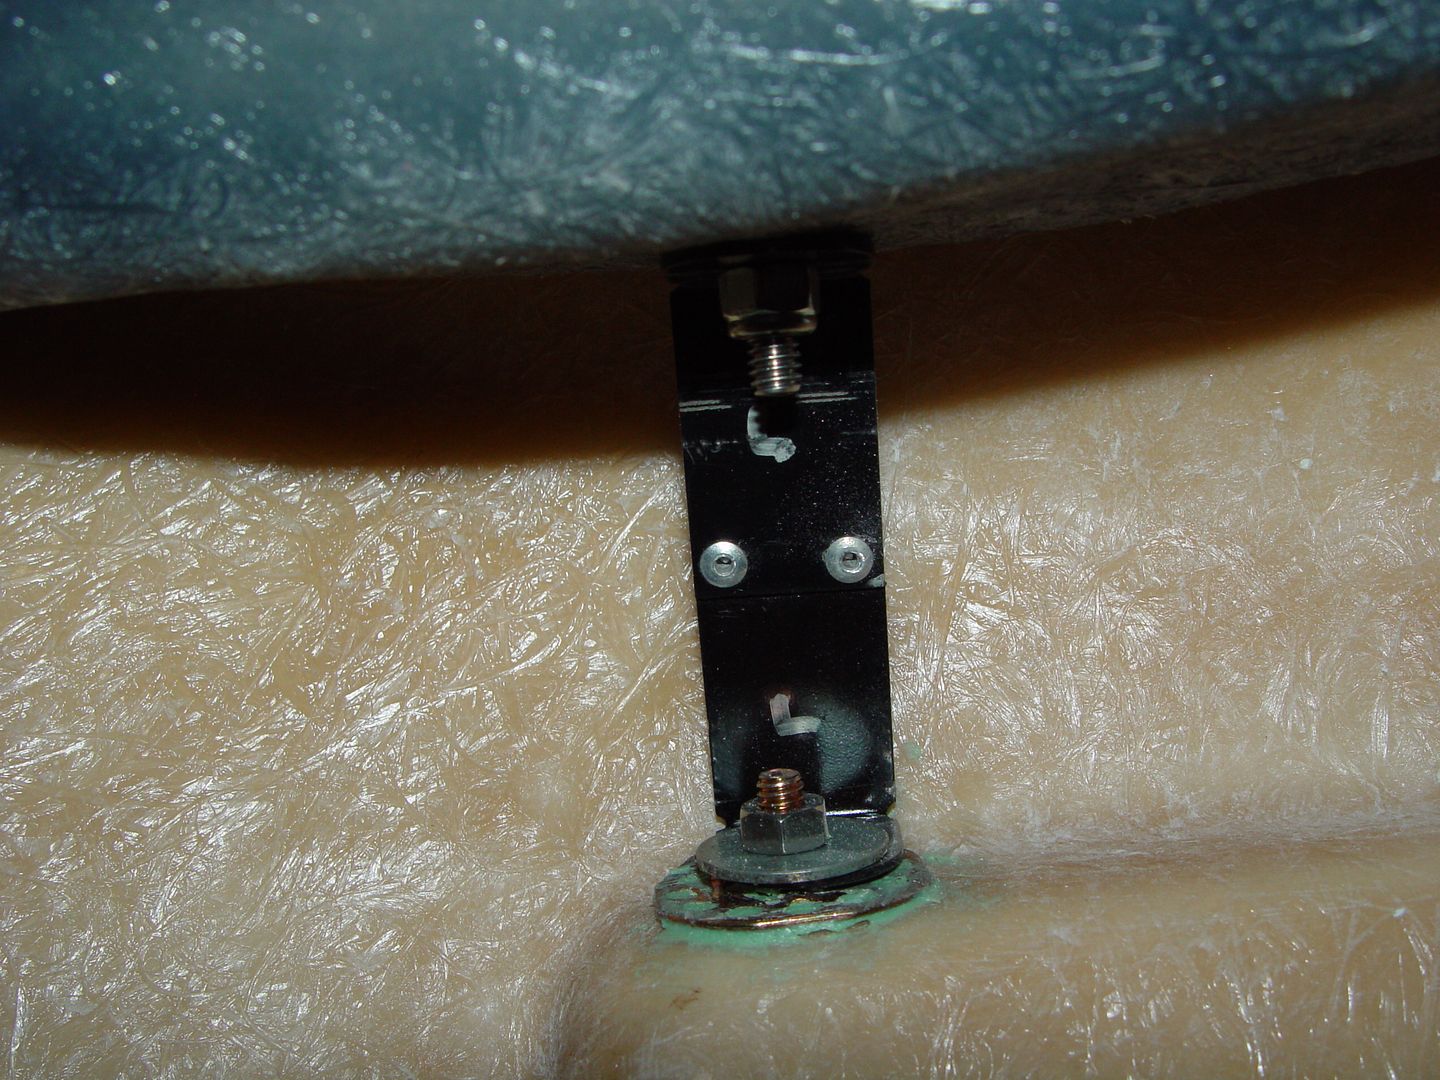
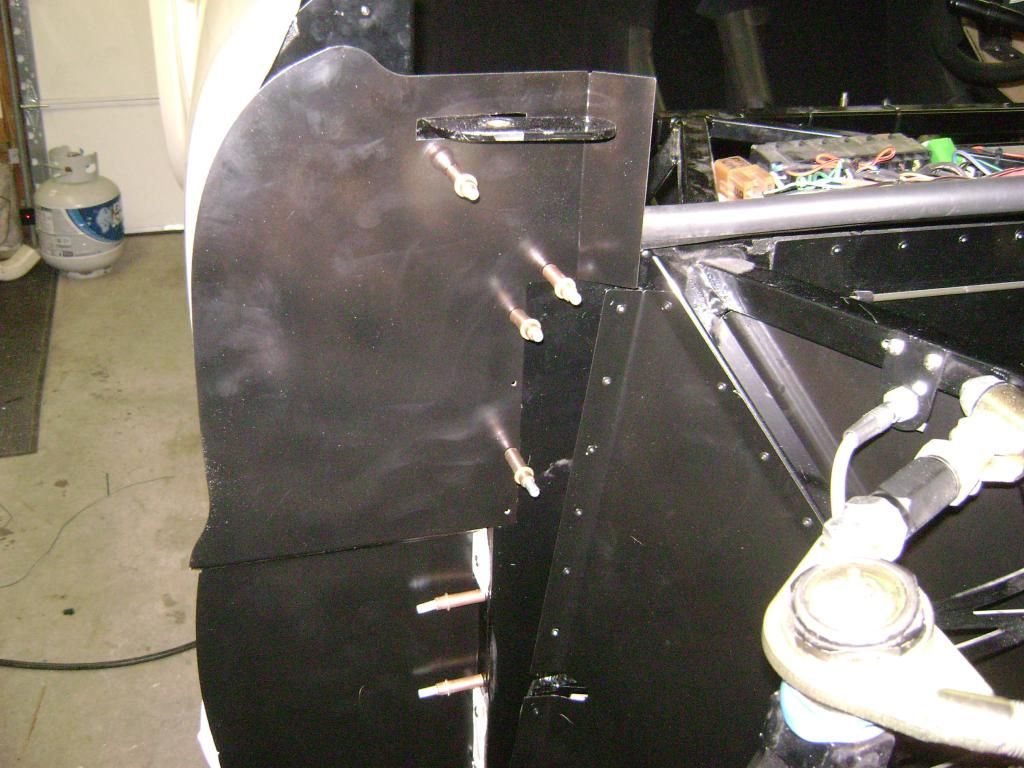
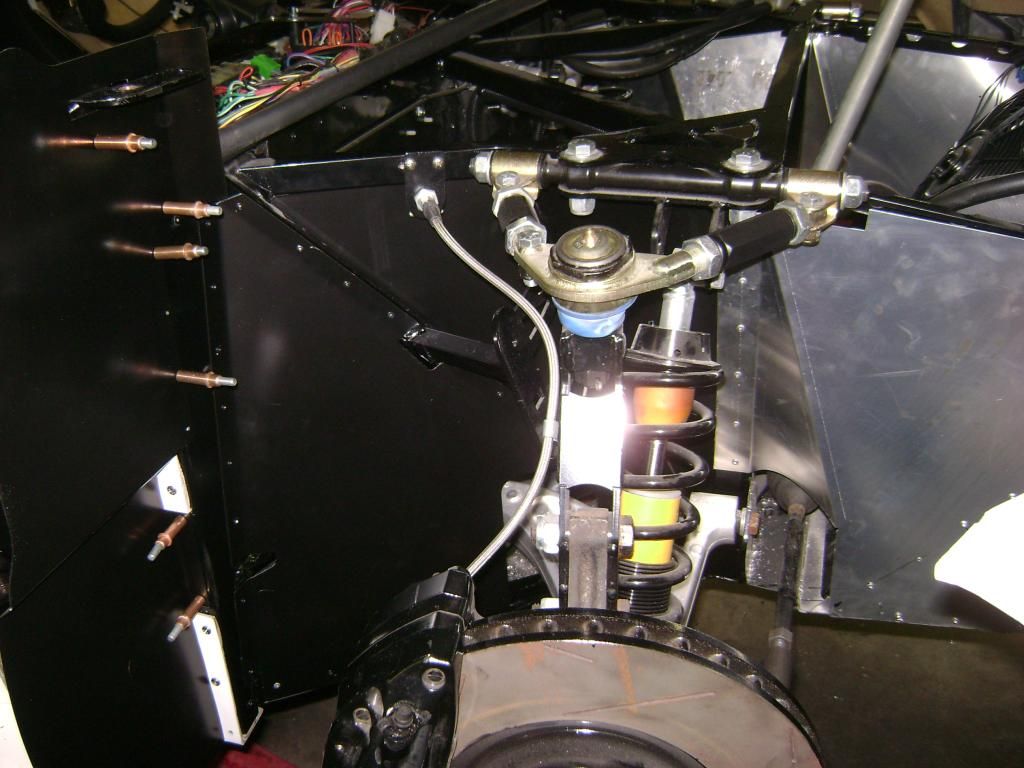
    I bought these weld in studs from McMaster-carr and bonded them to the underside of the nose.


    Here is what they look like installed


    Using these allows me to not have the bolt passing through the nose.

  2. #162

    Join Date
    Feb 2011
    Location
    Norton, MA USA earth
    Posts
    3,345
    Post Thanks / Like
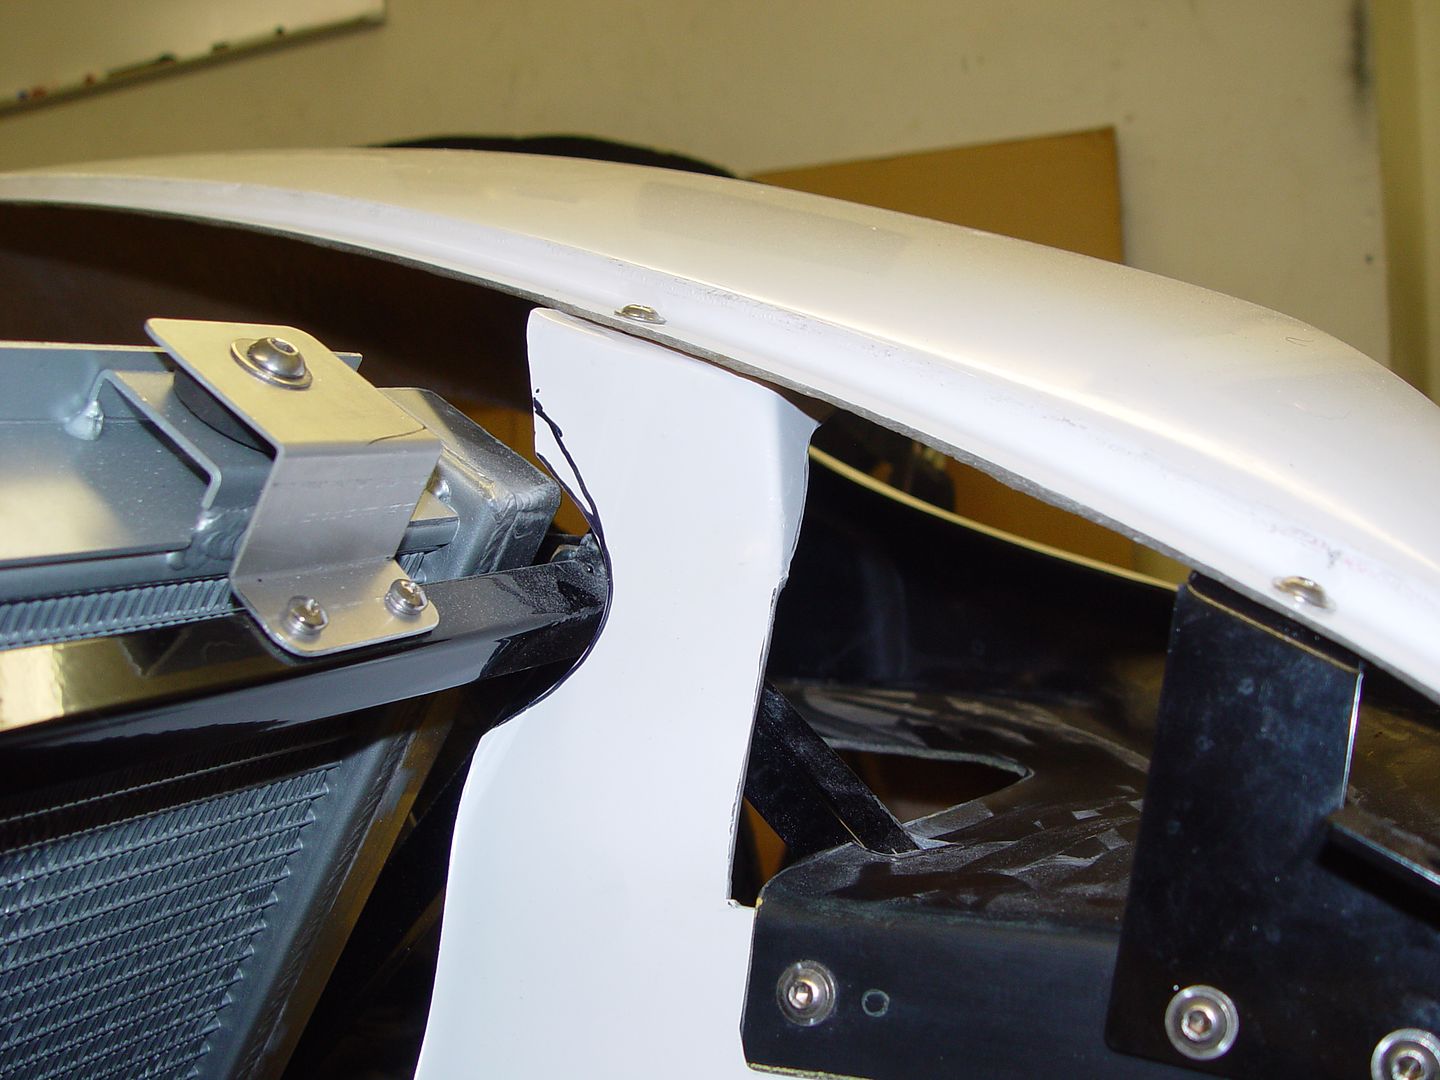
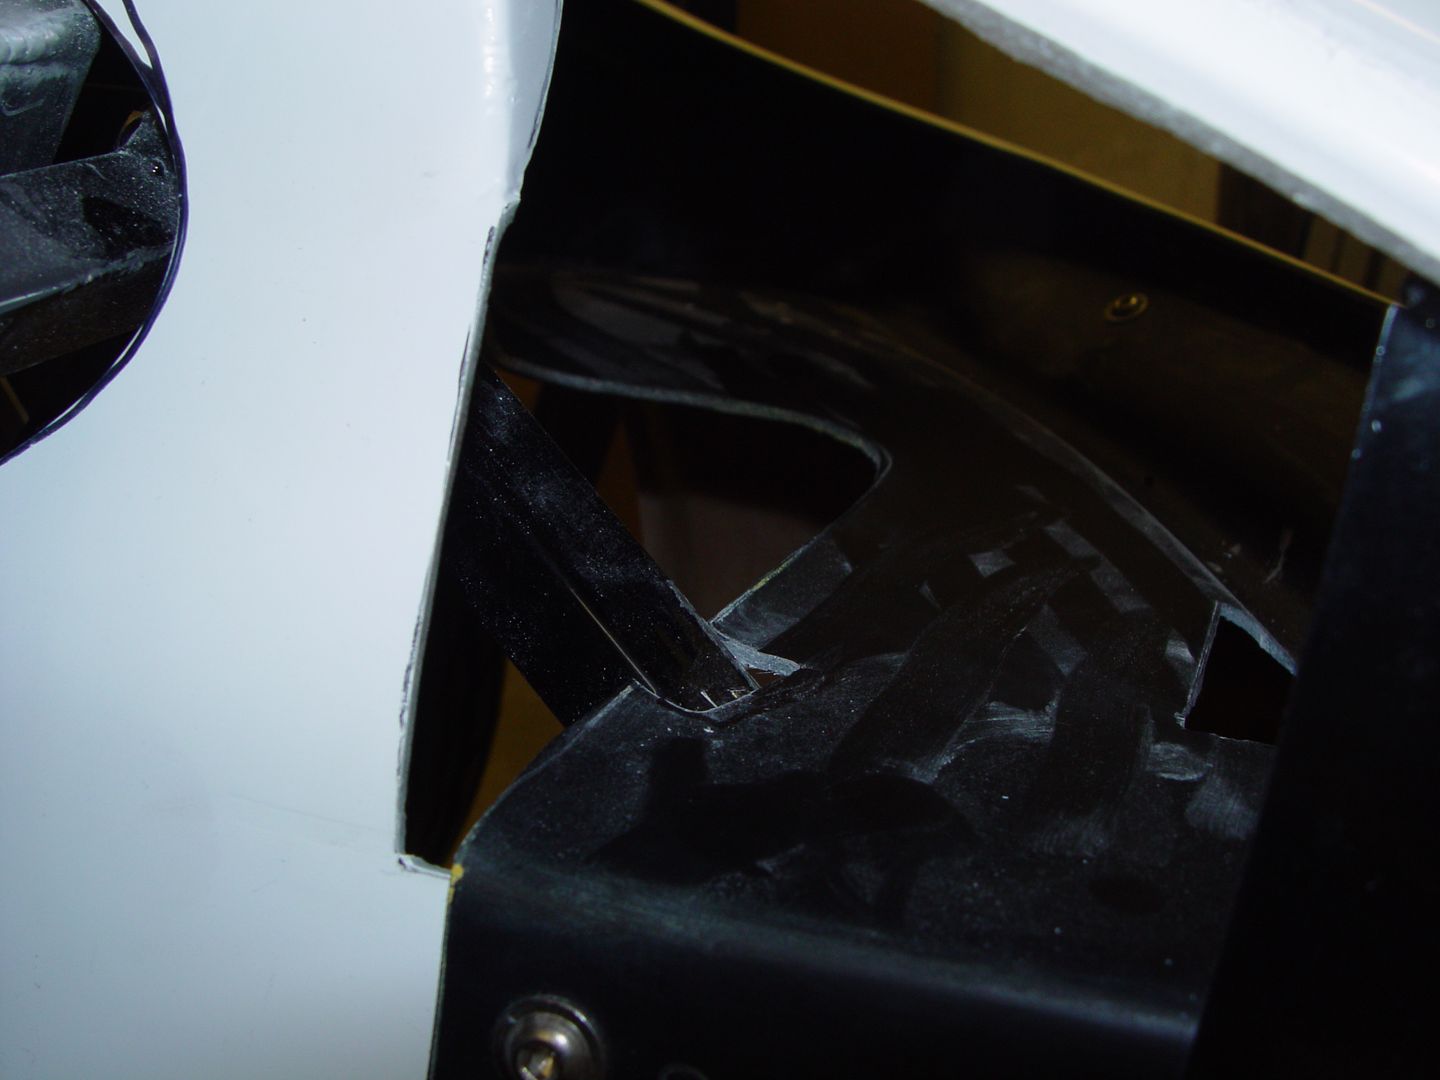
    I also needed to notch both the nose and the headlight buckets in order to get the nose far enough back to line up with the fenders. This may vary from car to car depending on tolerances.


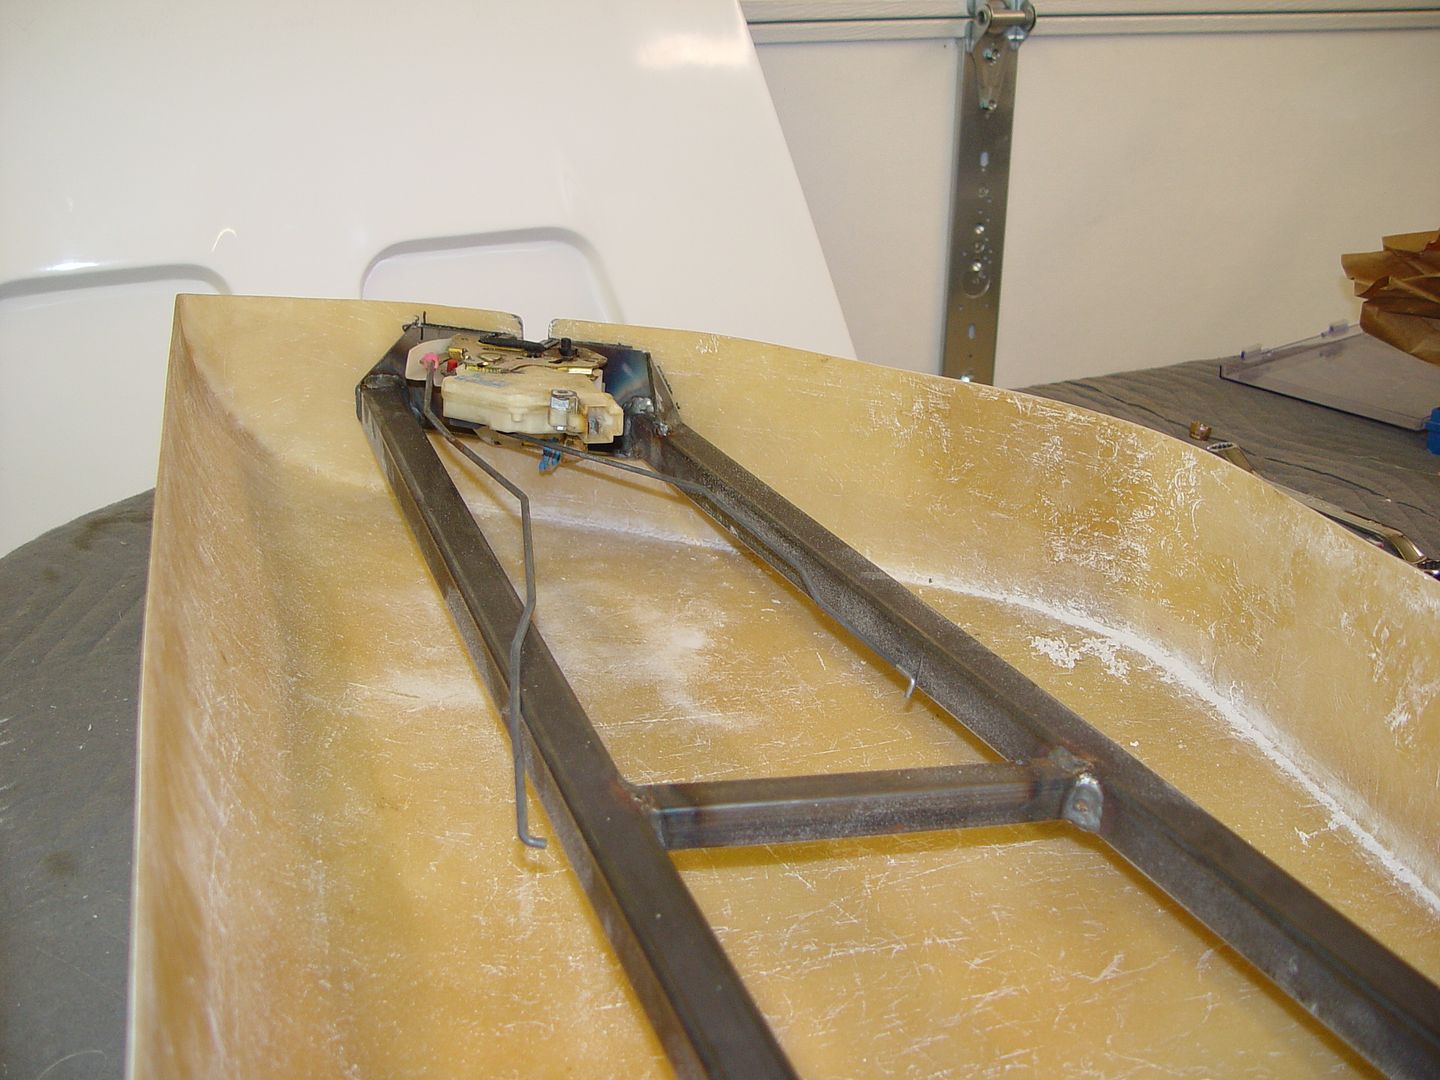
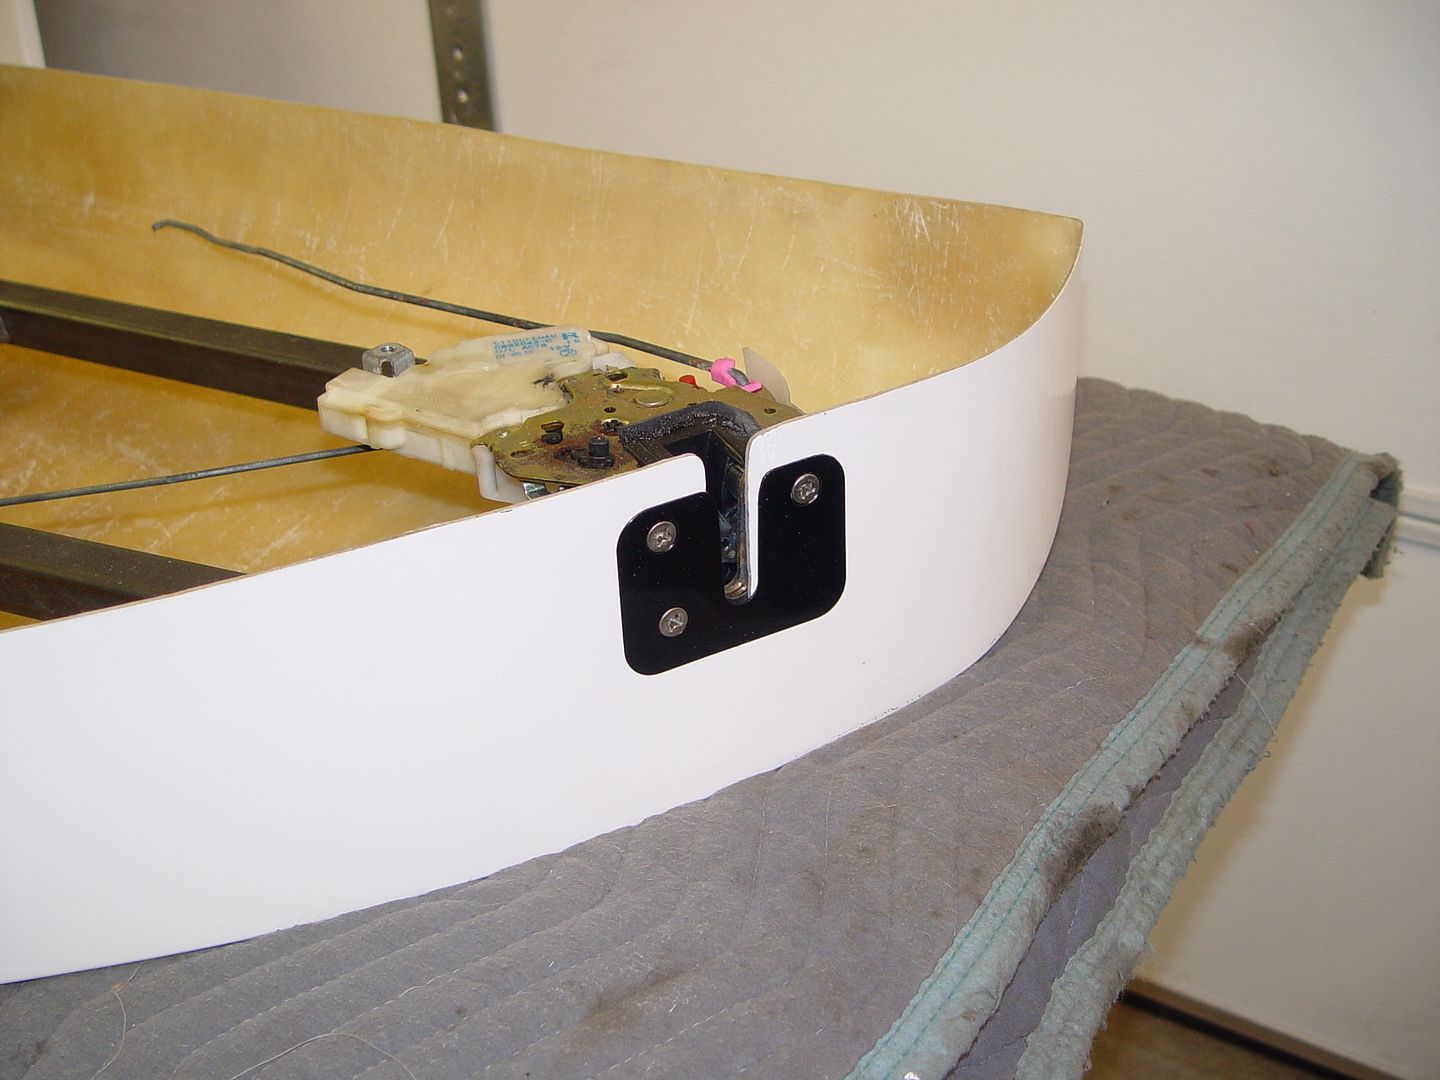
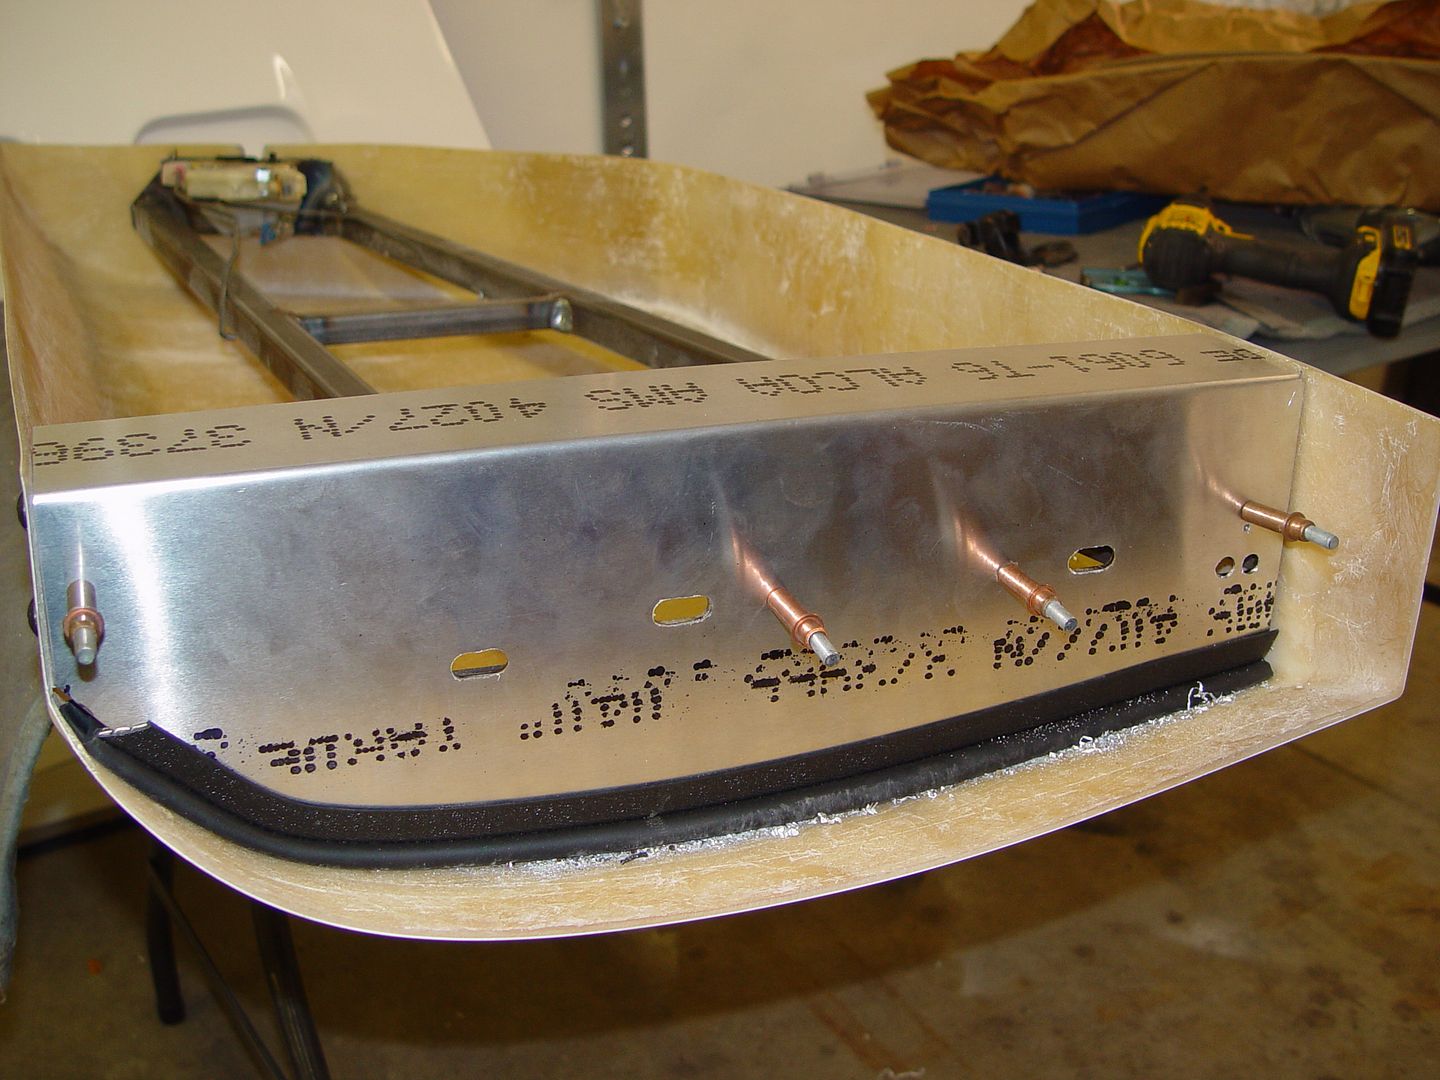
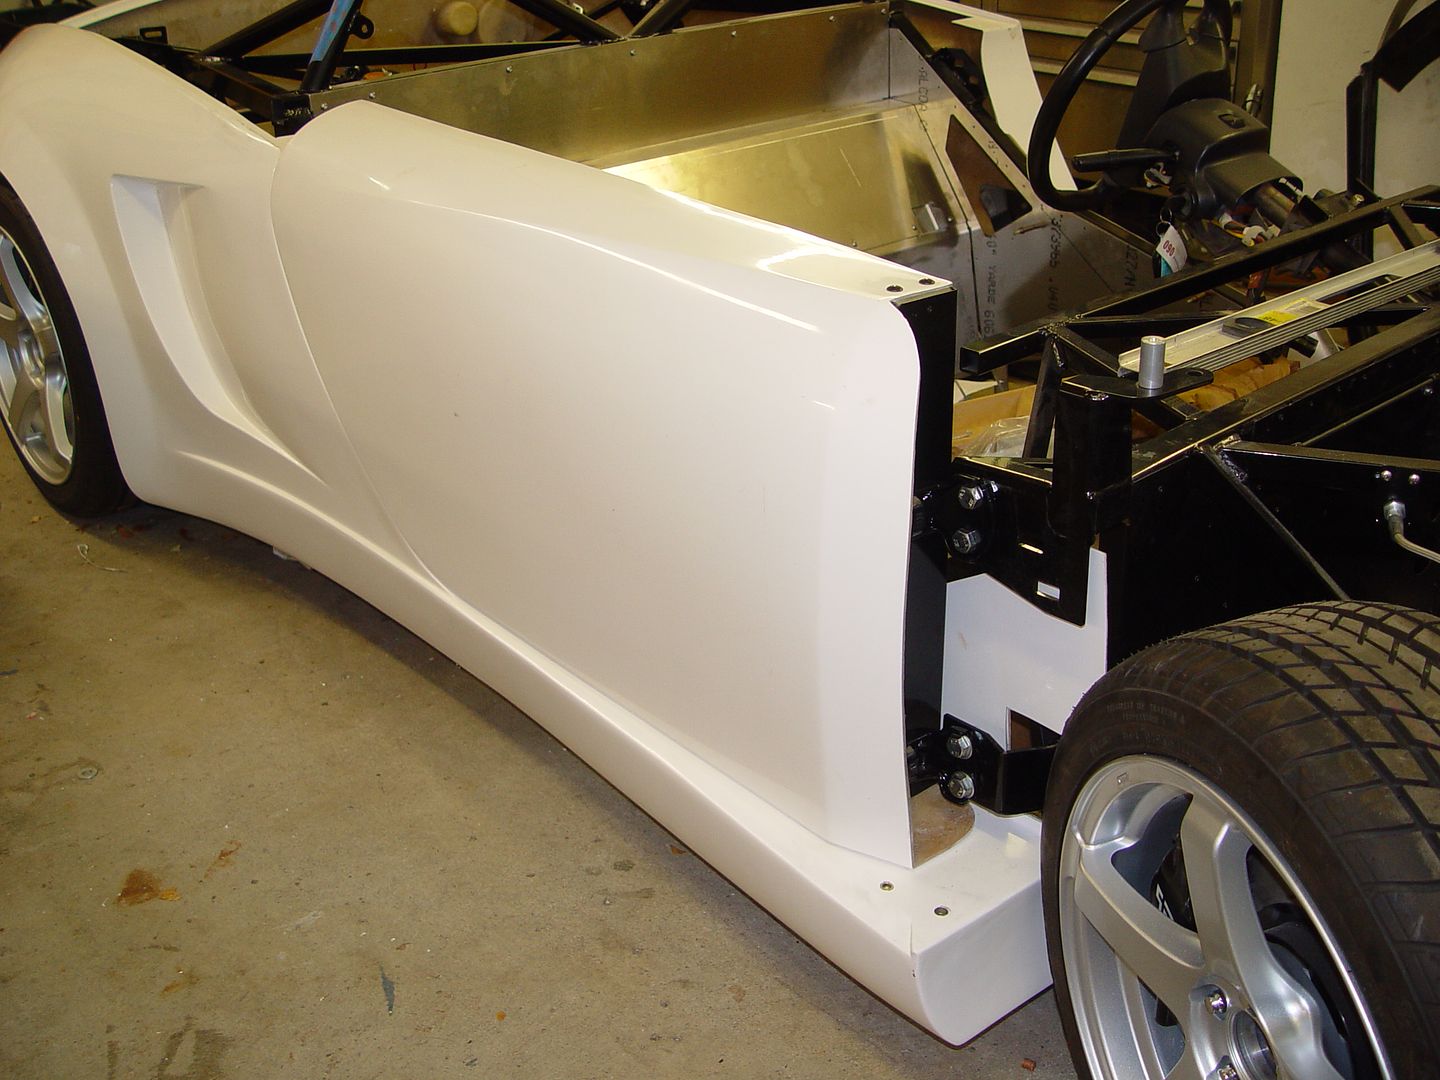
    On to the passenger door. No real issues, just lots of trial and error on the first one. The steel frame bolted on to the Subaru hinges with no issues. The latch bolted on perfectly too. The mounting screws were missing from the hardware pack. Not sure if its just mine or all of them. I found some metric flat head screws from the Roadster steering wheel mounting kit that worked.


    I did find that once the door was mounted, I ran out of slot length on the frame. I could not move the door far enough forward and not hit on the back side of the door. I ended up making the slots longer by about 1/4 inch. that solved that problem.


    Trial fitting of the aluminum.


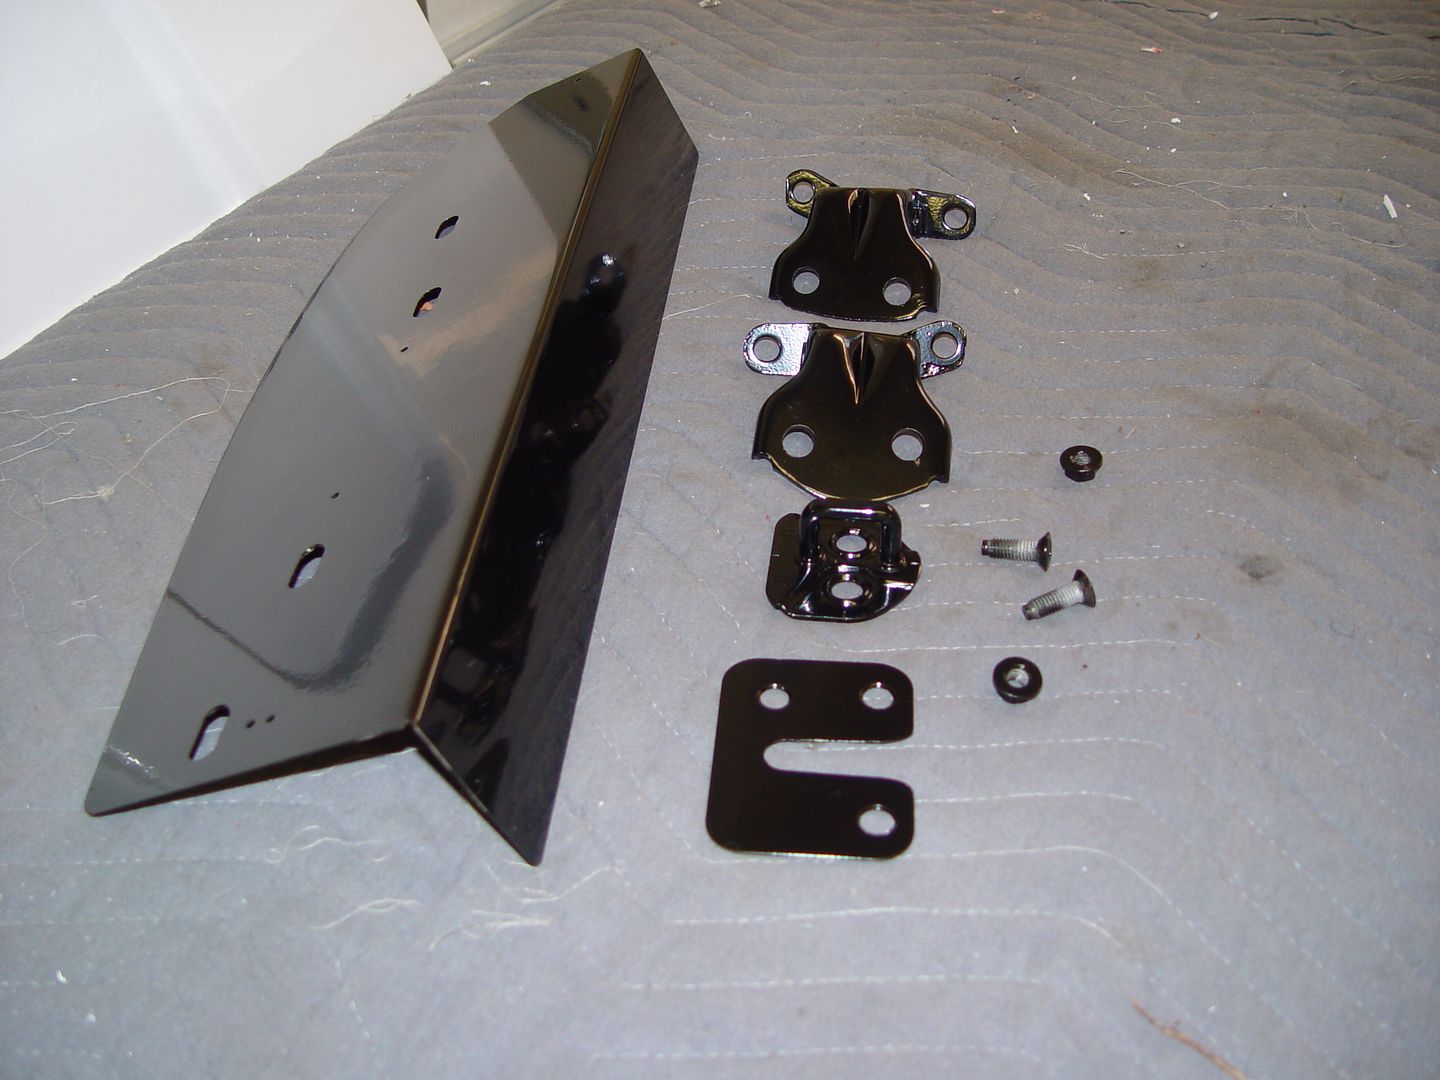
    here are all the door related parts all powder coated and ready for final installation.


  3. #163

    Join Date
    Feb 2011
    Location
    Norton, MA USA earth
    Posts
    3,345
    Post Thanks / Like
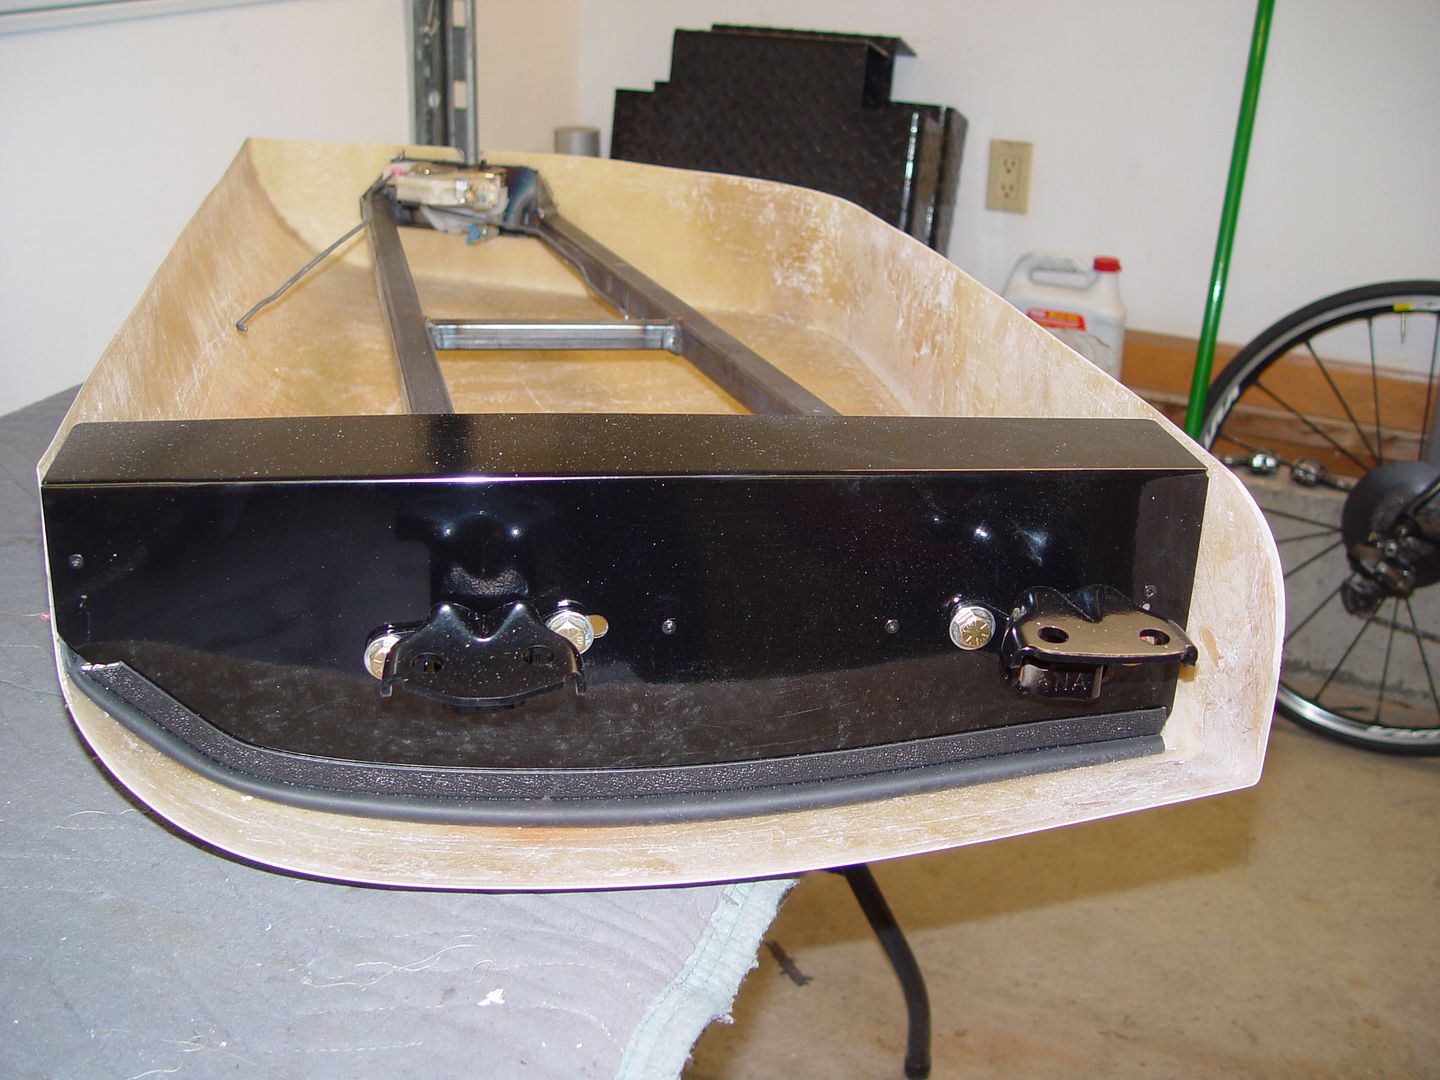
    And all installed.


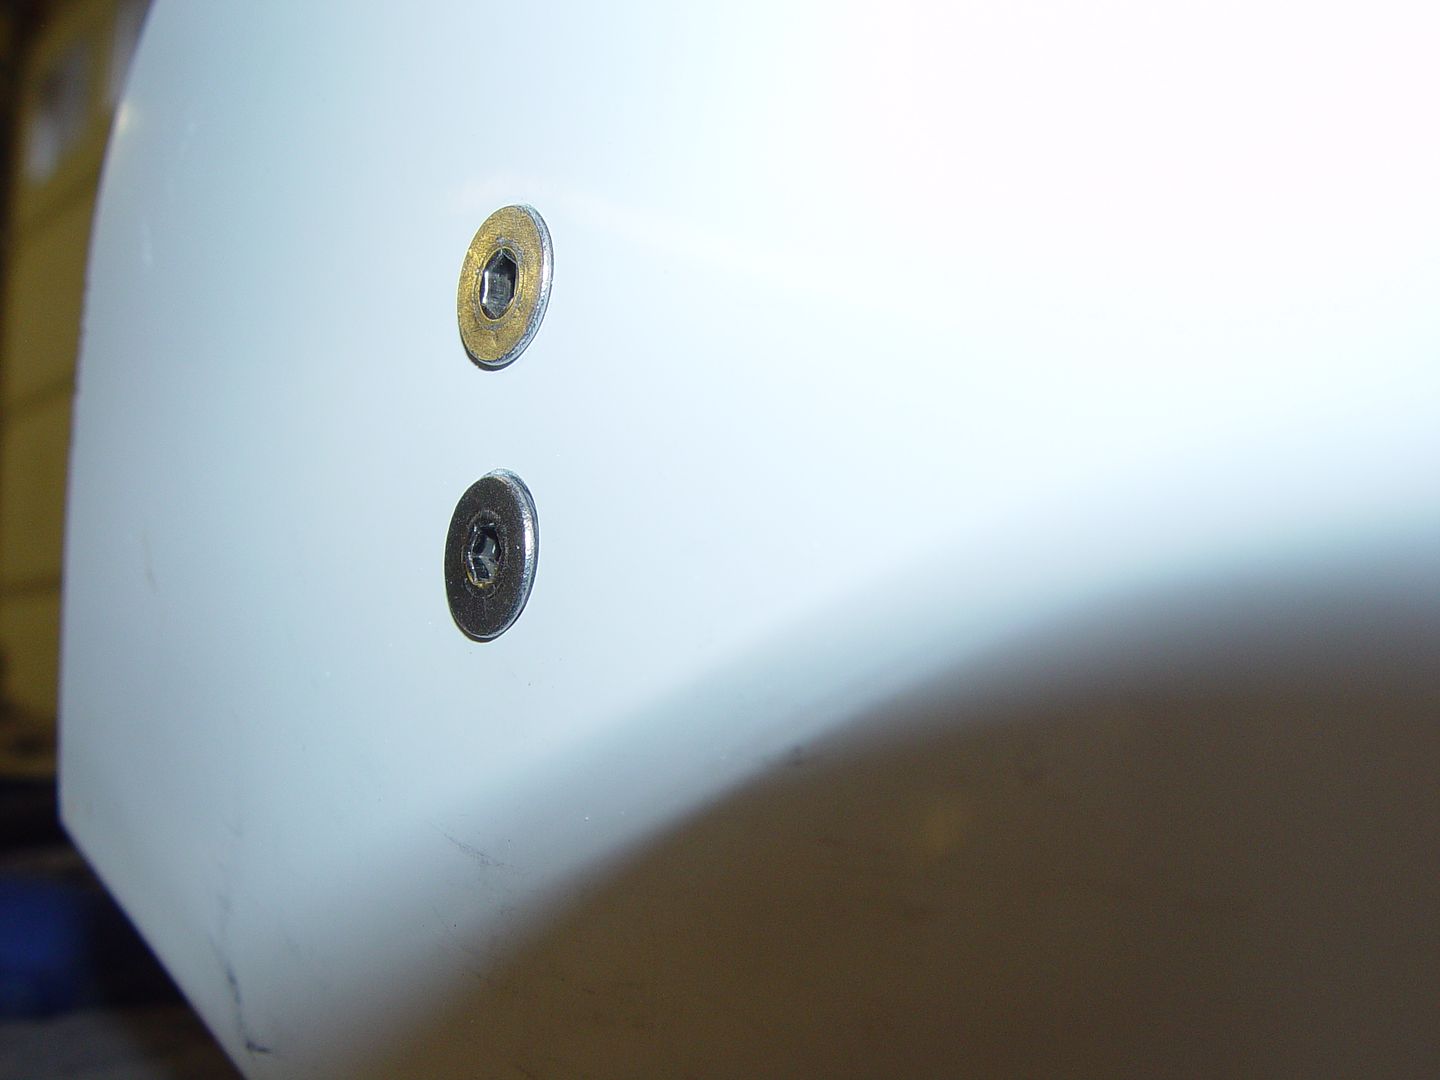
    I opted to use flat head bolts on the bottom of the door to give me a bit more room and not have them rub once its painted.


    Here is the door fitted to the chassis. Works very well.


  4. #164
    PLATNUM Supporting Member
    wallace18's Avatar
    Join Date
    Apr 2012
    Location
    Trenton, Florida
    Posts
    5,382
    Post Thanks / Like
    Looks great Mike! Thanks for the pictures and tips.

  5. #165
    Senior Member Quiny's Avatar
    Join Date
    Sep 2013
    Location
    Massachusetts
    Posts
    400
    Post Thanks / Like
    looks great Mike, what did you finally decide on for rims and tires?

  6. #166

    Join Date
    Feb 2011
    Location
    Norton, MA USA earth
    Posts
    3,345
    Post Thanks / Like
    Quiny. I haven't decided if I am going to stick with what I have or go to something with more spokes. Really like the wheels that FFR used on the red car.
    Mike

  7. #167
    East Coast Speed Machines Erik W. Treves's Avatar
    Join Date
    Feb 2011
    Location
    Huntsville, Al
    Posts
    2,109
    Post Thanks / Like
    looking great
    FFR 1879, Blown DSS 306,REDLINE management, VeryCoolParts Tuned 460RWHP

    FFR 818S, The Flash, Chassis #5, 2.0L, LSD, Electromotive TEC-S, VCP Tuned, 278RWHP 265 RWTQ

    FFR 6651, Green Lantern, 408W Crate, Hellion 66mm Turbo, JGS Waste gate / Blowoff valve, Tec-GT management, VCP Tuned, 575 RWHP, 690 RWTQ

    FFR 8335, Black Mamba, 289 FIA CSX 2001 tribute car, 347, 48 IDA webers, VCP Tuned, 311 RWHP 386 RWTQ, 3-link, Trigo's

    FFR 0004, Gen 3 , Hawk Coupe, Coyote twin turbo, 683 RWHP 559 RWTQ, IRS, VCP Tuned. "not too shabby"

    US ARMY Maintenance Test Pilot (CW4 Retired)

  8. #168
    Senior Member Frank818's Avatar
    Join Date
    Jun 2013
    Location
    QC, Canada
    Posts
    5,732
    Post Thanks / Like
    Nice pictures!
    Frank
    818 chassis #181 powered by a '93 VW VR6 Turbo GT3582R
    Go-karted Aug 5, 2016 - Then May 19+21, 2017
    Tracked May 27/July 26, 2017
    Build time before being driveable on Sep 27, 2019: over 6000h
    Build Completed Winter 2021

  9. #169
    Junior Member Scott J's Avatar
    Join Date
    Feb 2011
    Location
    Plymouth, MA
    Posts
    17
    Post Thanks / Like
    Thanks for all of the parts today Mike. I'm sorry I missed you. Your build is coming great, I'll definitely have to stop by again to see it when I purchase the next pieces you design. Is the alternator belt included with the kit or separate (part number?). What do you use for powder coating (Eastwood?) and how big of an oven do you use.
    Thanks again, Scott

  10. #170
    Senior Member THE ITALIAN's Avatar
    Join Date
    Feb 2011
    Location
    Coastal So Cal
    Posts
    229
    Post Thanks / Like
    You are really giving GREAT shots of your altering ideas. Really enjoy your details. These ideas, and sharing your thoughts are appreciated. This is how questions are answered when confronted with the same problem
    Thank You, you are building a data base for years to come. Mike
    Have any ideas about finishing the inside of the fiberglass, I would like to "clean-up" the exposed fibers with one solution. I know there are weight junkies out there, but details can make the car , even some sound deadening where it is not exposed - just a thought.
    Last edited by THE ITALIAN; 11-24-2013 at 04:56 AM.

  11. #171

    Join Date
    Feb 2011
    Location
    Norton, MA USA earth
    Posts
    3,345
    Post Thanks / Like
    I plan to use bed liner or undercoating on all exposed panels. I really don't want to see bare fiberglass.

    Scott. the alternator belt comes with the kit from FFR.
    Mike

  12. #172
    818 builder metalmaker12's Avatar
    Join Date
    Mar 2012
    Location
    Exeter R.I
    Posts
    2,834
    Post Thanks / Like
    Blog Entries
    1
    Agreed, I am using bed liner on all exposed glass. Looks shaky, you must be an rookie lol. Getting one of my doors kinda together, they sent me a package with all kinds of stuff, it looks like door panel hardware. See ya this coming week, and thank you

  13. #173
    Senior Member C.Plavan's Avatar
    Join Date
    Mar 2011
    Location
    Clovis, Ca
    Posts
    2,225
    Post Thanks / Like
    Great job Michael. I love your detailed threads and ideas.

    I received my care package from you also- great parts!


    Are those studs 1/4 by 1/2inch long?
    Last edited by C.Plavan; 11-24-2013 at 12:09 PM.
    Thanks- Chad
    818R-SOLD!!!- Go Karted 7/20/14/ Officially raced NASA ST2- 2/28/15
    2016 Elan NP01 Prototype Racecar Chassis #20
    1969 Porsche 911ST Vintage Race Car
    1972 Porsche 911T (#'s matching undergoing nut & bolt resto in my garage)

  14. #174

    Join Date
    Feb 2011
    Location
    Norton, MA USA earth
    Posts
    3,345
    Post Thanks / Like
    yes. 1/4 by 1/2
    Mike

  15. #175
    Mechie3's Avatar
    Join Date
    May 2012
    Location
    Indianapolis
    Posts
    5,174
    Post Thanks / Like
    Did you mount your doors in the order listed in the manual? It seems if you mount the catch on the door jam ,then mount the door skin and cut it and then adjust it you'd end up with the lock mechanism no longer being lined up.
    Zero Decibel Motorsports
    Check out my new website!
    www.zerodecibelmotorsports.com
    www.facebook.com/zero.decibel.motorsports

  16. #176
    Junior Member
    Join Date
    Dec 2013
    Posts
    1
    Post Thanks / Like

    Clubba

    Wow! That looks like a new motor! Great job!

  17. #177
    Senior Member Quiny's Avatar
    Join Date
    Sep 2013
    Location
    Massachusetts
    Posts
    400
    Post Thanks / Like
    Hey Mike how goes the build? Anything new?

  18. #178

    Join Date
    Feb 2011
    Location
    Norton, MA USA earth
    Posts
    3,345
    Post Thanks / Like
    I know its been a long time since I have updated my build thread. Truth is I have not had a second to work on my kit. This weekend I did find some time. I finally got the whole car wired and most of it checked out. Thanks to my neighbor and fellow builder , Randy we were able to get the headlight switch working properly. Other than that small glitch, everything worked. I have not tried to fire the engine yet though. Hopefully after buying some missing parts, I can finish up the engine and fire it up. After that, I will remove the harness and cover and tape it up. Its amazing how small my harness is compared to some others I have seen. I ended up using a Painless harness to handle the whole car with the exception of the engine. I dieted everything out of the stock harness that did not directly interact with the engine. Makes for a very small package. Once its running, I just need to finish up the interior and finish mounting the hood and rear engine covers.
    Mike

  19. #179
    Mechie3's Avatar
    Join Date
    May 2012
    Location
    Indianapolis
    Posts
    5,174
    Post Thanks / Like
    How much was your painless system? Did it retain the alarm?
    Zero Decibel Motorsports
    Check out my new website!
    www.zerodecibelmotorsports.com
    www.facebook.com/zero.decibel.motorsports

  20. #180

    Join Date
    Feb 2011
    Location
    Norton, MA USA earth
    Posts
    3,345
    Post Thanks / Like
    I think the painless harness is about $400.00 It a stand alone universal harness I used part number10102. No alarm stuff.
    mike

  21. #181
    Senior Member
    Join Date
    May 2012
    Location
    Suisun City, CA
    Posts
    851
    Post Thanks / Like
    It's been wayyyy too long, Mr. Everson. Any progress?
    818S - #67 (SOLD IT!)
    Delivered: 18 November 2013
    Go Karted: 29 December 2013
    Titled/Registered: 28 March 2014
    Finished: NEVER!
    341 hp @ 4844 RPM / 389 tq @ 3717 RPM

  22. #182

    Join Date
    Feb 2011
    Location
    Norton, MA USA earth
    Posts
    3,345
    Post Thanks / Like
    Jerome. I have not had time to do much on it. I will post an update this weekend. with some progress.
    Mike

  23. #183

    Join Date
    Feb 2011
    Location
    Norton, MA USA earth
    Posts
    3,345
    Post Thanks / Like
    Ok. Heres an update. I haven't had too much time to work on the 818, but did get some interior work done. First, I knew I wanted to use harnesses, so I needed a way to mount them. For the uppers, I bought the harness bar from Factory five. The lowers were a little more tricky I started with the thickest piece of metal I could find. Quick jacks.


    I used quick jacks for one of the floor mounts. They are bolted through the frame in three places. Should be plenty strong enough.


    Here is a pic of the quick jack modified and ready for use.


    And here it is installed.
    I thought I took pics of the outer mounts, but I guess not. They were made from the FFR supplied stock seat mounts. they are bolted through the frame in 2 places.

  24. #184

    Join Date
    Feb 2011
    Location
    Norton, MA USA earth
    Posts
    3,345
    Post Thanks / Like
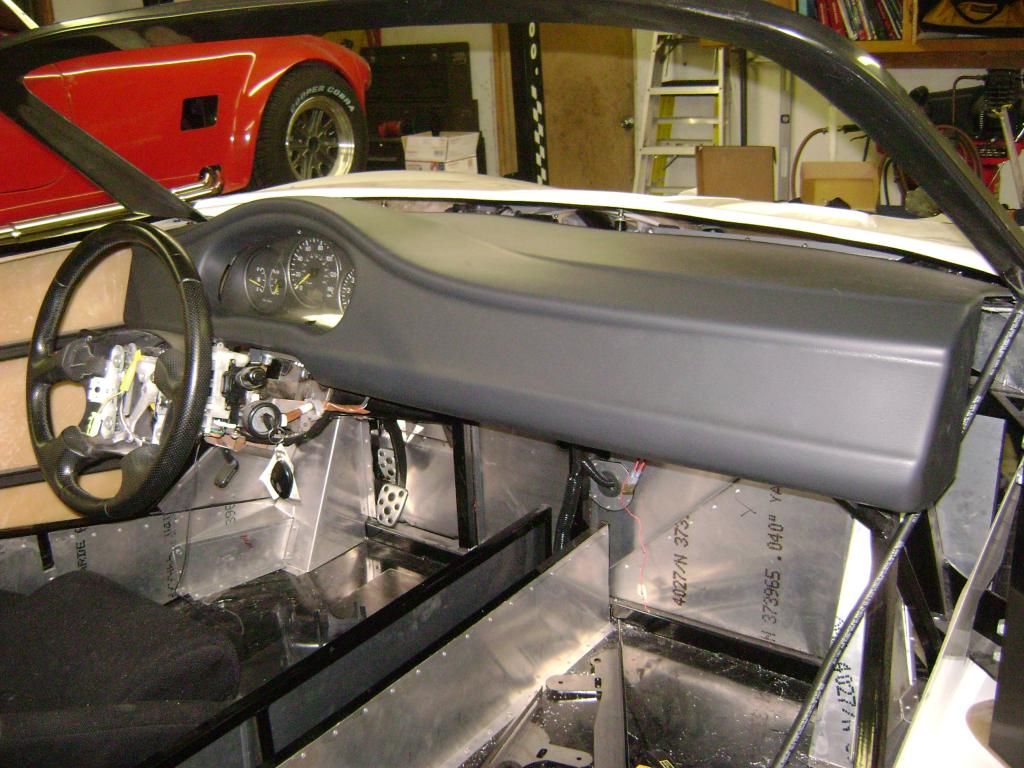
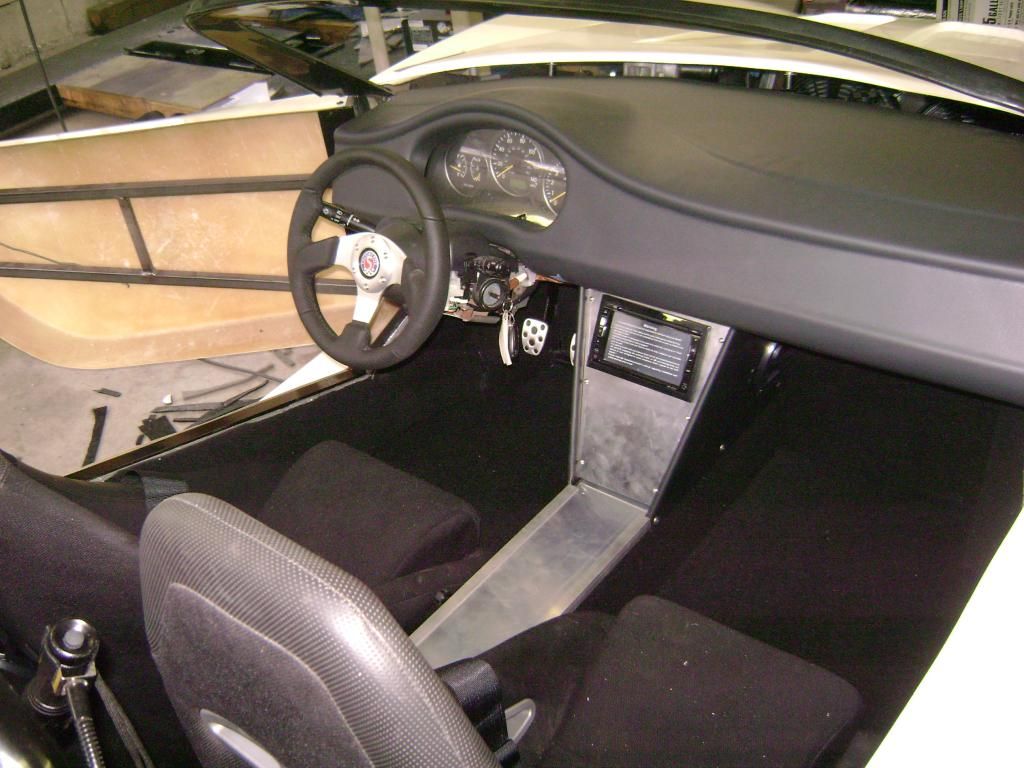
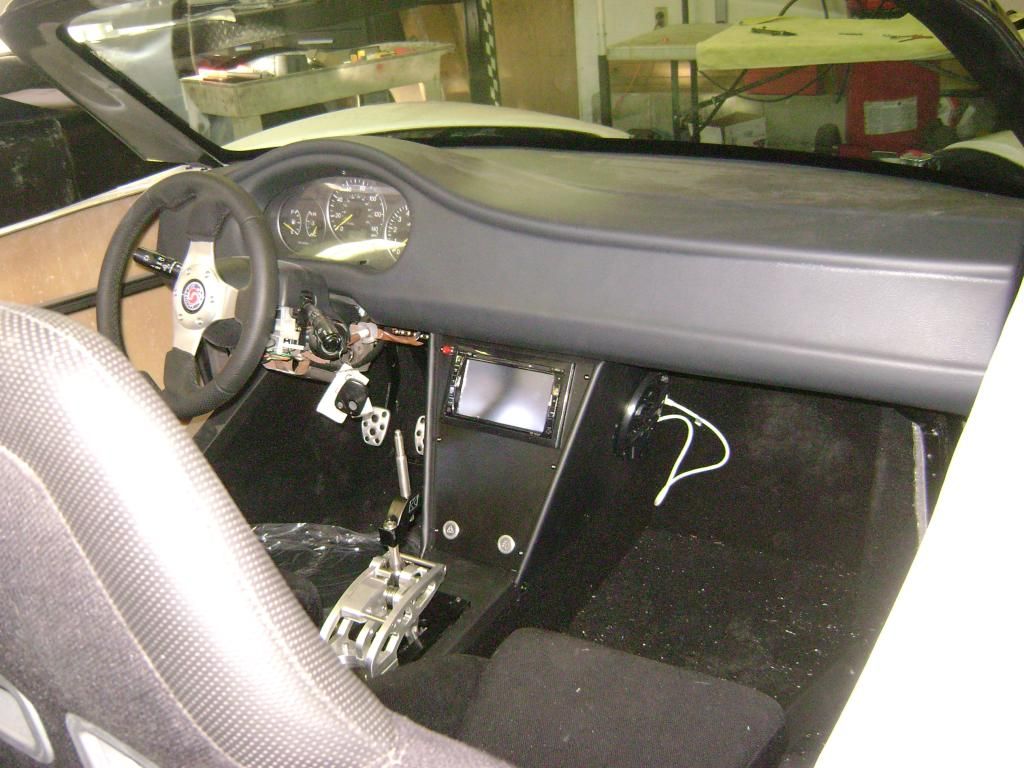
    I decided to buy the covered dash and door panels. The dash is so much nicer than the stock unit. I have not opened the door panels yet.


    Looks good mounted in the car.
    needs more support than the 2 brackets that are supplied. I will make at least 2 more.

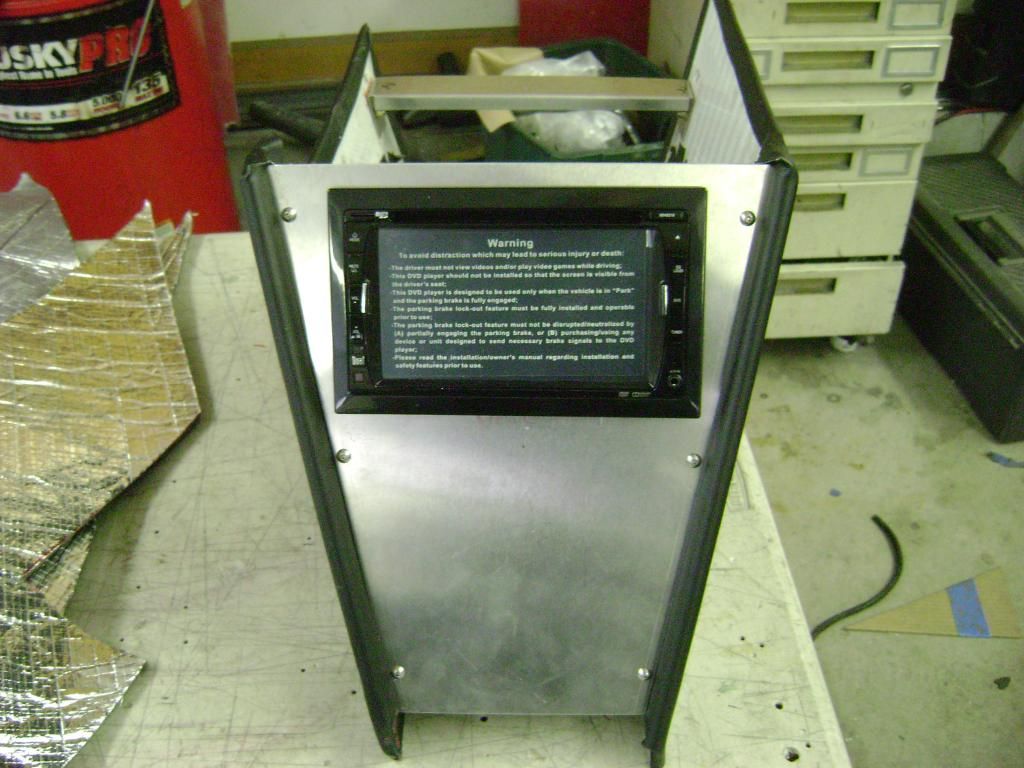
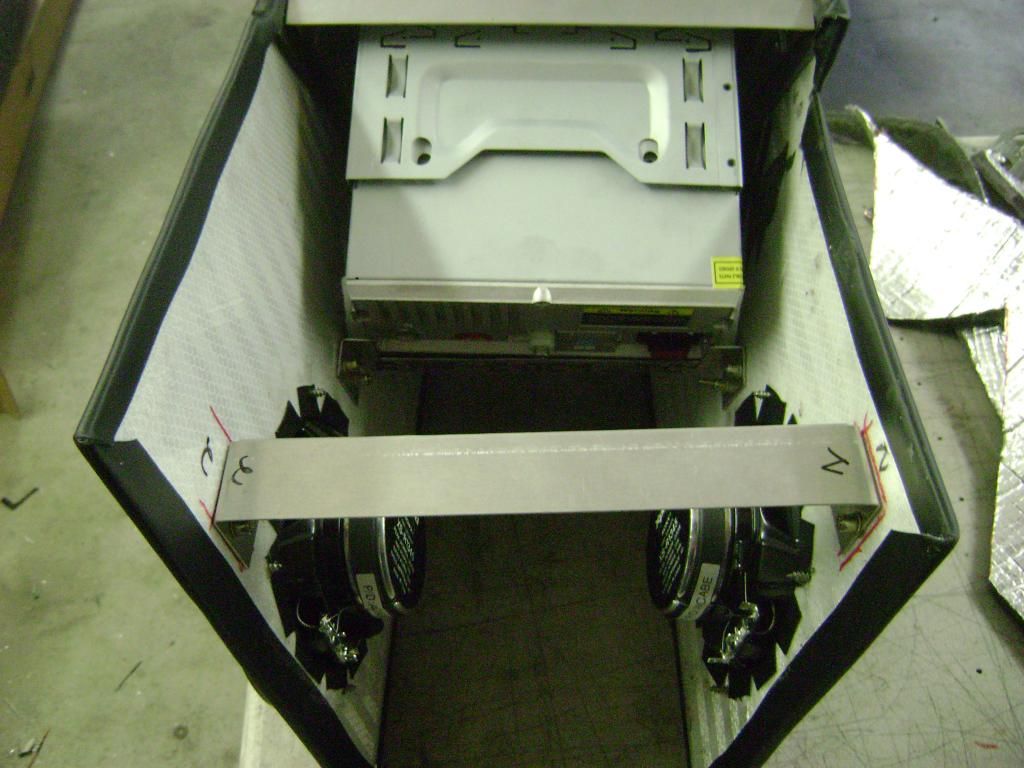
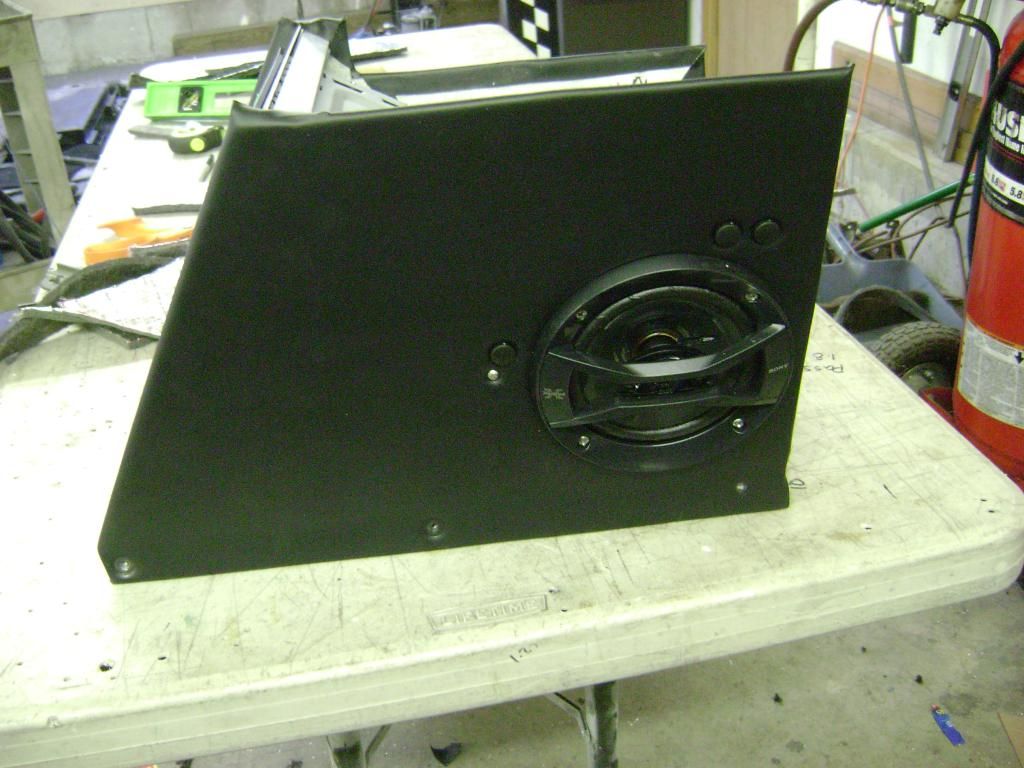
    I also wanted to install a radio. I needed to make a console in order to do that. This is my first attempt. Came out pretty good.


    The front plate is removable so I can add to it as I see fit. I know I will be adding some switches and possible a cubby. The plate will be powder coated black once it is finalized.


    Even installed speakers in it.

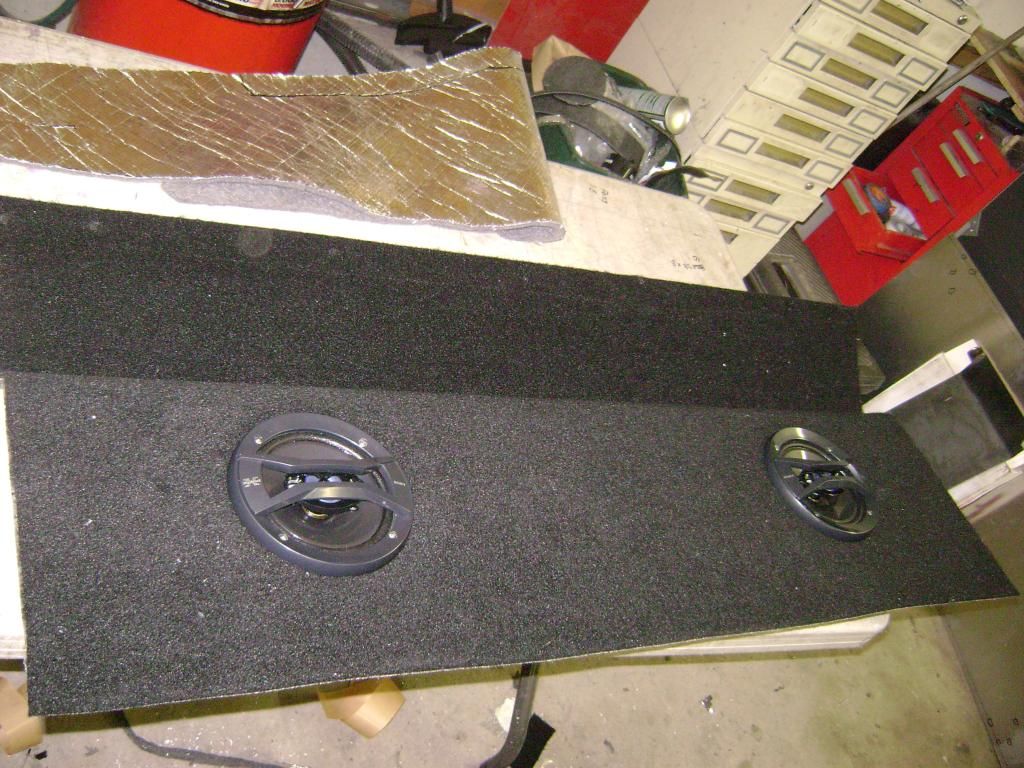
    I made the rear upper firewall removable even once the car is finished. This required cutting it a little narrower to clear the insulation and carpet. It was then insulated and carpeted out of the car. It can be removed with just a few screws. This panel got speakers as well.


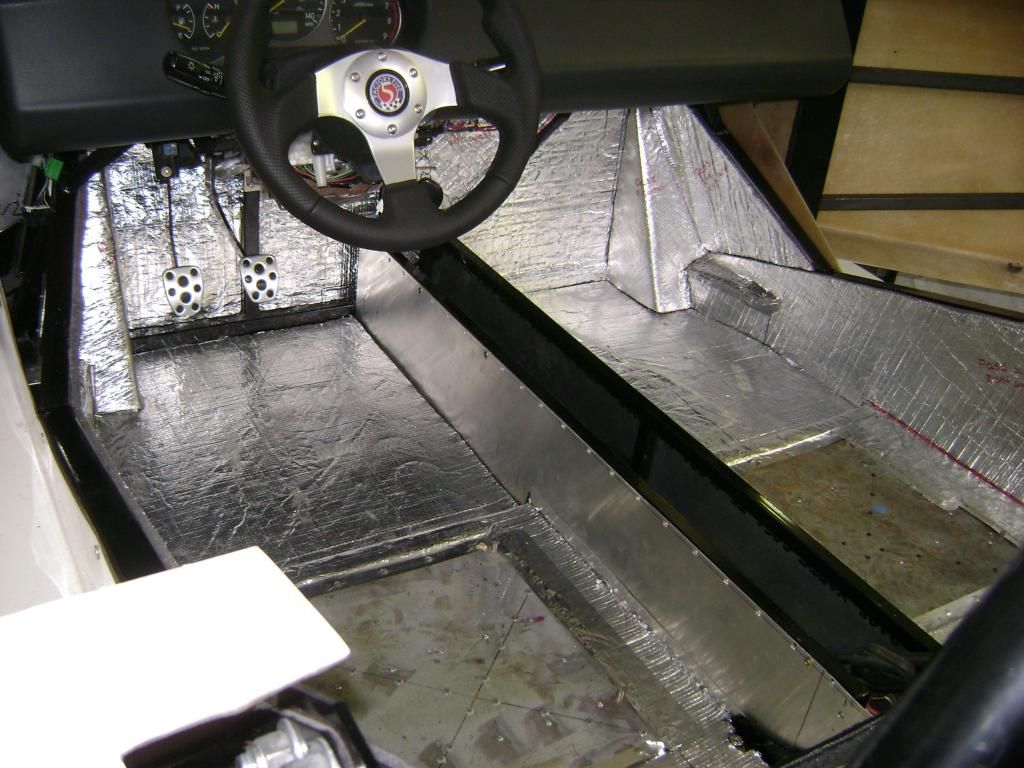
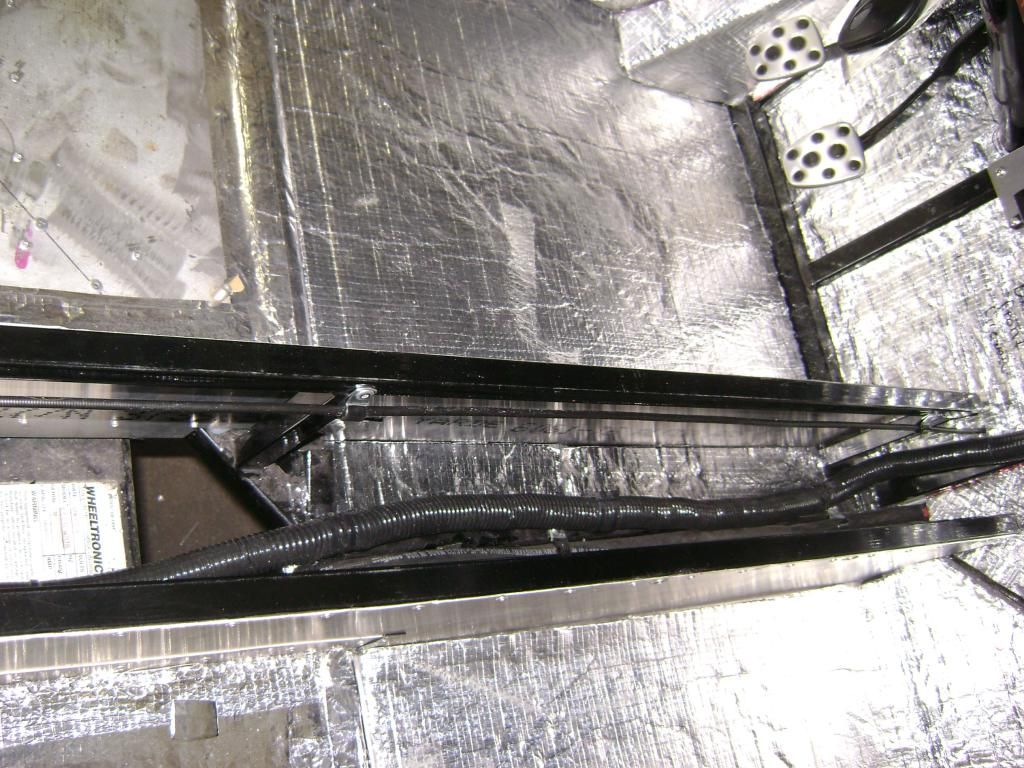
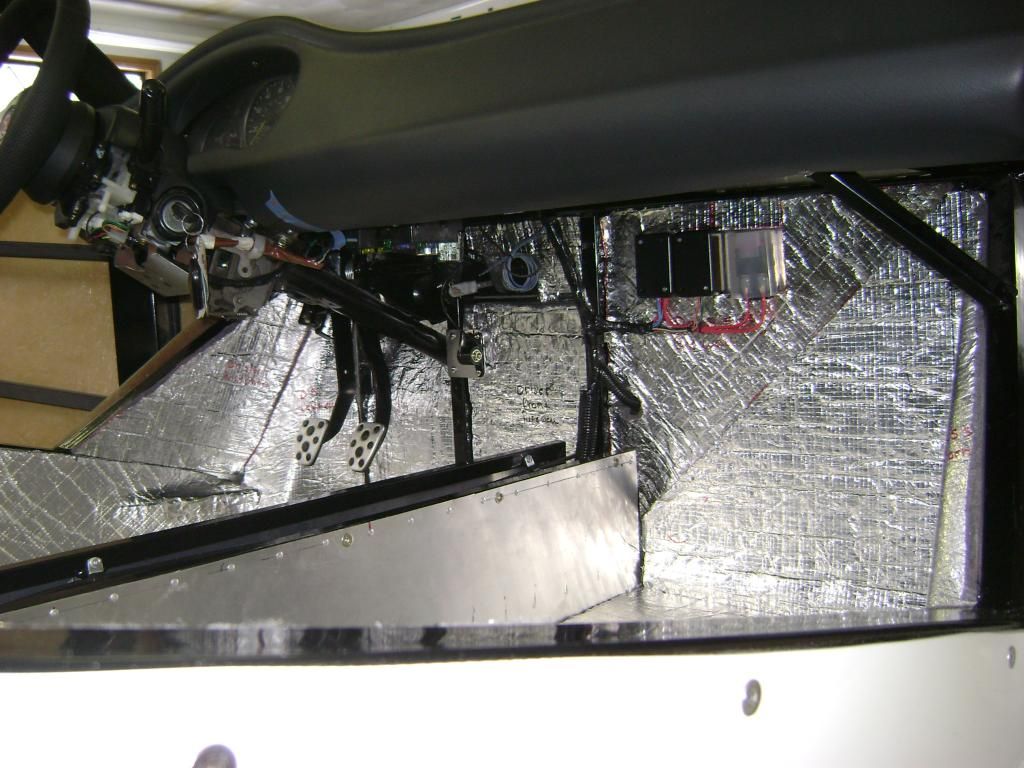
    Here are some pics of the interior fully insulated. Should be pretty quiet and cool.


    Last edited by michael everson; 02-15-2015 at 05:23 PM.

  25. #185

    Join Date
    Feb 2011
    Location
    Norton, MA USA earth
    Posts
    3,345
    Post Thanks / Like


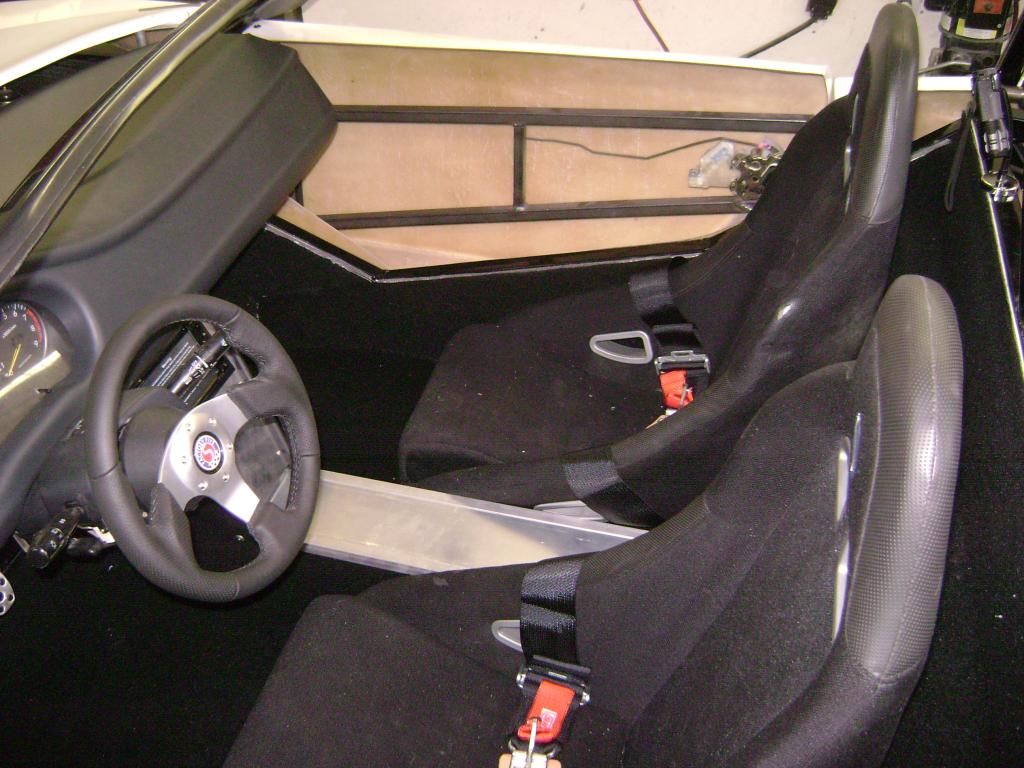
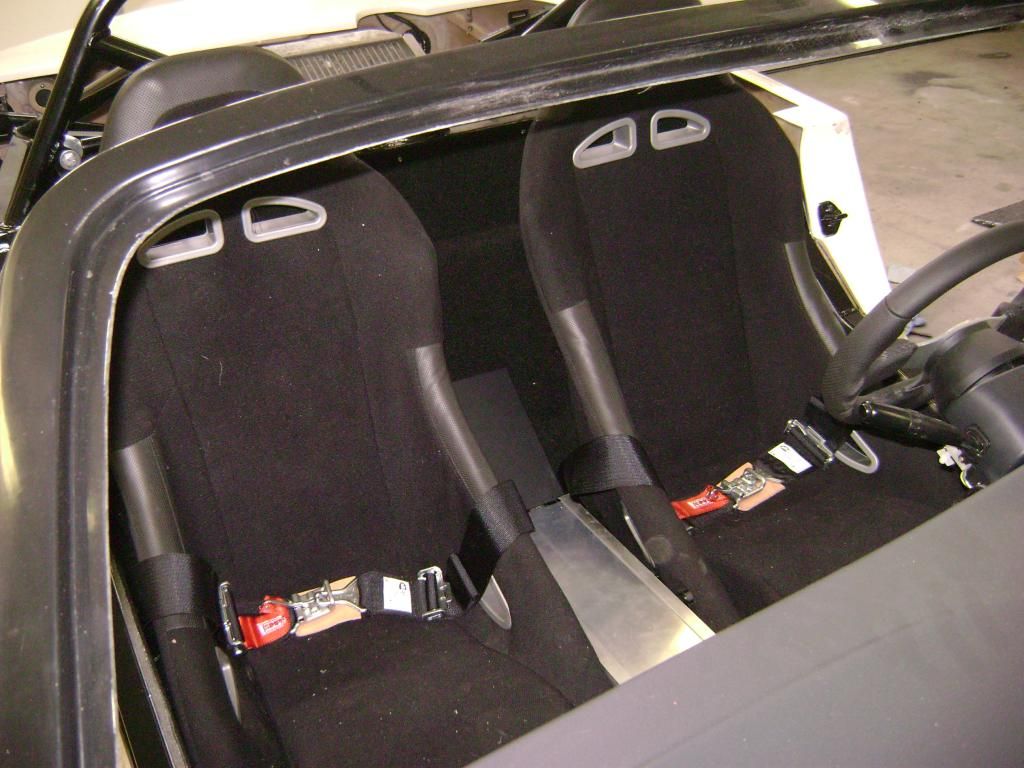
    I used the Breeze seat mounts and will be installing a set of FFR high back seats that I picked up at the open house.

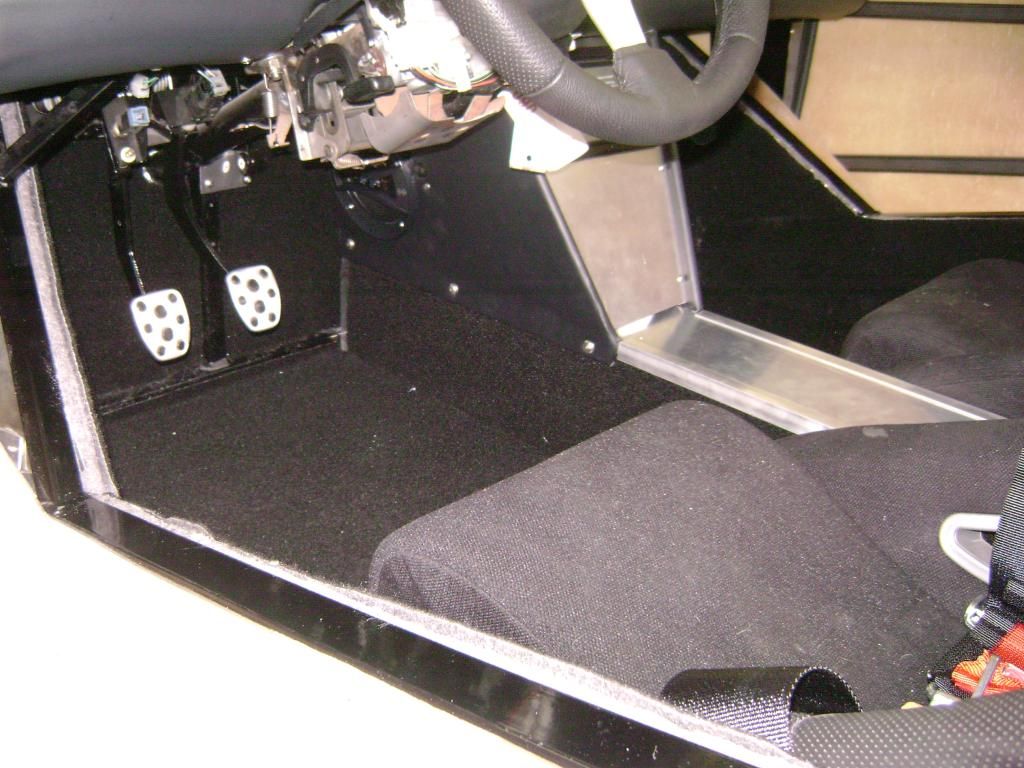
    The following pics show the interior almost done. I still need to finalize the tunnel, but waiting on a new shifter from VCP before I can finish that up. I also plan on using an electric parking brake, so no need for a handle.


  26. #186

    Join Date
    Feb 2011
    Location
    Norton, MA USA earth
    Posts
    3,345
    Post Thanks / Like
    My next project will be to see if I can get a heater and defroster mounted under the dash. There should be plenty of room.
    Mike

  27. #187
    Senior Member
    Join Date
    Aug 2013
    Posts
    121
    Post Thanks / Like
    Simple and clean, I like it.

  28. #188
    Senior Member
    Join Date
    May 2012
    Location
    Suisun City, CA
    Posts
    851
    Post Thanks / Like
    Is that the FFR full carpet kit?
    818S - #67 (SOLD IT!)
    Delivered: 18 November 2013
    Go Karted: 29 December 2013
    Titled/Registered: 28 March 2014
    Finished: NEVER!
    341 hp @ 4844 RPM / 389 tq @ 3717 RPM

  29. #189

    Join Date
    Feb 2011
    Location
    Norton, MA USA earth
    Posts
    3,345
    Post Thanks / Like
    Jerome. No. I cut it myself. I don't know how much there kit covers.

  30. #190
    PLATNUM Supporting Member
    wallace18's Avatar
    Join Date
    Apr 2012
    Location
    Trenton, Florida
    Posts
    5,382
    Post Thanks / Like
    Nice work Mike!

  31. #191
    Senior Member ehansen007's Avatar
    Join Date
    Mar 2011
    Location
    Aliso Viejo, CA
    Posts
    1,625
    Post Thanks / Like
    Clean as always. What do you think about the kit and the way it goes together compared to the others?

  32. #192

    Join Date
    Feb 2011
    Location
    Norton, MA USA earth
    Posts
    3,345
    Post Thanks / Like
    Its been a huge learning curve for me. Not familiar with all the Subaru stuff, lots of guessing and changing along the way. I am sure 5 years from now these will be almost as easy to assemble as the Roadster kits. In my educated opinion, these will take longer to build than the roadster. Partly due to the multiple body panels, and the amount of aluminum that needs to be fitted and riveted. Not to mention the dieting of the harness. Someone really needs to come out with a cost effective harness that is plug and play. Somewhere around $800-$1000 would be fair.
    Mike

  33. #193
    Senior Member AZPete's Avatar
    Join Date
    Feb 2011
    Location
    Scottsdale, AZ
    Posts
    2,374
    Post Thanks / Like
    Mike, I'm impressed with our build and just went back through this build thread.
    "Someone really needs to come out with a cost effective harness that is plug and play." - I agree! I thought I was done with dieting/wiring but now I'm back into it chasing a few codes and dash lights. Yech.
    818S/C : Chassis #25 with 06 WRX 2.5 turbo, ABS, cruise, PS, A/C, Apple CarPlay, rear camera, power windows & locks, leather & other complexities. Sold 10/19 with 5,800 miles.
    Mk3 Roadster #6228 4.6L, T45, IRS, PS, PB, ABS, Cruise, Koni's, 17" Halibrands, red w/ silver - 9K miles then sold @ Barrett-Jackson Jan 2011 (got back cash spent).

  34. #194
    Senior Member rjh2pd's Avatar
    Join Date
    Jul 2012
    Location
    Detroit MI
    Posts
    159
    Post Thanks / Like
    Here is an option for a heater. Are you going to be doing a coupe, or an open top with a heater?

    http://www.jegs.com/i/JEGS+Performan...70601/10002/-1

  35. #195
    Senior Member
    Join Date
    Jan 2012
    Posts
    1,112
    Post Thanks / Like
    Looks good, I like your center console what are the sides made out of? Also you speaker locations are perfect might need to copy you.

  36. #196

    Join Date
    Feb 2011
    Location
    Norton, MA USA earth
    Posts
    3,345
    Post Thanks / Like
    The center console is made out of aluminum. It is then padded and covered in vinyl.
    Mike

  37. #197
    Senior Member TouchStone's Avatar
    Join Date
    Sep 2014
    Location
    Dallas, TX
    Posts
    512
    Post Thanks / Like
    Blog Entries
    1
    Quote Originally Posted by michael everson View Post
    Your missing the front outer cv joint. This and the axle nut hold the wheel bearings in place and probably should be torqed before lowering the car.

    manualpic.JPG
    818S Chassis #288 2.5L 323hp
    Ordered: 9/19/14 Received Kit: 11/2/14 First Start: 5/31/15 First Drive: 6/7/15 Registered: 3/10/2016 Completed: 2/10/2017
    Status: Complete Build Thread Sold 9/22/2017

    joshuajach.com

  38. #198

    Join Date
    Feb 2011
    Location
    Norton, MA USA earth
    Posts
    3,345
    Post Thanks / Like
    Touchstone. That's an old picture. I was waiting to have the outer joint cup removed. It never saw an pressure.
    Mike

  39. #199

    Join Date
    Feb 2011
    Location
    Norton, MA USA earth
    Posts
    3,345
    Post Thanks / Like
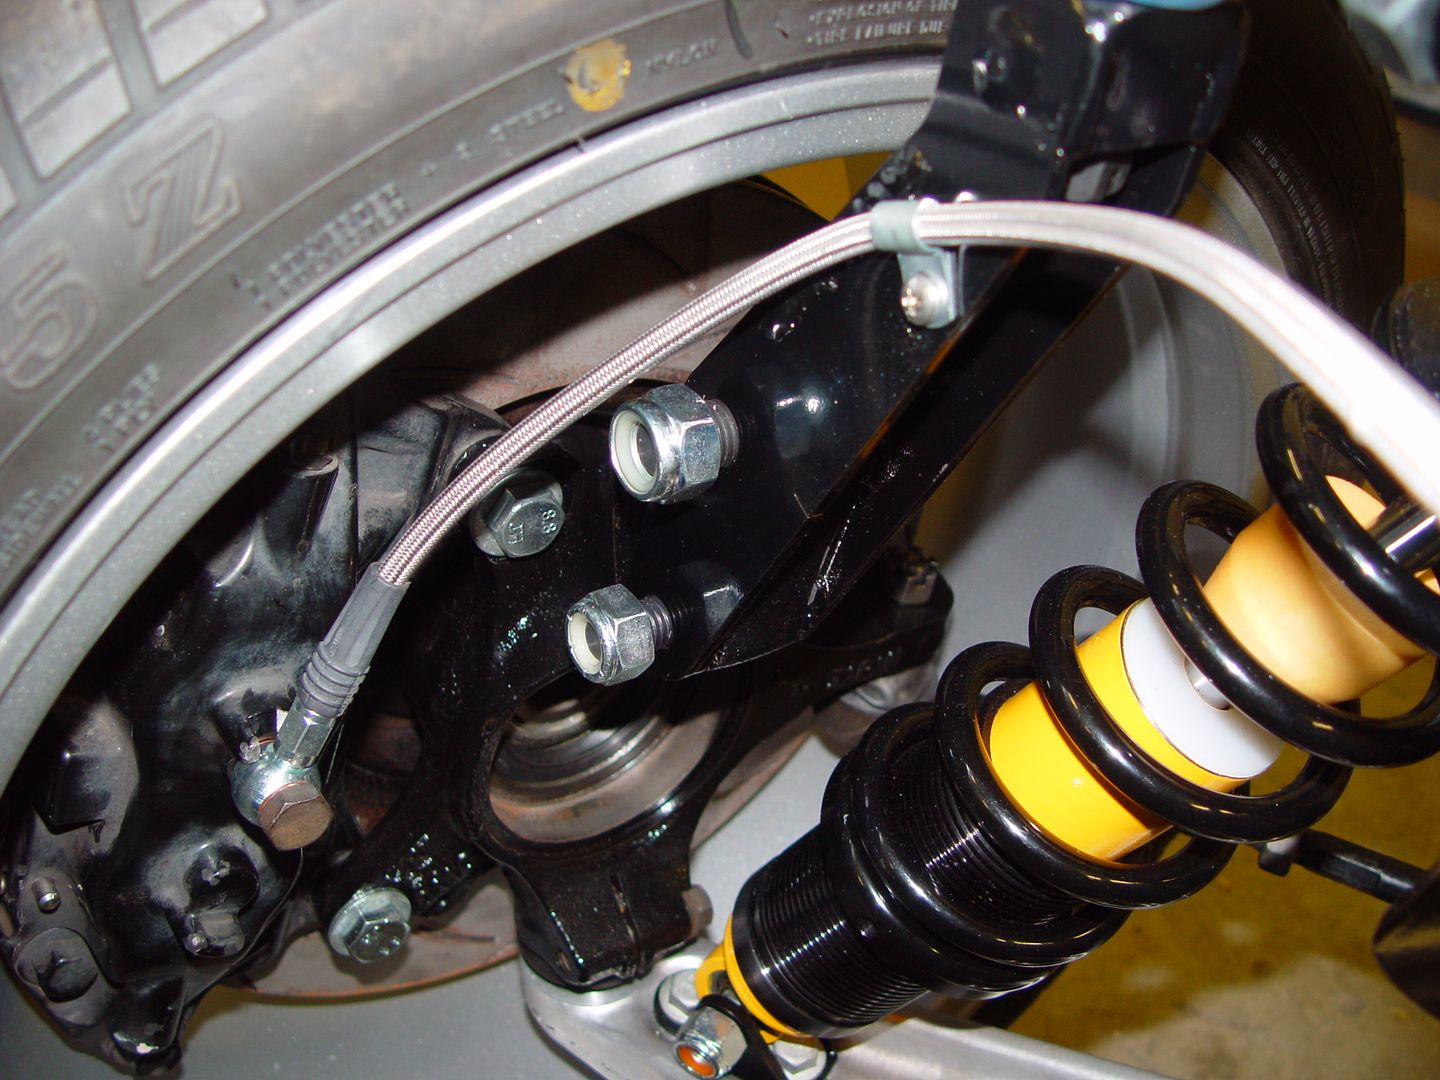
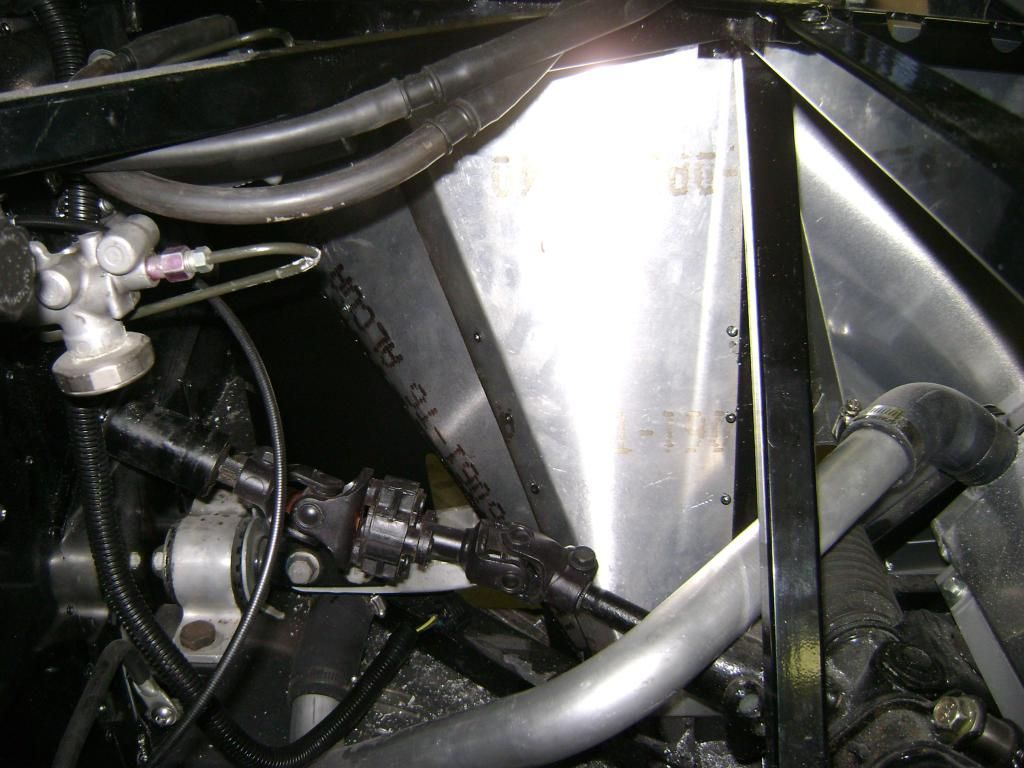
    I have all the front wheel well panels powder coated and installed. Since I am not planning on using the sway bar, I made a panel to cover that hole as well.


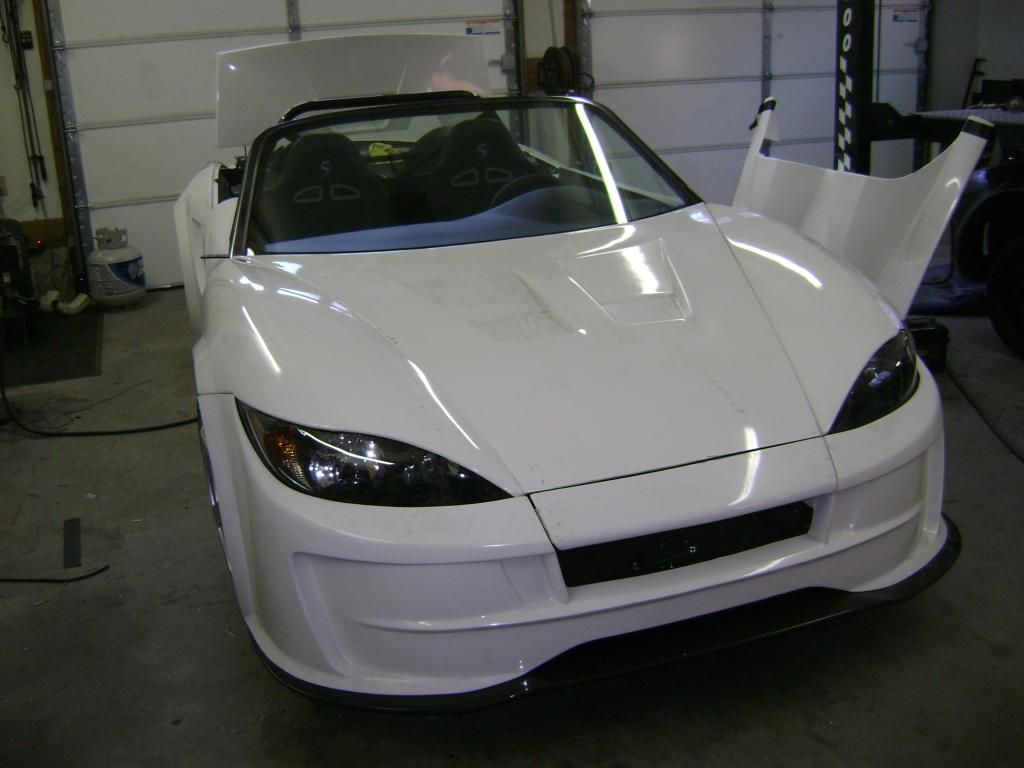
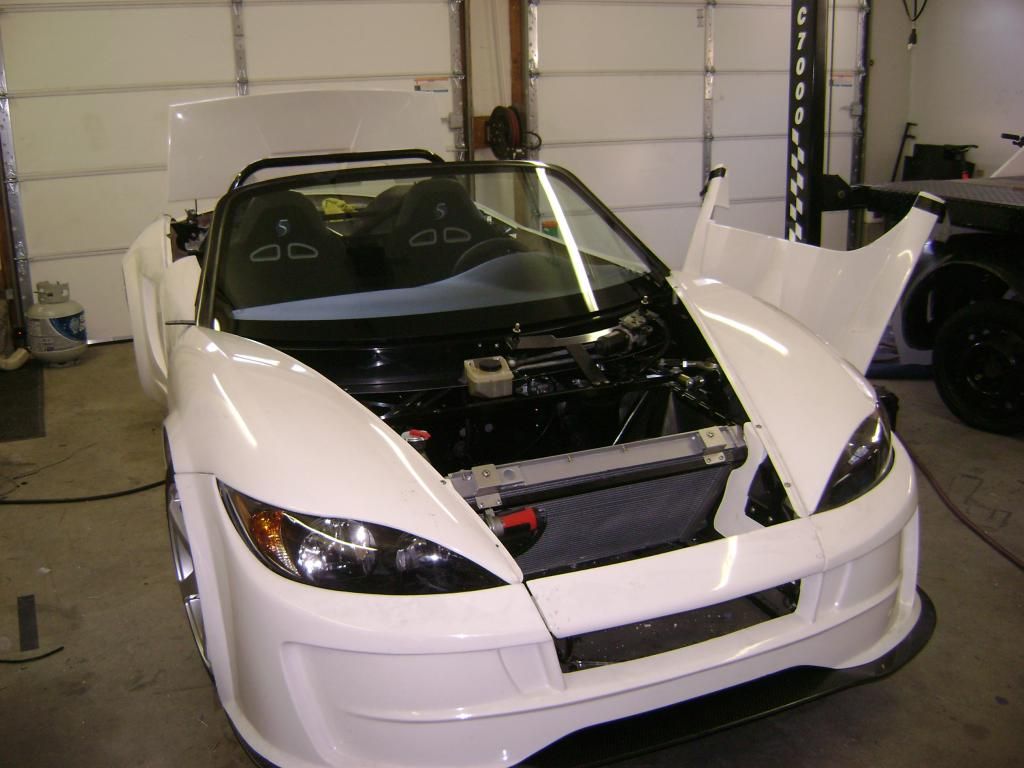
    Here are a couple of pics with the windshield installed. Really starting to look like a car now.


    And the Dash and windshield together.


    I still have quite a bit to do before its finished. Getting closer every day though
    Mike

  40. #200
    Senior Member
    Join Date
    Oct 2012
    Posts
    556
    Post Thanks / Like
    Hey Michael - why did you separate the front of the hood?

Page 5 of 6 FirstFirst ... 3456 LastLast

Posting Permissions

  • You may not post new threads
  • You may not post replies
  • You may not post attachments
  • You may not edit your posts
  •  

Breeze

Visit our community sponsor