Thanks:
  Likes:


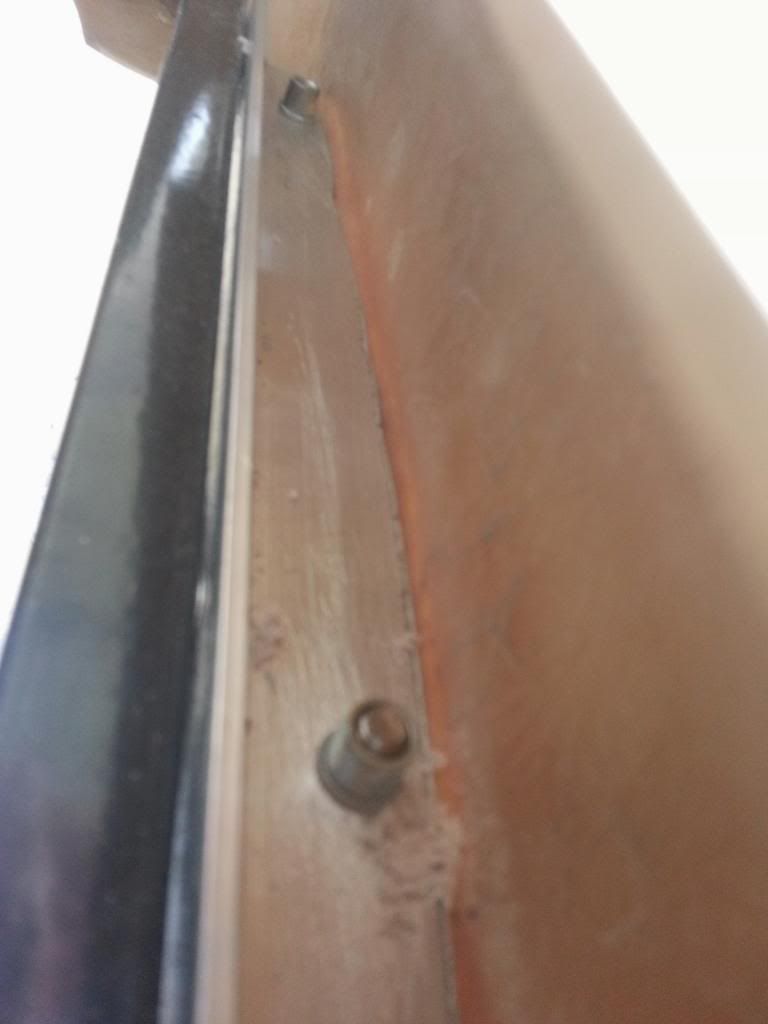
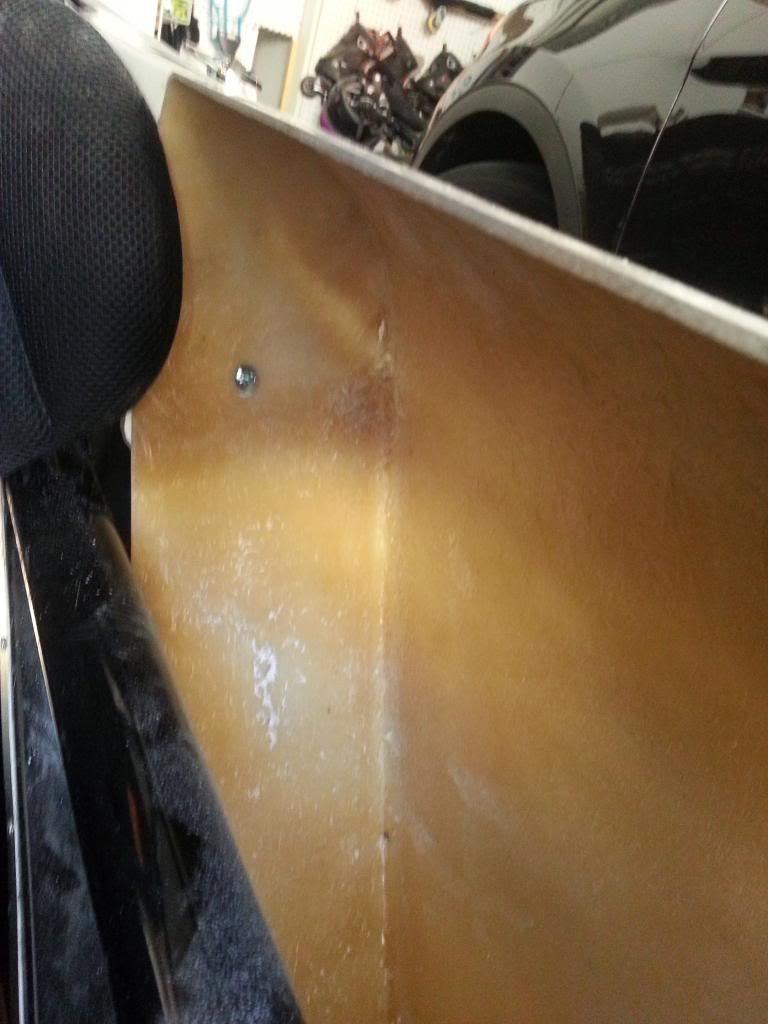
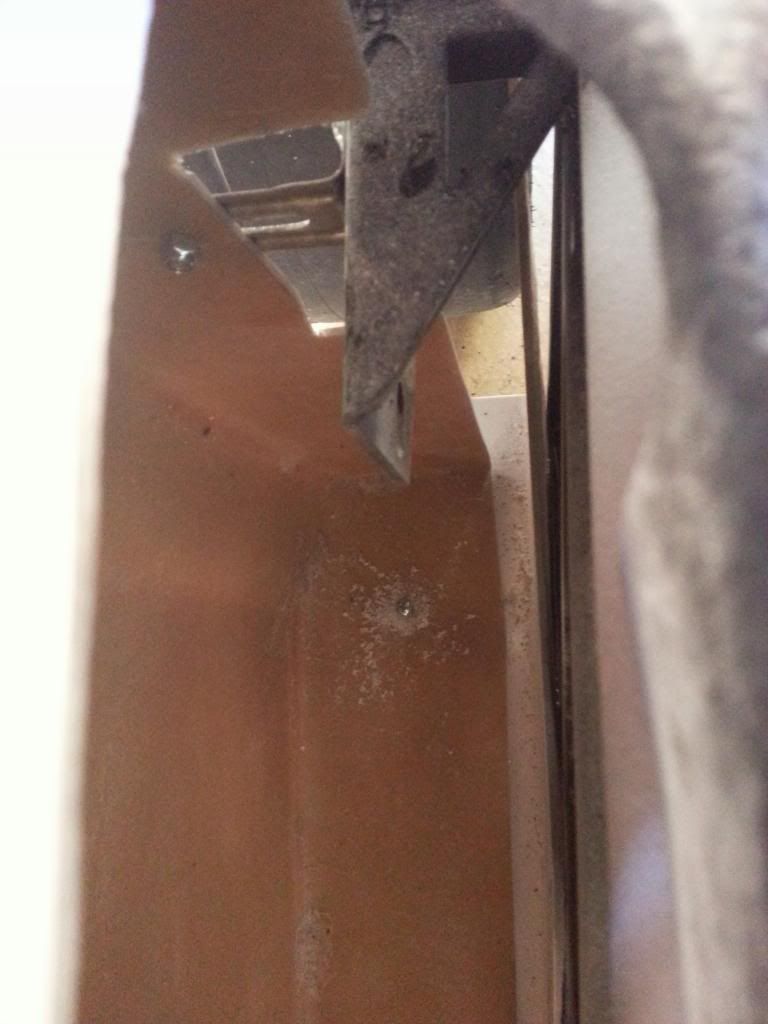
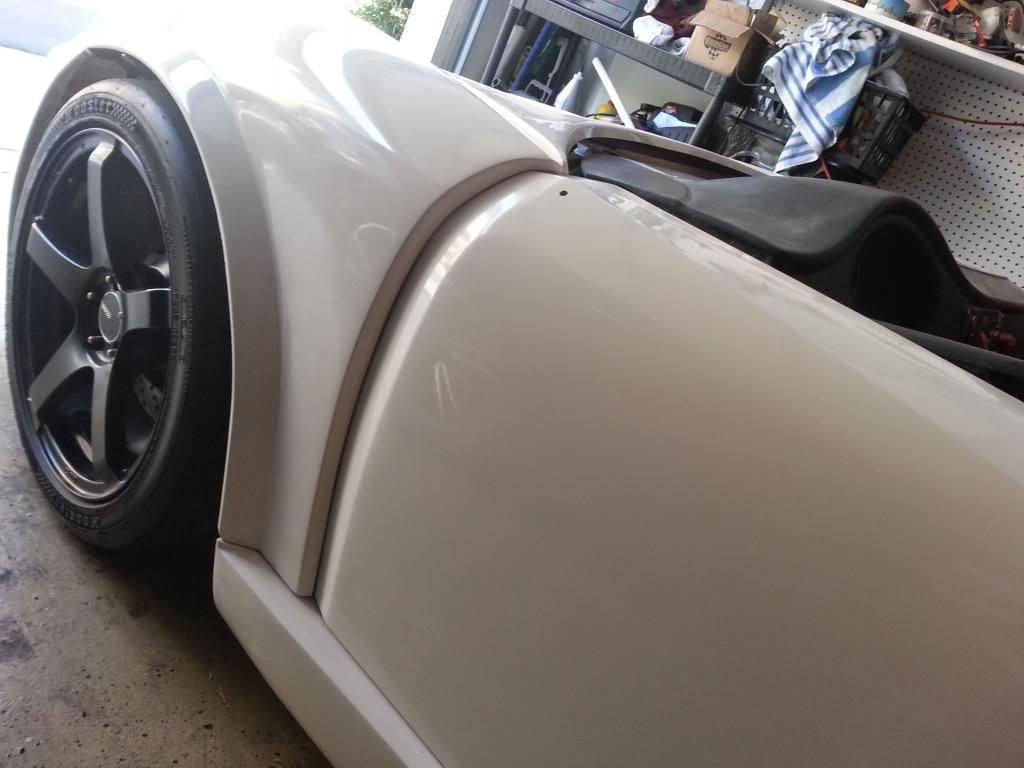
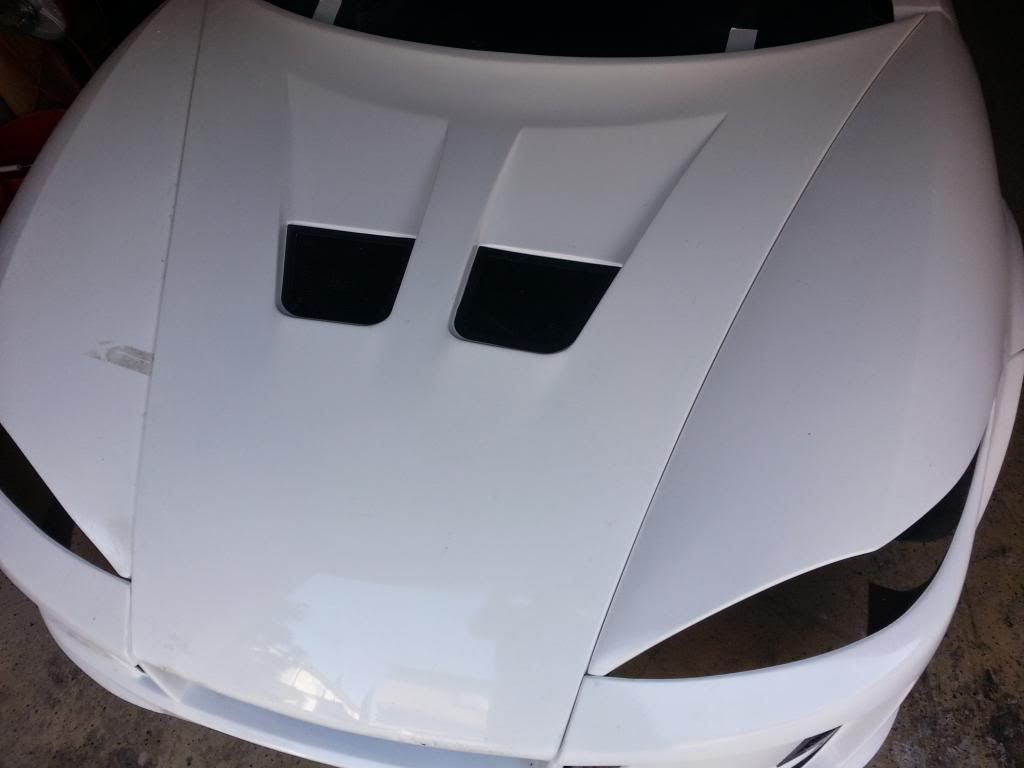
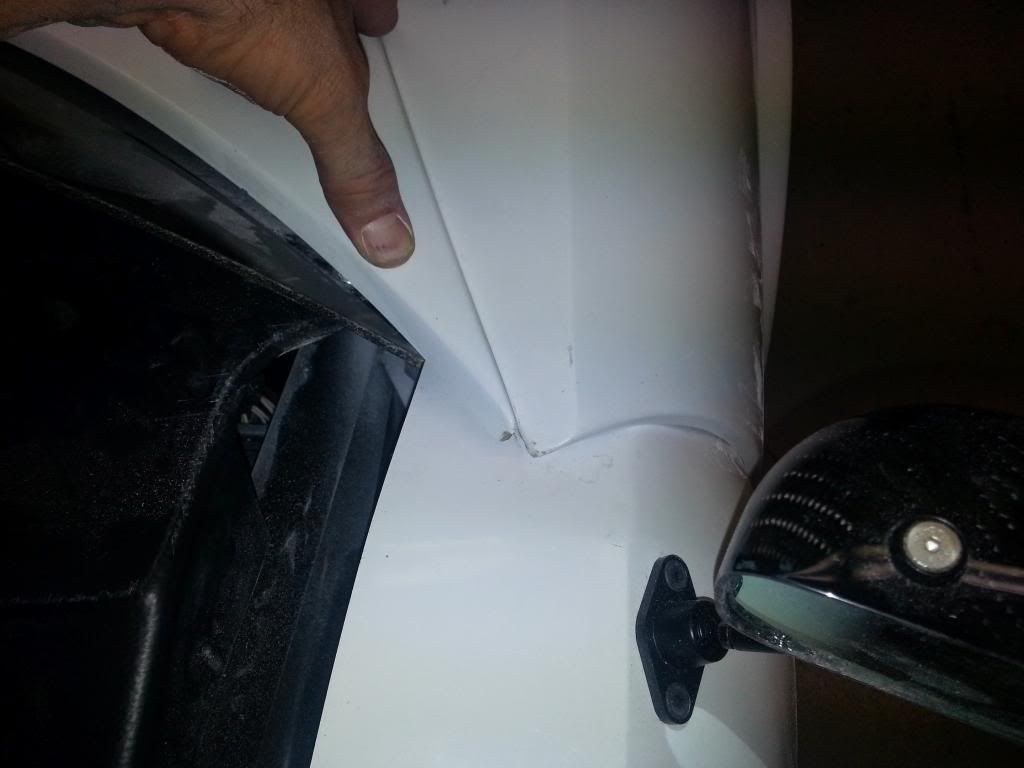
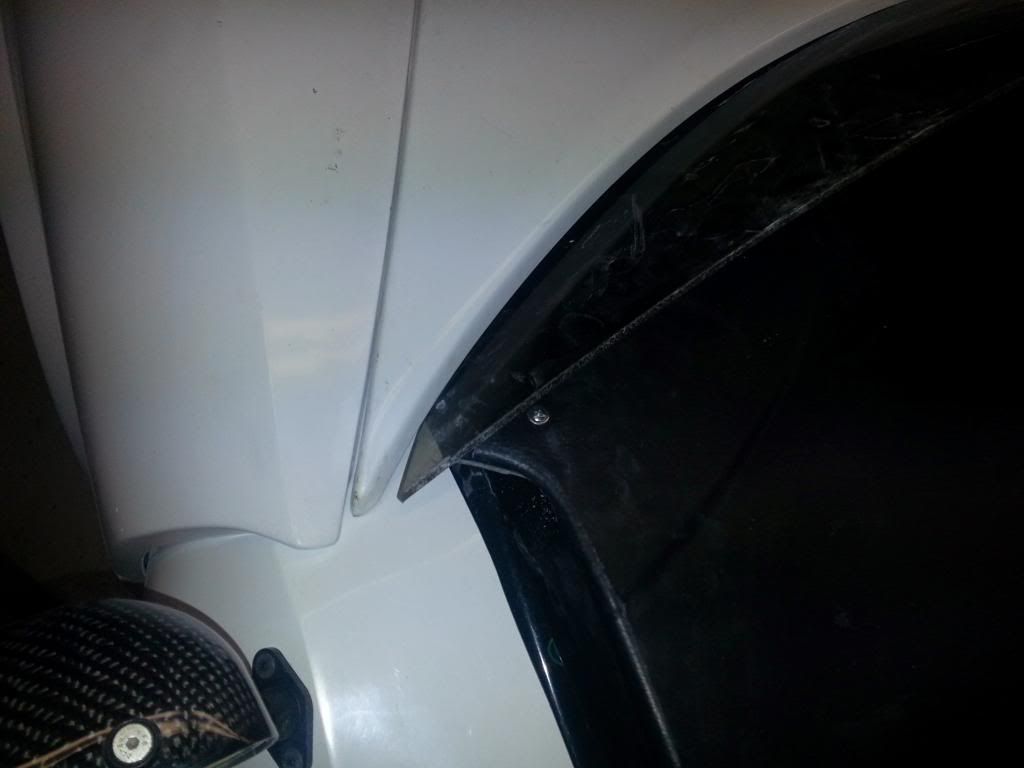
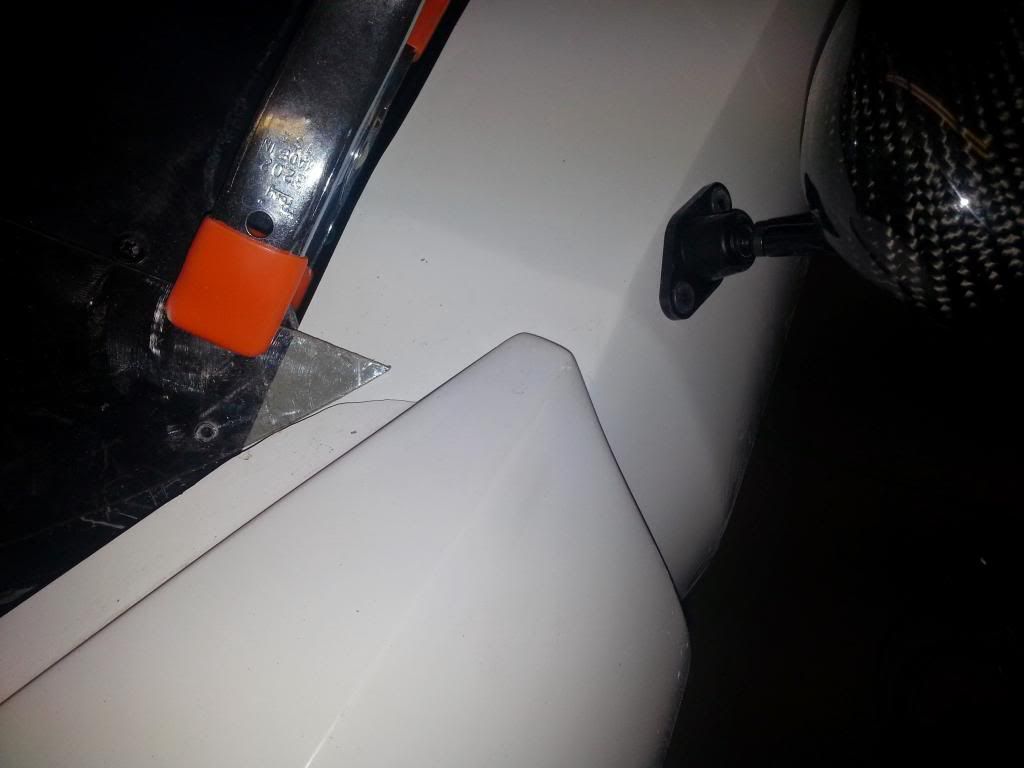
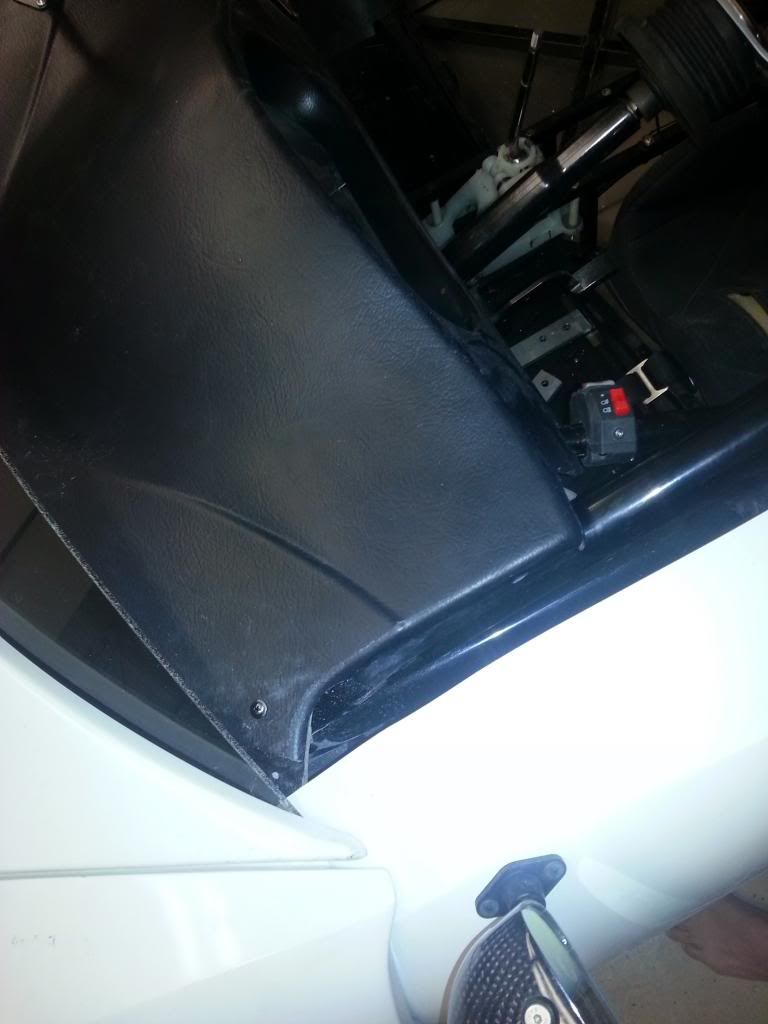
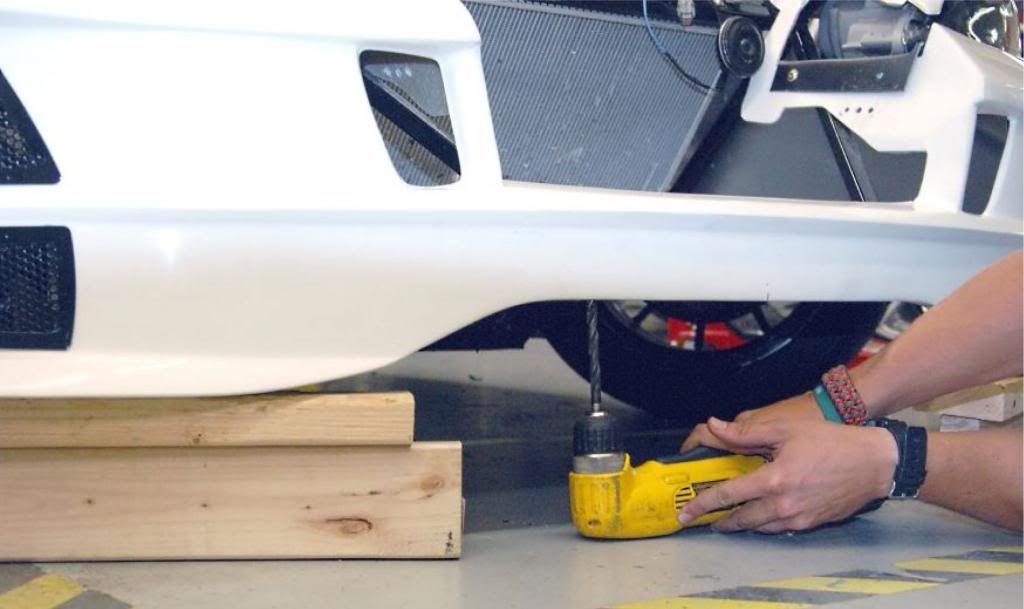
I'm trying to mount the front panel. Page 360 (rev G) of the directions make it seem like they have the bottom front edge all the way up against the very front rail. I notched out for the radiator rail at least 2" deep. It still wont make contact on the front. How are you getting that front panel to lay against the bottom of the front rail? I am having trouble finding a post that addresses this
Side note:
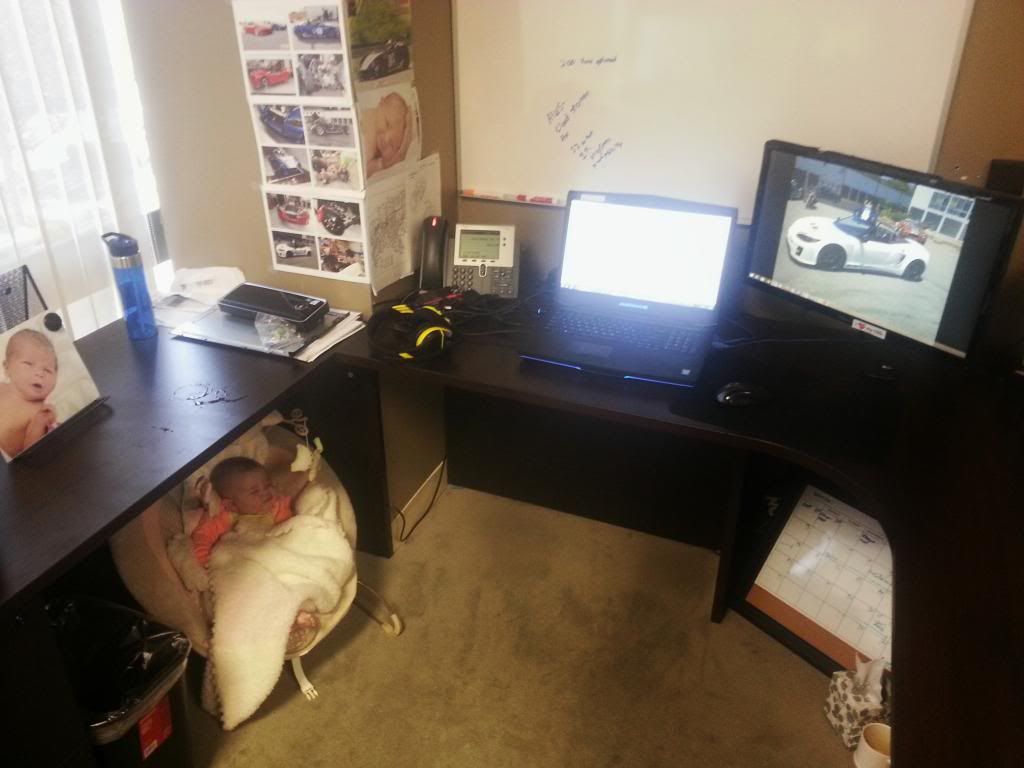
My office today. 818 motivation and baby pictures (and an actual baby on Fridays). What more do you need in a workspace!
- Home
- Latest Posts!
- Forums
- Blogs
- Vendors
- Forms
-
Links

- Welcomes and Introductions
- Roadster
- Type 65 Coupe
- 33 Hot Rod
- GTM Supercar
- 818
- Challenge Series
- 289 USRCC
- Coyote R&D
- Ask a Factory Five Tech
- Tech Updates
- General Discussions
- Off Topic Discussions
- Eastern Region
- Central Region
- Mountain Region
- Pacific Region
- Canadian Discussions
- Want to buy
- For Sale
- Pay it forward
-
Gallery
- Wiki-Build-Tech

 Reply With Quote