
Visit our community sponsor

Thanks:
0

Likes:
0
-
Senior Member

Tamra & Andrew's 818 Door Instructions
Part 1
Between the Factory Five manual and Wayne's Tips here, I was able to successfully assemble and install the doors with only a handful of bloopers. I definitely had some questions come up and some areas that weren't clear to me (I am not the most mechanically inclined though), so I'll post my experience here in case it might help anyone else. I did most of the work myself, with Andrew stepping in to assist when I had a hard time, and he also cut the fiberglass (it's fragile and made me nervous).
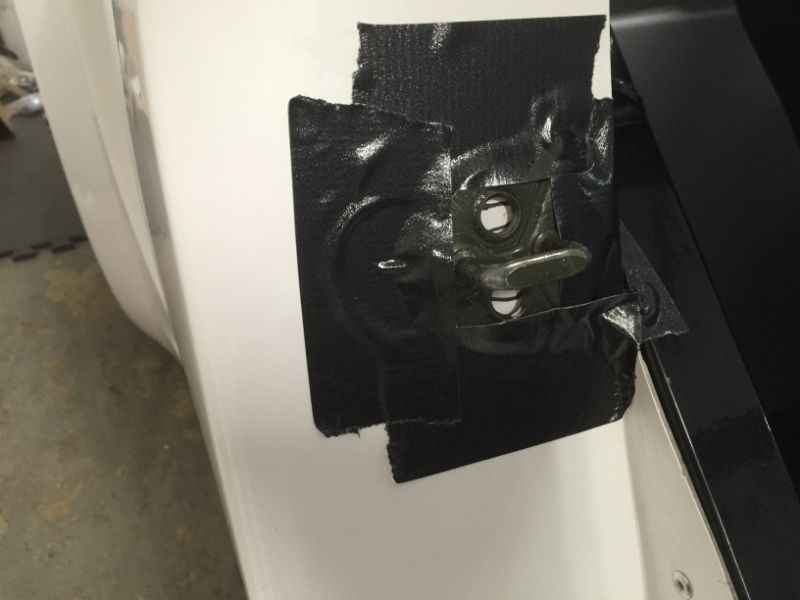
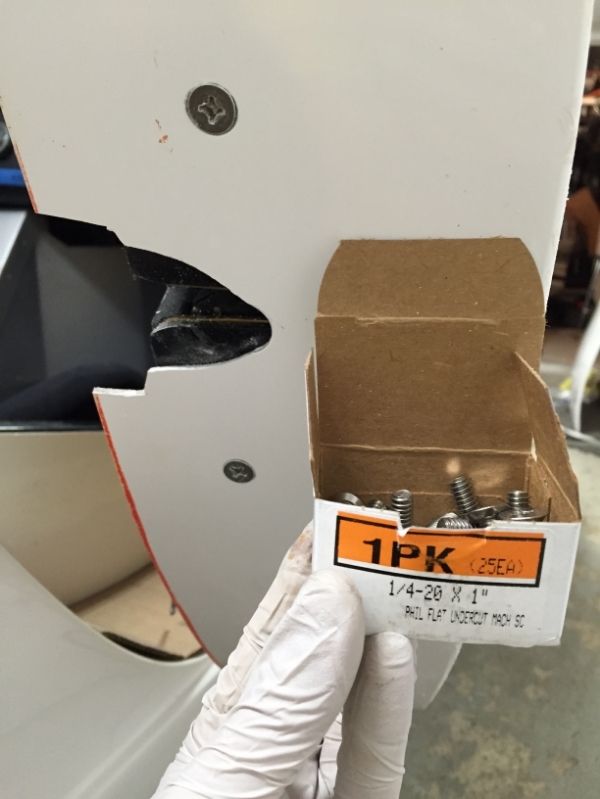
Step 1: Install striker support bracket inside of side sail and snug it up, making sure it is pressed against the side sail (don't want any space that could stress the fiberglass). Using Wayne's tip, I used a flashlight from the back, and traced the holes of the striker support bracket onto the front of the side sail. I then duck taped the striker in place over the holes I traced.
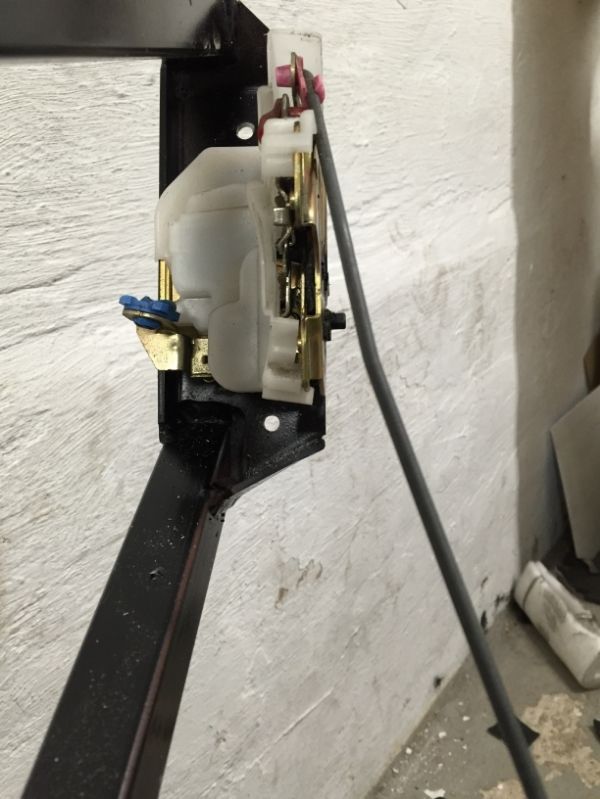
Step 2: Install Subaru latch onto door frame. We picked up some m6x20mm flatheads and countersunk the door frame.
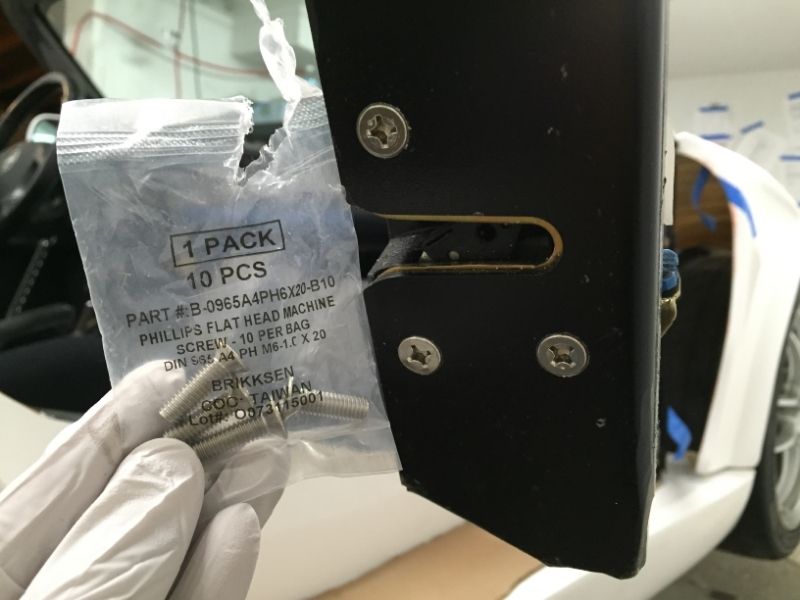
Step 3: Install door frame (assembled hinges as per manual, although I didn't mark which was upper/lower from the donor car so I just made it match the photo in the manual. I put driver hinges on the driver side). Adjust hinges until door opens and closes easily on striker, and also make sure striker seems to be positioned correctly. Once you are sure everything seems to be in the right spot, drill the striker holes and install the OEM bolts.
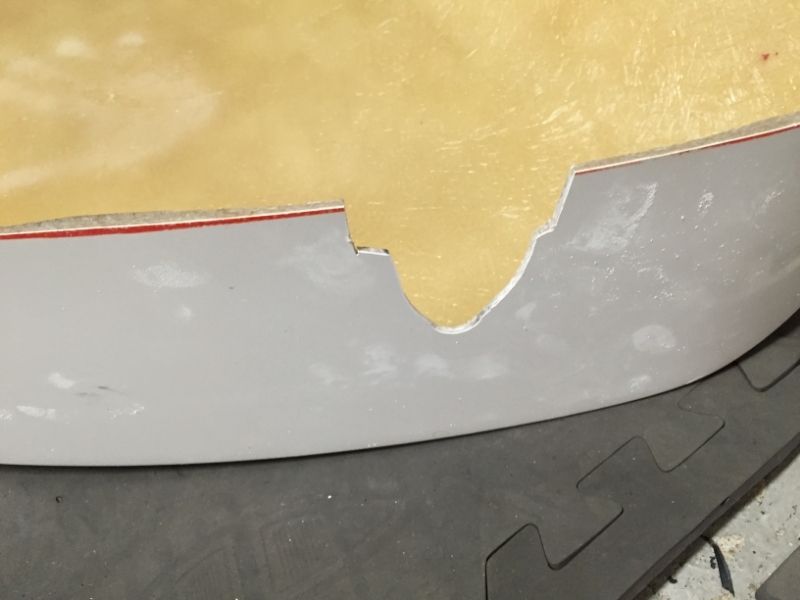
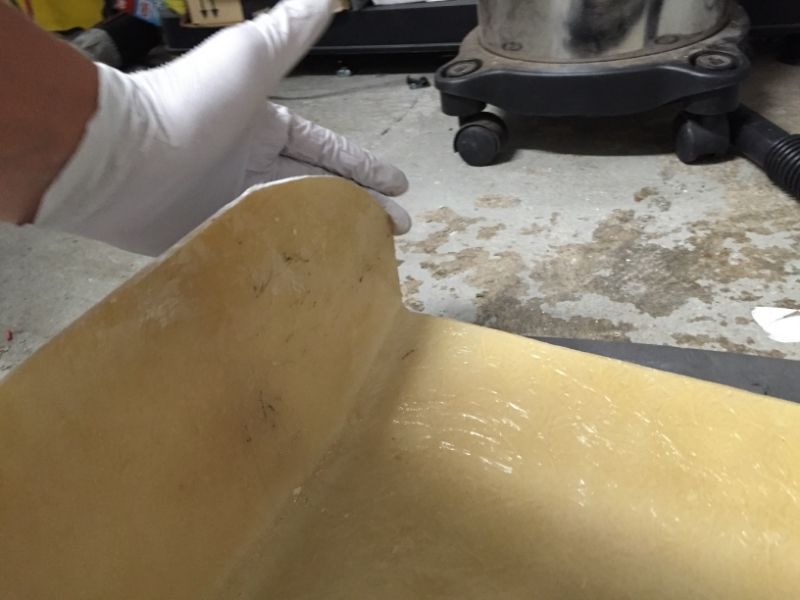
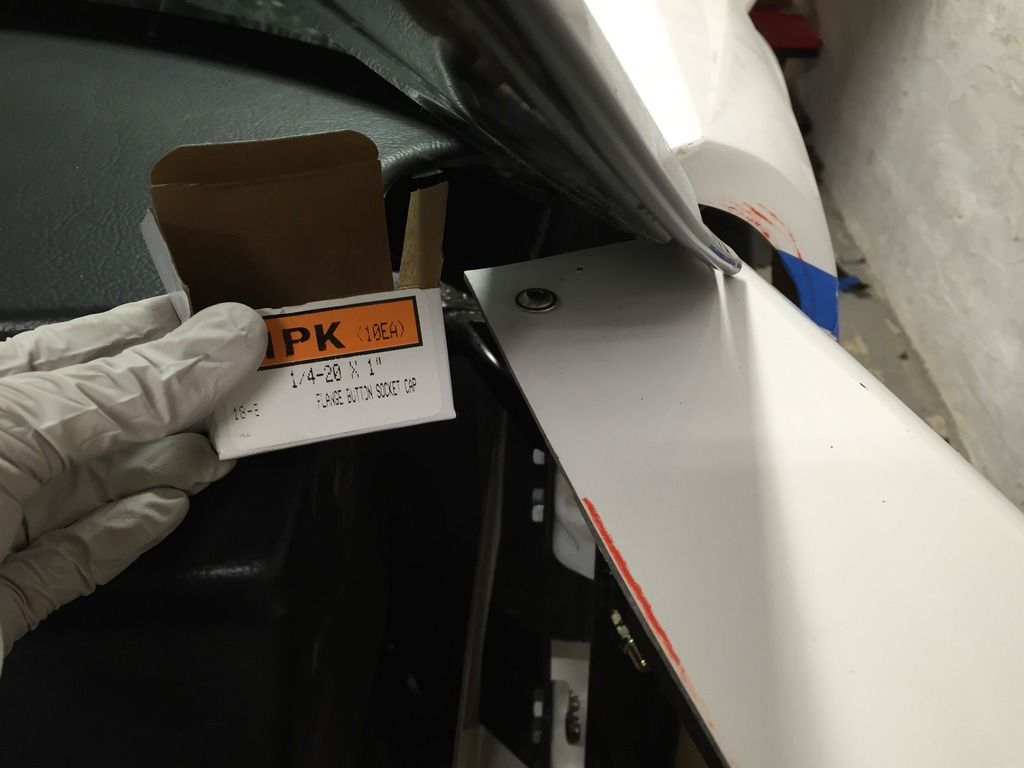
Step 4: Mark where door skin hits striker. Measure and cut door skin so it passes by striker. Remember, the measurement is from the striker to the frame, not the edge of the side sail. Also, make sure you have cardboard or paint sticks around the edge so you get the skin at the right height before marking your location to cut. Also, trim the front lower corner so it doesn't hit the side sail.
Step 5: Drill two convenient holes in the door frame. You will use these to attach the door skin to. Close the door frame and ensure it is fully latched. Set the door skin in place on the cardboard to ensure it's in the correct location, mark through the holes you just drilled, and then drill the skin.
Step 6: Countersink the skin and install flat head screws with locknuts.
Step 7: Drill the mirror mounting holes. On the top front of the door skin, I followed Wayne's measurement of setting the door skin 3/16" over the door frame. I found a 3/16" drill and maneuvered the skin until it was at the right location (easier than a tape measure). I clamped it in place, and then simply drilled up and through the skin with a 1/4" bit. Be careful not to hit the windshield frame. For now, the bolt is just to hold the skin in place. I used a flange head screw, but if you have clearance issues with the windshield use a flat head for final mounting. Also, position the door frame where you want it to be for final mounting, and mark the lower holes. You will drill them once the door is removed from the car, so make sure you mark them carefully.
Tamra
Building 818SR #297 picked up 10/25/14 with Andrew (xxguitarist)
First start 12/21/14,
First "drive" 1/17/15
First Dyno at EFI Logics 3/7/15- 310whp at 15psi for break in, full spool by ~3500rpm!
First autocross 3/29/15
1st Registered 818 in Connecticut 7/24/2015. 9 months - 1 day from kit pickup!
 Posting Permissions
- You may not post new threads
- You may not post replies
- You may not post attachments
- You may not edit your posts
-
Forum Rules

Visit our community sponsor


 Reply With Quote