
Visit our community sponsor

Thanks:
2

Likes:
0
-
 Administrator

How I polish aluminum panels (just one technique of many)
One of the things I gathered through various posts over time is how to polish the aluminum panels, but I have yet to see a blow-by-blow description of how it's done. This is how I'm doing mine.
The panels that come with the kit are non-clad aluminum. Therefore you are dealing with the alloy, and not a "top-coat" covering that makes it easy to polish. I have come across two companies that specialize in polishing and protecting aluminum, NuVite and Sharkhide Seal. Nuvite makes a multi-stage set of compounds that, with a lot of work, can take your dull, non-clad aluminum and turn it into a panel that is like looking into a mirror. SharkHide makes a single stage product that, when applied, protects the aluminum for 2 years or more without re-polishing. It does this by sealing the aluminum so that it can not interact with oxygen and oxidize. The aluminum uses a bit of it's shine but I've found that it maintaines that shine without oxidizing, making for a much easier to maintain finish.
I'd like to show you the process to take your panels from the factory look to a mirror finish, and protect it so that you are not constantly having to re-polish to maintain an award-winning shine.
Make no mistake, this is a very labor-intensive process. But I feel that the result is definitely worth it.
As they come from the factory, the panels are very dull and have a definite "grain" to them. This grain needs to be worked out and the aluminum needs to be "conditioned" so that has a flat surface is created. Since the aluminum is non-clad, you are working with the pure alloy. This is different than aluminum that has "cladding". Cladding is a covering on top of the aluminum that makes polishing much easier. Unfortunately, FFR aluminum is non-clad. Therefore, in order to make a mirror finish, a multi-stage process must be employed. Here is how I'm doing mine.
I purchased a multi staged product from Nuvite. I purchased One pound of F9 Grade Heavy cut to work the aluminum to a base reflection. I dabbed a "wet thumb print" every 1-1/2 inches and worked in 1 square foot increments, using a cordless right angle drill with a 7" pad. I've made two passes with this technique and this is how my trunk panels look so far:
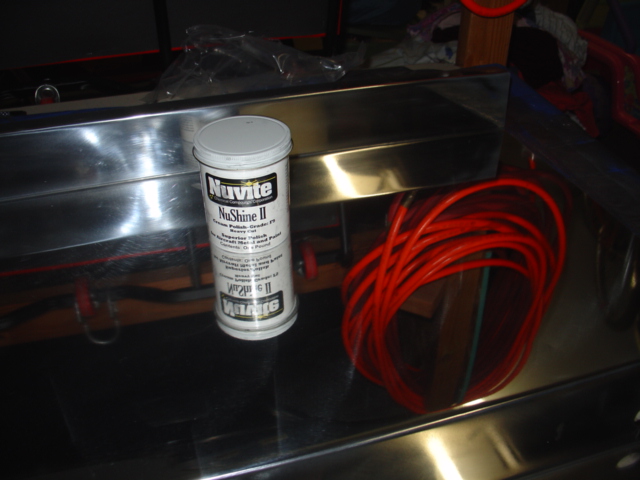

This is a vast improvement over the base alloy but it's just a start.
The next step is to apply the Grade C every 3" and work it in with a 7" wool pad.
Continued...
FFR 5369 Pin Drive, IRS, Trigos, Torsen, Wilwoods, FMS BOSS 302 "B" cam , Mass-flo. CA SB100 (SPCN) Registered
Delivered 4/23/06. "Finished" 4/2012 (still not done!)
 Posting Permissions
- You may not post new threads
- You may not post replies
- You may not post attachments
- You may not edit your posts
-
Forum Rules

Visit our community sponsor


 Reply With Quote