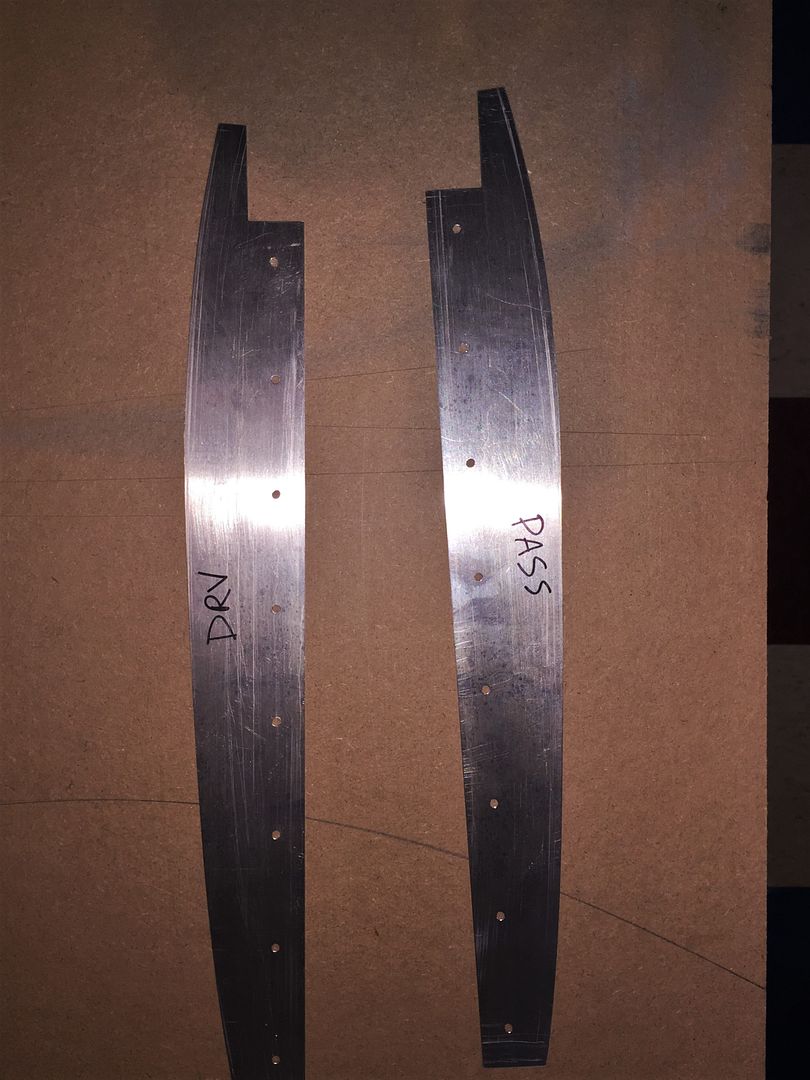
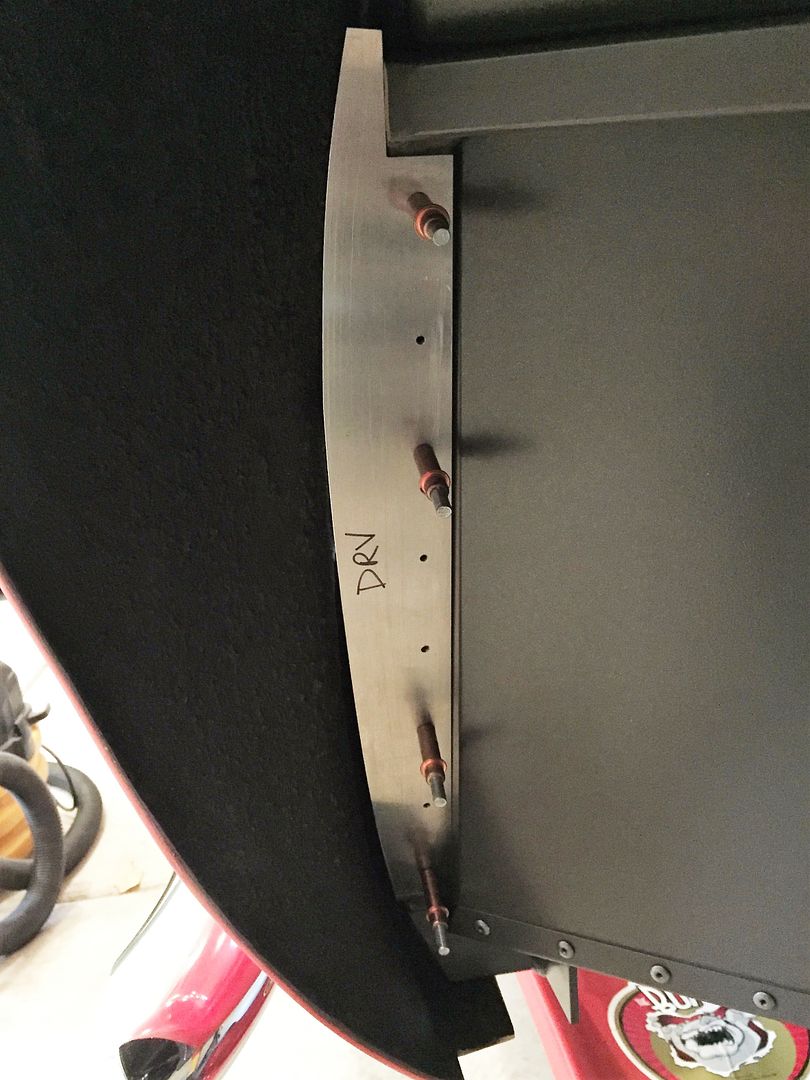
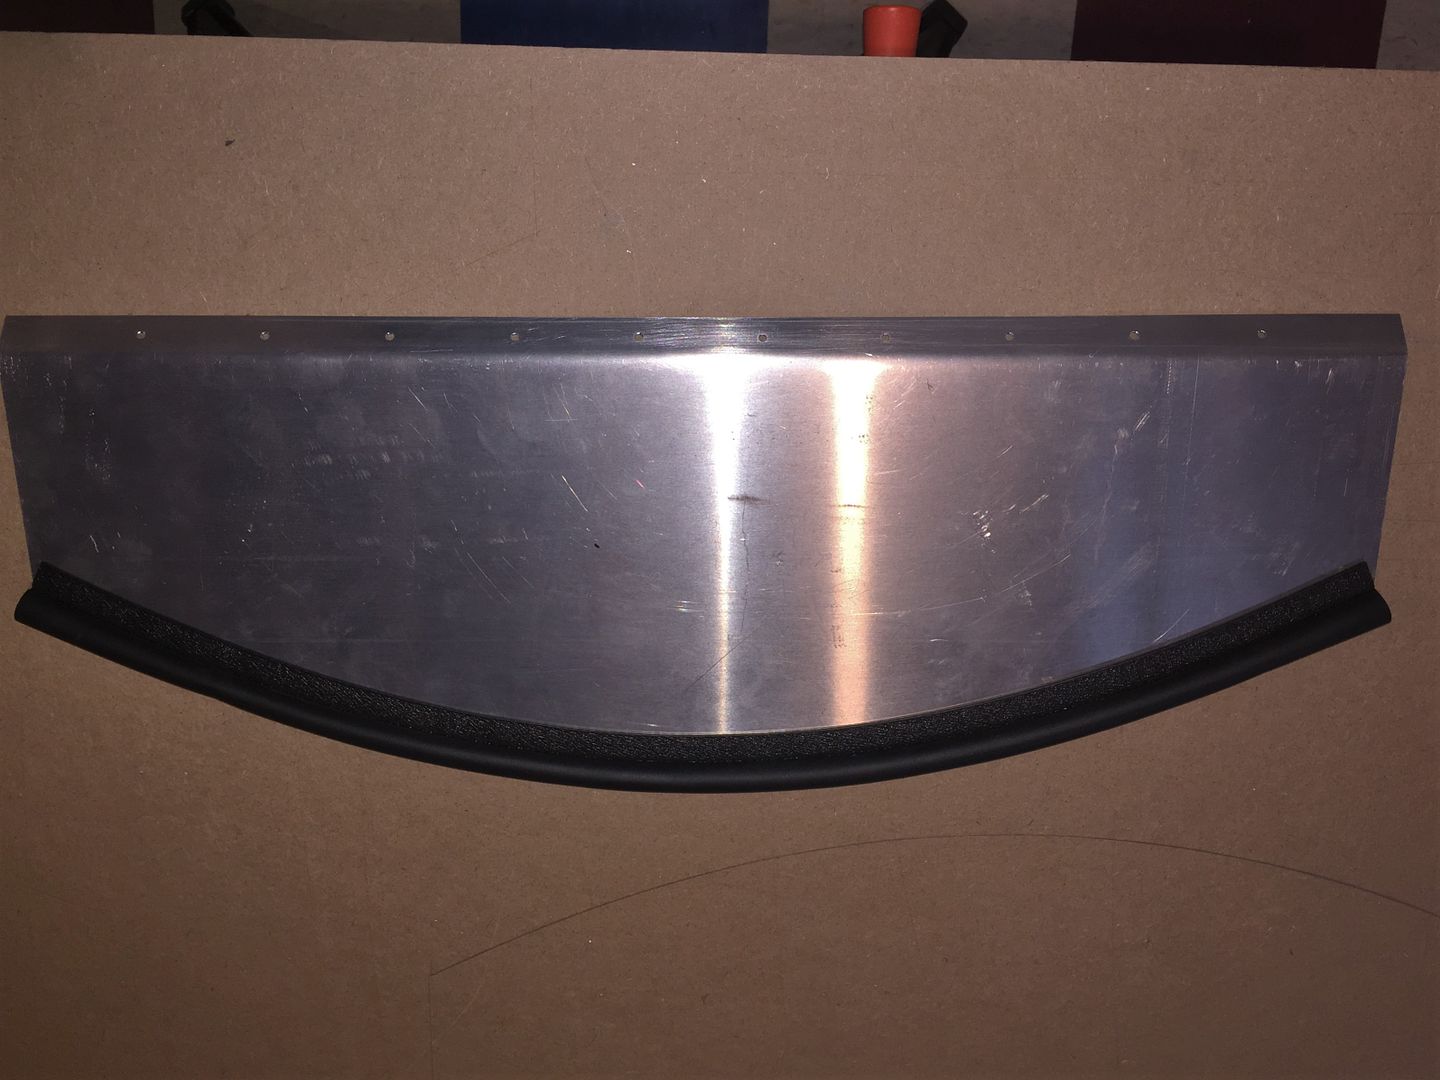
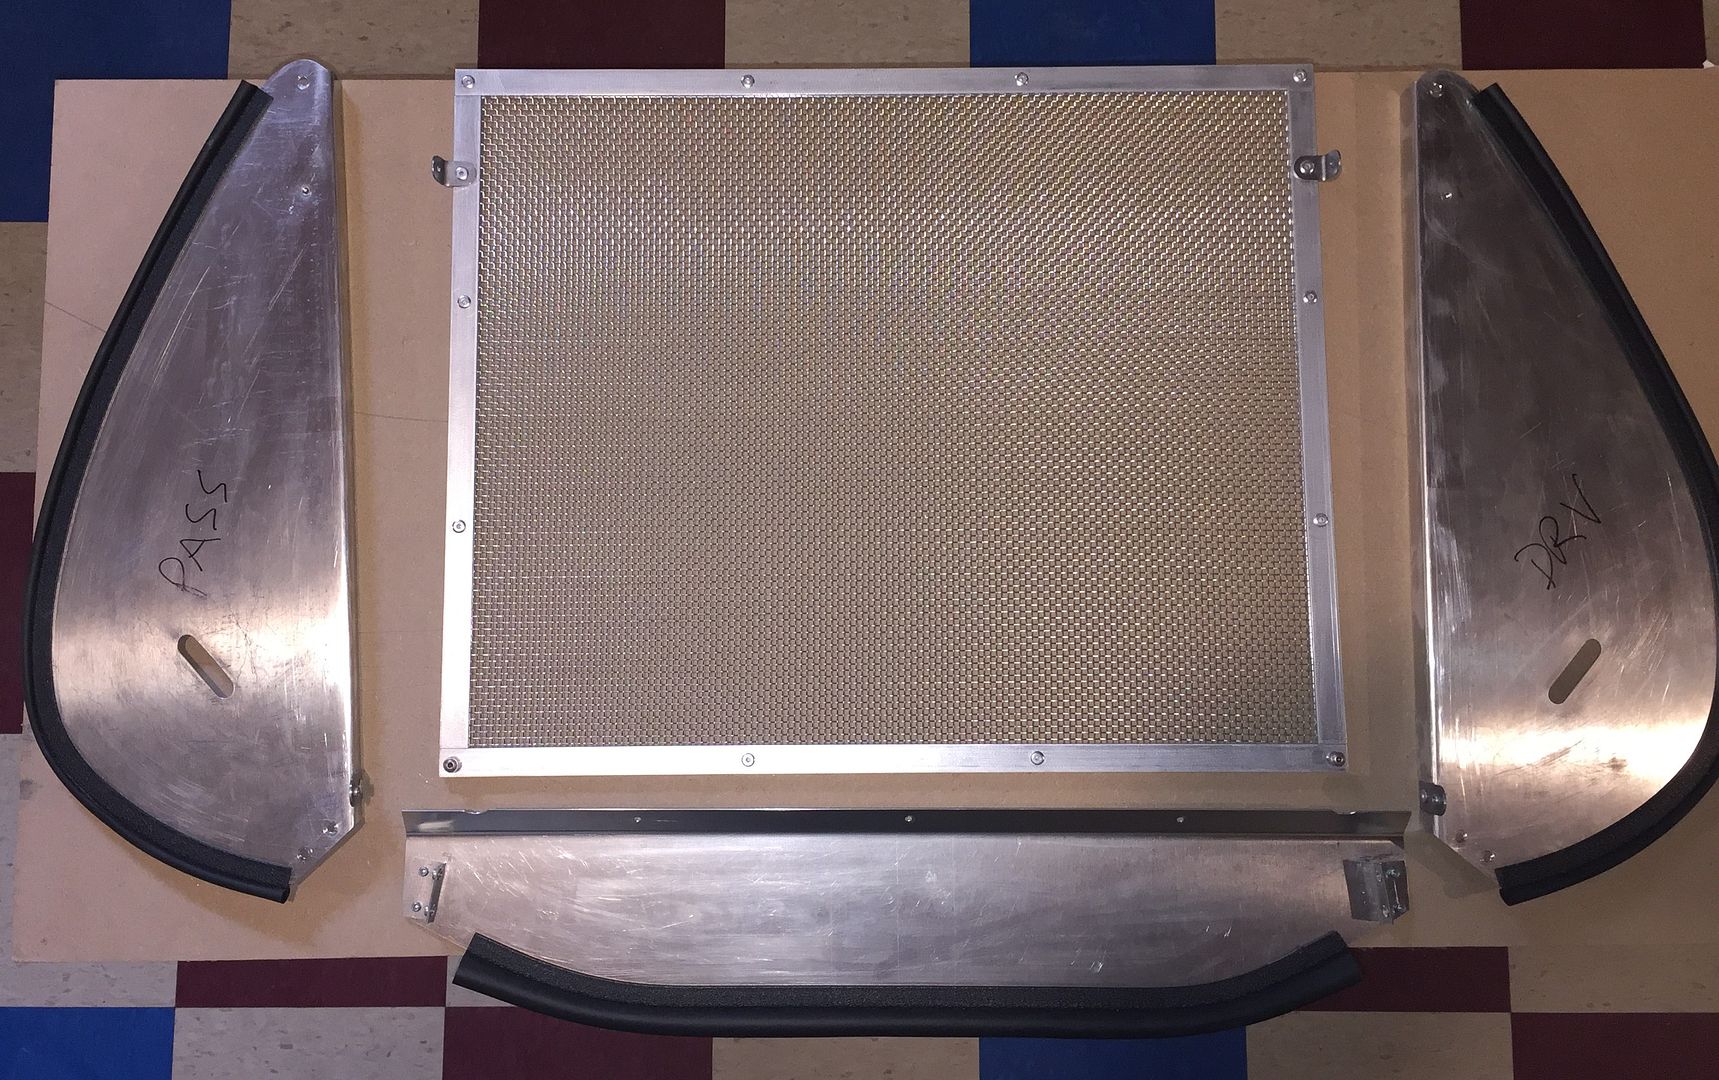
Some non-build activity since my last update getting needed things done around the old homestead, plus apparently it was time for my semi-annual back tweak. Barely leaning over to put something in the trash can. Good grief. Donít get it, but on the mend I think. Iíve gotten another few things off the build list. Some of this stuff is pretty routine, but I know there are first time builders following this thread and have told me repeatedly they like the detail, so here goes.
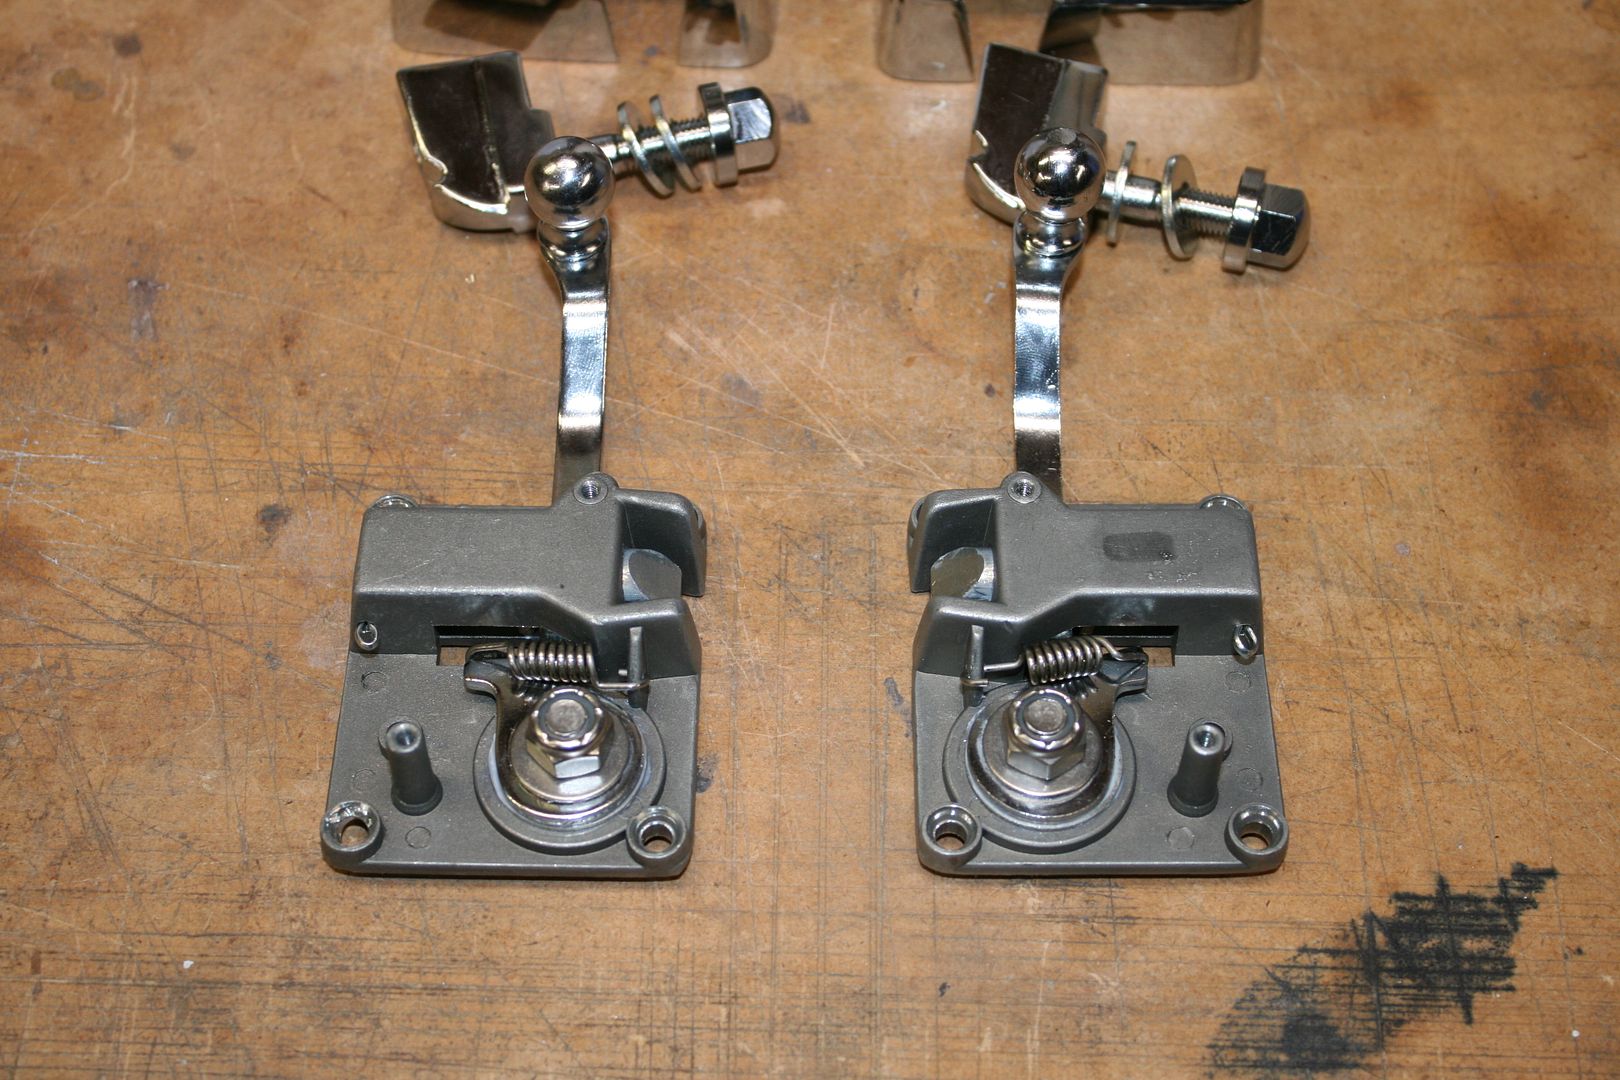
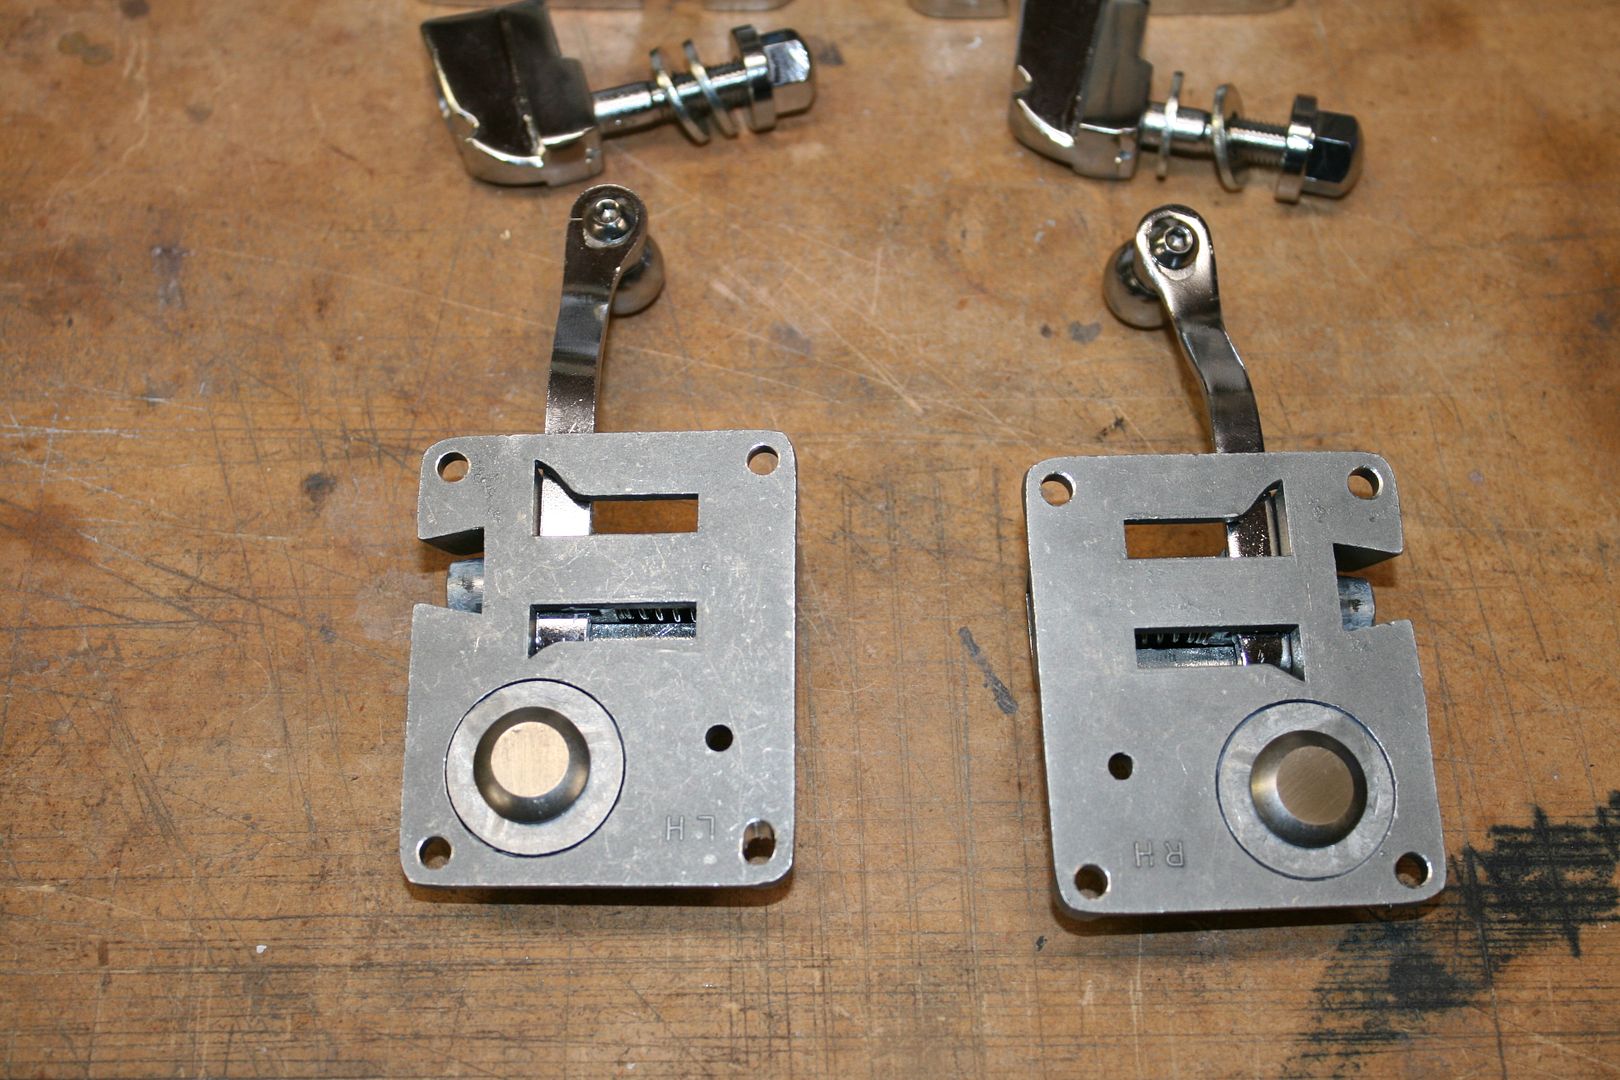
The replica door latches have a reputation for not being the best quality. This was one of the last items on my backorder list, and Jay told me FF was buying up supplies everywhere they could find them. Iím pretty sure they all come from the same place, and quality is not getting any better. These were the poorest Iíve had to date. Usually there are three different problems. There is a swaged joint inside that likes to come apart, the little knob can fall off the handle, and the pin doesnít fit well into the catch. Mine had all three problems, plus a lot of flash and just generally poor workmanship. Returning them and getting a different set might be an option, but thereís a good chance they wouldnít be any better. The good news is theyíre not too hard to fix.
There is a well-known mod thatís been posted on the forum.
Doors, door latches, hinges, FAQ, FFR FAQ. I completed this mod with one slight difference. I used a shim between the pivot and the handle instead of replacing the wavy washer that was originally there. I happened to find just the right size and thickness in one of my washer junk drawers. Makes the handle a little more solid IMO. For the knobs, I drilled and tapped for a 10-32 x 3/8-inch SS button head through the handle and into the knob. Finally, I used stones on a Dremel and die grinder to open up the hole in the catch enough for the pin to seat properly. I donít know if they donít allow for the plating or what, but as delivered the pin would barely go in past the initial taper. This in my experience is why guys have trouble getting the doors to latch or the pin gets stuck in the latch.
Two stories come to mind. The very first time my wife went for a ride in my first build, a Mk3, when we pulled back into the garage her door wouldnít open. No amount of tugging or banging changed anything. She had to sit there while I removed the cover and took the latch assembly completely off the door in order to get it open. Talk about first impressions! That triggered me to search and do all the mods listed here. Another time I was taking a guy for a ride and helping him strap in. He said this was important to him because the last one he rode in the door flew open around every turn. I assured him that wasnít going to happen. Just do the mods. Here are pictures of the finished products. Note some guys recommend not replacing the small spring visible here and only using the spring internal to the latching pin. I prefer to use both. Note also the latches come assembled dry with no lubrication. I don't understand that. Use some white lithium or similar when re-assembling. Makes a difference.
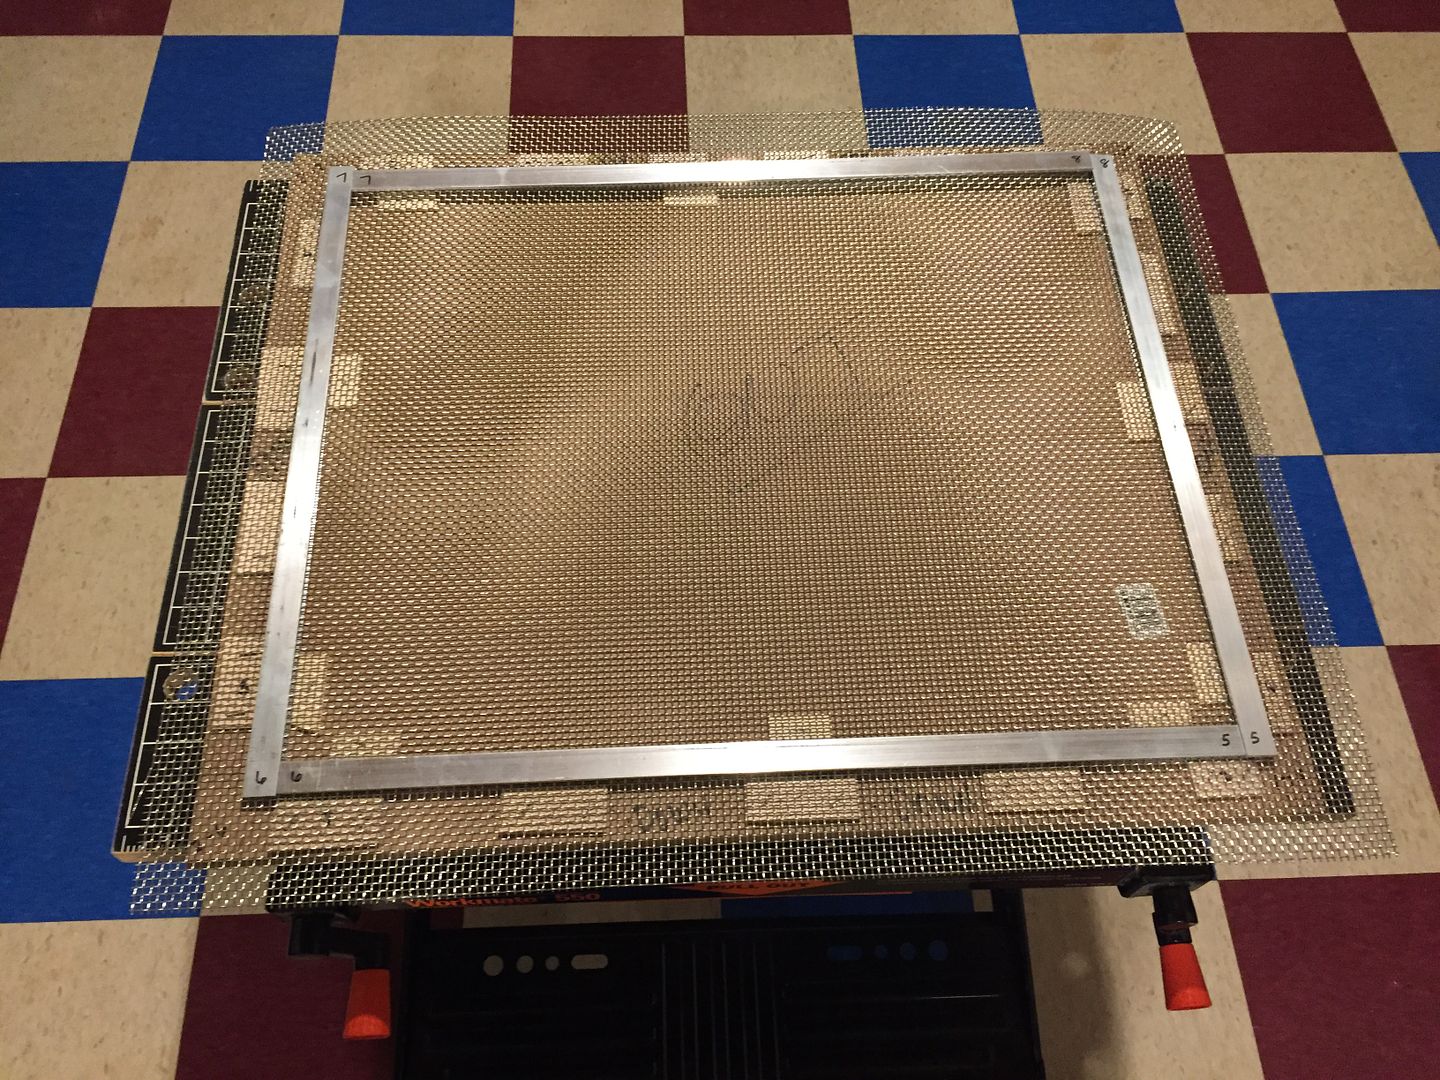
Next up I worked on the hood scoop. #7750 Mk4 had the fiberglass scoop. This one has the plastic molded version. Certainly less prep and a bit more symmetrical. The main perimeter was in pretty good shape. The lip on the opening needed to be trimmed and sanded. Iím going to bolt the scoop to the hood like #7750 with 10-32 button heads and acorn nuts on the inside. This sort of looks like rivets and is a nice clean way to do it. But all those holes need to be drilled. This spacing closing resembles several originals. Take your time to get them exactly the same distance from the edge all around and the back holes exactly centered side-to-side. If you do stripes, you want the holes to line up with the stripes. Especially the one in the exact center along the back. Donít just mark the holes and drill them to the final size. Even with a drill press itís easy for the bit to wander. After marking, I center punch them, and then drill with a pretty small bit. Then check each for alignment to the mark and tweak with a needle file as necessary. Then a bit bigger bit and check again. Adjusting again if needed. Then I drill the final size. Not great pics, but ready to mount:
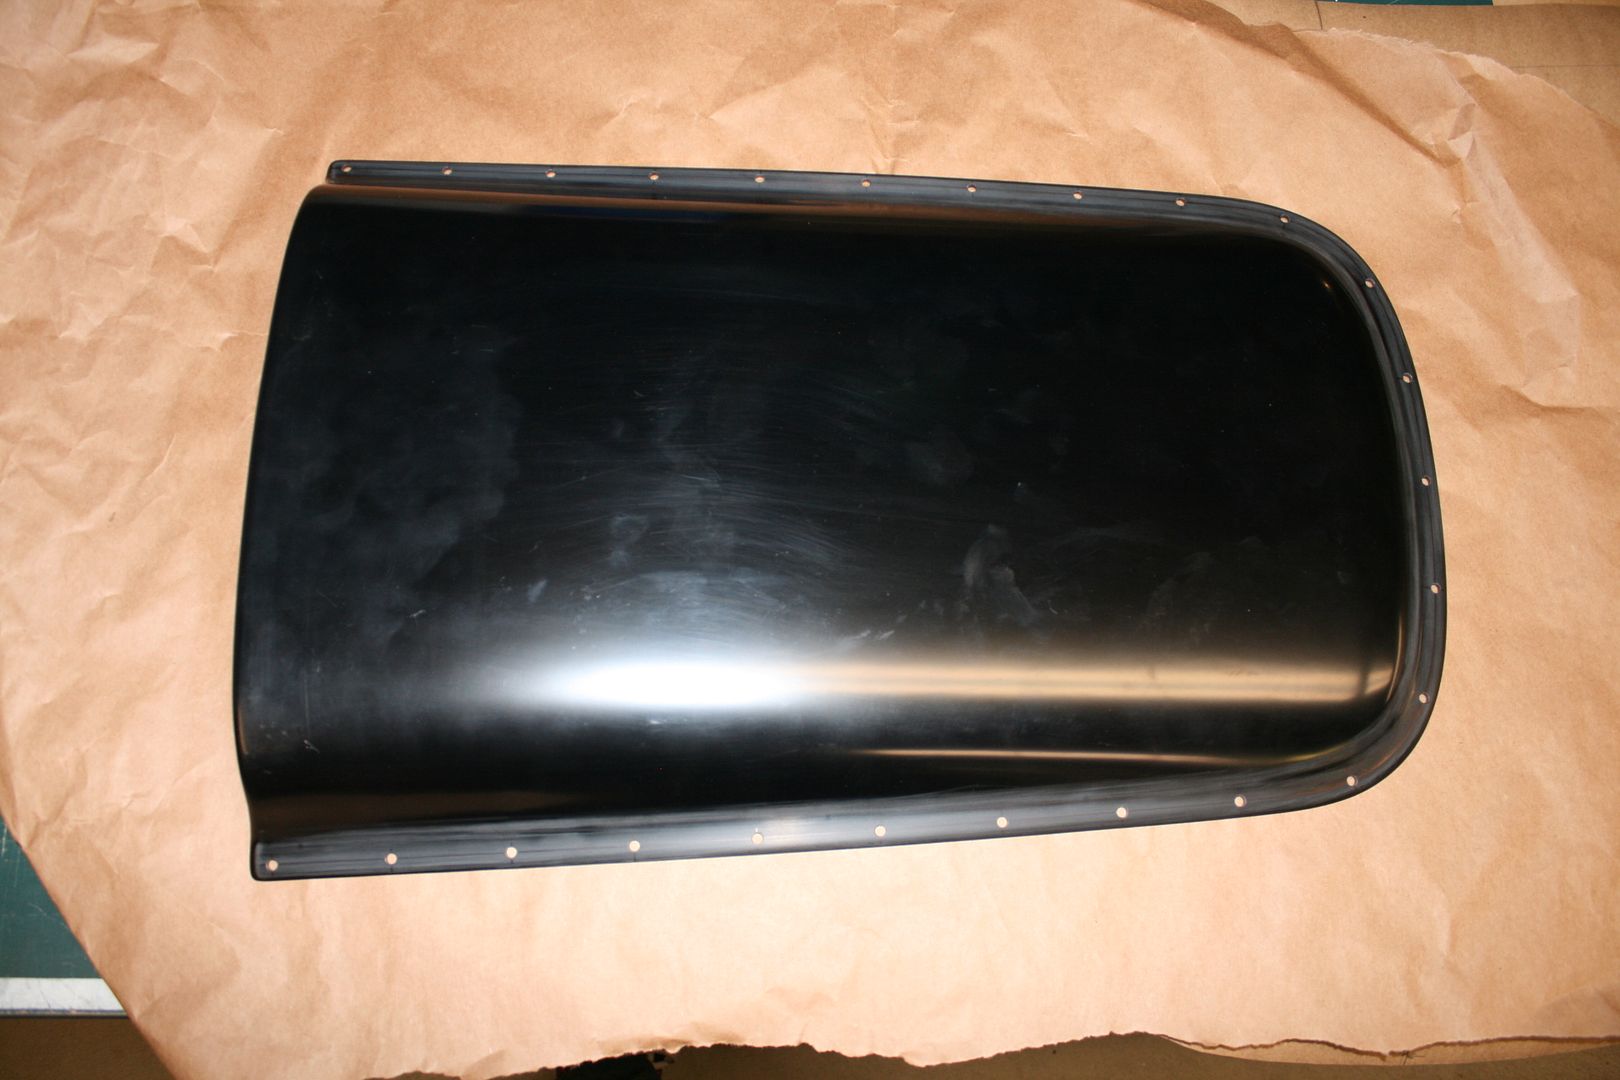
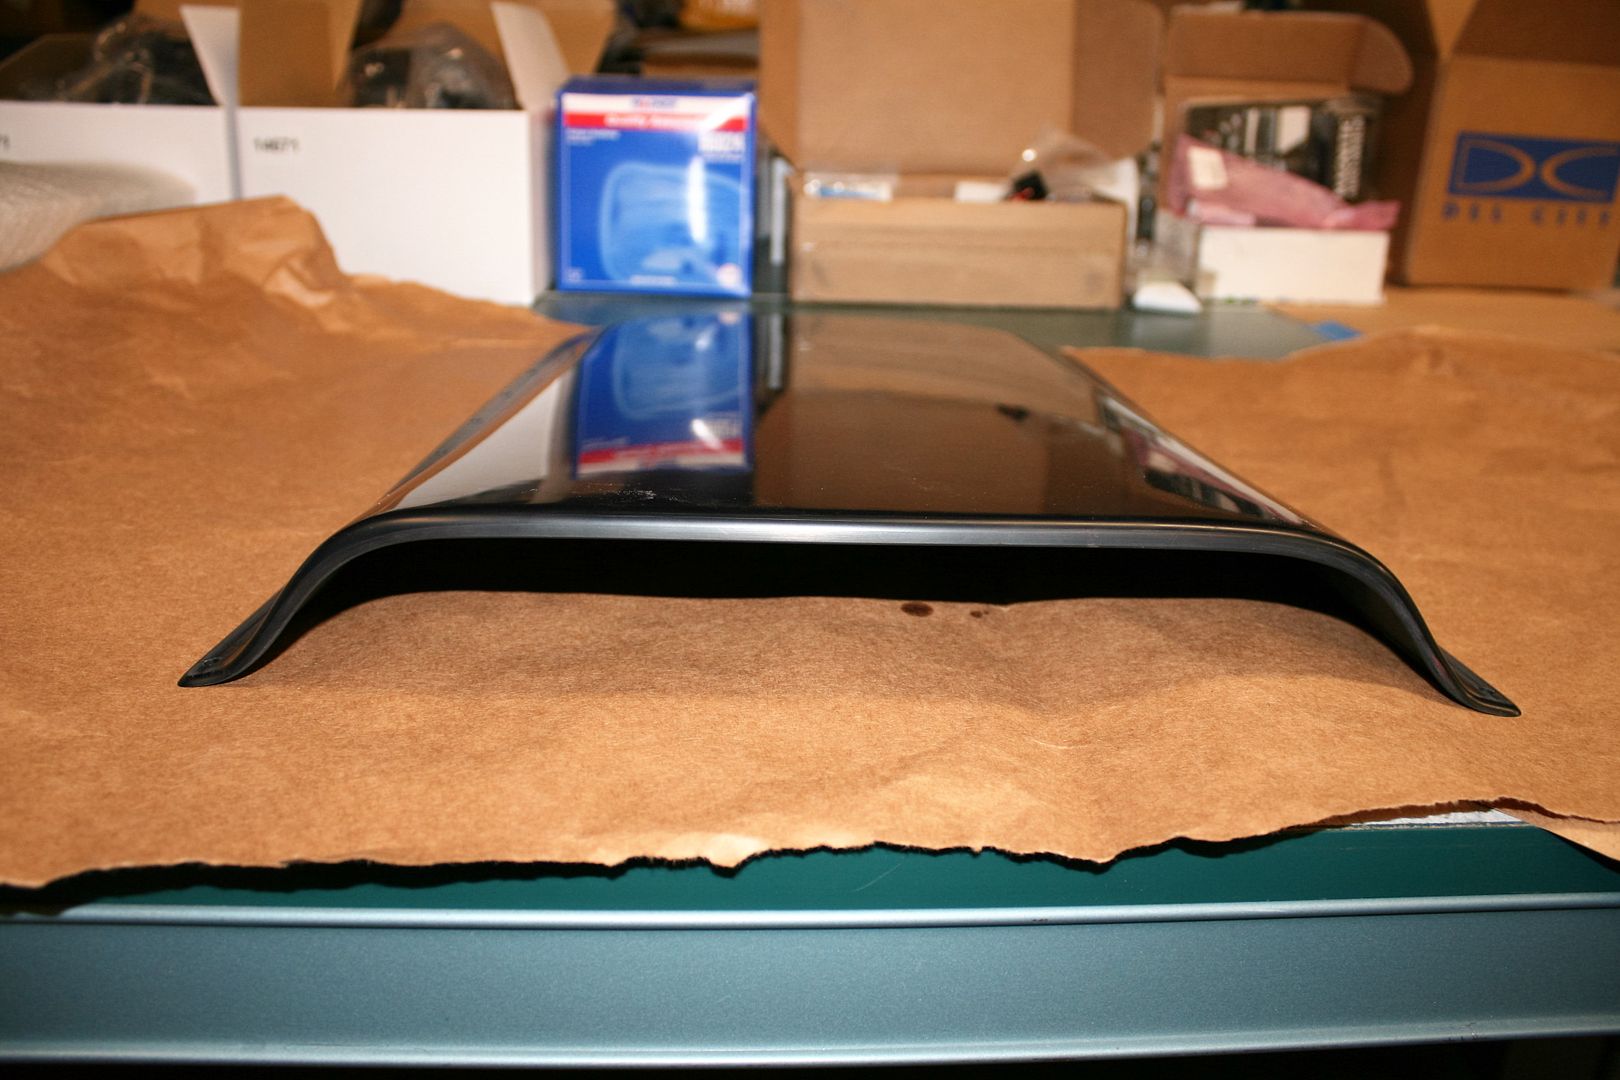
One other hint about the hood scoop. The FF instructions give dimensions for the hole in the hood, and some guys dive right in and cut the hole based on those dimensions. Some have gotten in trouble doing it this way. Thereís a better way IMO. First fit the hood, find the center and where the scoop should be mounted using the provided dimensions, paying attention to the raised areas on the back of the hood. Then drill the holes using the scoop for the layout. Check carefully as you go to keep everything centered. That scoop is pretty flexible. With all the holes drilled, lay out the opening in the hood relative to the holes and following the same curve.
Then cut the hole.
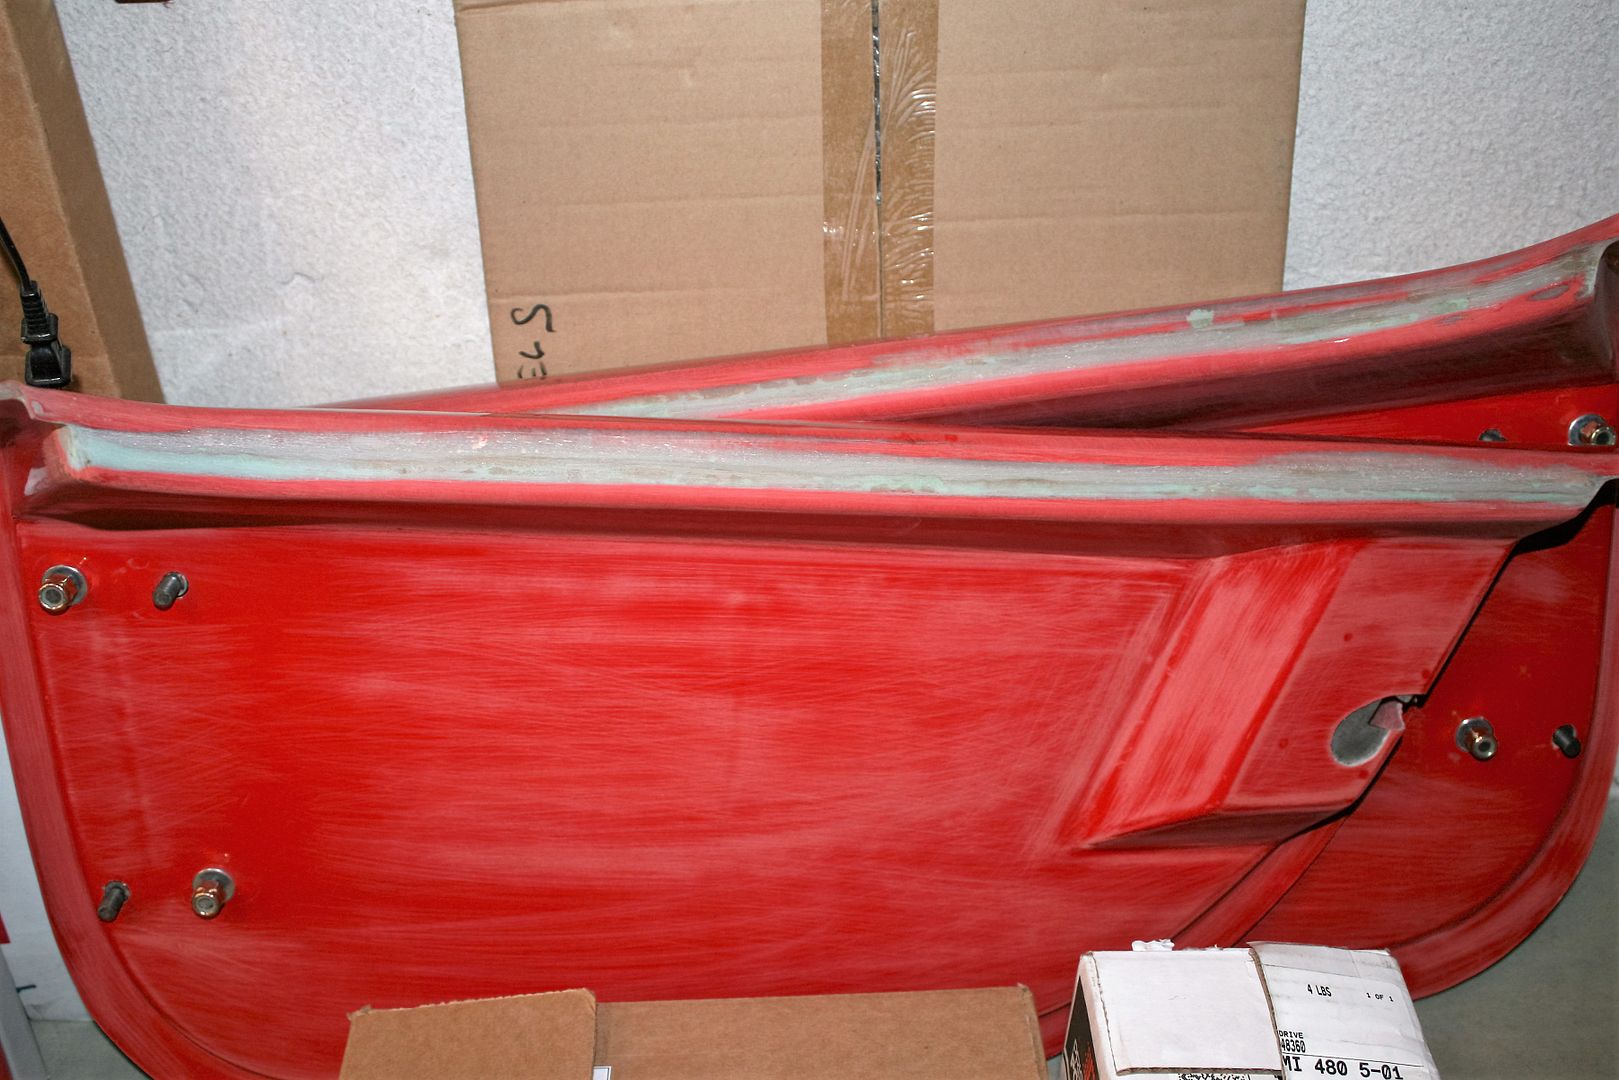
Next up I sanded and filled the cracks and voids along the top of both doors with HSRF. Ready for the next level of body work by my painter.
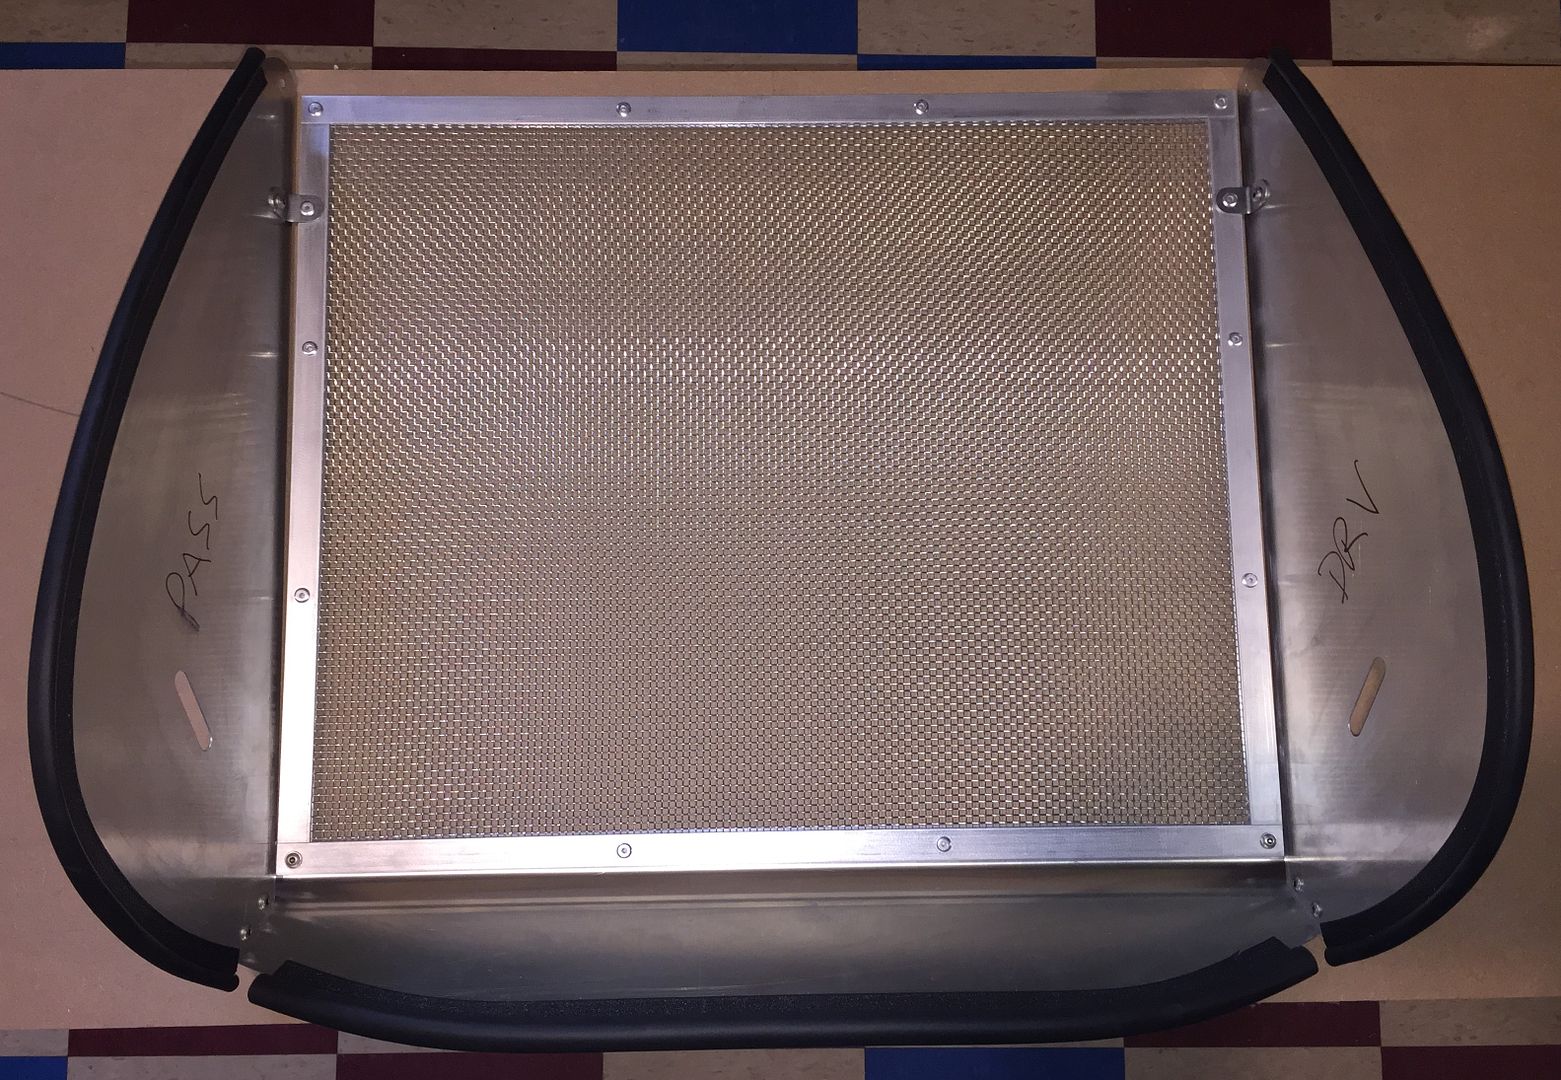
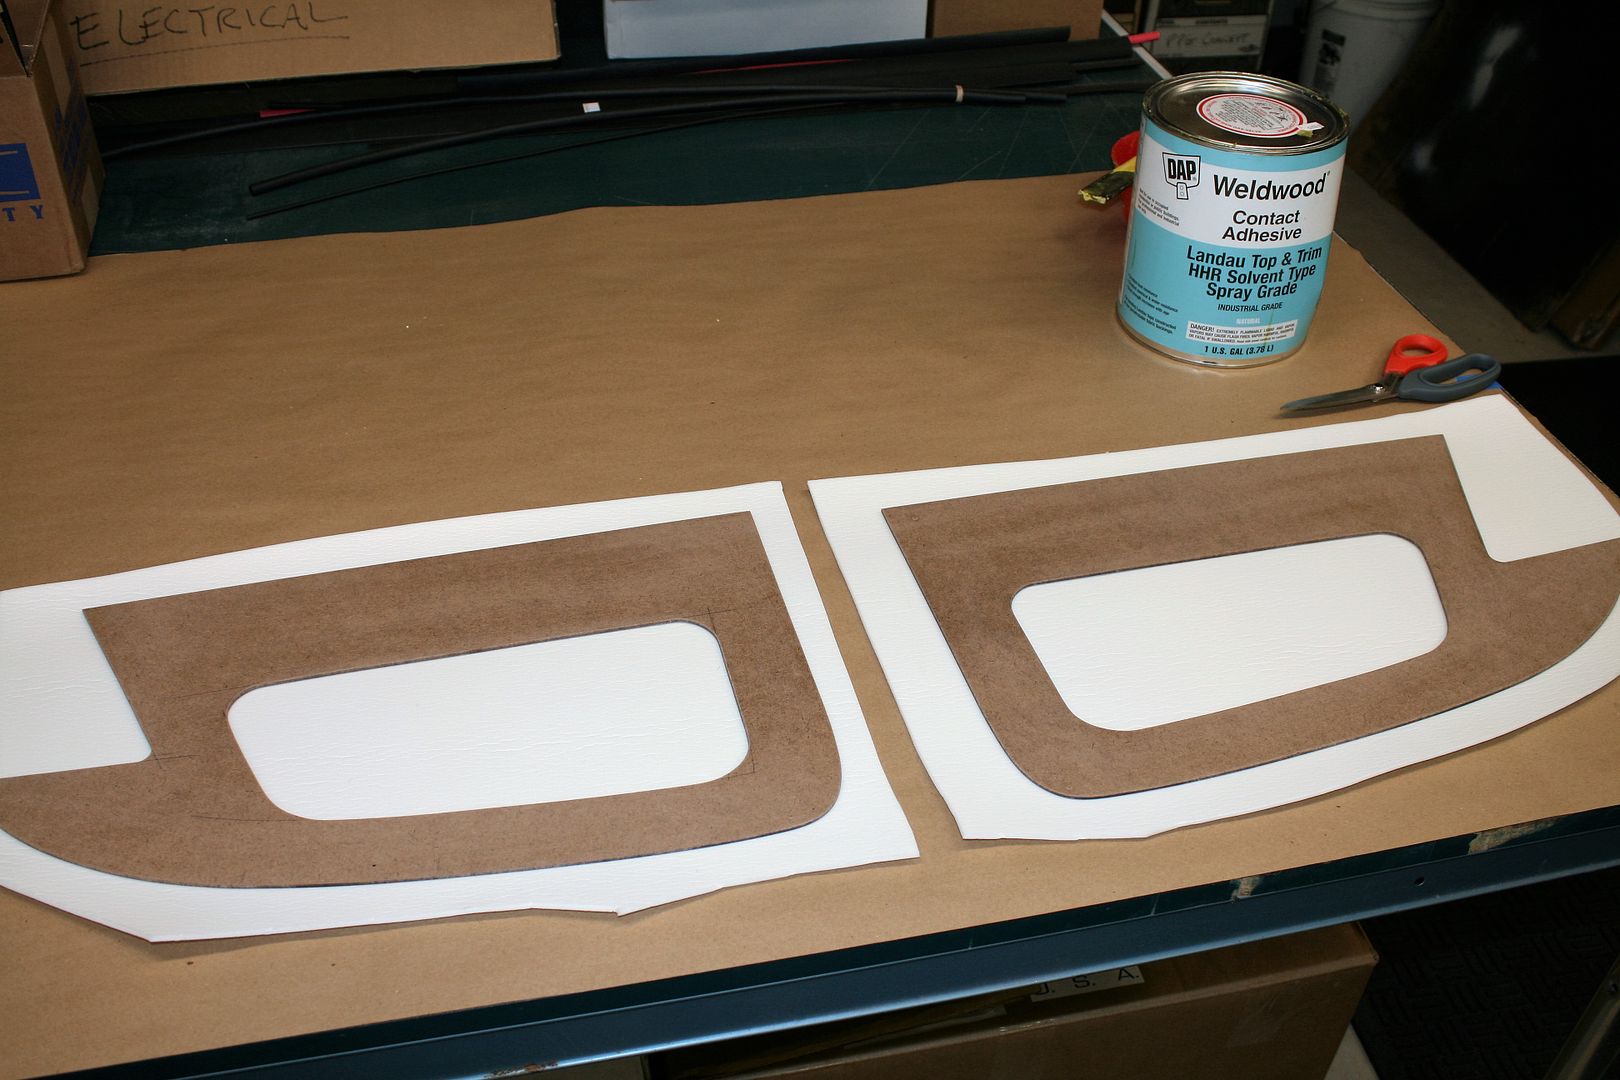
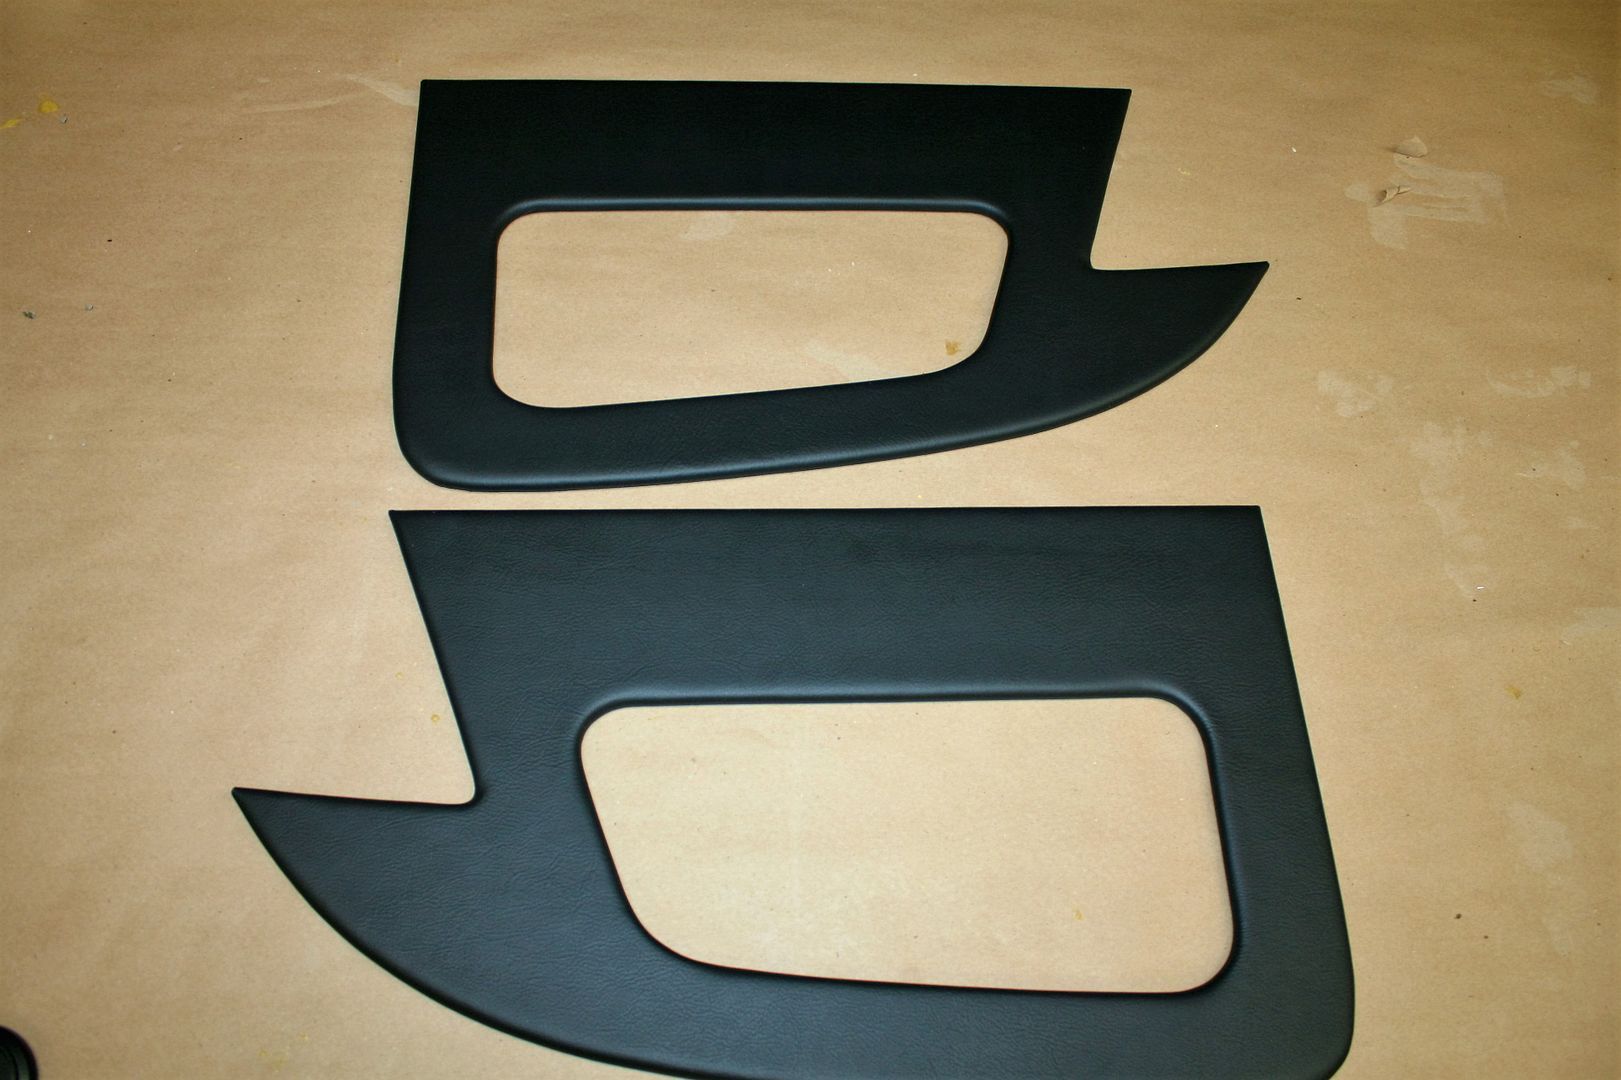
Iíve used Herbís door panels on my last builds. The Anniversary edition kit comes with door panels. FF provided the ones from **********. Theyíre OK. But with the leather seats, leather dash, planned leather covering on the transmission cover, and the big hunk of leather I have left over, decided to do leather door panels. I could have sent the leather to Herb and he would make them. But since I had all the materials (and the time) decided to take a stab at it myself. Iím shamelessly copying Herbís standard panels with a center pocket. I cut the backing out of 1/8-inch tempered Masonite. Then, using the same 1/8-inch foam, Weldwood Landau adhesive, and leather as my dash, wrapped the panels. The pros use steam to stretch and shrink around pieces like this. I used a lot of pie cuts (and patience) and they turned out pretty good. I have the pocket pieces ready to install, but need one of the pieces stitched, which Iíll have done at an upholstery shop when I get the carpet binding installed. For attaching them to the doors, Herb uses wide Velcro strips and Iíve added a couple of screws. My wife likes to put a water bottle in her pocket and thought I needed the extra strength. Iím trying some 3M Dual Lock Reclosable Fastener material on these and no screws. Similar to Velcro, but supposedly stronger. Weíll see.


 Thanks:
  Likes:


 Reply With Quote


 Don't be looking for new stuff for a while though. We're up to our eyeballs in packing boxes and my garage and basement shop are officially decommissioned. Next week after our closings things will get even busier. It will be some weeks before the build is back in business. The available slot at the painter worked out perfectly though with our move timing. Should work out well.
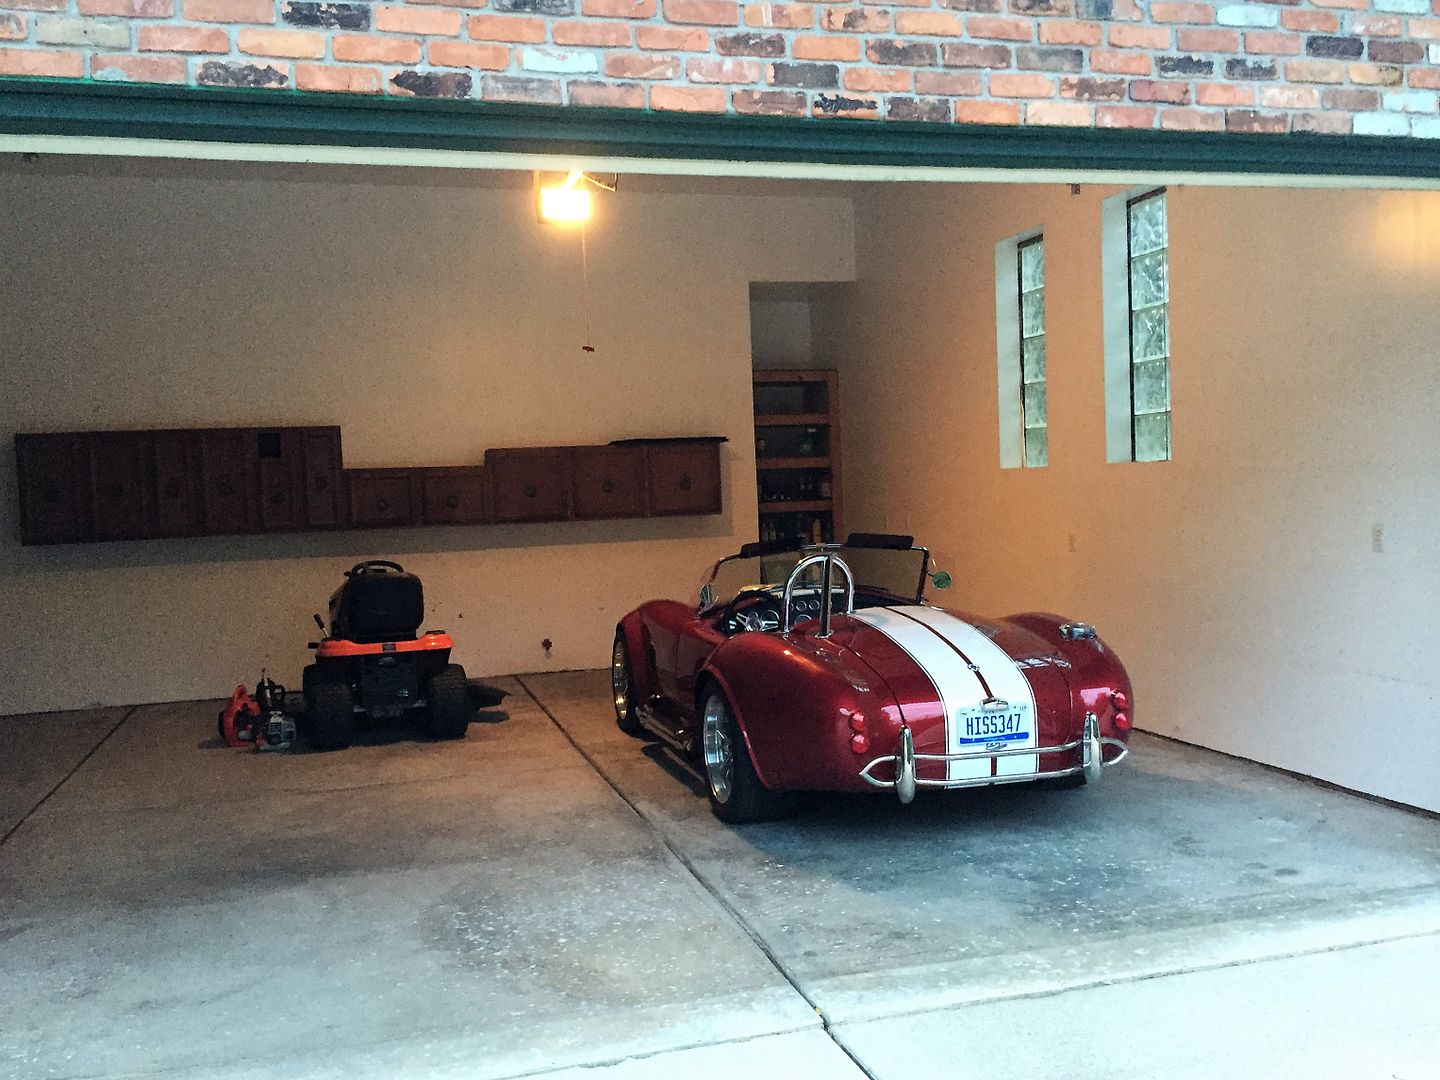


 We can park the trailer here on the property. Plenty of space and no restrictive covenants. It's taken a little longer than I expected to get the garage and basement ready for move-in. But today was the last of it so things start going into the house in earnest starting tomorrow.
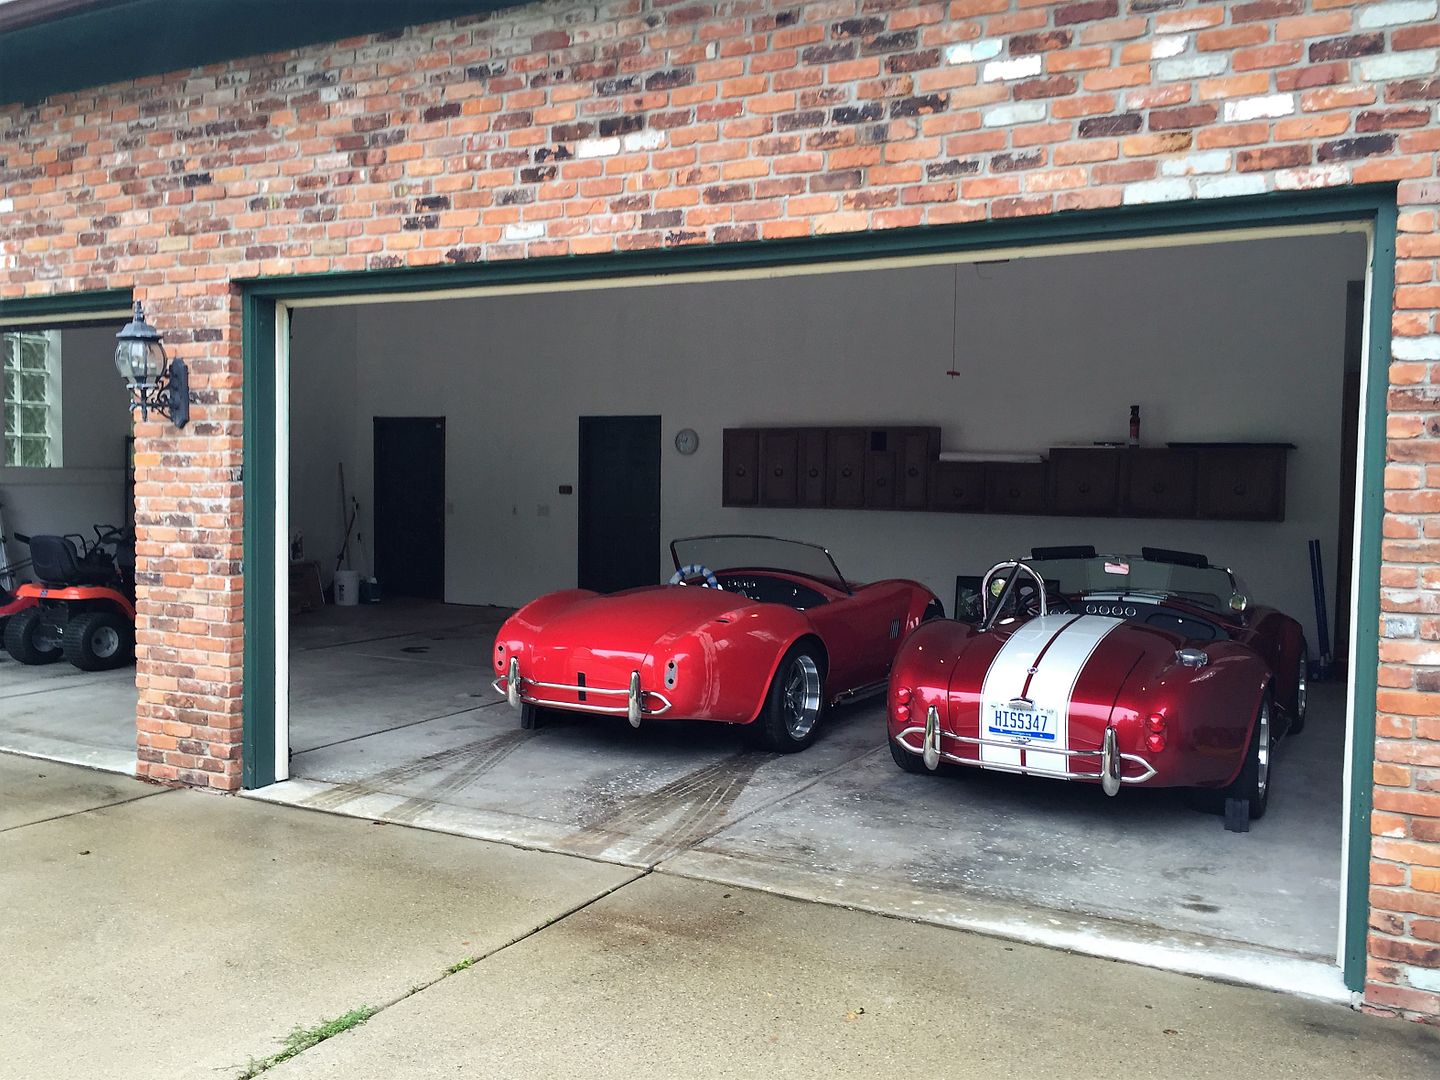


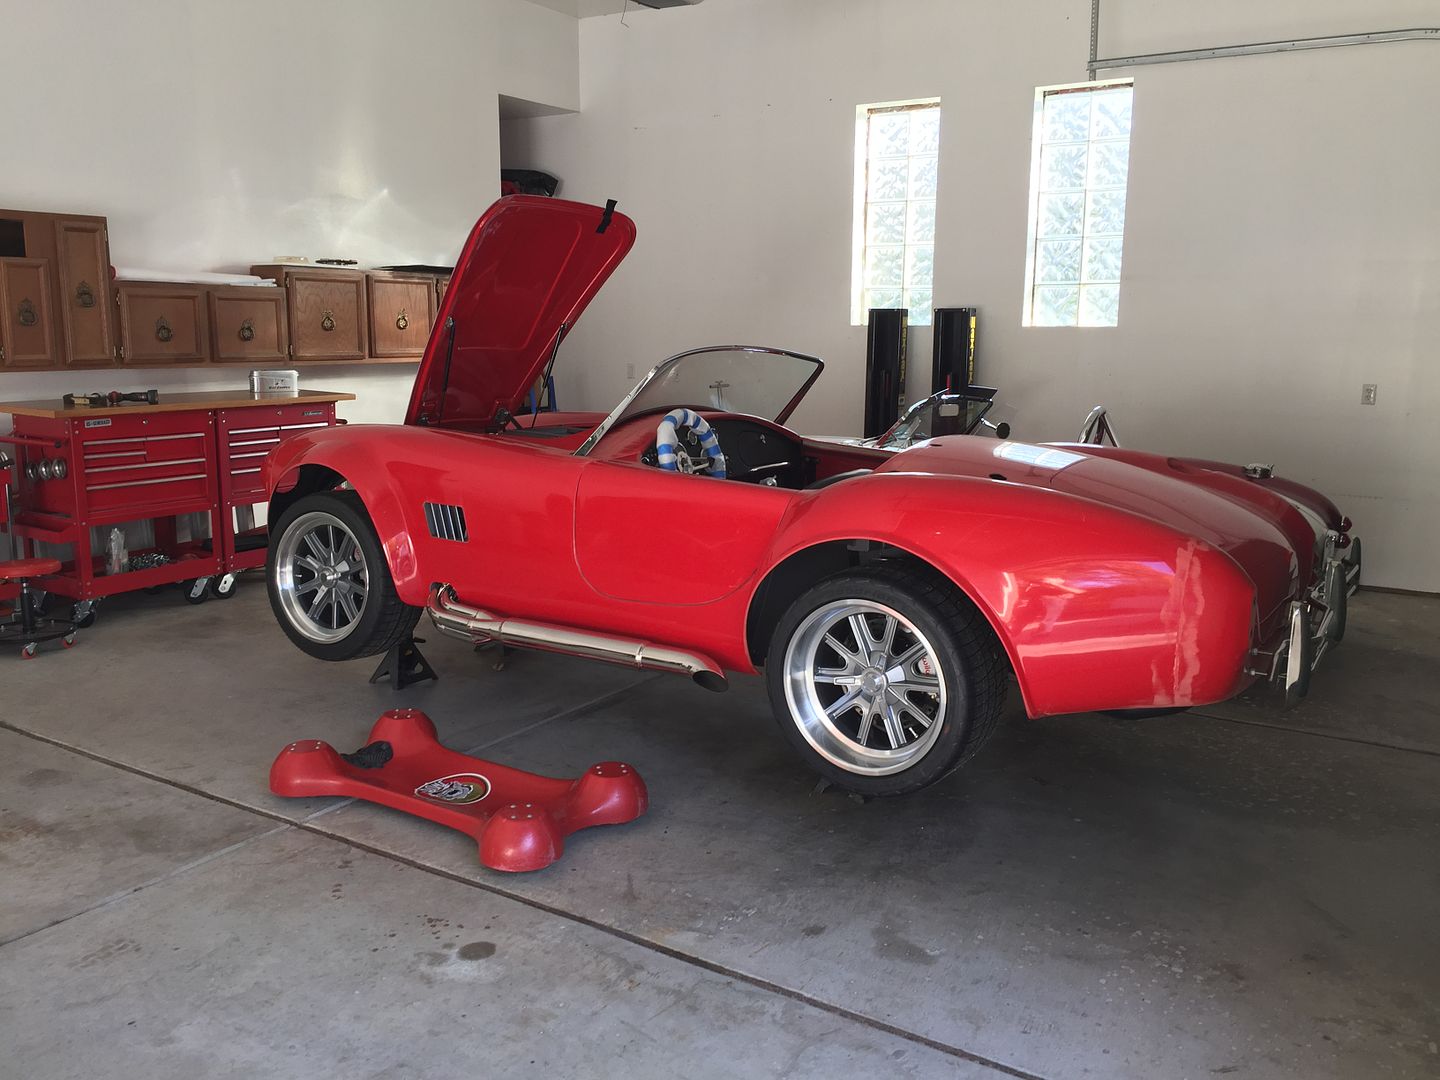
 so I looked it up in my build details. My couplers are 1-3/4 inches long and 7/16-20 threads that match my other hardware. Specifically are 90977A190 from McMaster. These are grade 5 steel. The ones in hardware and big box stores are typically not marked, and I suspect not grade 5. Don't know that it's critical, but I feel better using those. Length isn't critical other than to make sure you have plenty of thread engagement for both the attachment bolt and the threaded rod for your quick jacks or bumpers, whatever you're using.


