-
01-19-2025, 12:58 PM
#241
Senior Member

Tight quarters in that engine compartment - congrats on getting that engine shoehorned in. Well done!
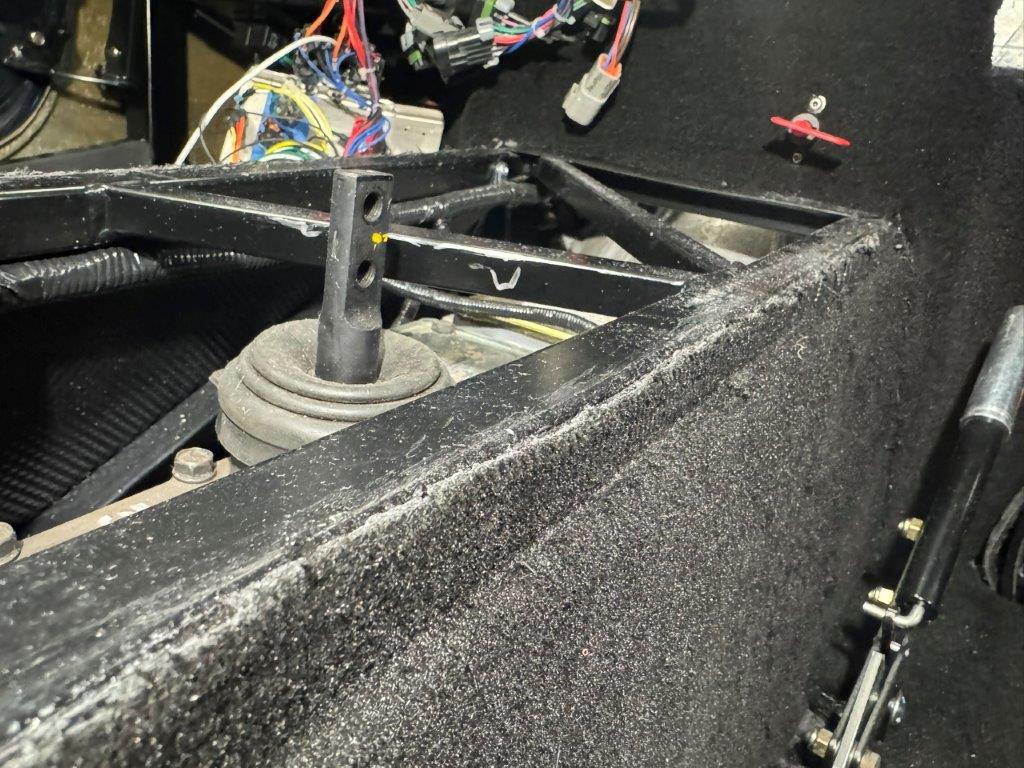
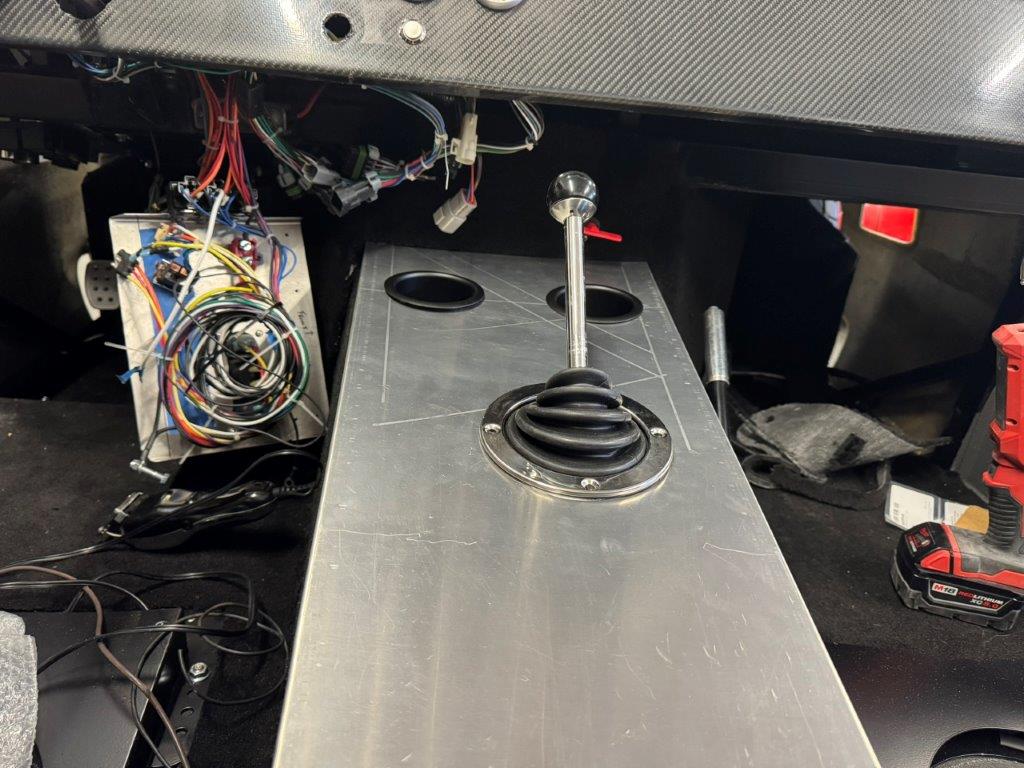
Regarding shifter position, my Mk3 is in the same place in regards to the frame. Since mine is a 302 it is in the “forward” of the two rear options on my TKO. With the supplied shifter’s radical angle everything ends up in a good place. Any further back and my arm gets jammed up against the seat. Hard to tell but here’s some photos:
-
Post Thanks / Like - 1 Thanks, 0 Likes
-
01-19-2025, 01:24 PM
#242

Originally Posted by
Mike.Bray

That's a lot of yoke showing out f the transmission, are you sure you have the correct length driveshaft?
I agree with Mike. Might want to verify with FFR.
-
Post Thanks / Like - 0 Thanks, 1 Likes
-
01-19-2025, 03:32 PM
#243
Senior Member

That's definitely the wrong driveshaft. That's the driveshaft I have in my IRS/TKX/427W setup. Before I switched to SBF from Coyote, I had a longer driveshaft that came with my kit, and it was longer than my current driveshaft by about the same amount of yoke you have showing there. I think you have the SBF/TKX/IRS driveshaft.
Greg
Built an early MkIII years ago, sold years ago. Back after 18 years to build a MkIV
Build Thread Here Partners: Levy Racing, Summit Racing, LMR, Breeze, Forte's Parts, Speedhut, ReplicaParts
MkIV Complete Kit Ordered 4/18/23, Delivered 7/11/23, Boss 427W, Edelbrock Pro Flo 4, TKX (.68 5th), IRS, Wilwood Brakes, 18" Halibrands, Toyo R888R Tires, Custom Speedhut Gauges
-
Post Thanks / Like - 1 Thanks, 0 Likes
-
01-19-2025, 06:09 PM
#244
Senior Member

Originally Posted by
Blitzboy54
It's definitely tight on the drivers side. Really only have a couple of mm. I would assume some contact when the engine torques but we will see.
Congrats on the drivetrain install! Yep. It's one. Tight. Fit. So glad I had a local F5 builder help me shoehorn it into place on my Roadster. My driver's side looked similar to yours. I had the TKO and the Gen 3, but I didn't have nearly that much driveshaft exposed.
Squeezing this motor in is one of those experiences you don't forget. As they say, "If you know. You know". Great work!
Chris
Coupe complete kit. Index. Delivered: 4/22/24.
Build Thread. Coyote Gen 4X. T-56. IRS w/3.55. Wilwoods. PS. HVAC. Side windows.
MK4 Complete kit.
Build Thread Index. Delivered: 10/15/2020. Legal: 7/25/23. Coyote Gen3. TKO600 (0.64 OD). IRS w/3.55. PS. Wilwoods. Sway bars. This build is dedicated to my son, Benjamin.
Build Thread.
-
Post Thanks / Like - 1 Thanks, 0 Likes
-
01-19-2025, 06:23 PM
#245
Senior Member

Thanks gang. Thats why I have a build thread. Great way to double check. Ill reach out to FFR.
-
01-19-2025, 09:47 PM
#246
Senior Member

Originally Posted by
Blitzboy54
It's definitely tight on the drivers side. Really only have a couple of mm. I would assume some contact when the engine torques but we will see.
My Coyote was as tight as that. 5 years on the road, with some decent canings. No sign of any contact with the upper foot boxes to date. Engine does not seem to move around at all. Good news
Cheers,
Nige
Mk.4 FFR supplied Right hand drive
Received 12/2012 completed 12/2019
Gen1 Coyote / TKO600 / IRS
Lots of mods to make compliant for Australian design rules
-
Post Thanks / Like - 1 Thanks, 0 Likes
-
01-20-2025, 06:12 PM
#247
Senior Member
-
01-21-2025, 11:01 AM
#248
Senior Member
Originally Posted by
TTimmy
Tight quarters in that engine compartment - congrats on getting that engine shoehorned in. Well done!
Regarding shifter position, my Mk3 is in the same place in regards to the frame. Since mine is a 302 it is in the “forward” of the two rear options on my TKO. With the supplied shifter’s radical angle everything ends up in a good place. Any further back and my arm gets jammed up against the seat. Hard to tell but here’s some photos:
I appreciate the pics! I am going to do a short straight shifter at or near the front. I want it where it would be if it were a modern car. I think the mid shift is too close because I have a screen right there. Looking forward to figuring it all out.
Last edited by Blitzboy54; 01-21-2025 at 11:04 AM.
-
01-23-2025, 06:12 PM
#249
Senior Member
-
01-24-2025, 09:24 AM
#250
Senior Member
Last edited by gbranham; 01-24-2025 at 09:26 AM.
Built an early MkIII years ago, sold years ago. Back after 18 years to build a MkIV
Build Thread Here Partners: Levy Racing, Summit Racing, LMR, Breeze, Forte's Parts, Speedhut, ReplicaParts
MkIV Complete Kit Ordered 4/18/23, Delivered 7/11/23, Boss 427W, Edelbrock Pro Flo 4, TKX (.68 5th), IRS, Wilwood Brakes, 18" Halibrands, Toyo R888R Tires, Custom Speedhut Gauges
-
01-24-2025, 09:24 AM
#251
Senior Member
I see you installed the 'hoop' over the passenger side mount for the steering rack, as provided by FFR as a precaution for weld failure. I did, as well. I didn't like how the PS hard line sits just above it, worried that it may vibrate and wear against that hoop. As an extra precaution, I put a short length of split fuel injection hose on that hard line, secured with a couple of zip ties. Just a thought.
HeadlightTest1.jpg
Built an early MkIII years ago, sold years ago. Back after 18 years to build a MkIV
Build Thread Here Partners: Levy Racing, Summit Racing, LMR, Breeze, Forte's Parts, Speedhut, ReplicaParts
MkIV Complete Kit Ordered 4/18/23, Delivered 7/11/23, Boss 427W, Edelbrock Pro Flo 4, TKX (.68 5th), IRS, Wilwood Brakes, 18" Halibrands, Toyo R888R Tires, Custom Speedhut Gauges
-
01-24-2025, 05:34 PM
#252
Looks good Jesse. Looks like you are faring better than I. The pump I've got from Roush is from Turn One steering and they didn't give me an integrated reservoir. Not a fan of the remote cannister so may change the pump as it's not as simple as just adding an integrated reservoir. Glad you found the right driveshaft!
-
01-25-2025, 07:32 AM
#253
Senior Member
Originally Posted by
gbranham
I see you installed the 'hoop' over the passenger side mount for the steering rack, as provided by FFR as a precaution for weld failure. I did, as well. I didn't like how the PS hard line sits just above it, worried that it may vibrate and wear against that hoop. As an extra precaution, I put a short length of split fuel injection hose on that hard line, secured with a couple of zip ties. Just a thought.
HeadlightTest1.jpg
That tube just passes air back and forth to the grease boots, however what you did is not a bad idea. There is some contact between the power steering hoses and it. The car will vibrate and I can't get a hose clamp in there. I may copy what you did.
Originally Posted by
cv2065
Looks good Jesse. Looks like you are faring better than I. The pump I've got from Roush is from Turn One steering and they didn't give me an integrated reservoir. Not a fan of the remote cannister so may change the pump as it's not as simple as just adding an integrated reservoir. Glad you found the right driveshaft!
The FFR instructions still show a remote reservoir. I like the integrated arrangement better as well. There is only so much room to hang stuff. Should be plenty of pump options for an SBF. Good luck, looking forward to your next update.
-
01-26-2025, 06:13 PM
#254
Senior Member
-
01-26-2025, 11:40 PM
#255
Senior Member
-
01-29-2025, 01:23 PM
#256
Senior Member
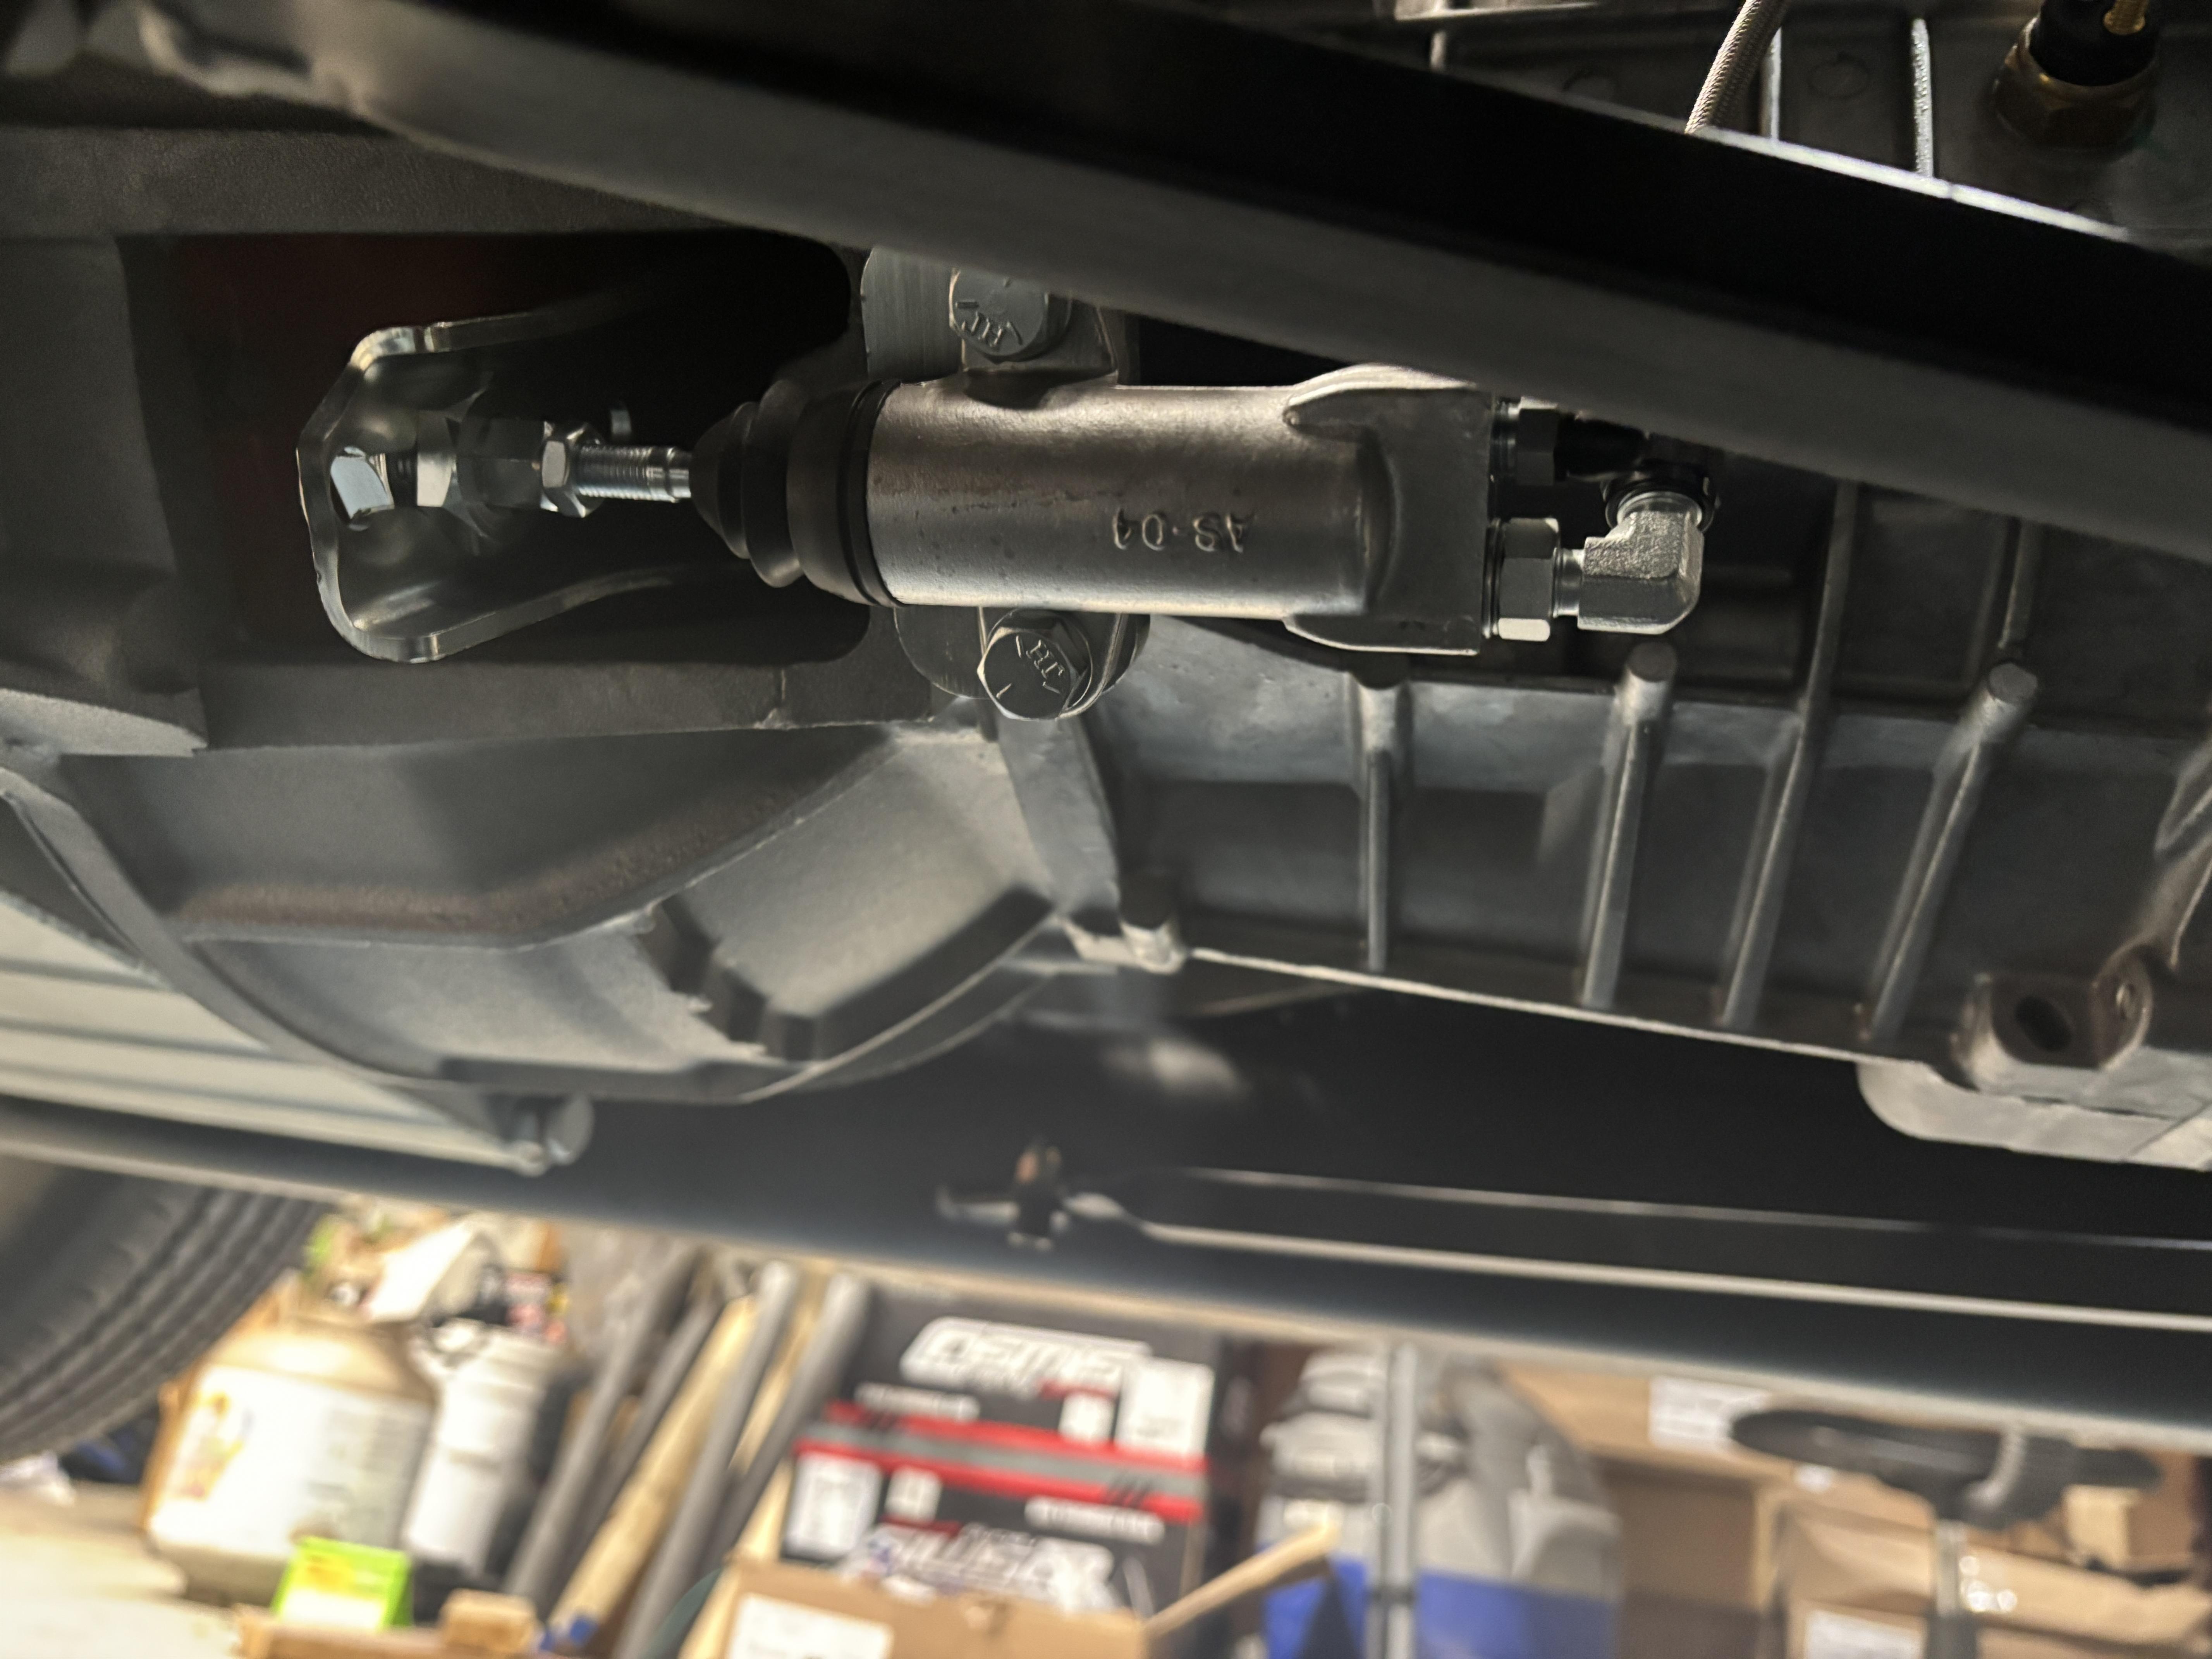
I learned something about vacuum bleeders and brakes vs the clutch. I reported not liking the vacuum bleeder on the brakes because it pulls air in past the fitting. You can't tell when the air is all gone. So I had another person help me do it the old fashioned way. On the clutch however I was never able to fully get the air out of the slave cylinder. I tried a number of tricks and I just couldn't get it. I would imagine a pressure bleeder would work for both but just for the sake of informing folks I found the vacuum bleeder worked great for this application. I was unable to remove the "rebound" because of the air behind the cylinder. The vacuum bleeder pulled it right out. The piston rebound was immediately tight while the vacuum bleeder was operating. The clutch now moves mm to mm with the pedal.
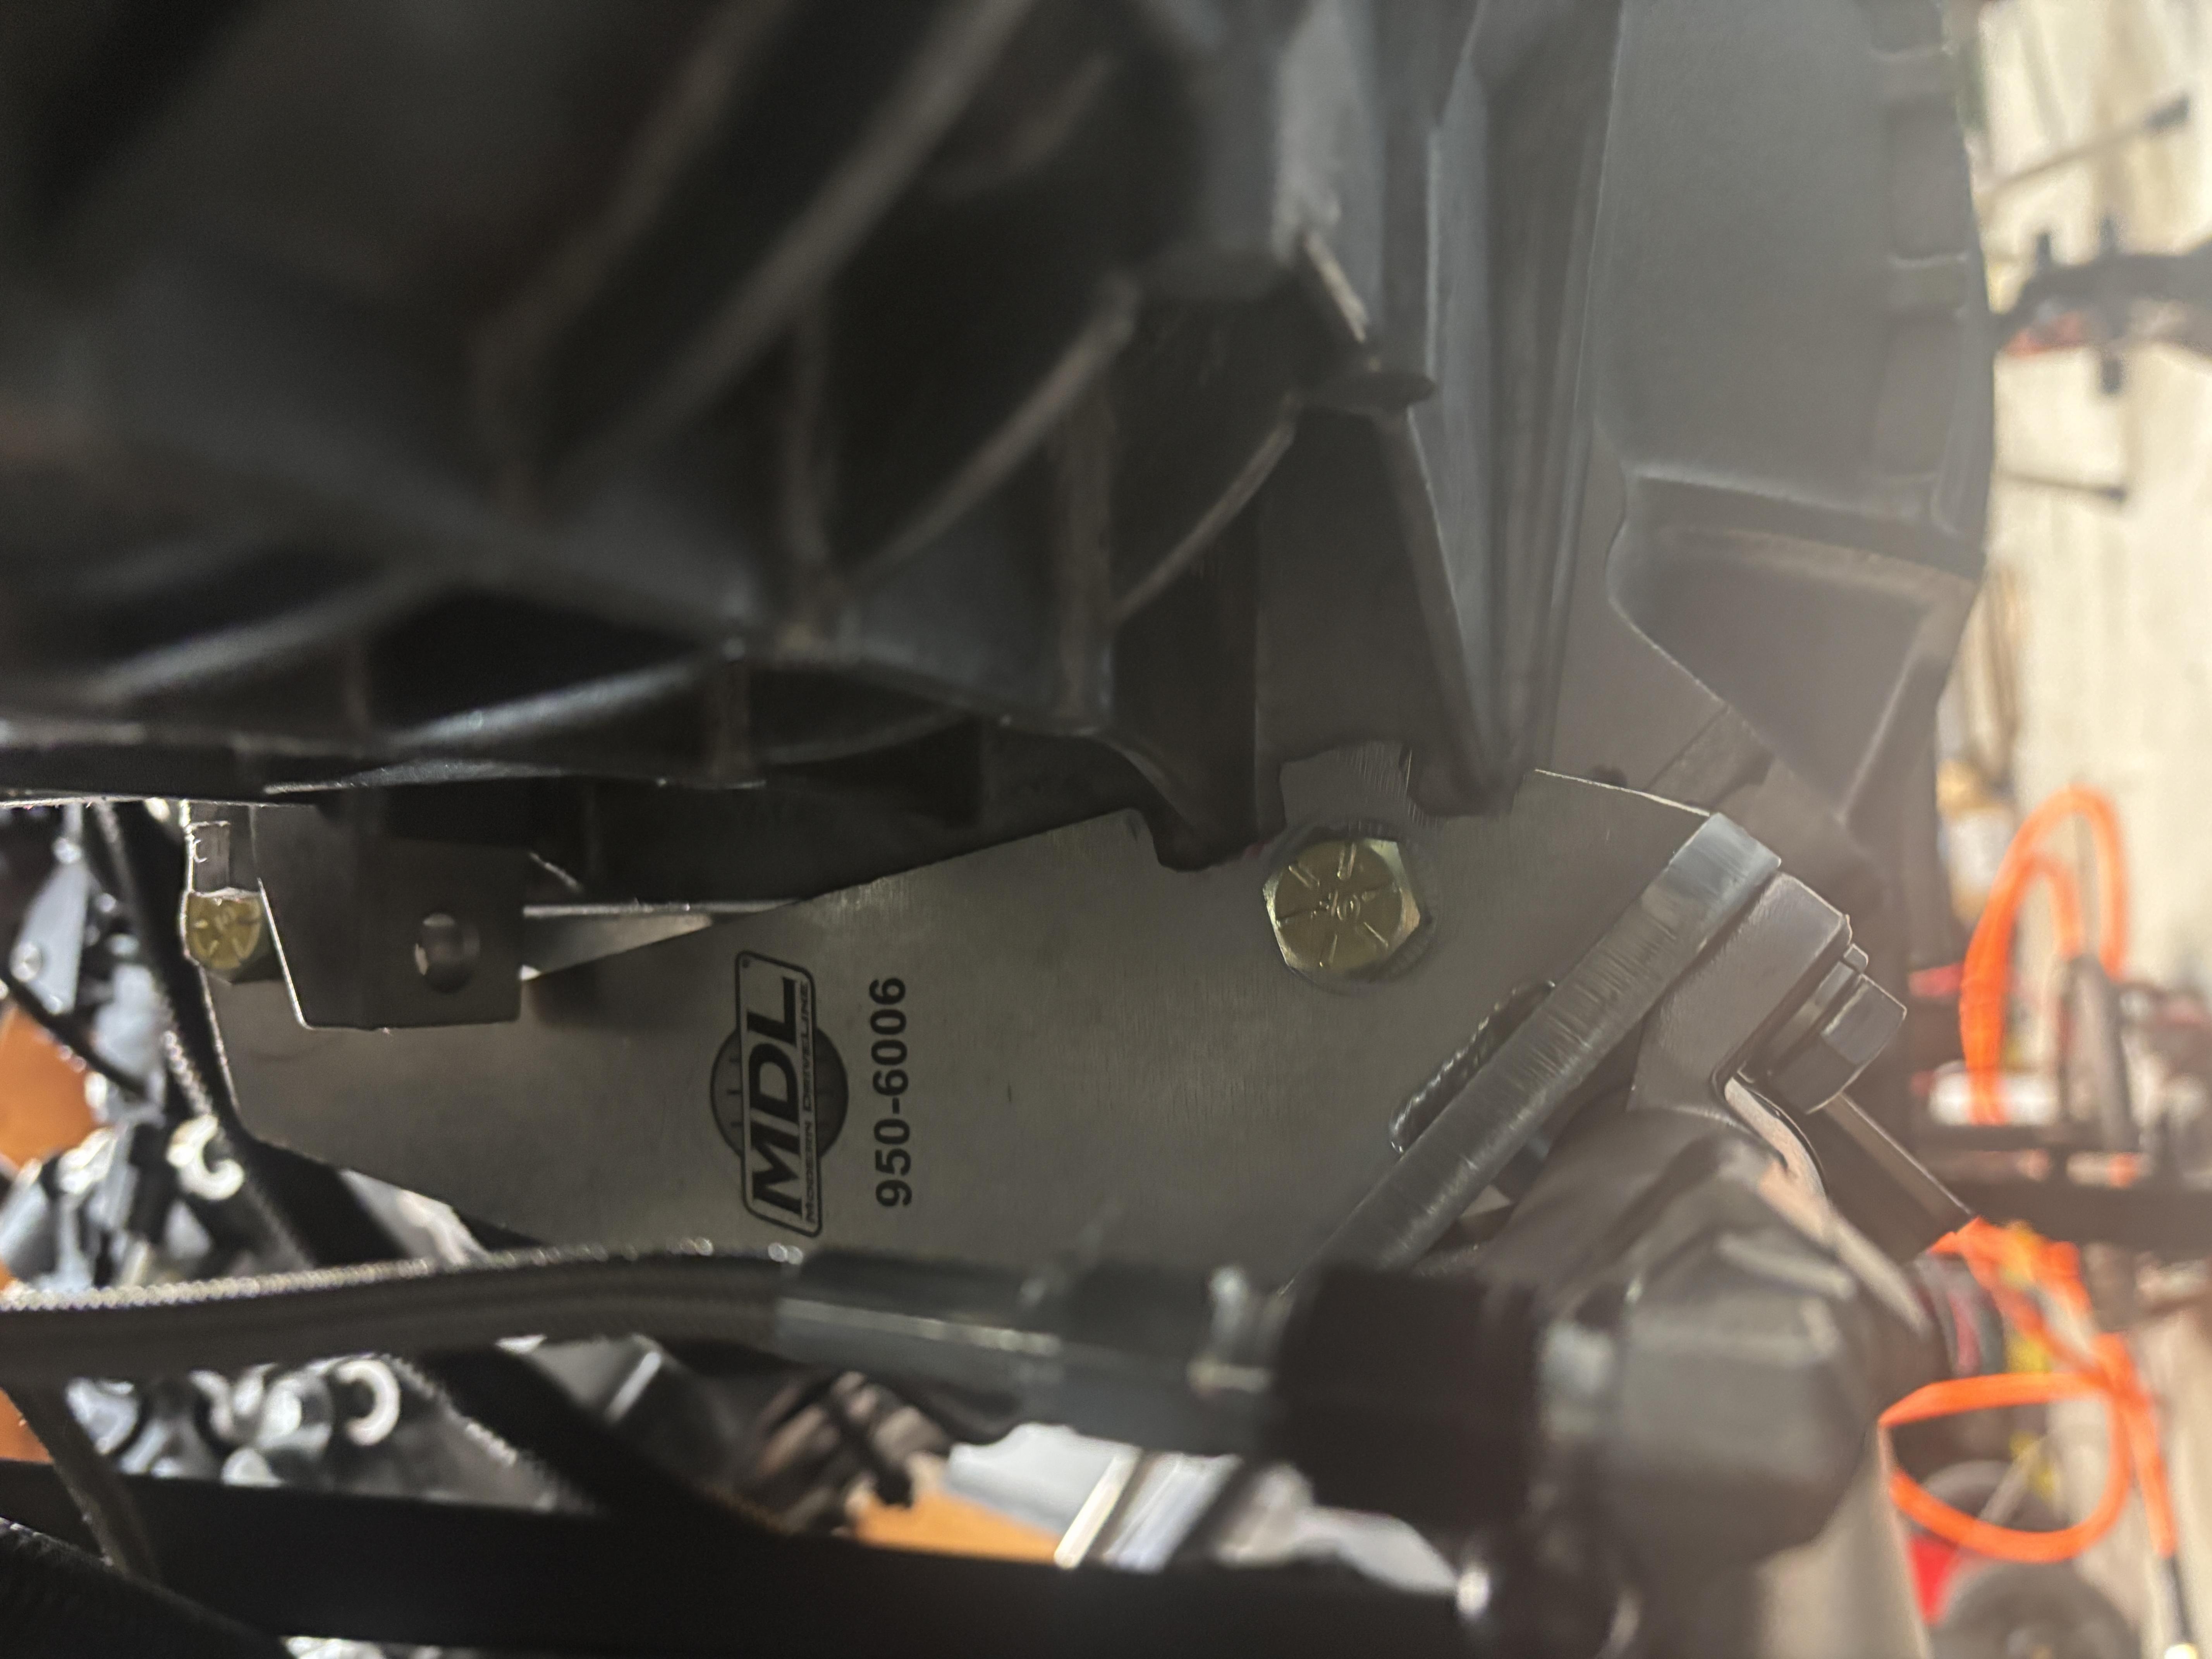
I did have to put a spacer behind the pin that engages the clutch as it was not long enough. Based on this experience and having to modify the bracket you may want to go a different route if installing an external slave. MDL is just ok.
I also filled the TKX with sycromesh. The instructions call for 2.75 quarts. I removed the mid shift plate. I put 2.75 in and if you use a flashlight you can see the level from up there. It was right at the upper plug. So it was nice not to have to remove the side plug.
Last edited by Blitzboy54; 01-30-2025 at 11:35 AM.
-
01-30-2025, 11:47 AM
#257
Senior Member
-
01-30-2025, 02:18 PM
#258
Senior Member

The Factory Five supplied fan is definitely loud. I tested it on the bench in my garage and my neighbor came over asking if I was putting a jet engine in my car. Sad thing is it doesn't pull very much air for all that noise.
-
Post Thanks / Like - 0 Thanks, 1 Likes
-
02-01-2025, 05:55 PM
#259
Senior Member
-
02-01-2025, 06:12 PM
#260
Senior Member
-
02-02-2025, 04:40 PM
#261
Senior Member
-
02-02-2025, 04:55 PM
#262
Senior Member
-
02-11-2025, 12:49 PM
#263
Senior Member
-
Post Thanks / Like - 0 Thanks, 1 Likes
-
02-23-2025, 08:01 PM
#264
Senior Member
-
Post Thanks / Like - 0 Thanks, 1 Likes
-
02-23-2025, 10:27 PM
#265
Senior Member
Built an early MkIII years ago, sold years ago. Back after 18 years to build a MkIV
Build Thread Here Partners: Levy Racing, Summit Racing, LMR, Breeze, Forte's Parts, Speedhut, ReplicaParts
MkIV Complete Kit Ordered 4/18/23, Delivered 7/11/23, Boss 427W, Edelbrock Pro Flo 4, TKX (.68 5th), IRS, Wilwood Brakes, 18" Halibrands, Toyo R888R Tires, Custom Speedhut Gauges
-
Post Thanks / Like - 0 Thanks, 1 Likes
-
03-02-2025, 01:34 PM
#266
Senior Member
-
03-08-2025, 11:04 PM
#267
Senior Member
-
Post Thanks / Like - 0 Thanks, 2 Likes
-
03-09-2025, 05:10 PM
#268
Senior Member
Quick update, on the MIL or check engine light. The control pack comes with a Malfunction Indicator Light that is bracketed to the OBD port. I wanted a proper check engine light in my dash that matched the rest of my indicators. Now that my engine is running my check engine light never shuts off. I also don't have any error codes. Well I of course put an LED in my dash. What is happening is the LED uses so much less voltage that it's always lit.
I put an incandescent light in it's place and sure enough it goes out. I thought about playing around with resisters but ultimately I think I will just use a relay. Should work easy peasy.
-
Post Thanks / Like - 0 Thanks, 1 Likes
-
03-09-2025, 07:23 PM
#269
Senior Member
You could put a dummy load resistor (equivalent resistance and power to the incandescent lamp) across the LED. If you use a relay, make sure it is back EMF protected with a diode, or high back EMF could damage the ECM.
Cheers,
Nige
Mk.4 FFR supplied Right hand drive
Received 12/2012 completed 12/2019
Gen1 Coyote / TKO600 / IRS
Lots of mods to make compliant for Australian design rules
-
Post Thanks / Like - 1 Thanks, 0 Likes
-
03-09-2025, 10:25 PM
#270
Senior Member
Congrats on the start man - long time coming and well deserved!
Build 1: Type 65 Coupe
-
Album: Coupe Album
-
Delivered: February 24, 2022,
Legal: April 20, 2024,
Complete: TBD
Build 2: Mk3 Roadster (Acquired as a partially started build)
- Build Thread: TTimmys MK3 Basket Case Build Thread - Album: Mk3 Album
-
Originally Delivered: 2004,
Acquired by me: August 2024
-
Post Thanks / Like - 1 Thanks, 0 Likes
-
03-10-2025, 10:19 PM
#271
Senior Member
Update on the MIL.
I ordered a basic relay. the trigger side is connected to the MIL which is always hot and uses a ground switch to operate. On the feed side I installed the red wire of LED indicator in the dash. On the other side of the relay I ran 12v using the HAAT B pigtail from the 16 pin connector. I ran the black wire to ground. I tested the relay with a power supply and it lit up as expected.
I tucked the whole thing above the RF fuse box.

I wasn't sure how I would test it in the system as I would need to create an error. Luckily when you turn the key to run the MIL flashes. The light on the dash blips accordingly so I know it works. I now have a fully functional control pack.
Last edited by Blitzboy54; 03-10-2025 at 10:23 PM.
-
Post Thanks / Like - 1 Thanks, 1 Likes
-
03-11-2025, 11:06 AM
#272
Senior Member
-
03-12-2025, 06:13 PM
#273
Senior Member
-
Post Thanks / Like - 0 Thanks, 2 Likes
-
03-12-2025, 08:44 PM
#274
Senior Member

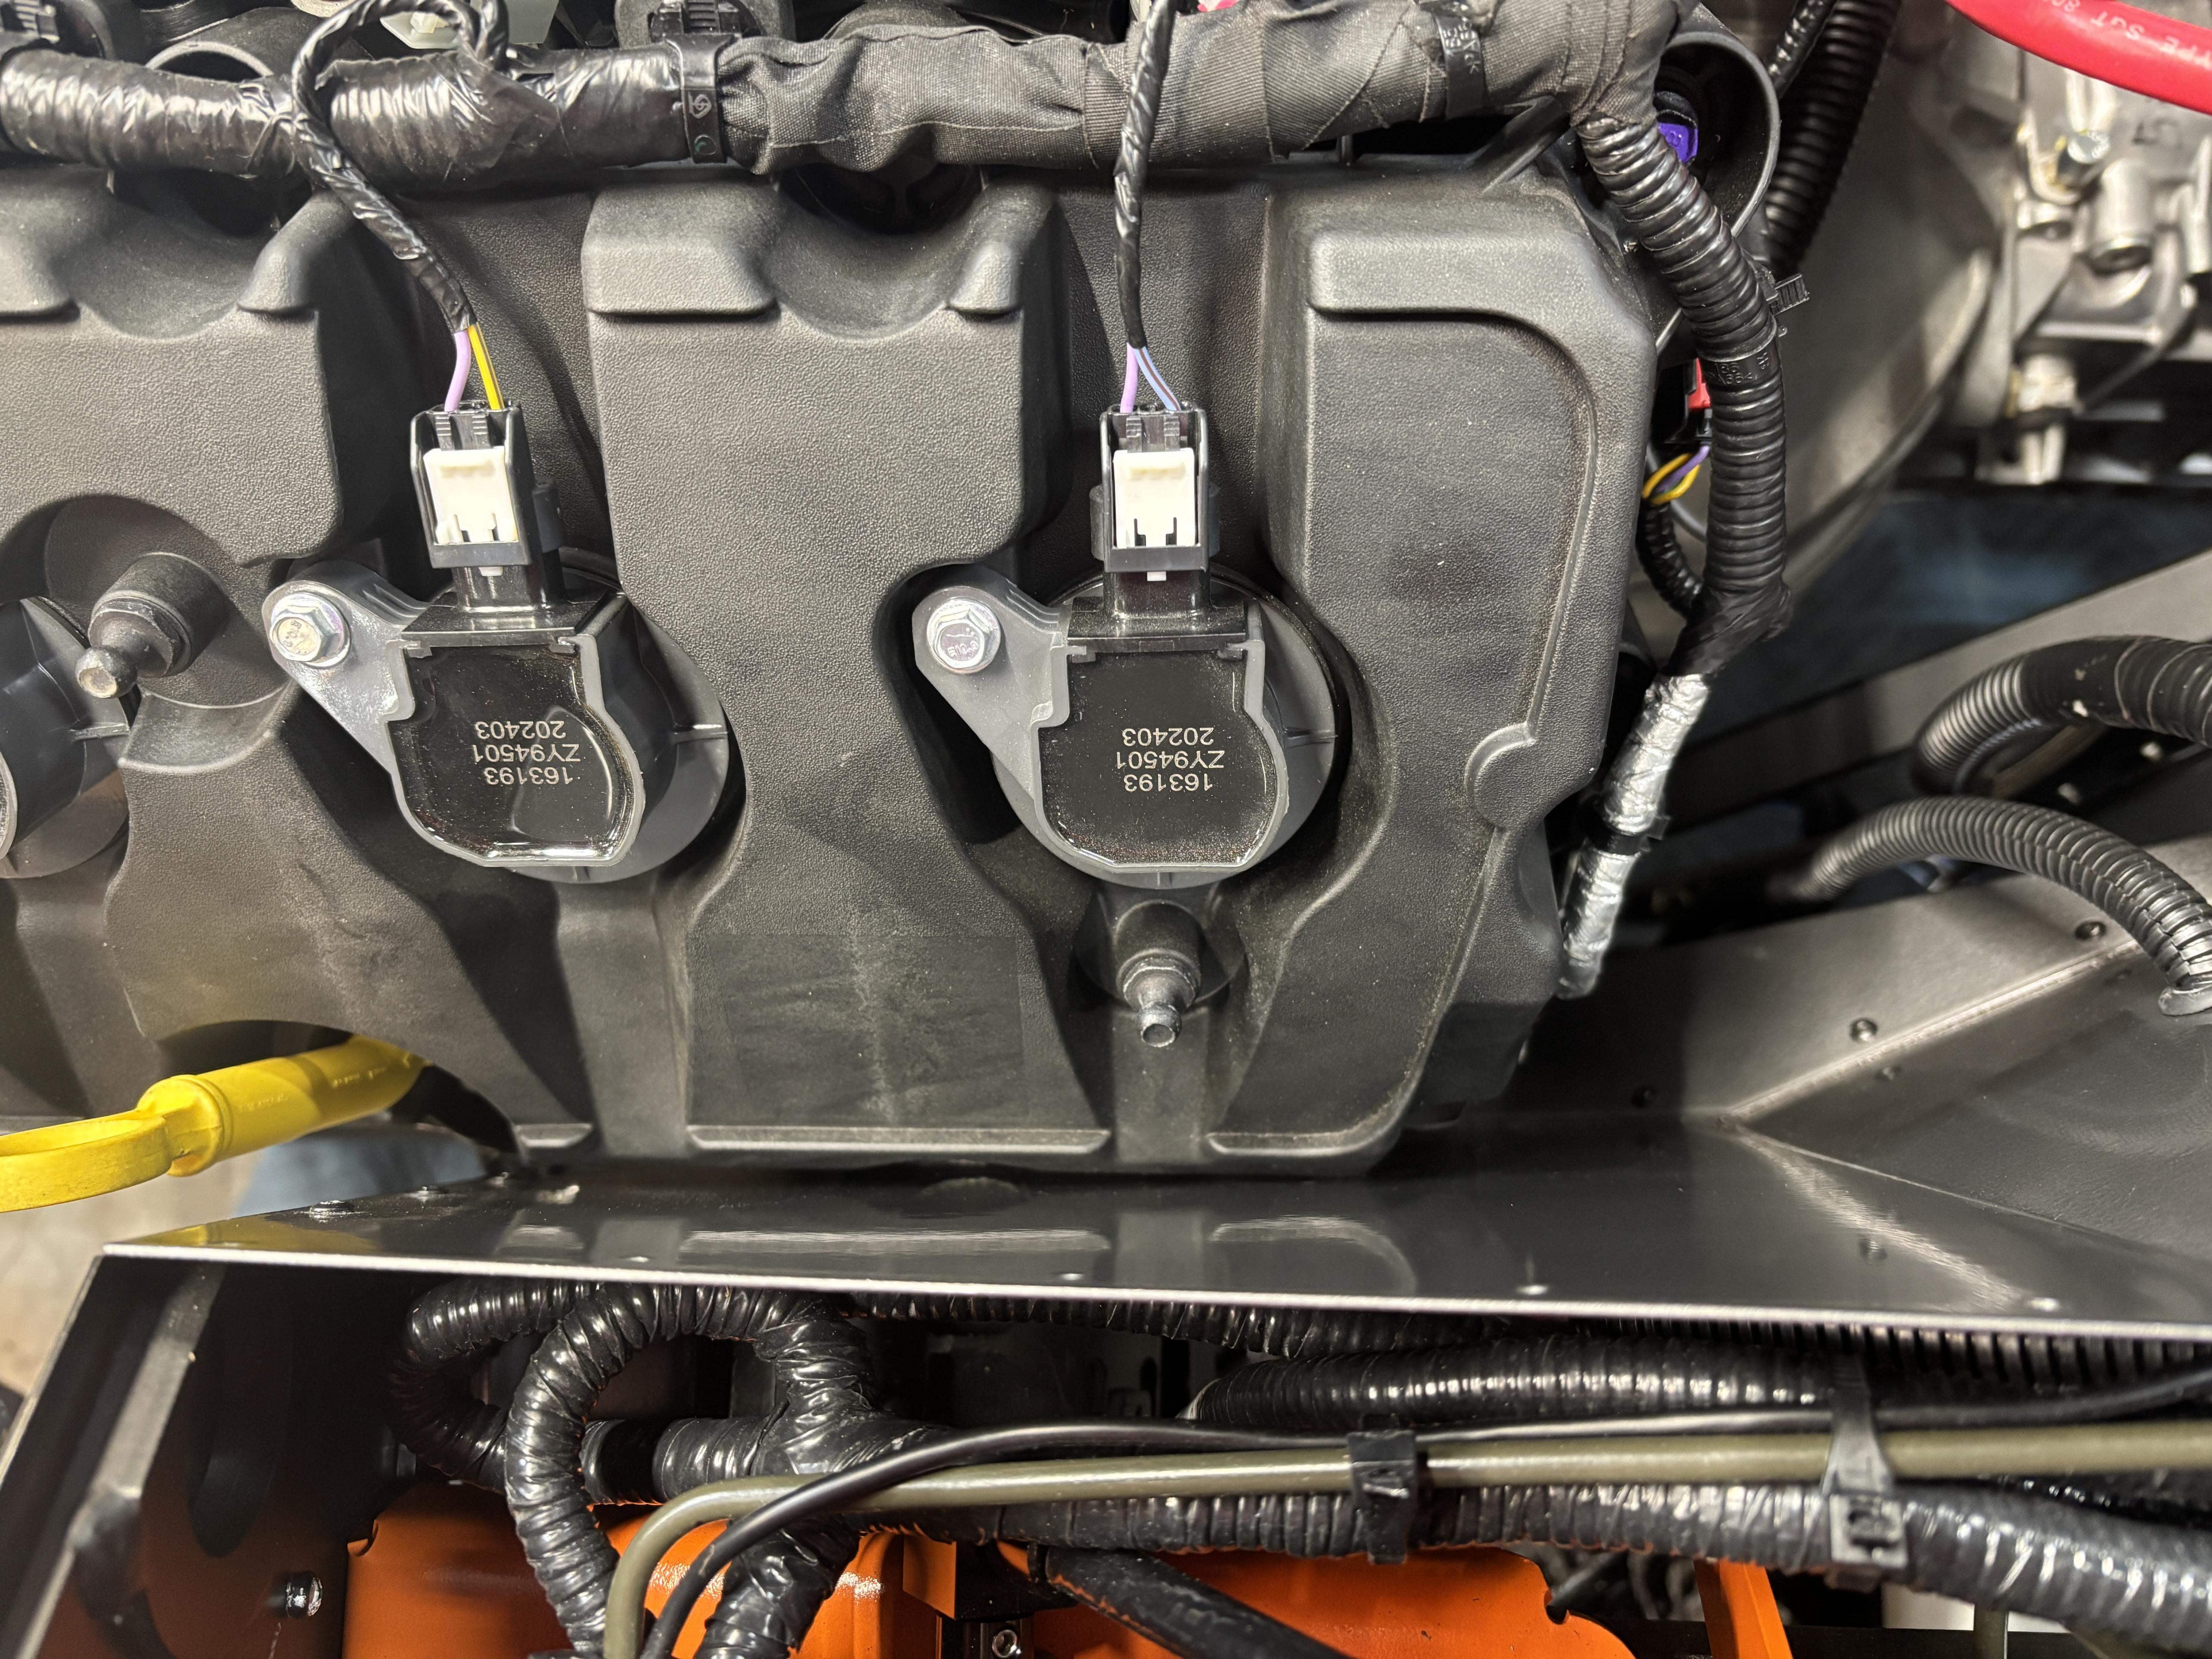
I like the colored hoses in the engine bay. Sets it apart for sure. Nicely done.
Darryl [dbo_texas]
MKIV #9644 (build thread) (Index)
MK4 Complete Kit | Gen2 crate Coyote | Tremec T56, 3.55 IRS | power steering | hydroboost | dual roll bars | FFR carbon fiber dash | 18" Halibrands + Wilwoods | RT drop trunk kit & turn signal | front battery mount | saddle leather Intatrim Stoneleigh seats + interior accents
-
Post Thanks / Like - 1 Thanks, 0 Likes
-
03-12-2025, 09:11 PM
#275
How are you placing bends in the sheet metal for the cubby box and clutch fork cover? A HF brake or something else?
Jen
MK4 complete kit, IRS, 347 stroker (carb), TKX, PS, heater-defroster-wipers, firewall forward, 11.65 rear brakes, 17" Halibrands, #11124.
Ordered: 9.8.2024
Delivered: 10.31.2024
-
Senior Member
Originally Posted by
jengum
How are you placing bends in the sheet metal for the cubby box and clutch fork cover? A HF brake or something else?
Yep, I use metal jigsaw blade and a HF break. Nothing fancy.


 Thanks:
  Likes:


 Reply With Quote


