
Visit our community sponsor

Thanks:
10

Likes:
25
-


Made another mess today, but the good kind. The extreme heat has finally broken, and today was the first day cool enough to leave all the doors open. It was in the high 90's today, still plenty warm, but with a nice breeze, it was a beautiful day. I was in the pool four times! Because I could leave the doors open, I decided it was time to attack those annoying parting seams on the body. I put away everything that was not absolutely necessary, and pulled out the sander. I took down the lines with 80 grit on the palm sander just to get down to a workable level. Then I pulled out the sanding block to make sure they were shaped correctly. After sanding to a shaped I knew was close, but I also knew was not quite finished, I gave the area a very light "skim coat" of black primer.
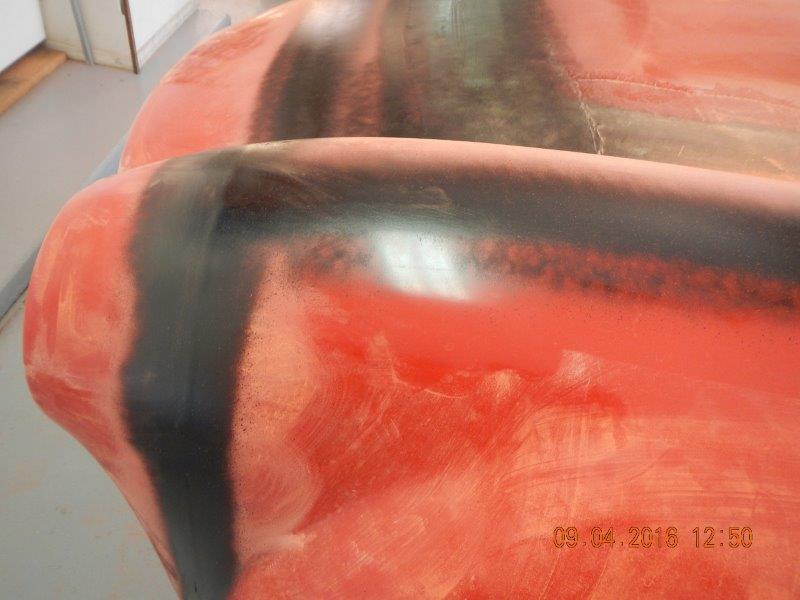
After block sanding away the primer, it left clear marks of the areas that are still low. (Anything still black is low because the sandpaper hasn't hit it.)
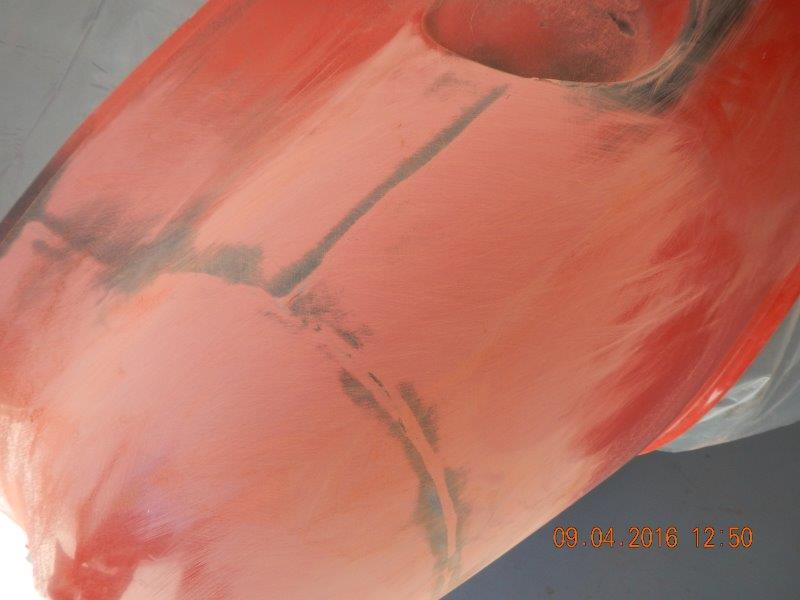
It has been nearly 30 years since I did any body work, but it was nice to see how quickly it came back to me. Never sand in straight lines, always on the 45 degree angles. Keep moving. Long strokes. It was not quite so nice to remember clearly how hard this work is! Jeff and Jeff, you guys are ironmen in my book! It is satisfying work, though.
after sanding a goodly portion of the areas that had been skim coated, I broke for lunch. After lunch I came back and applied very thin layers of HSRF filler. I must have mixed in not quite enough hardener, because it took forever for the HSRF to harden. I went on to other projects and will come back to sanding later. It did harden, it just took longer than expected.
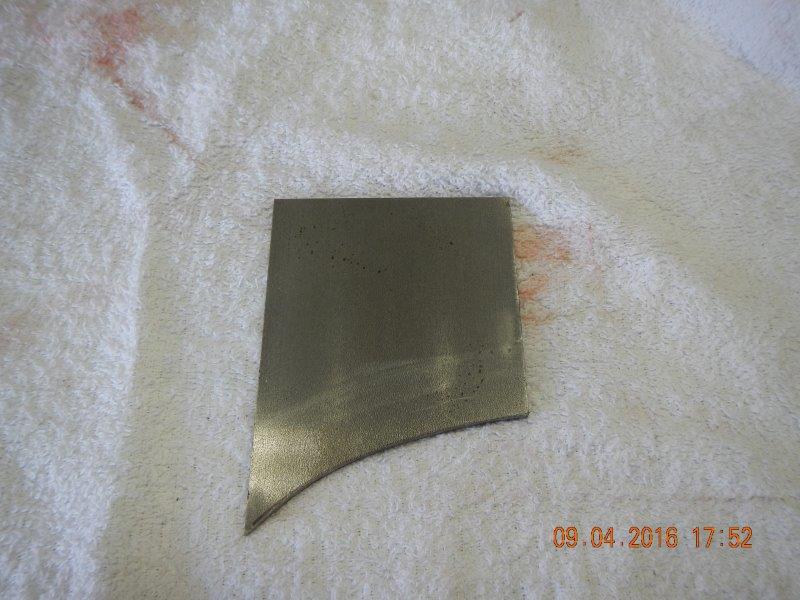
The side latches for the hood is the next item staring at me, begging for resolution. I started with the DS, because I have figured out how to do that side. I still am not solid on how I will do the PS. Similar method, but it will require its own unique solution. I first took 3/16" steel plate 4" wide an cut a piece shaped like the outside frame tube of the DS footbox.
I then marked a line to represent the top of the frame bar, and vertical lines to show where the vertical adjustment holes will go.
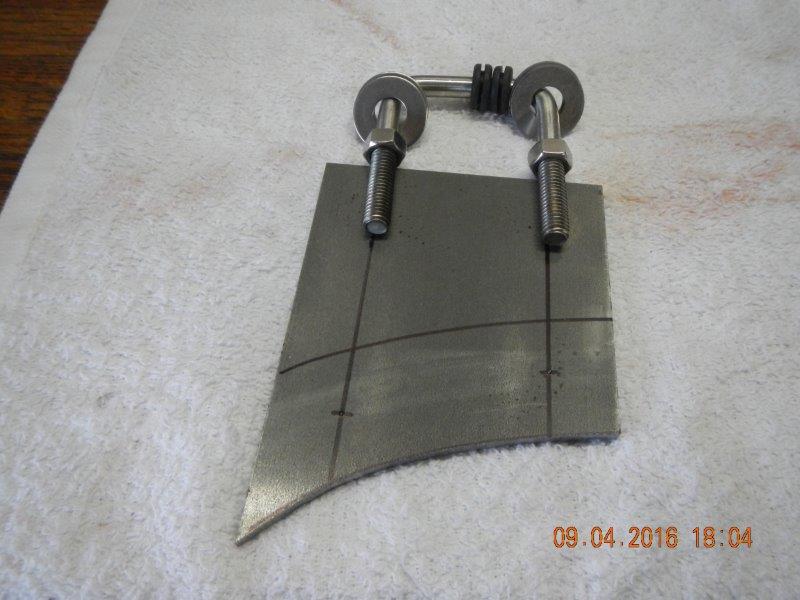
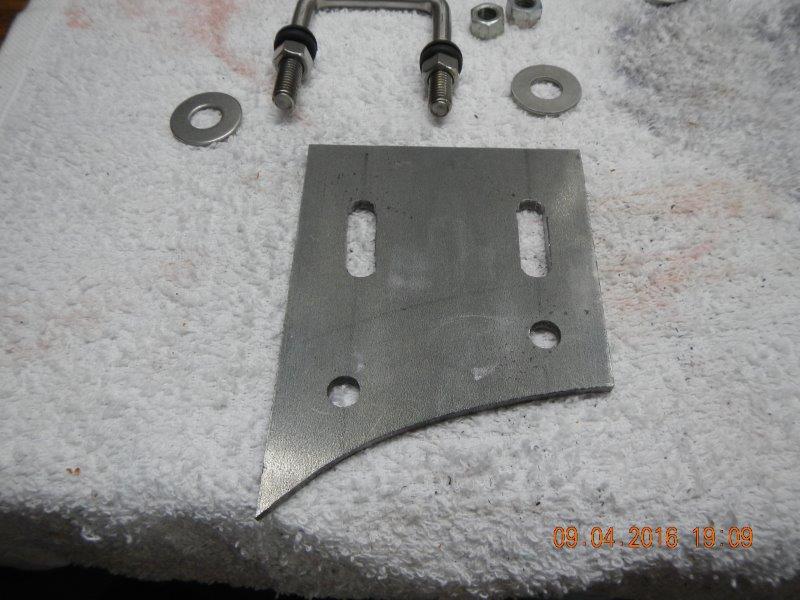
I drilled holes to accommodate the size of the U bold legs, and drilled similar holes to attach this piece to the inside of the frame rail.
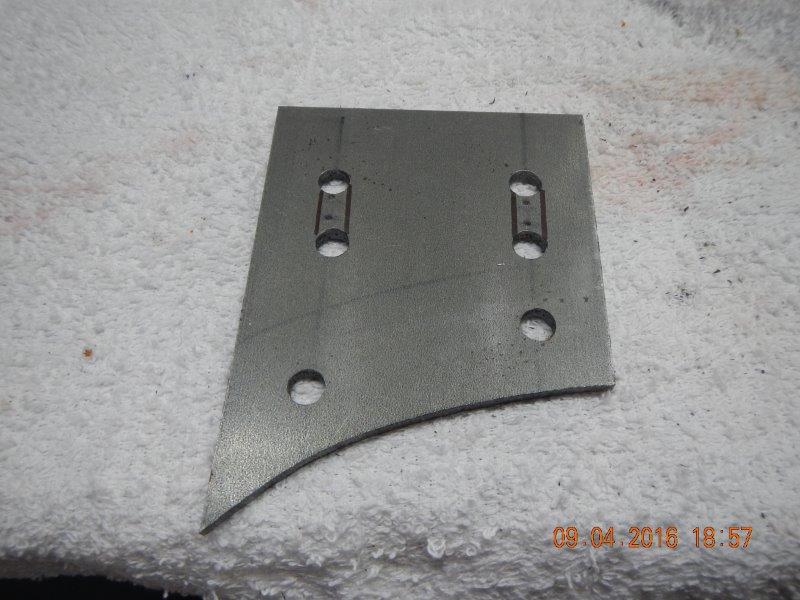
A few minutes with the sabre saw and a hard metal blade, and the holes on the top become a slot to offer up and down adjustability. Ok, to be fair, it also included a few minutes with a metal file to smooth the inside edges of the slots.
to be continued . . .
Last edited by Jazzman; 09-05-2016 at 03:29 AM.
 Posting Permissions
- You may not post new threads
- You may not post replies
- You may not post attachments
- You may not edit your posts
-
Forum Rules

Visit our community sponsor


 Reply With Quote