-
Senior Member

Side Louvers Plus
Today I finished the body side louver installation. Pretty minor update, but some aspects that newer builders may find helpful. Still fitting in a little build activity around our real estate dealings. Down to the last few details. This week we hope to close out the last couple contingencies and firm up the closing dates for both properties around the end of September. Meanwhile, back to the build while I can.
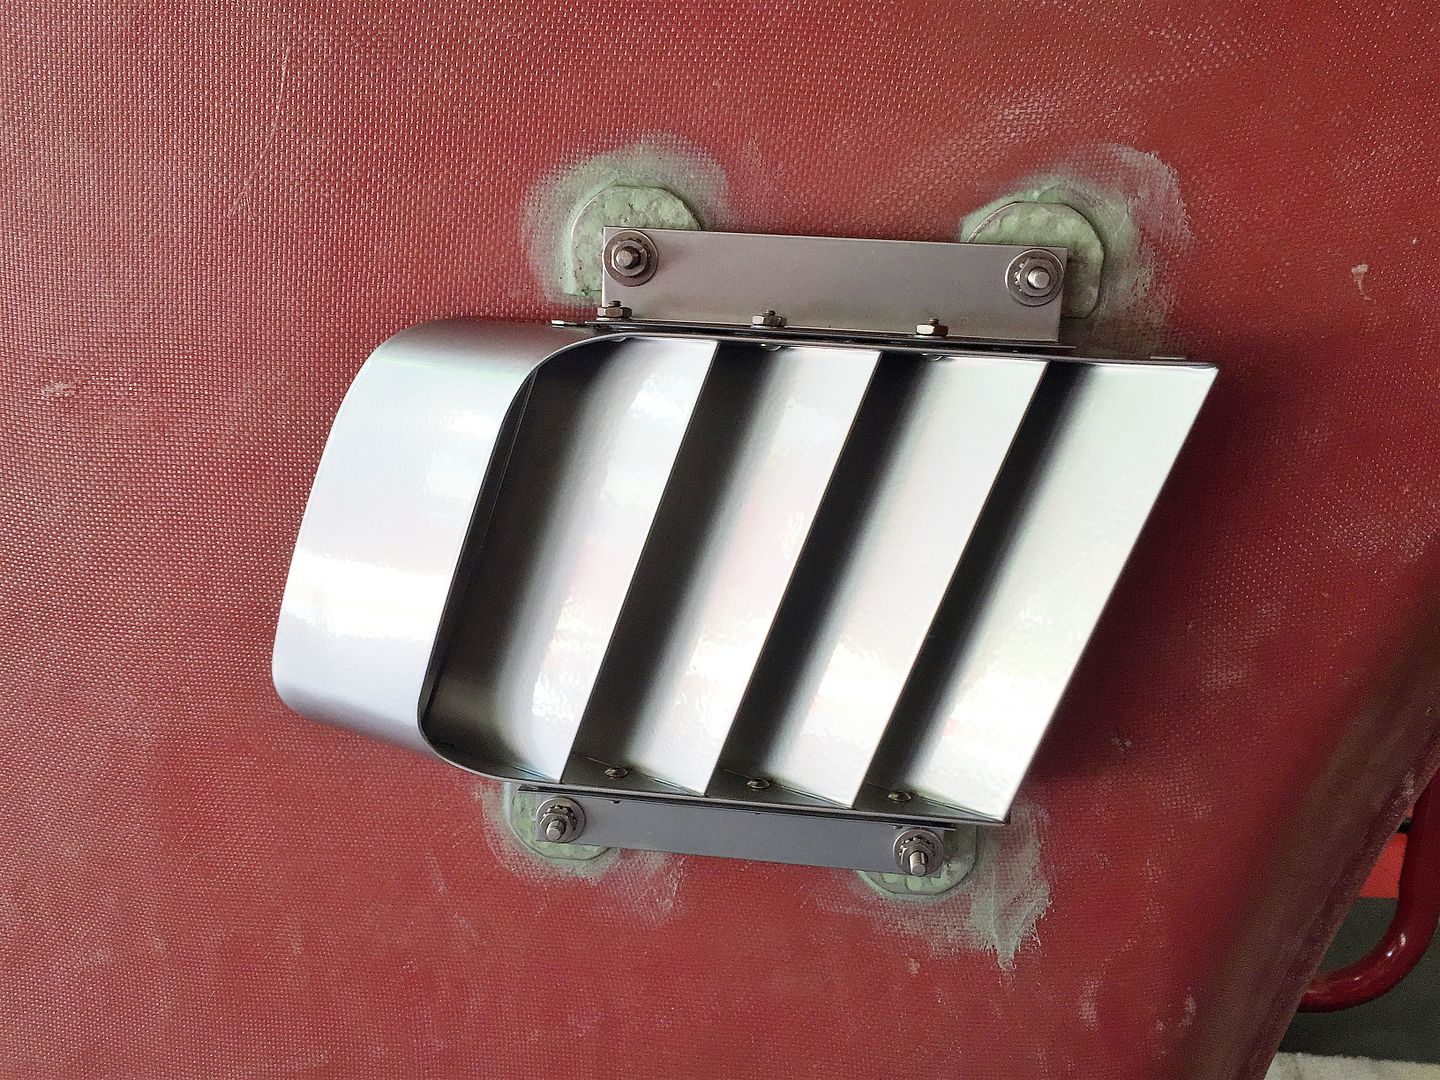
I bought the assembled side louver set from Factory Five. These appear to be exactly the same as the ********** ones I used on the Mk3 build. I polished the last ones, which wasn't easy. So decided to have these powder coated, and chose a bright silver color. They turned out nice. I bolted the mounting brackets on each side as mentioned in a previous update. There is regular discussion on both forums about how best to mount these things to the body and always seems to draw lots of different opinions. Velcro, silicone, etc. I’m 3-for-3 mounting them with McMaster 10-32 perforated base studs, part number 97590A569, and bonding the studs to the inside of the body with 3M HSRF. Applied properly they will never come loose, it looks neat and clean, and they’re easy to install and remove once the studs are bonded to the body.
I captured the studs on the mounting brackets with nuts on each side, determined where they would attach on the inside of the body centered in the pre-cut opening, roughed up the body with 60 grit paper, and bonded them in place. I used rubber bands looped around the louvers in two places and held in place by paint sticks while the HSRF cured. The clothes pins helped hold the rubber bands while I fed the paint sticks through. I only had used paint sticks on hand. Nice. One of the colors in our family room and not sure about the other one...
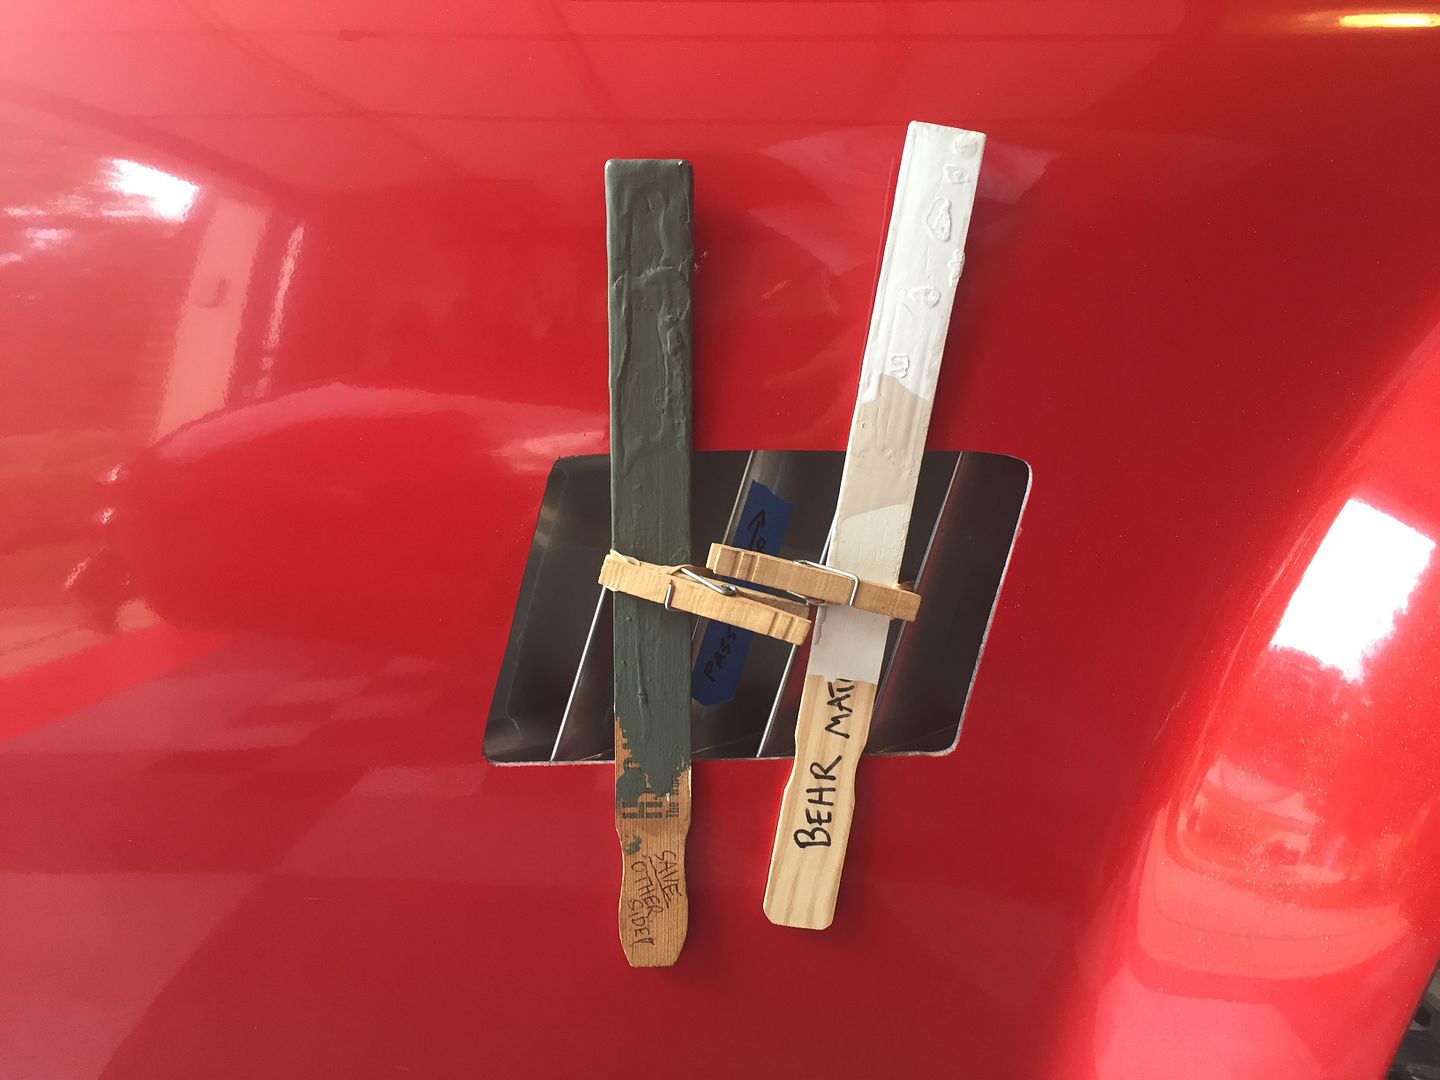
Once cured, removed the louvers and the studs are bonded in place for good. Used a Dremel to clean things up a little and added a little more HSRF in any voids. Then trimmed the bolts to have a more reasonable length.
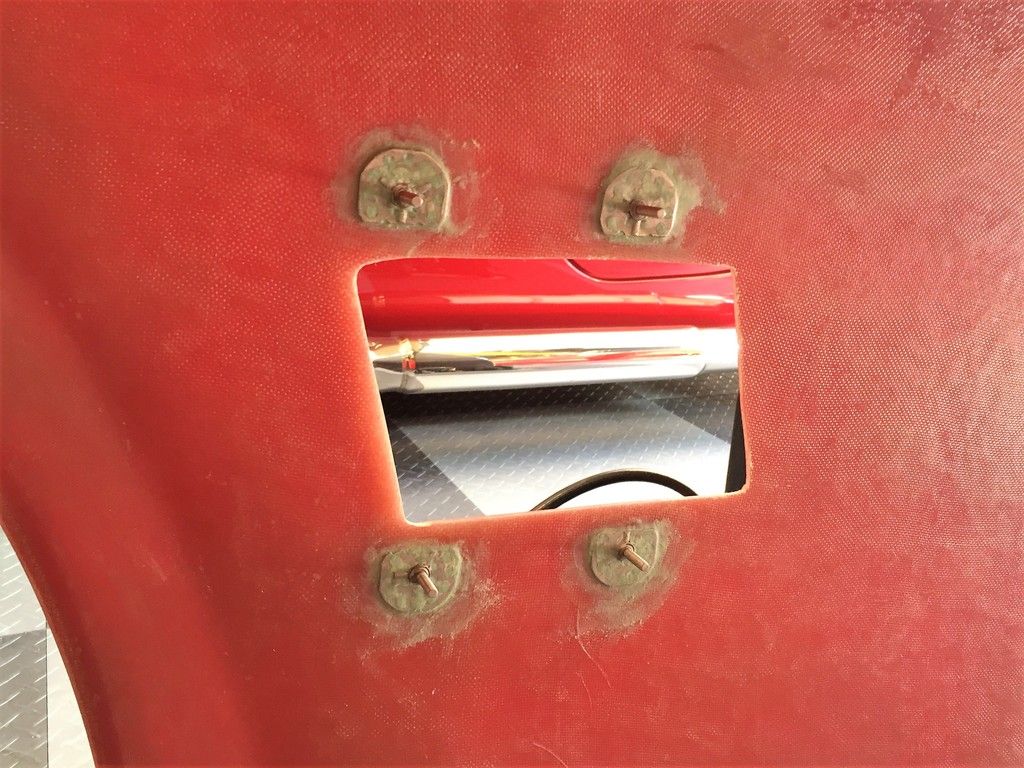
Re-installed the louvers.
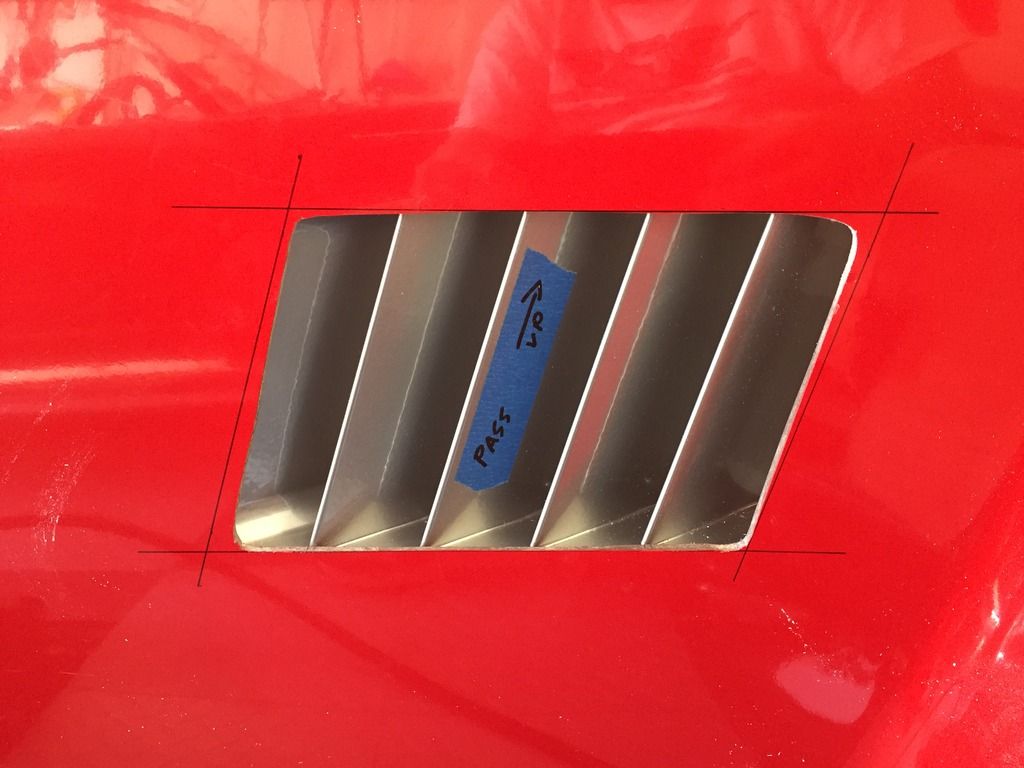
Now for a very important part. The precut openings were reasonably close, but not finished products at all. Drew parallel lines top and bottom. Then drew lines on each side parallel with the angle of the louvers. This is a critical step and IMO makes the difference between a pro looking job and one that isn’t as much. Also, ideally the width between the last louver and the body on each side should the same as the width of the inner louvers. The louvers weren’t quite long enough, but got them close.
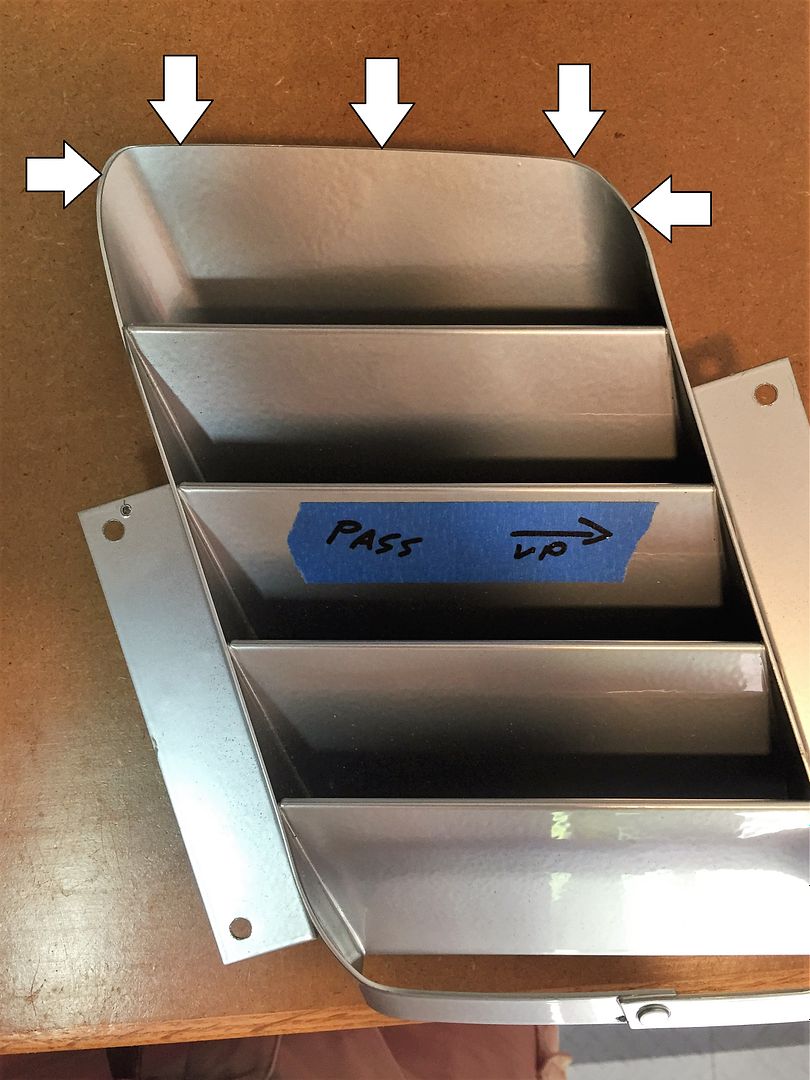
While doing the final fitting, I noted that the louvers didn’t fit flush against the inside of the body. Further review showed the rear part of the louver is too high. I trimmed them on my disk sander until they were flat. Roughly in the area noted here. The sanding removed the powder coat on the edge, but it’s inside against the body and doesn’t show.
With the body trimmed to the lines, a radius sanded all around, and the louvers trimmed so they fit flush, the final product.
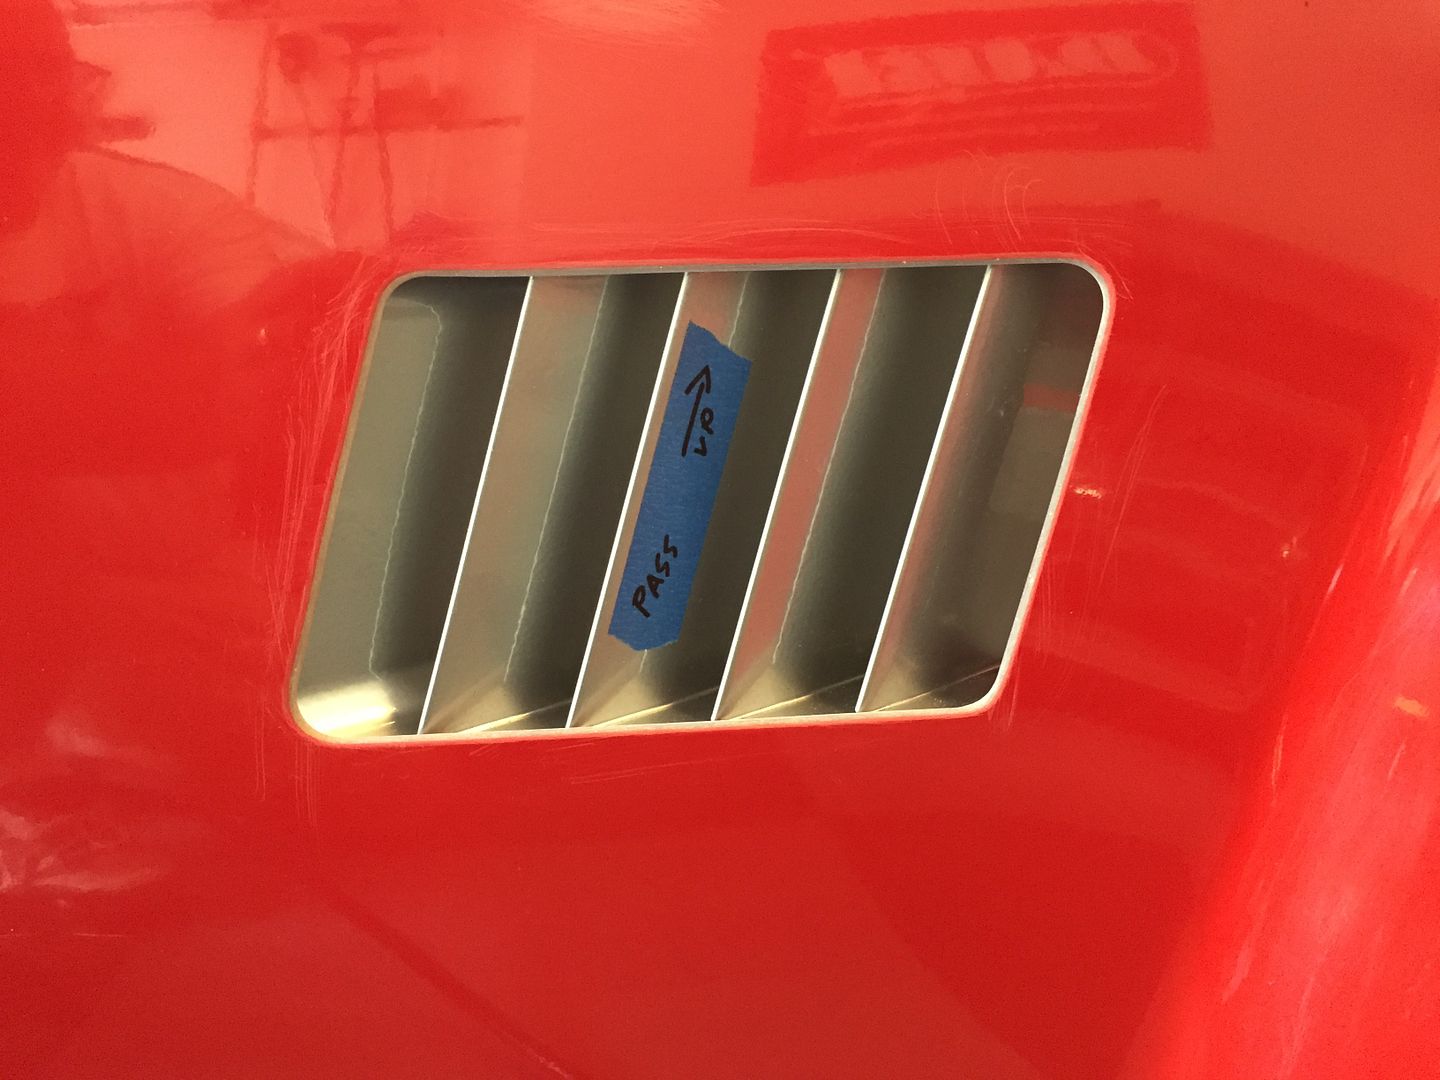
Nothing left to do with these except install them after paint is done.
Last edited by edwardb; 03-22-2017 at 09:54 AM.
Build 1: Mk3 Roadster #5125. Sold 11/08/2014.
Build 2: Mk4 Roadster #7750. Sold 04/10/2017.
Build Thread
Build 3: Mk4 Roadster 20th Anniversary #8674. Sold 09/07/2020.
Build Thread and
Video.
Build 4: Gen 3 Type 65 Coupe #59. Gen 3 Coyote. Legal 03/04/2020.
Build Thread and
Video
Build 5: 35 Hot Rod Truck #138. LS3 and 4L65E auto. Rcvd 01/05/2021. Legal 04/20/2023.
Build Thread. Sold 11/9/2023.
-
Post Thanks / Like - 1 Thanks, 0 Likes


 Thanks:
  Likes:


 Reply With Quote
