Thanks:
  Likes:


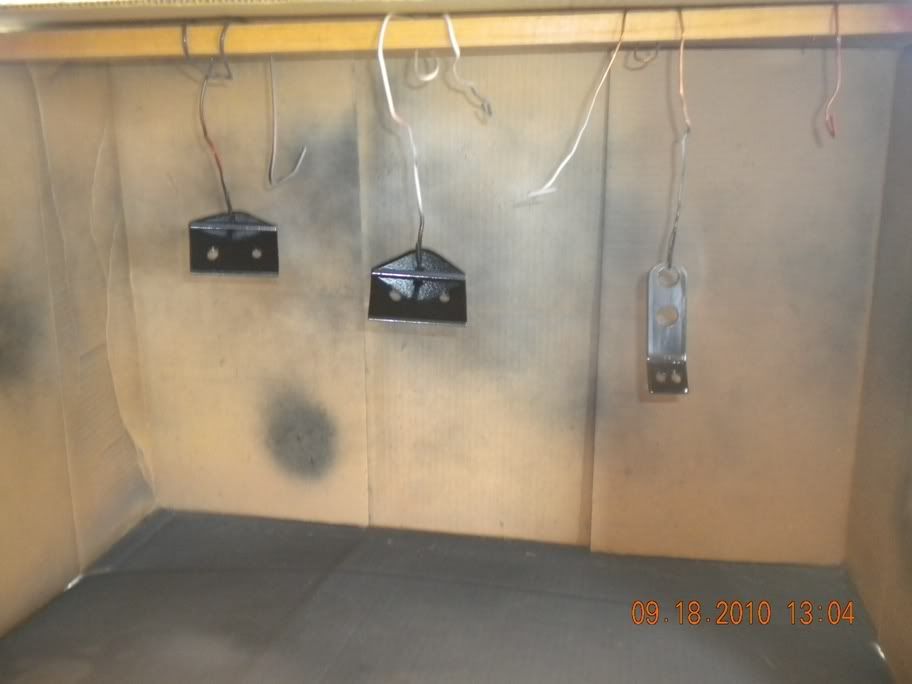
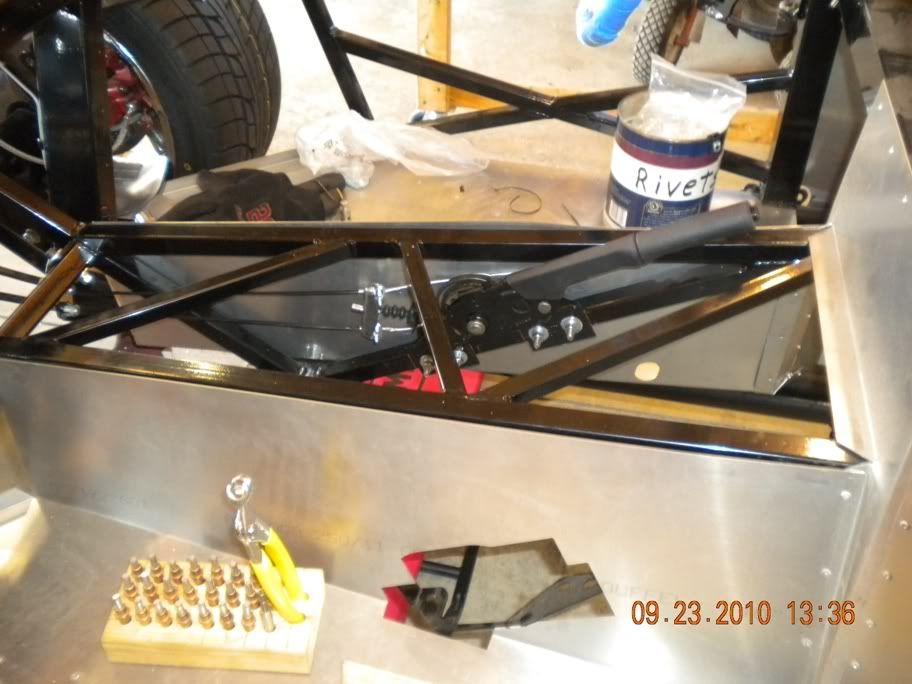
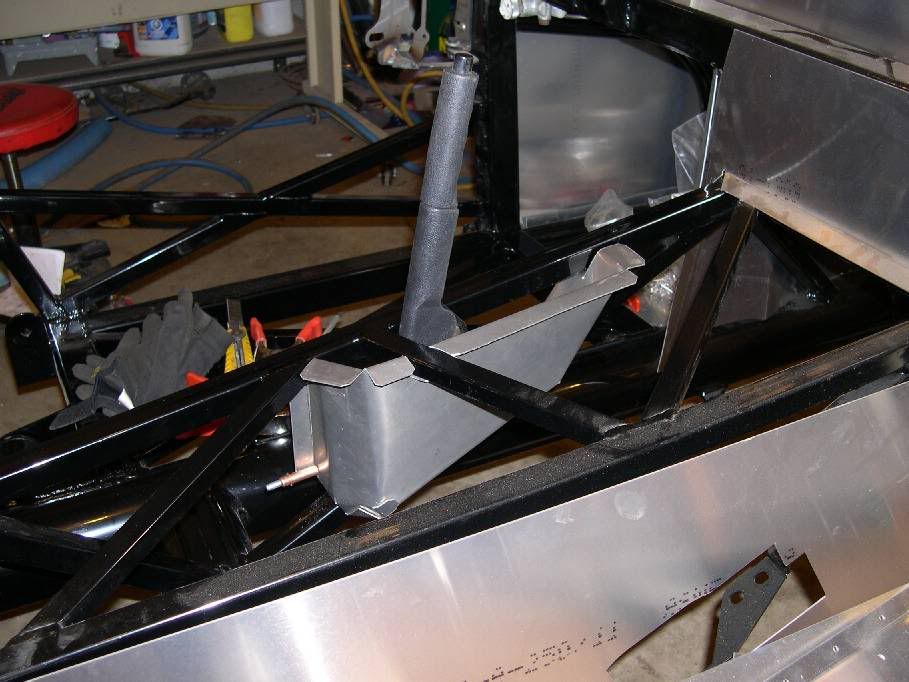
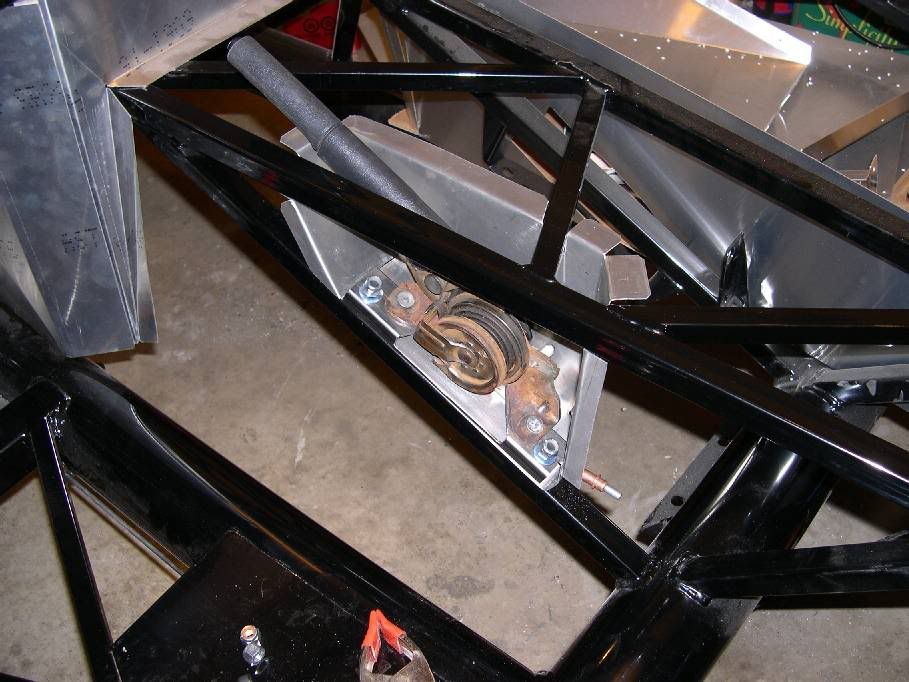
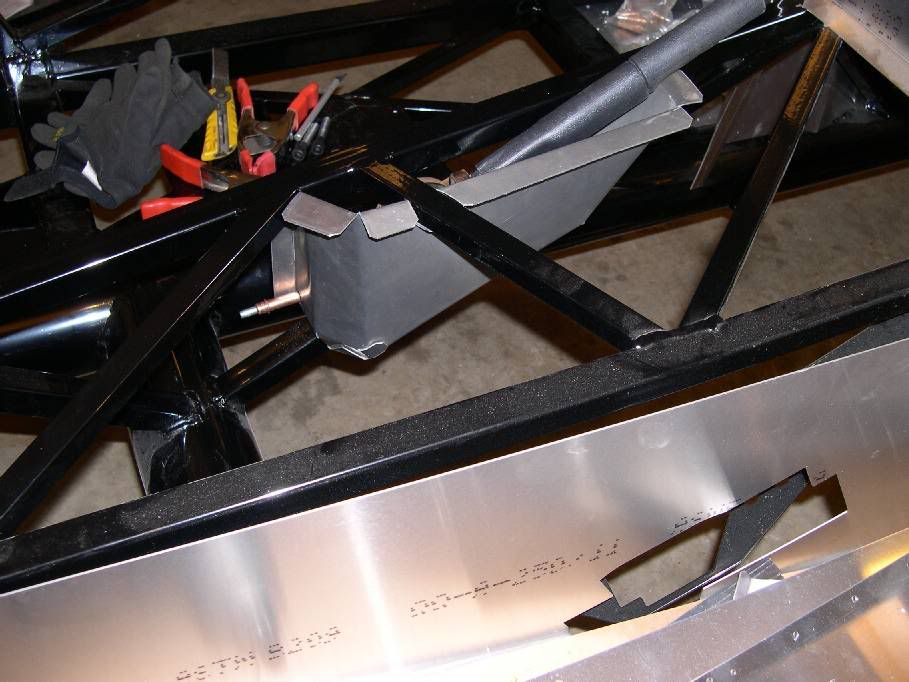
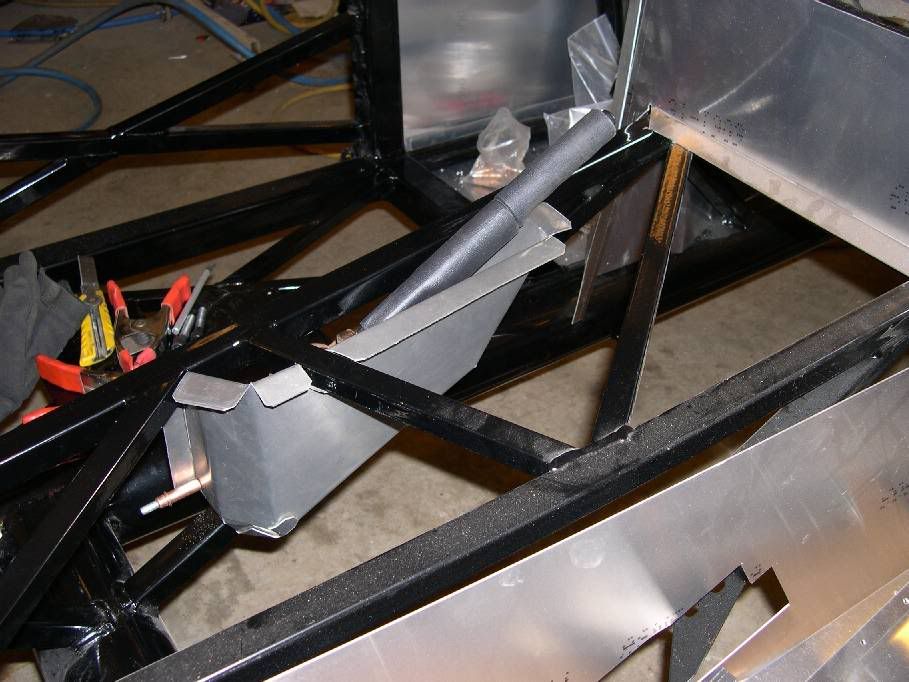
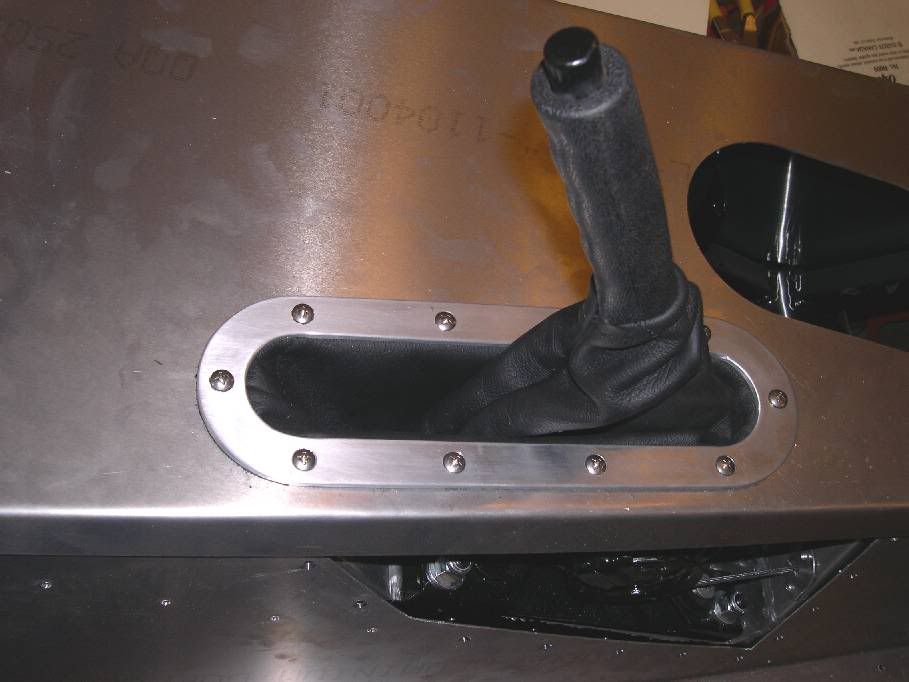
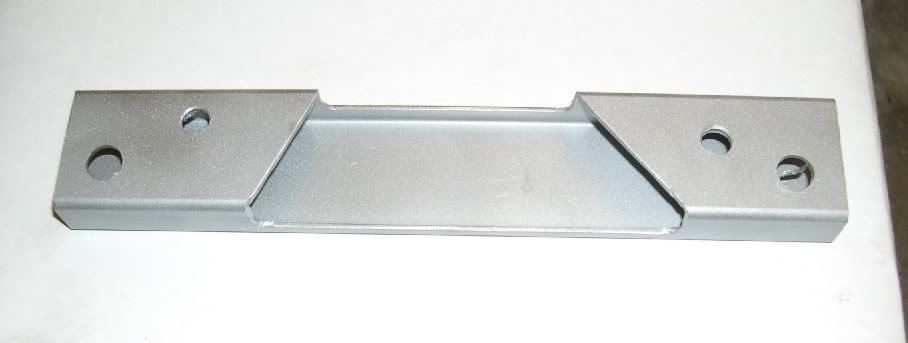
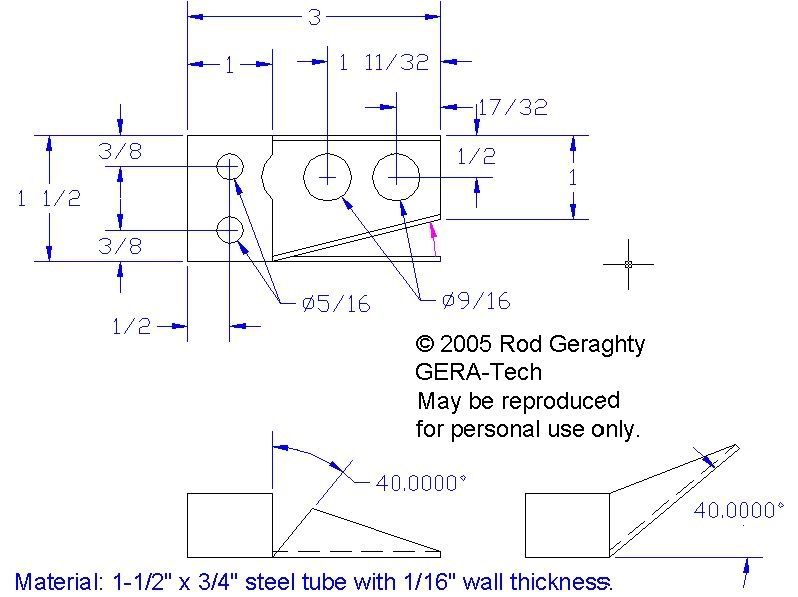
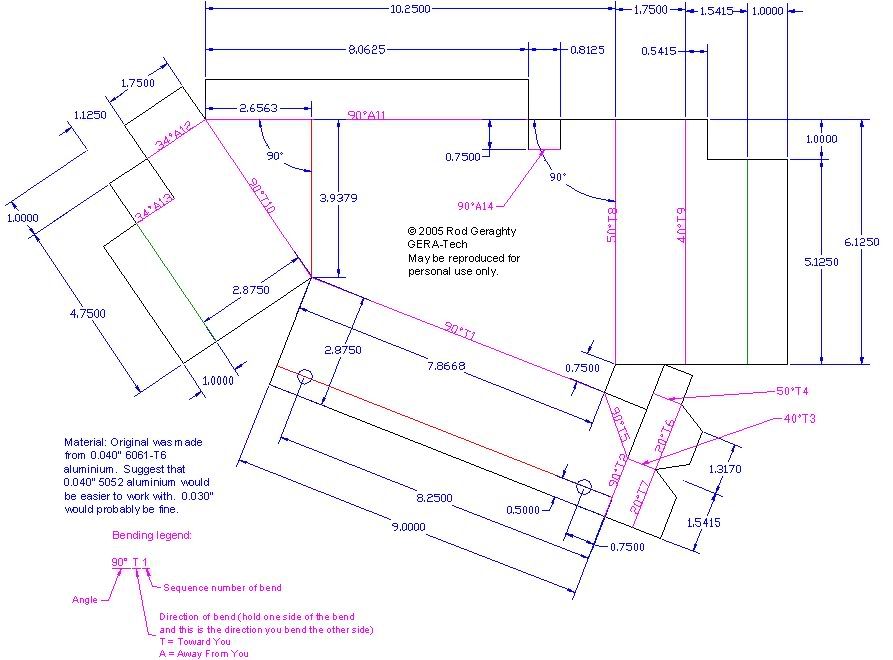
The enclosure was formed out of a single piece of 0.040" 6061-T6 Aluminium.
- Home
- Latest Posts!
- Forums
- Blogs
- Vendors
- Forms
-
Links

- Welcomes and Introductions
- Roadster
- Type 65 Coupe
- 33 Hot Rod
- GTM Supercar
- 818
- Challenge Series
- 289 USRCC
- Coyote R&D
- Ask a Factory Five Tech
- Tech Updates
- General Discussions
- Off Topic Discussions
- Eastern Region
- Central Region
- Mountain Region
- Pacific Region
- Canadian Discussions
- Want to buy
- For Sale
- Pay it forward
-
Gallery
- Wiki-Build-Tech

 Reply With Quote
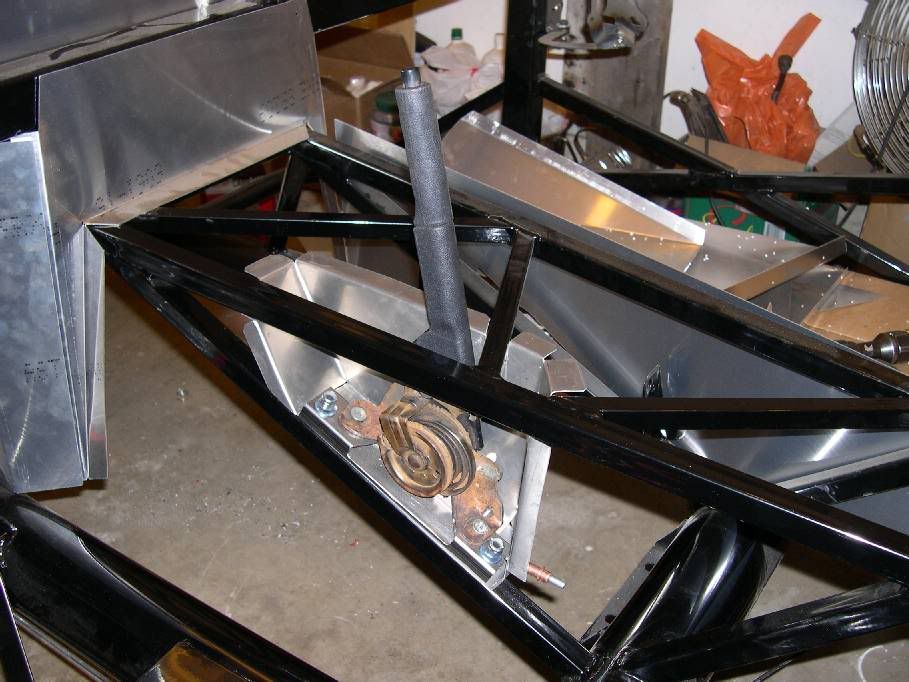

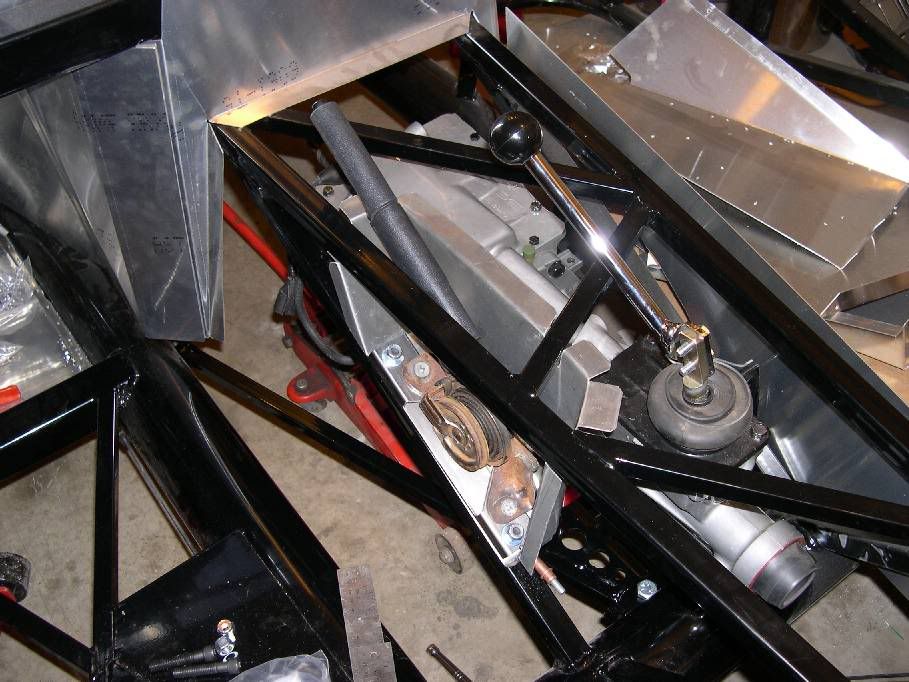
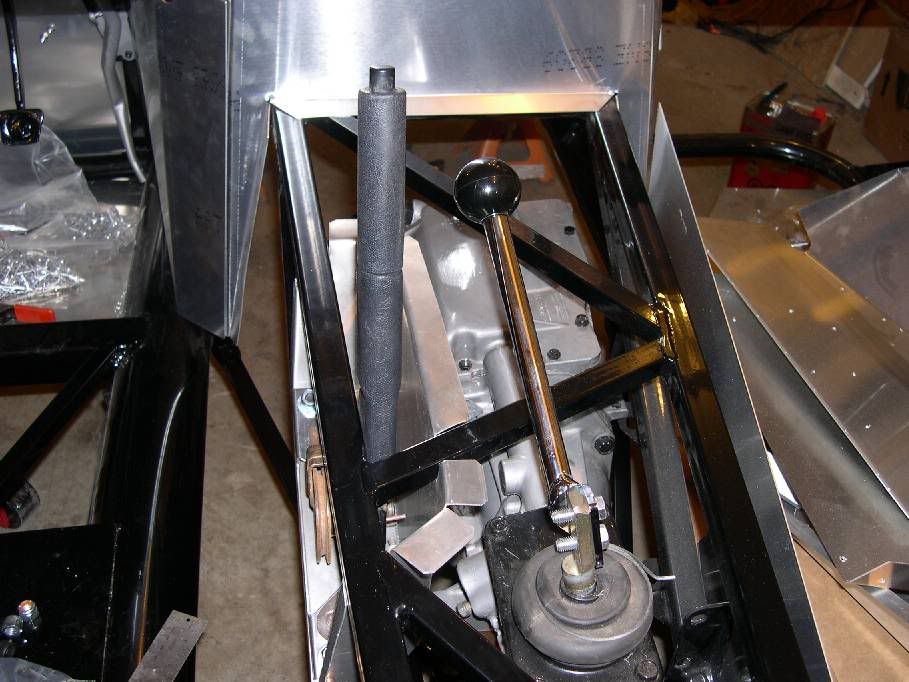

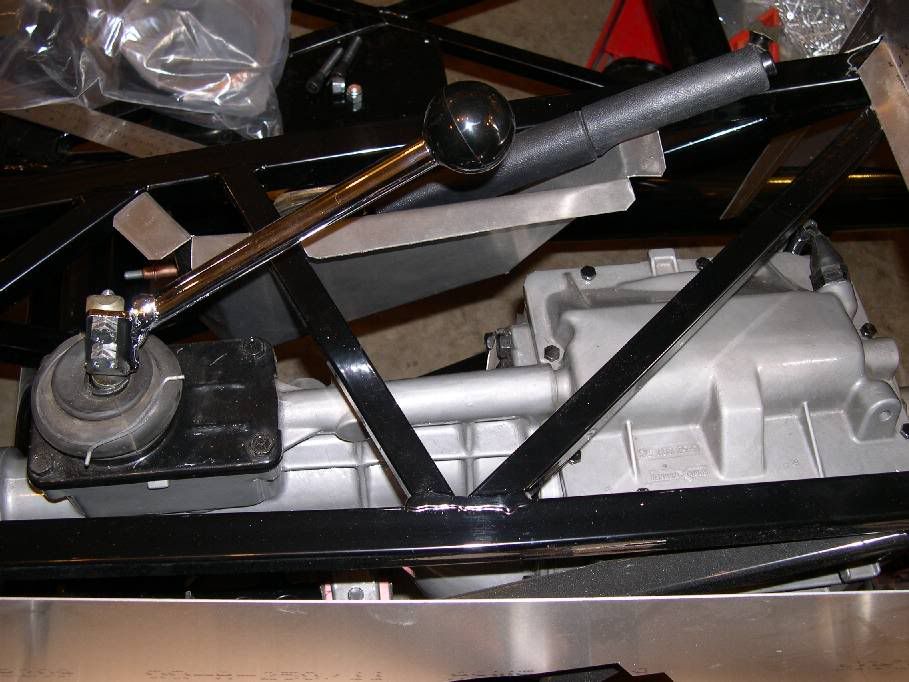
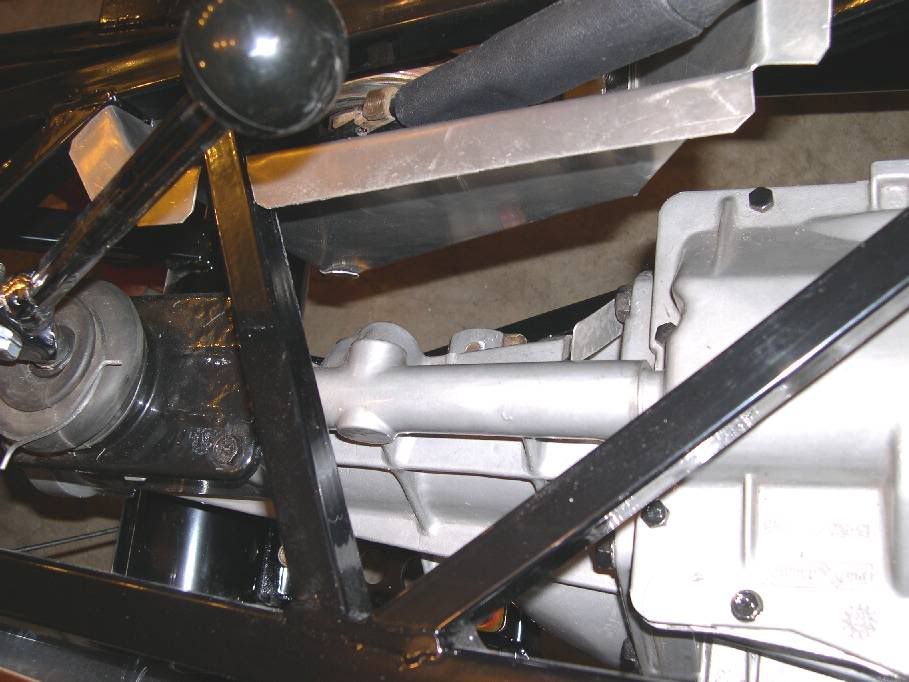
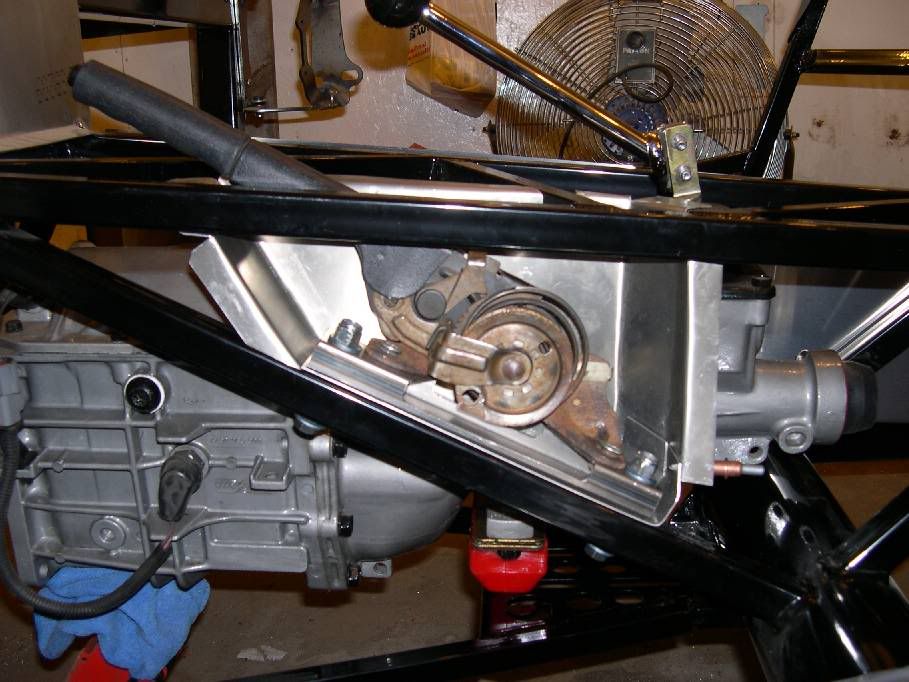
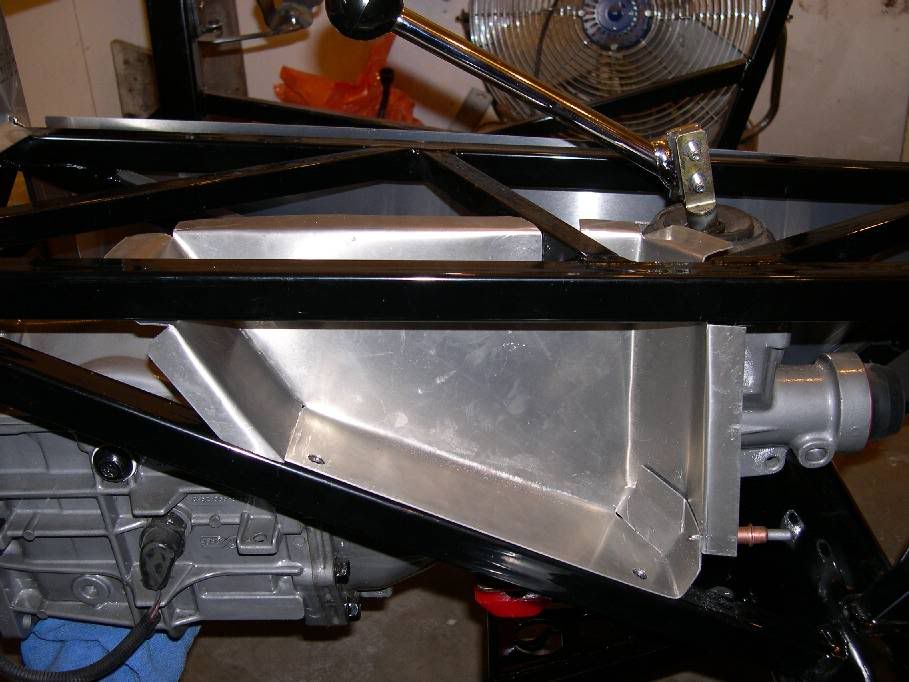
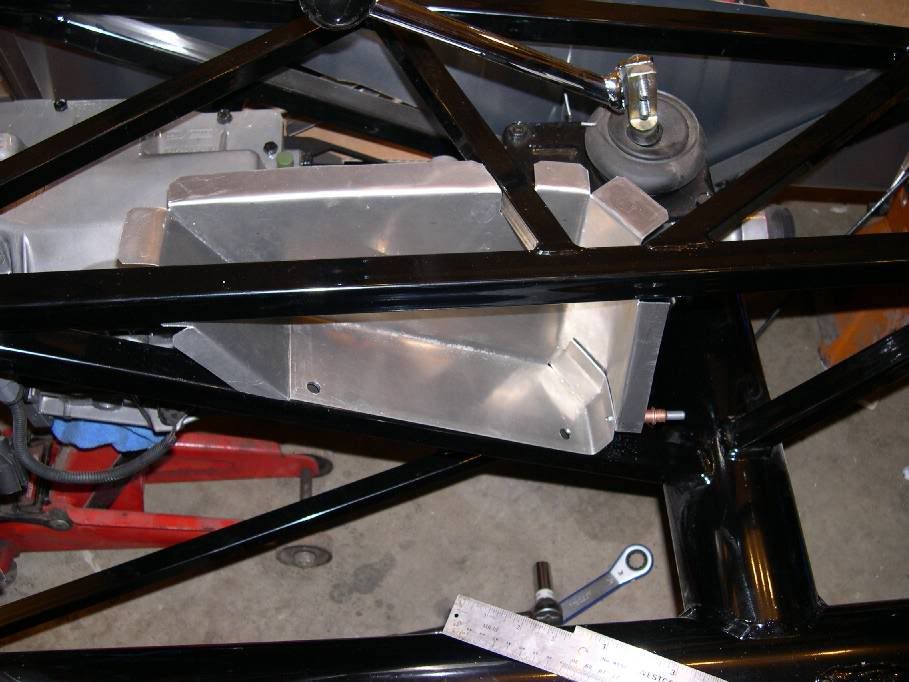

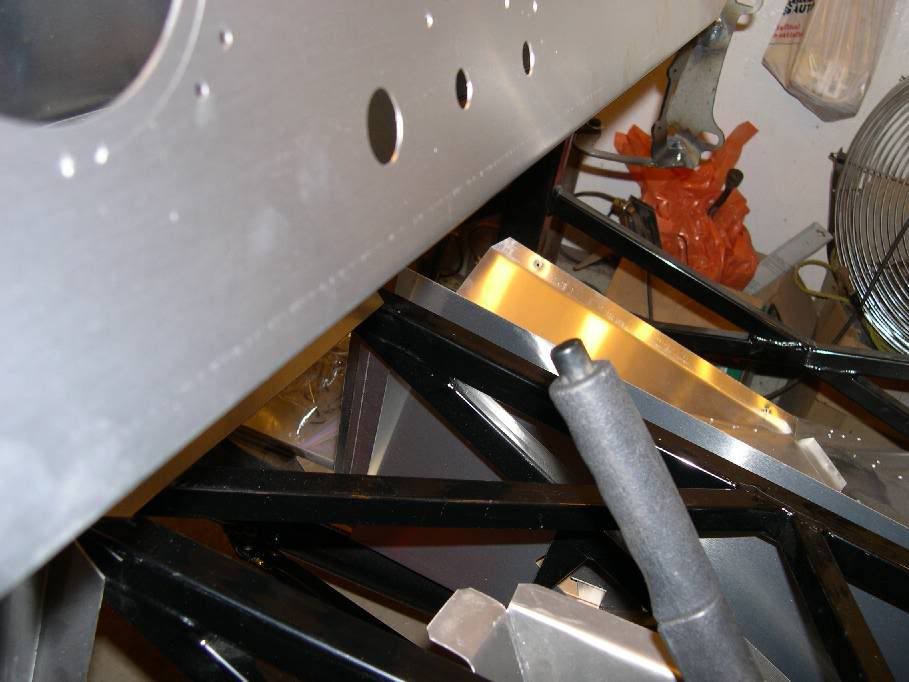
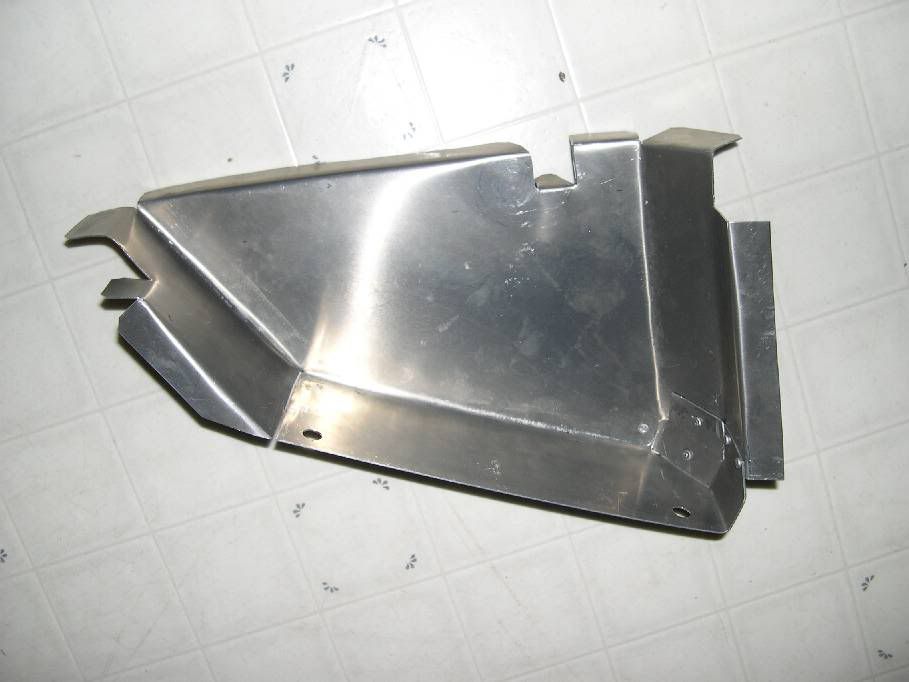

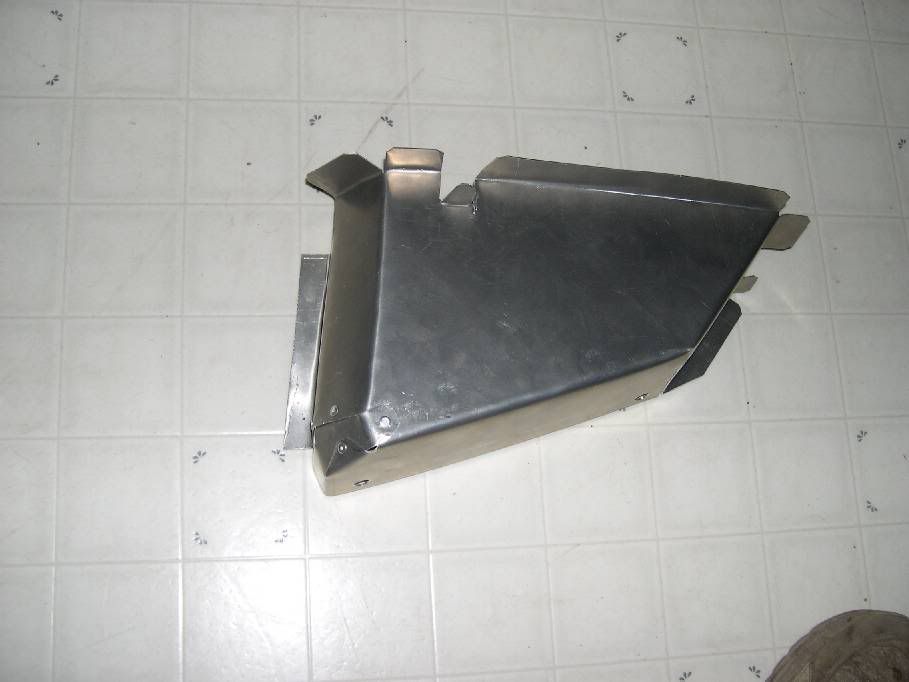
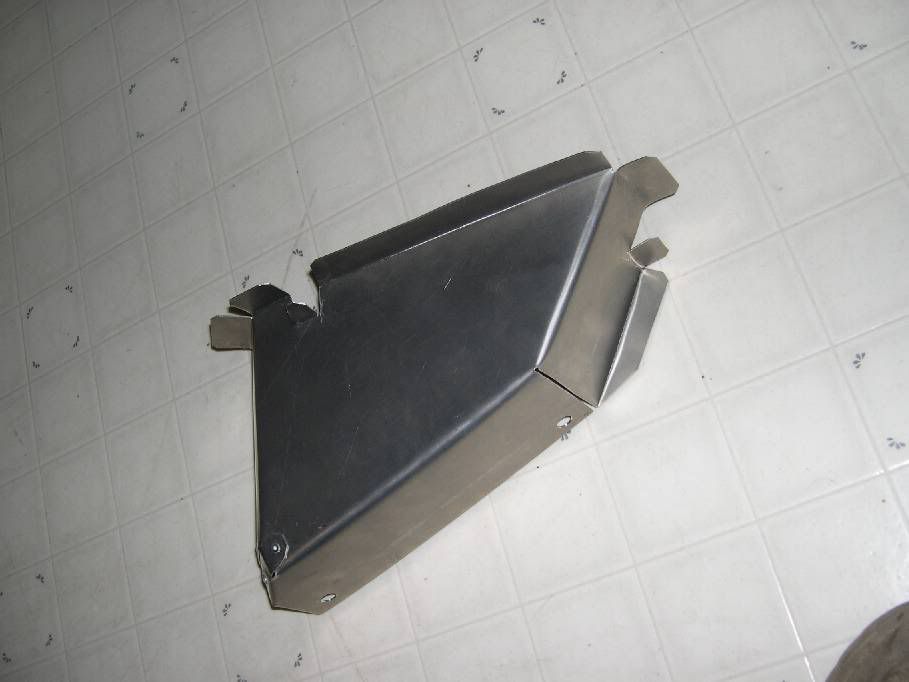
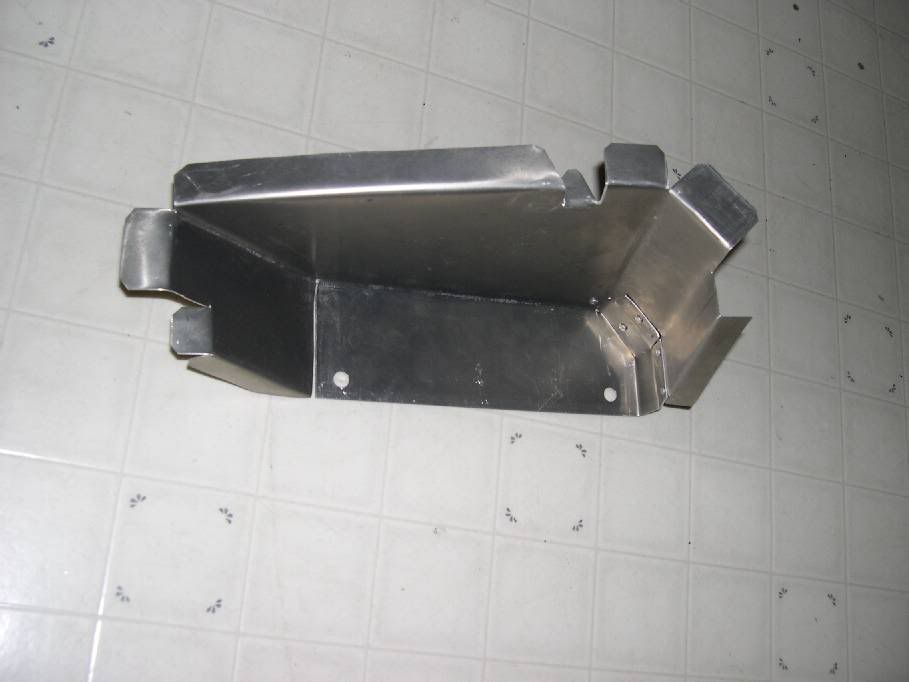

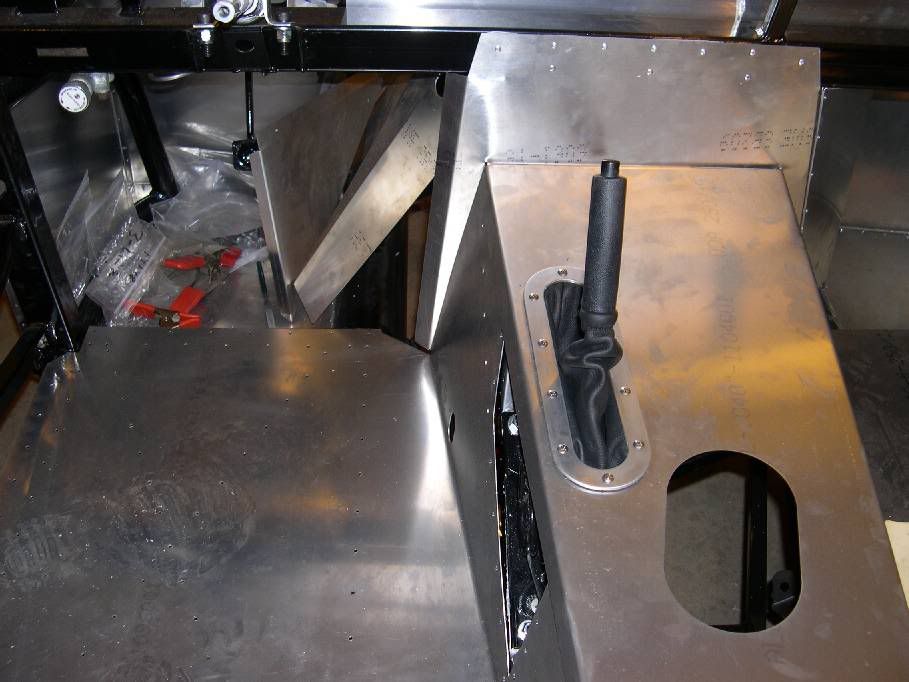
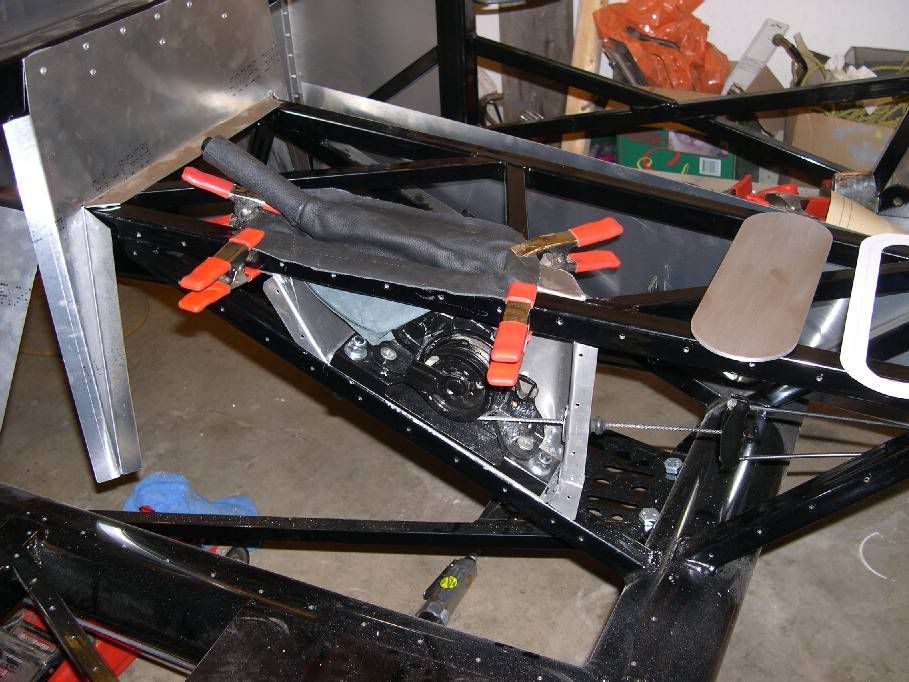
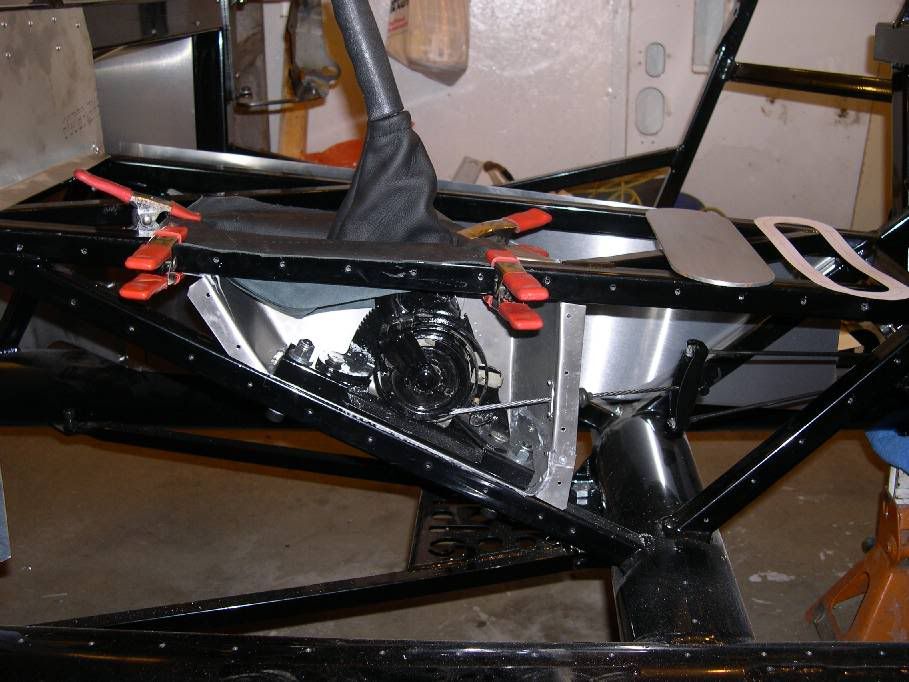
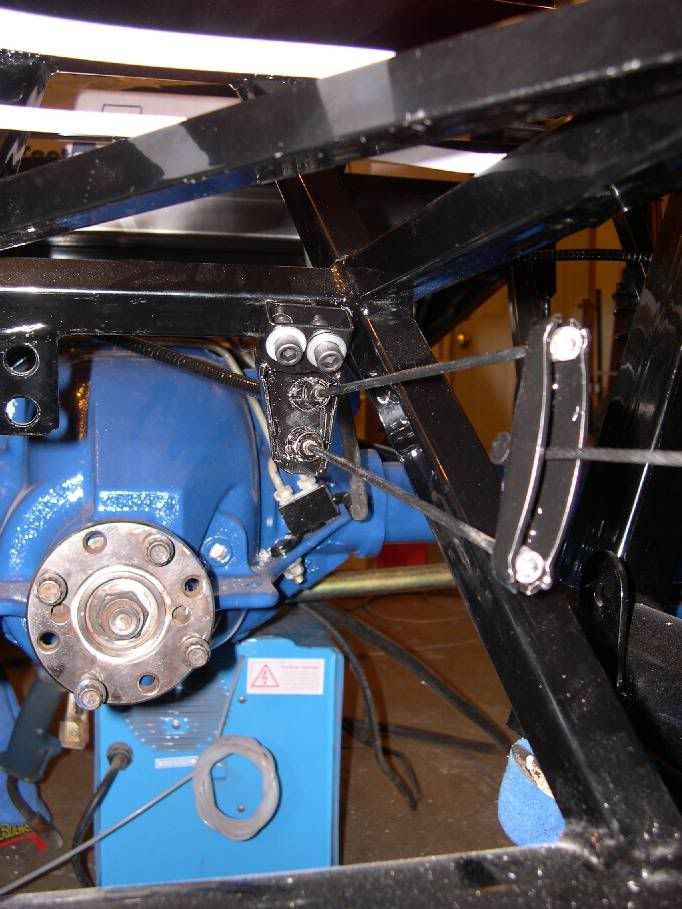
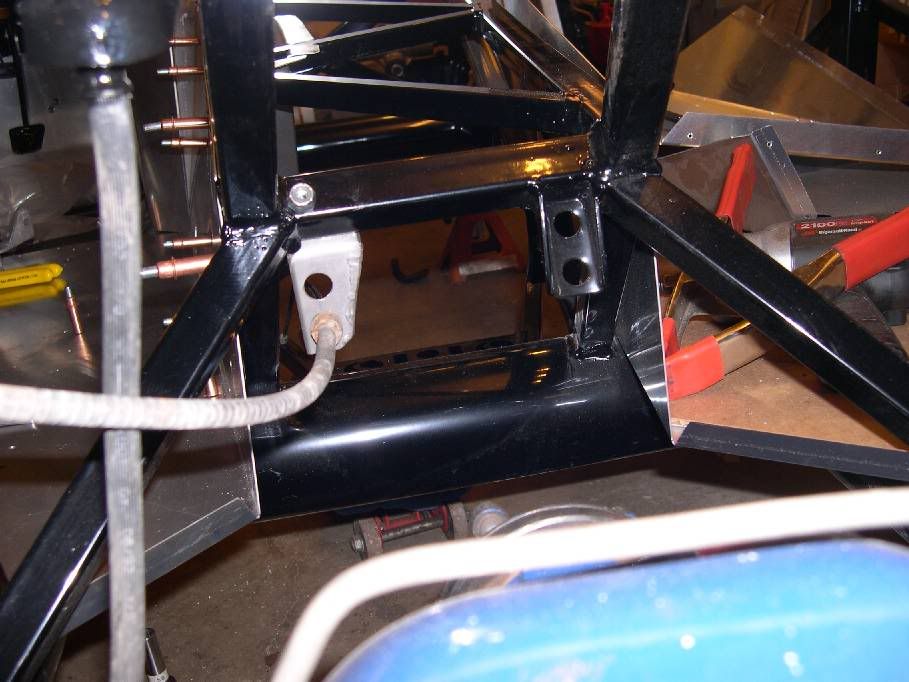
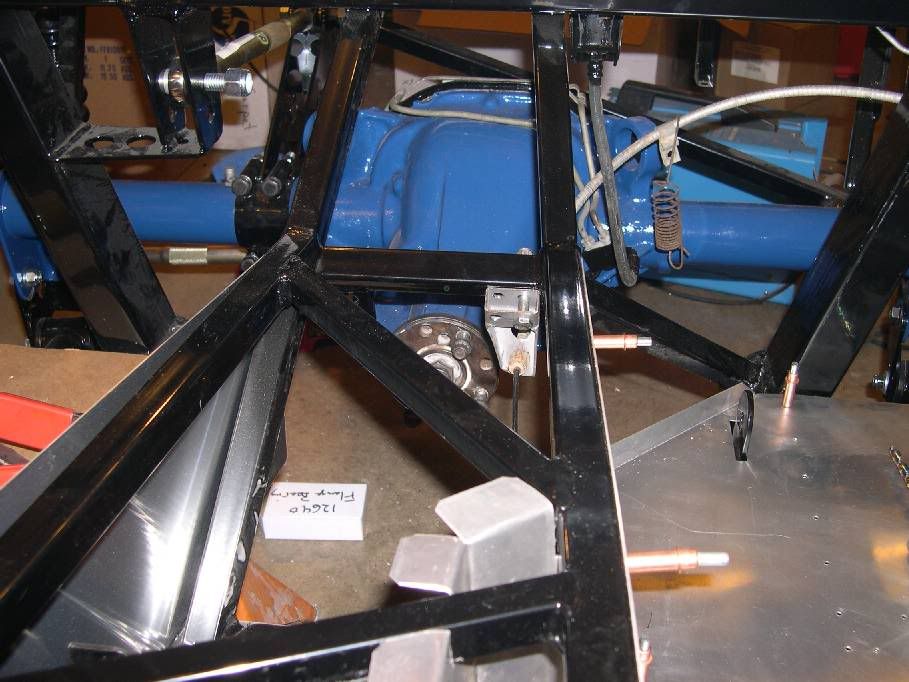
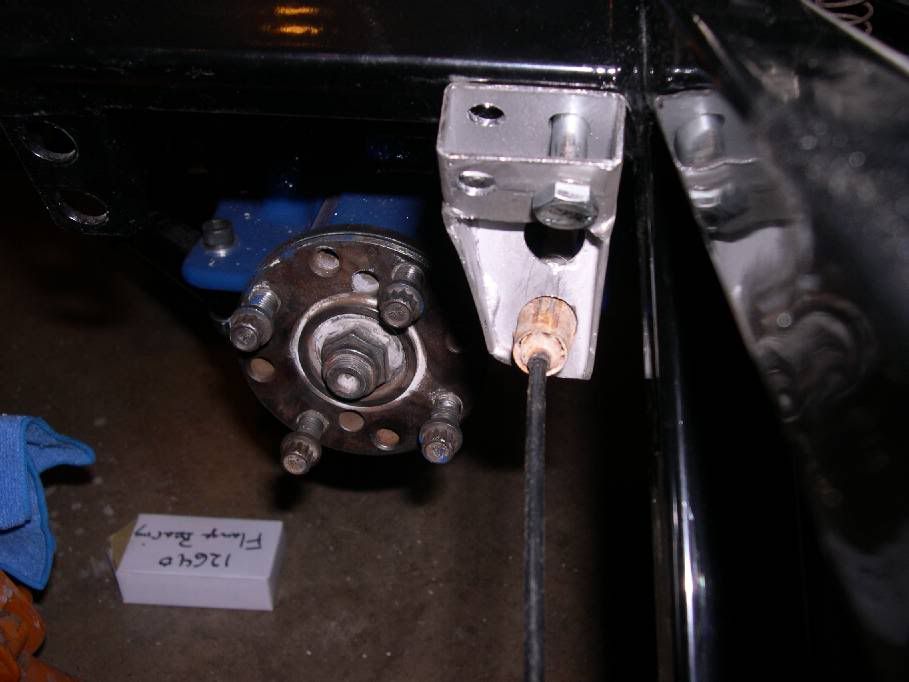
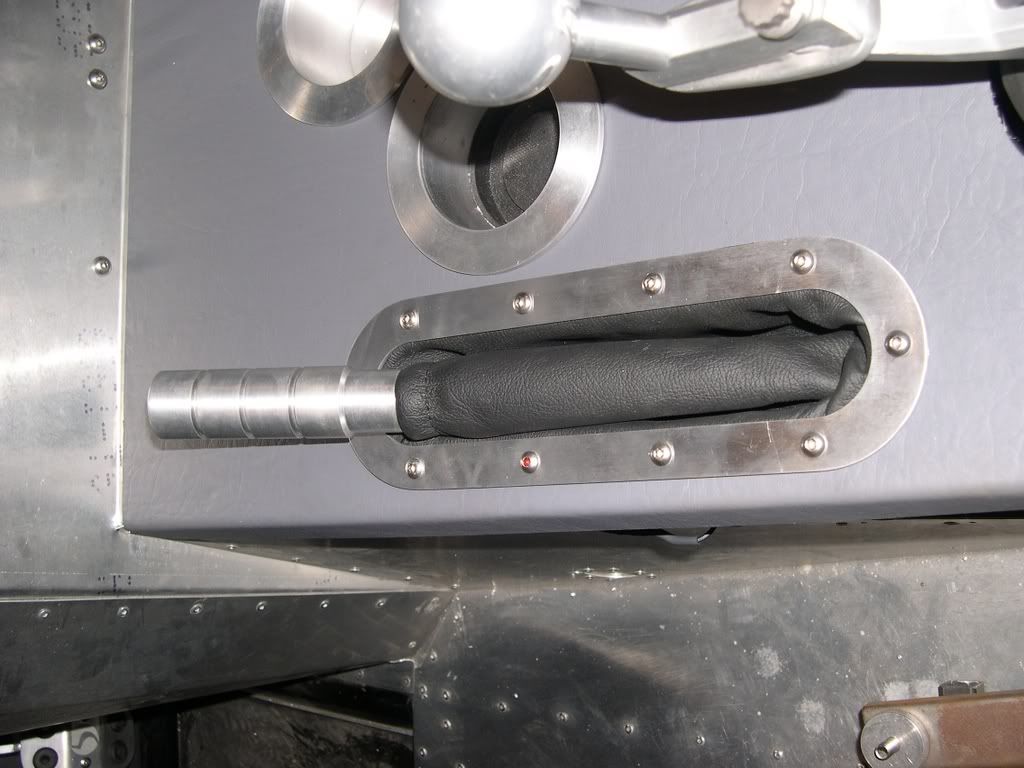


 How necessary do you think the enclosure is? There is none used in the original location, and that looks to be the hardest thing to fab up.