Visit our community sponsor

Thanks:
0

Likes:
0
-
Member

-
Member
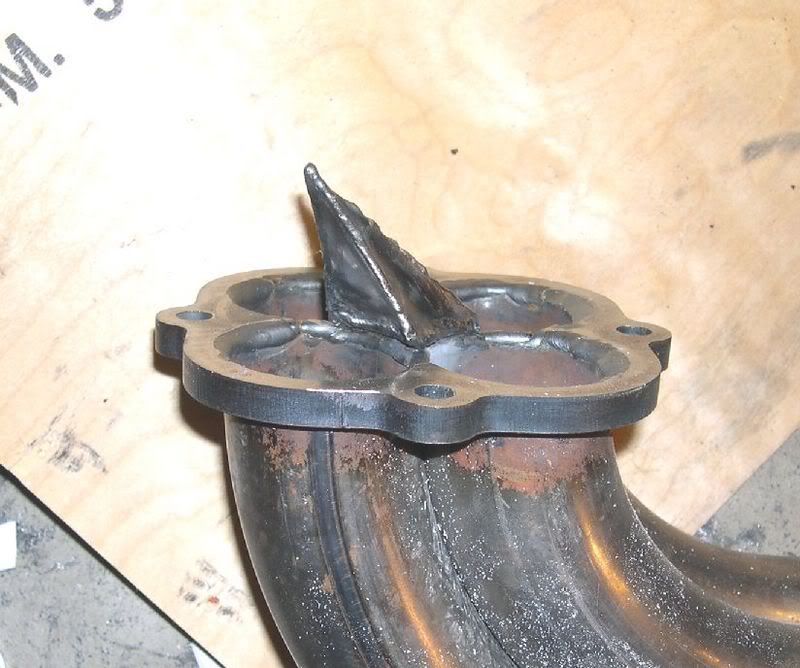
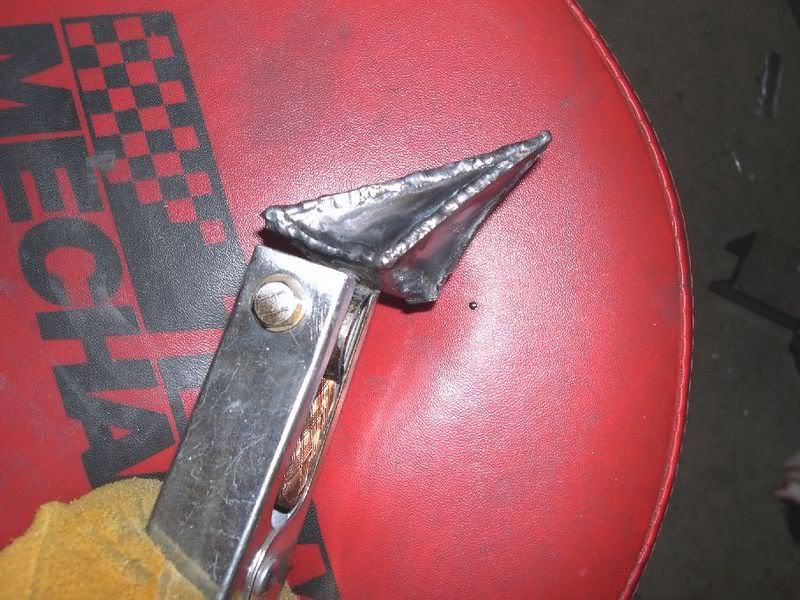
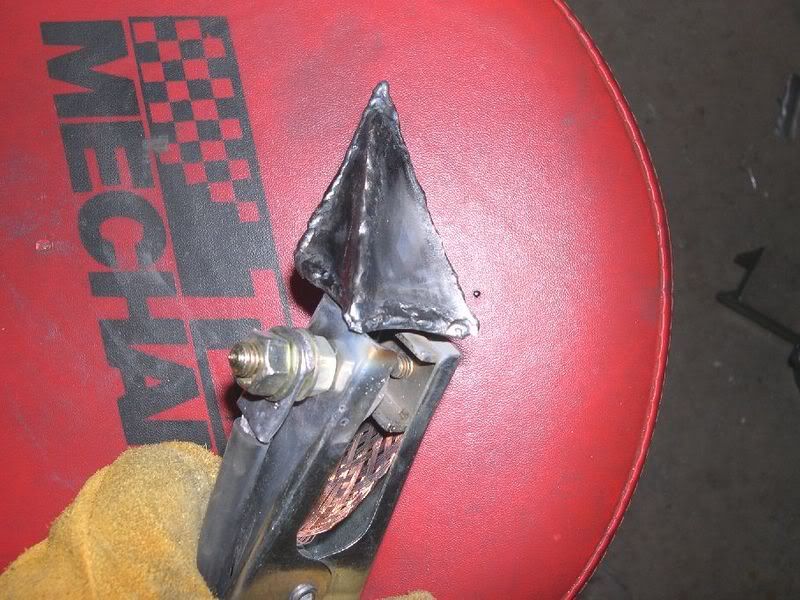
Since mine were going to be removable for the Exhaust Shootout I welded them to a base plate with a bolt for attachment but you would weld it straight onto the pipe. These were made with 18-gauge tubing but I would suggest 16 gauges. Once you have the patterns you can use the same paper pattern technique as I used for the How-To Super Port J-Pipes to transfer the patterns to the metal pieces.
-
Member
-
Member
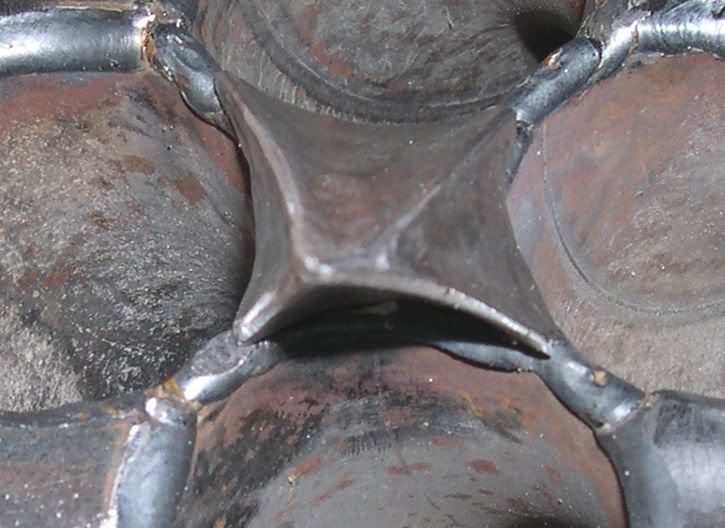
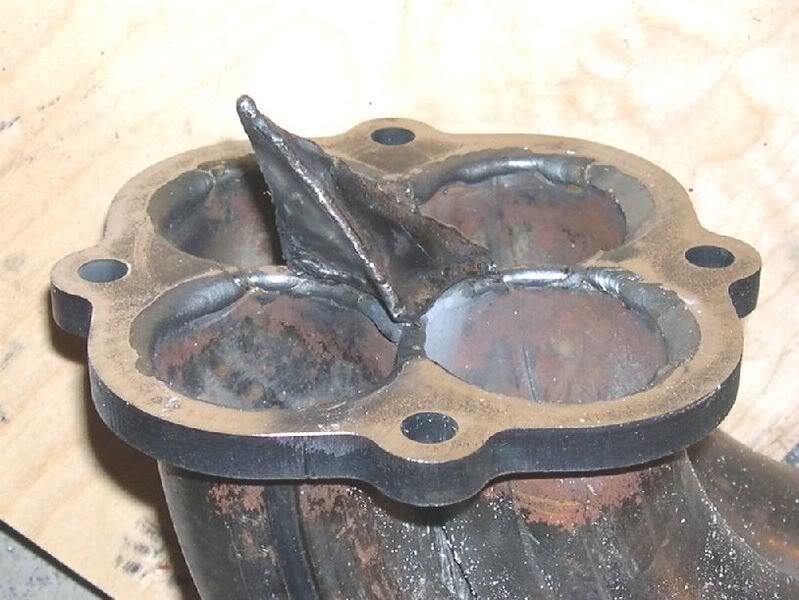
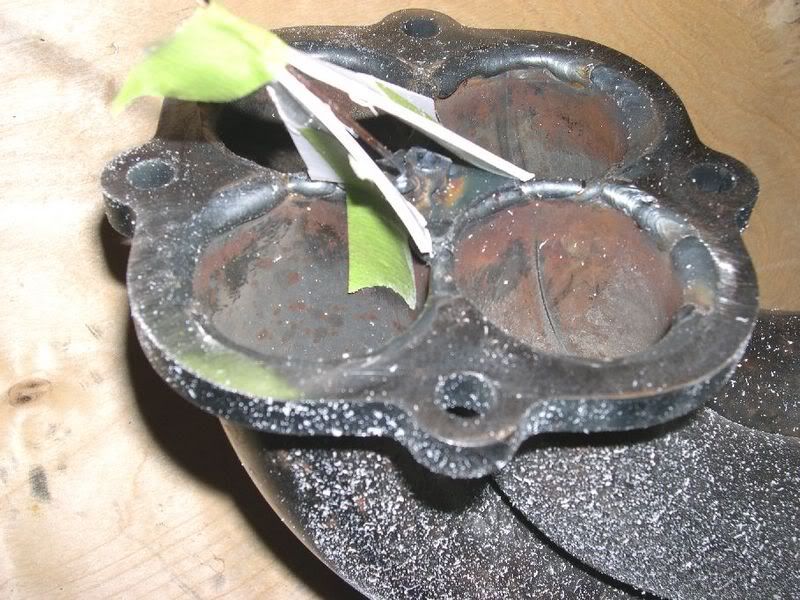
Here is a pic after the dyno runs. You can see the tack welds at the corners for the temporary installation. For a permanent installation they should be completely welded up at the seams and smoothed out.
Cheers, Rod
 Posting Permissions
- You may not post new threads
- You may not post replies
- You may not post attachments
- You may not edit your posts
-
Forum Rules

Visit our community sponsor


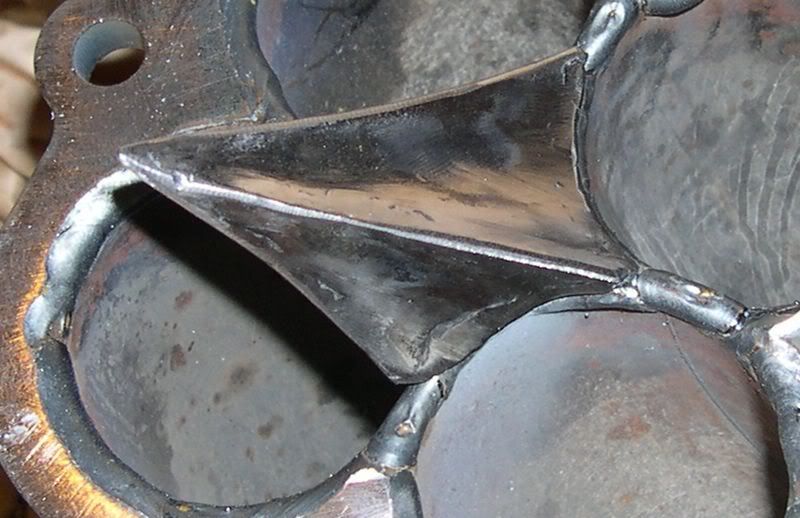
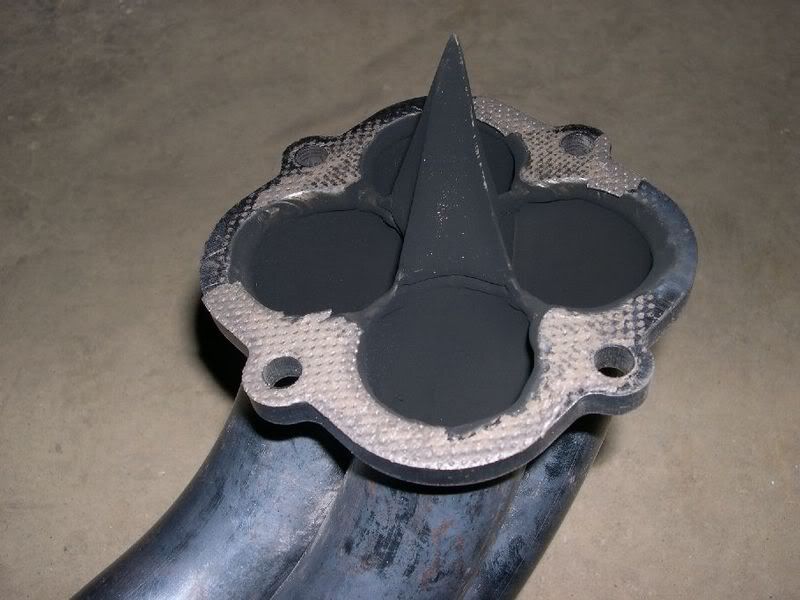
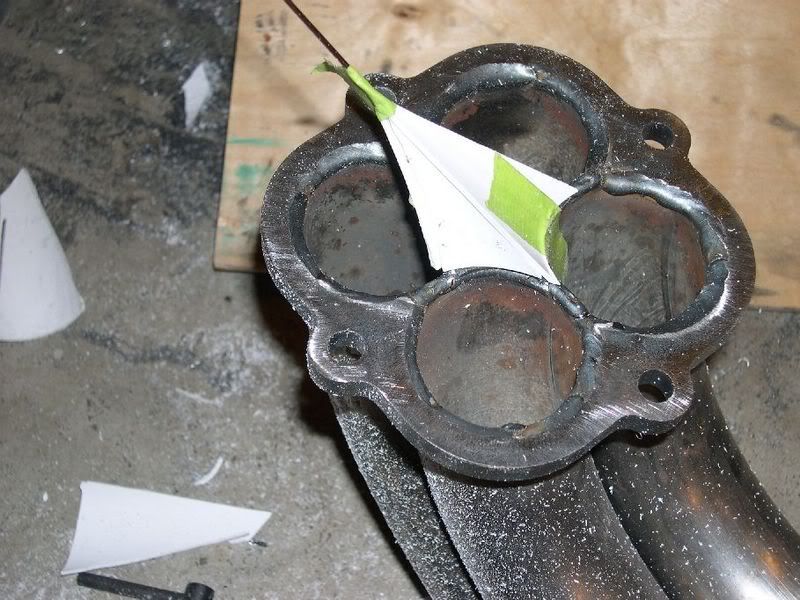
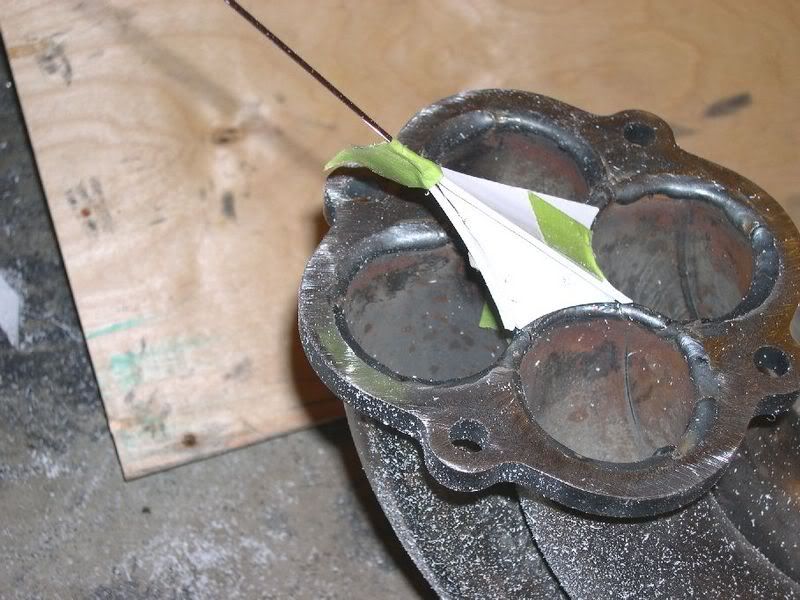
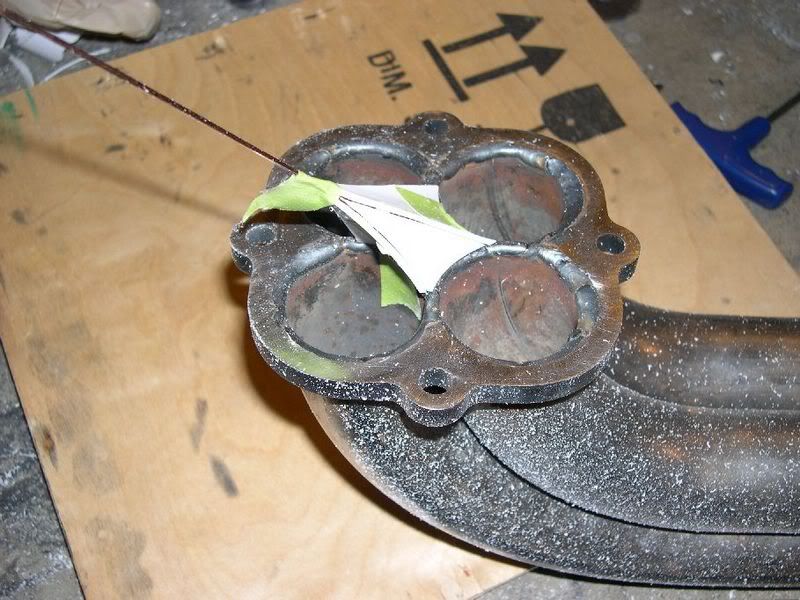
). Some eyeballing is required since you can't see the rod inside the J-pipe when it's mounted. This gives you the right angle and gives you something to tape the patterns for the sides to when mocking it up. The rod is removed after the first side is tacked in place during final assembly. I then used some central vac tubing to make up patterns for the 4 sides of the spike. This tubing is nice since it is about the same wall thickness as the metal and is easy to cut with some aviation snips. Here are some pics of the mock up:


 Reply With Quote