
Visit our community sponsor

Thanks:
3

Likes:
5
-
Senior Member

Kirkey Vintage Bucket with Sliders
So far on this project I have more time into the seats then any other single part of the build. Coming into the build I knew this was going to be a little bit of a challenge due to my goals:
- Enable someone who is 6'4" and 4'10" to comfortably drive the car
- Be able to be in a comfortable seating position for track events
- Retain a stock or factory look to the seats
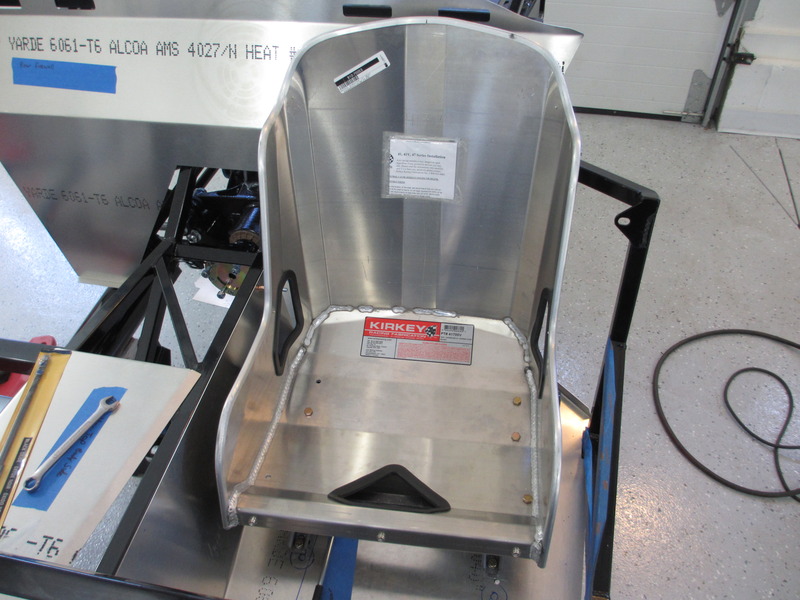
When I picked up my kit at the factory one of things I didn't realize was just how small the stock upgraded leather seats were. I sat far to high (I actually looked over the top of the windshield), too far forward, and I couldn't hardly get my feet under the dash. The solution for me was a set of Kirkey vintage bucket seats, speedway sliders, and a whole lot of design and mock up time. The seats will get the side wings trimmed down (I have new aluminum bead edging inbound from Kirkey) and I'll get he seats foamed and custom upholstered at a local hot rod interior shop. I ended up doing several designs and mock ups before I finally ended up with this approach.
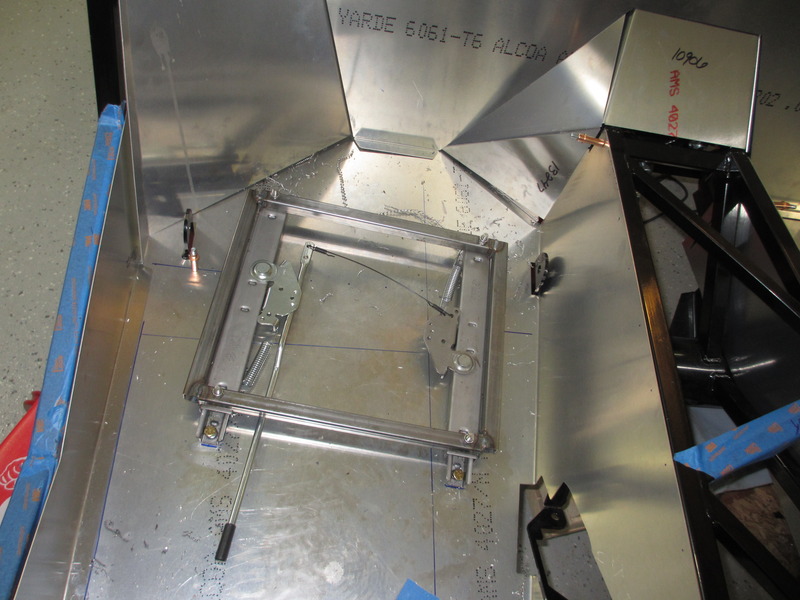
I needed to keep the seat as low as possible while allowing for clearance for the sliders, taking into consideration the carpet and dynomat. I also needed to put the sliders themselves on a rack/angle so that when it was all the way forward my wife was sitting a little higher than I was. Here's the design I ended up using:

For the sliders, I cut off the studs and drilled through them to allow for use of grade 8, 5/16 bolts. You can see my first attempts where I just drilled new holes in the base of the sliders. This limited the range of the seats though. The tube frame is 3/4" square. Attaching it to the slider are stainless square shoulder lag bolts. The smooth button head gives enough clearance for the internal sliders. I did have to square up the hole in the 3/4" tube on the under side so the shoulders would fit through so it could sit flush. The seats are mounted on 6 points. Probably overkill but I wanted some support on the front. Again, all 5/16 grade 8 hardware. The seat bottoms will get an insert that will be removable just like the stock seats. It doesn't show it in the pictures, but the final mounting will have a few spacers under the front to provide a little recline/rake to the seat. Where I had to drill into the 4" tube, I drilled all the way through it and used a 5" grade 8 bolt.
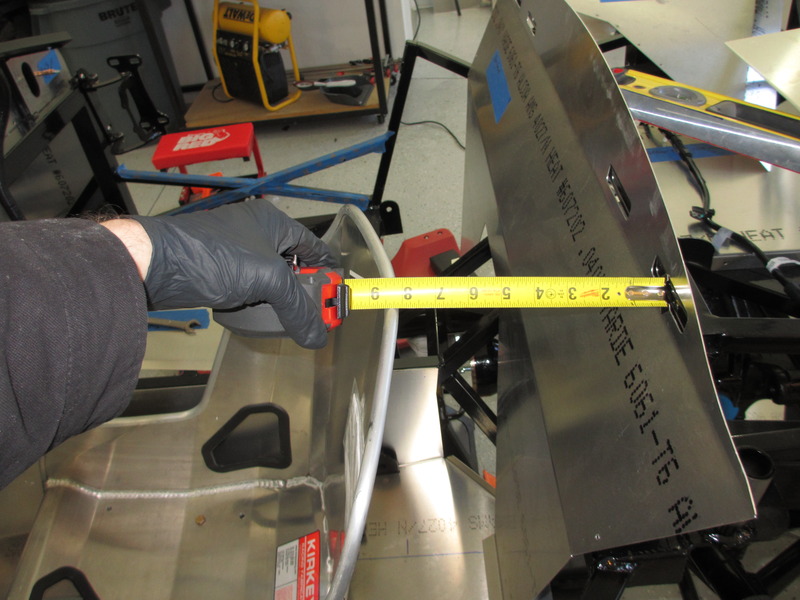
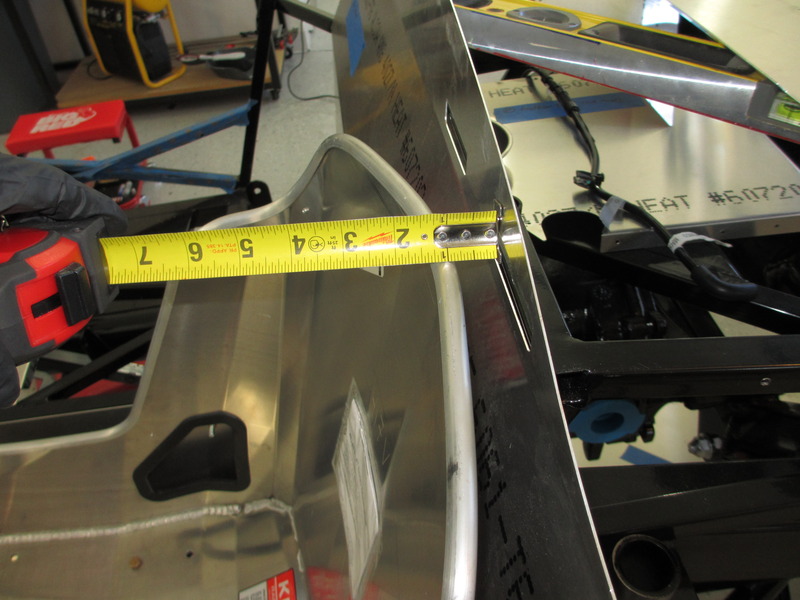
You can see in the following pictures that I ended up with 7" of total travel on the seat. For ease of entry I also have a breeze quick release hub so the wheel can come on/off. My wife fully forward fits and with a small clutch pedal adjustment (moved it forward about 1 1/2") she should be able to drive it without issue. Overall I would say it's a win for now.
All the motor mock up is done and the motor is out so I can continue on with more final install, panel paint and coatings. I've been on a bit of a shopping spree with other upgrades recently too. Breeze fan shroud & radiator support, Breeze quick release steering hub, 3" plastic blast gate & becool inline blowers, dynomat Xtreme, Finshline emblems and floor mats, trunk support kit (replicaparts), and extra carpet for the trunk.
Last edited by Duke; 05-25-2018 at 08:32 AM.
 Posting Permissions
- You may not post new threads
- You may not post replies
- You may not post attachments
- You may not edit your posts
-
Forum Rules

Visit our community sponsor


 Reply With Quote