
Visit our community sponsor

Thanks:
29

Likes:
38
-
Senior Member

Panel Mockup Complete
It’s been a while since I’ve posted any updates. I’ve been working but pretty routine stuff and not too photogenic. But I’ve now completed most of the panel fitting, drilling and mockup. Thought I’d go ahead and post. This is all about to come back apart and I’ll be taking most of the raw pieces out for powder coat. Most of the panels will be the same silver/grey as the Anniversary chassis and a few white to match the ones already provided by Factory Five. I’ve changed and/or modified a few, so will get them done to match. I’ve got a few panels permanently mounted, but most are just cleco’d for now.
For the most part, I followed the recommended guidelines of two inch spacing for panel to panel, and three inch spacing for panel to chassis. When over wider chassis members, I did stagger them so they look a little closer. Having some of the panels already powder coated meant taking special care with them to not scratch, mark, etc. I just used a bunch of blue masking tape when laying out holes, drilling, etc. Reinforces the practice to drill and fit before powder coat whenever possible. Few other hints for first time builders: Take the time to lay out the holes straight, evenly spaced, etc. Lots of them are hidden when you’re done. But a lot of them aren’t, and it really makes a difference IMO in the quality look of the final product. Also take the time to think ahead of where you’re going to fit the tool to pull the rivet. Most are wide open. But check before you drill. Don’t put holes where you can’t get a tool on them. Also think about which side you’re going to pull the rivet from. I strongly prefer that any exposed rivet, even underside, in the wheel wells, etc. the head is showing not the crumpled business side. For sure this is the case in the obvious areas like the engine compartment. But in my overly obsessive opinion, I try to do the same everywhere. Just plain looks better and more professional. Finally, while the panels are perfectly cut and mostly fit really well, take your time to get them just right. A bend may need to be adjusted slightly, you may need to trim slightly to clear a weld bead, etc. If it doesn’t seem like it fits though, check the manual and check your work. I didn’t have to do any significant rework to any piece.
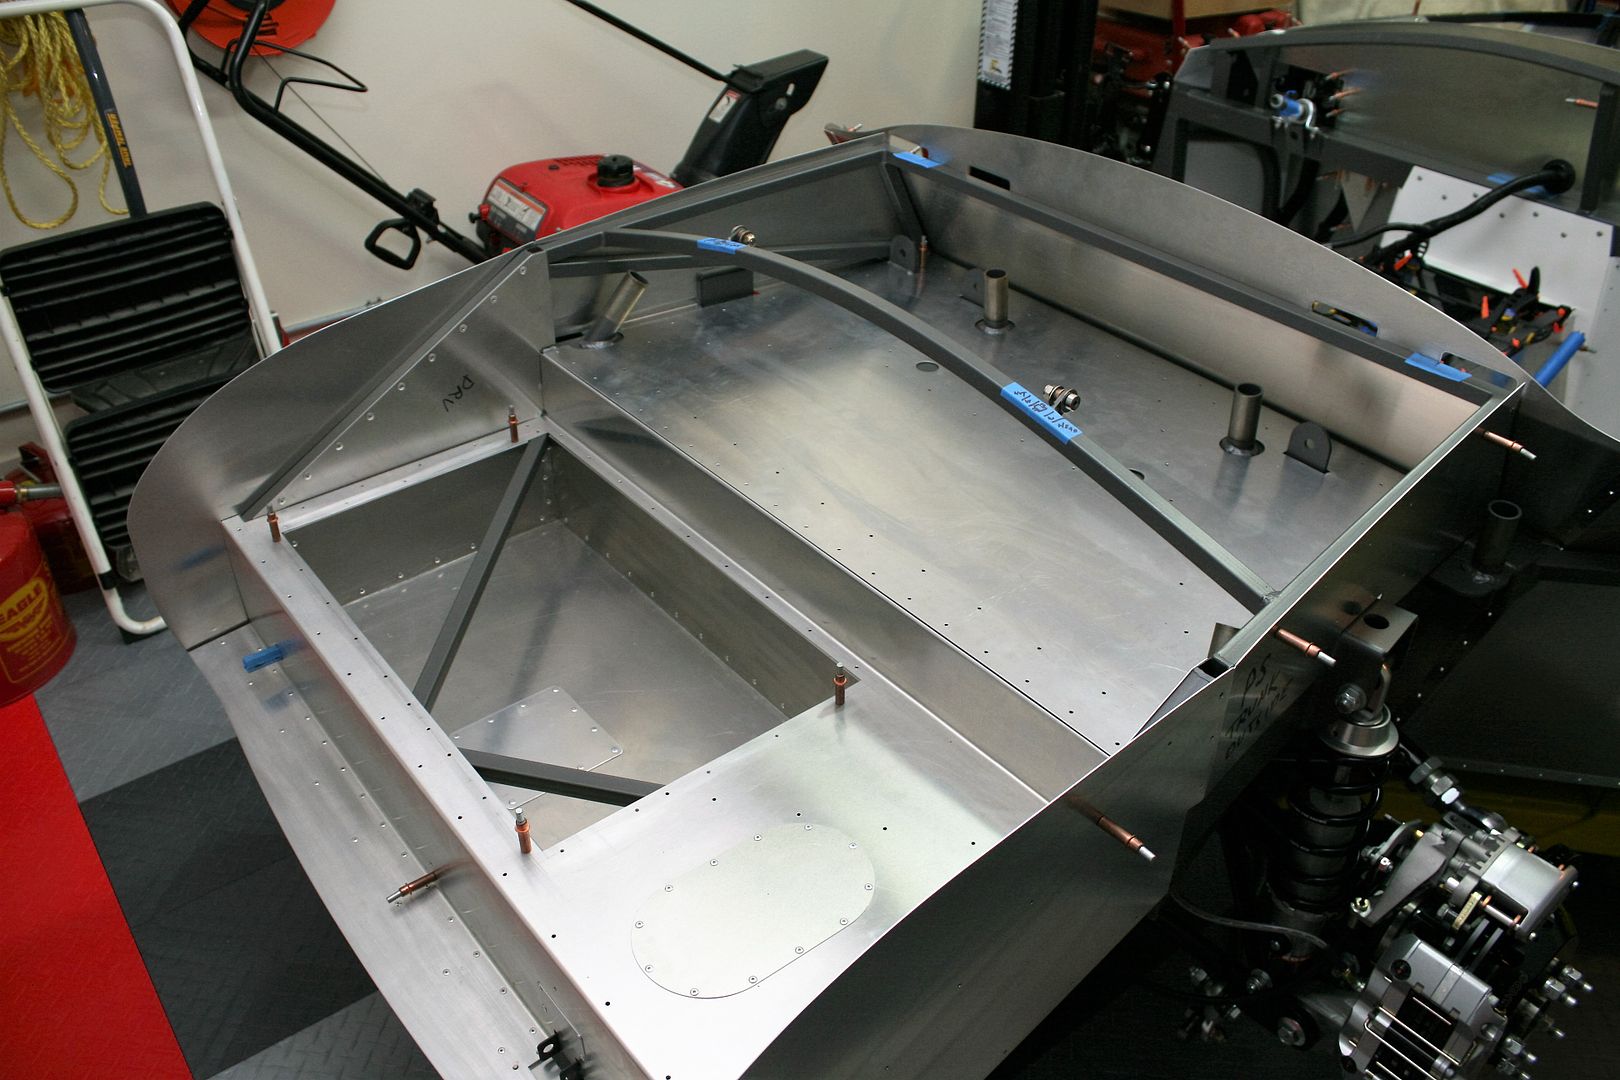
Here are some pics and details. Like I said before, mostly pretty routine stuff. This is the trunk compartment and the Russ Thompson dropped floor. I am leaving in the FF cross braces. Many guys move them below the dropped floor, which is fine. But I don’t weld plus the area will meet my needs with the braces there. Also note I permanently mounted the tank access panels. Probably many won’t agree with this. But I haven’t had to use one of those yet. Plus I played around a little getting the pump assembly out through the access hole. Not easy! It’s hard enough just getting it out of the tank itself. So I just mounted them and will carpet over. With a lift and a floor jack, I can drop the tank in minutes if necessary. For me that was the easier solution. Hopefully I don’t live to regret that decision, but it’s done. I'm also going to quickly make up some fill pieces for the upper side trunk walls. Not necessary, but makes the carpet work much easier and looks good even though not very visible.
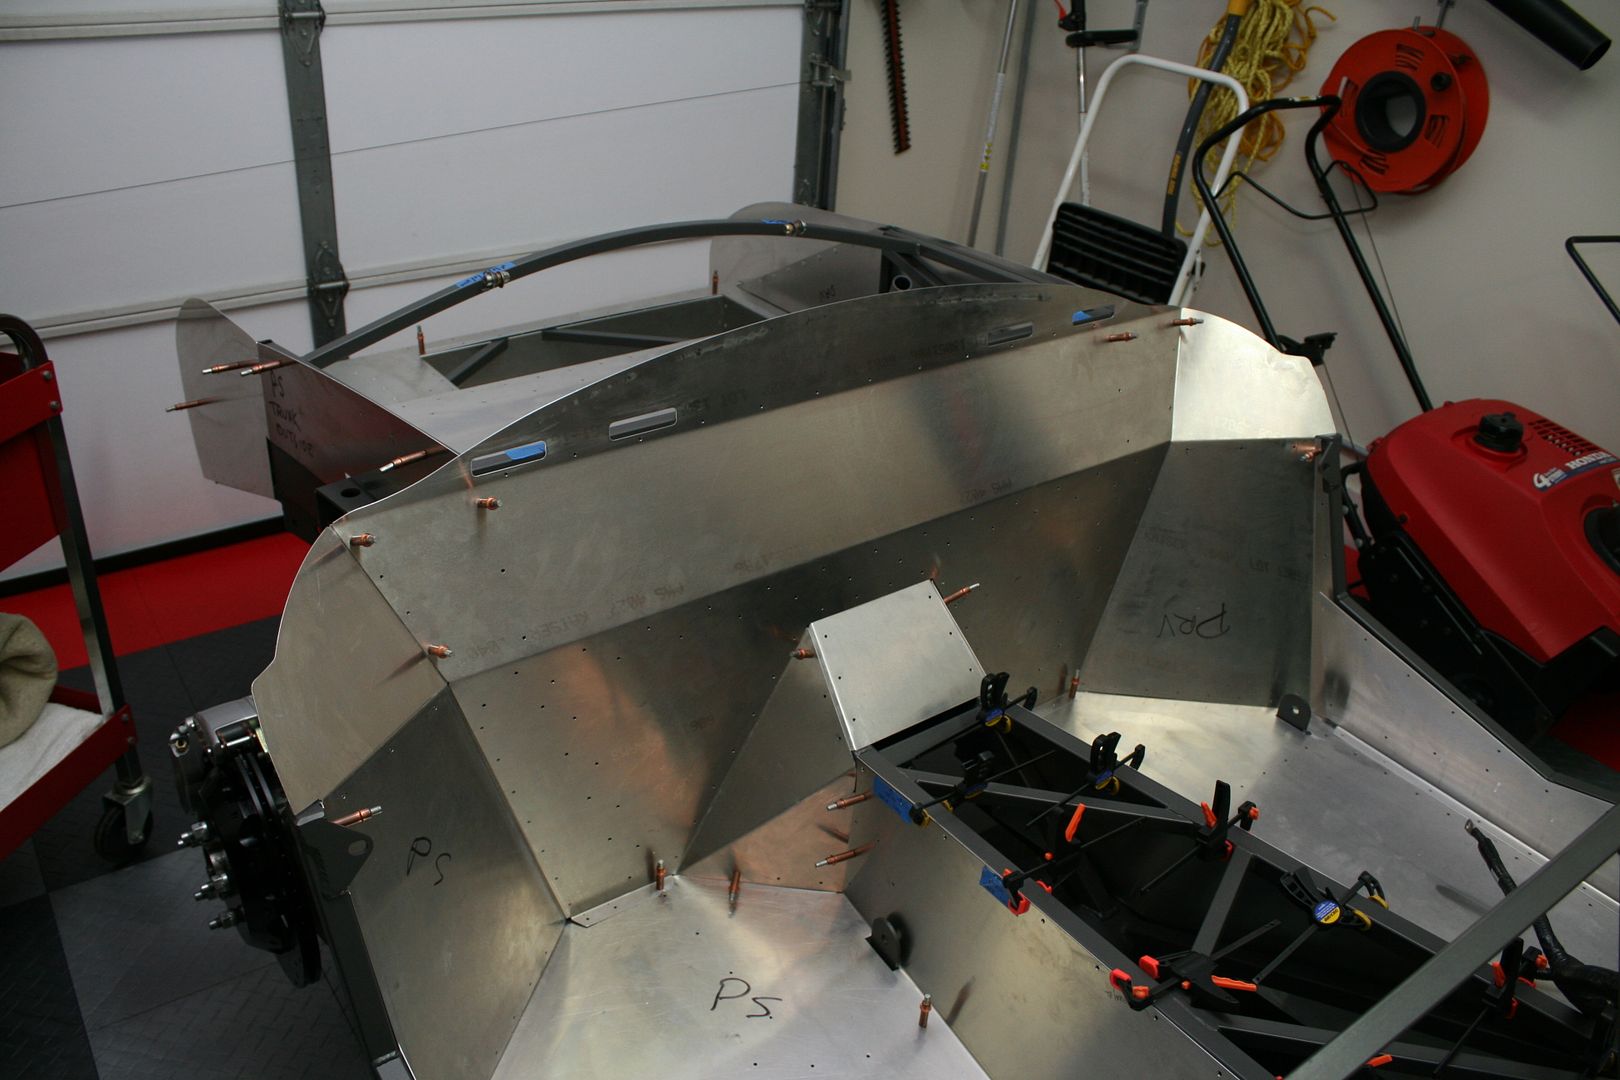
Rear cockpit wall. Nothing too exciting here. I did find the corner tunnel pieces fit better this time than my last Mk4. Maybe something changed, or maybe I just did it right this time. Installing them with the overlaps exactly as in the build manual makes a big difference. Also, just a reminder, install all the trunk panels before installing the rear cockpit wall. Otherwise you’re not going to have too much fun with the rivets along the back edge of the trunk floor and sides.
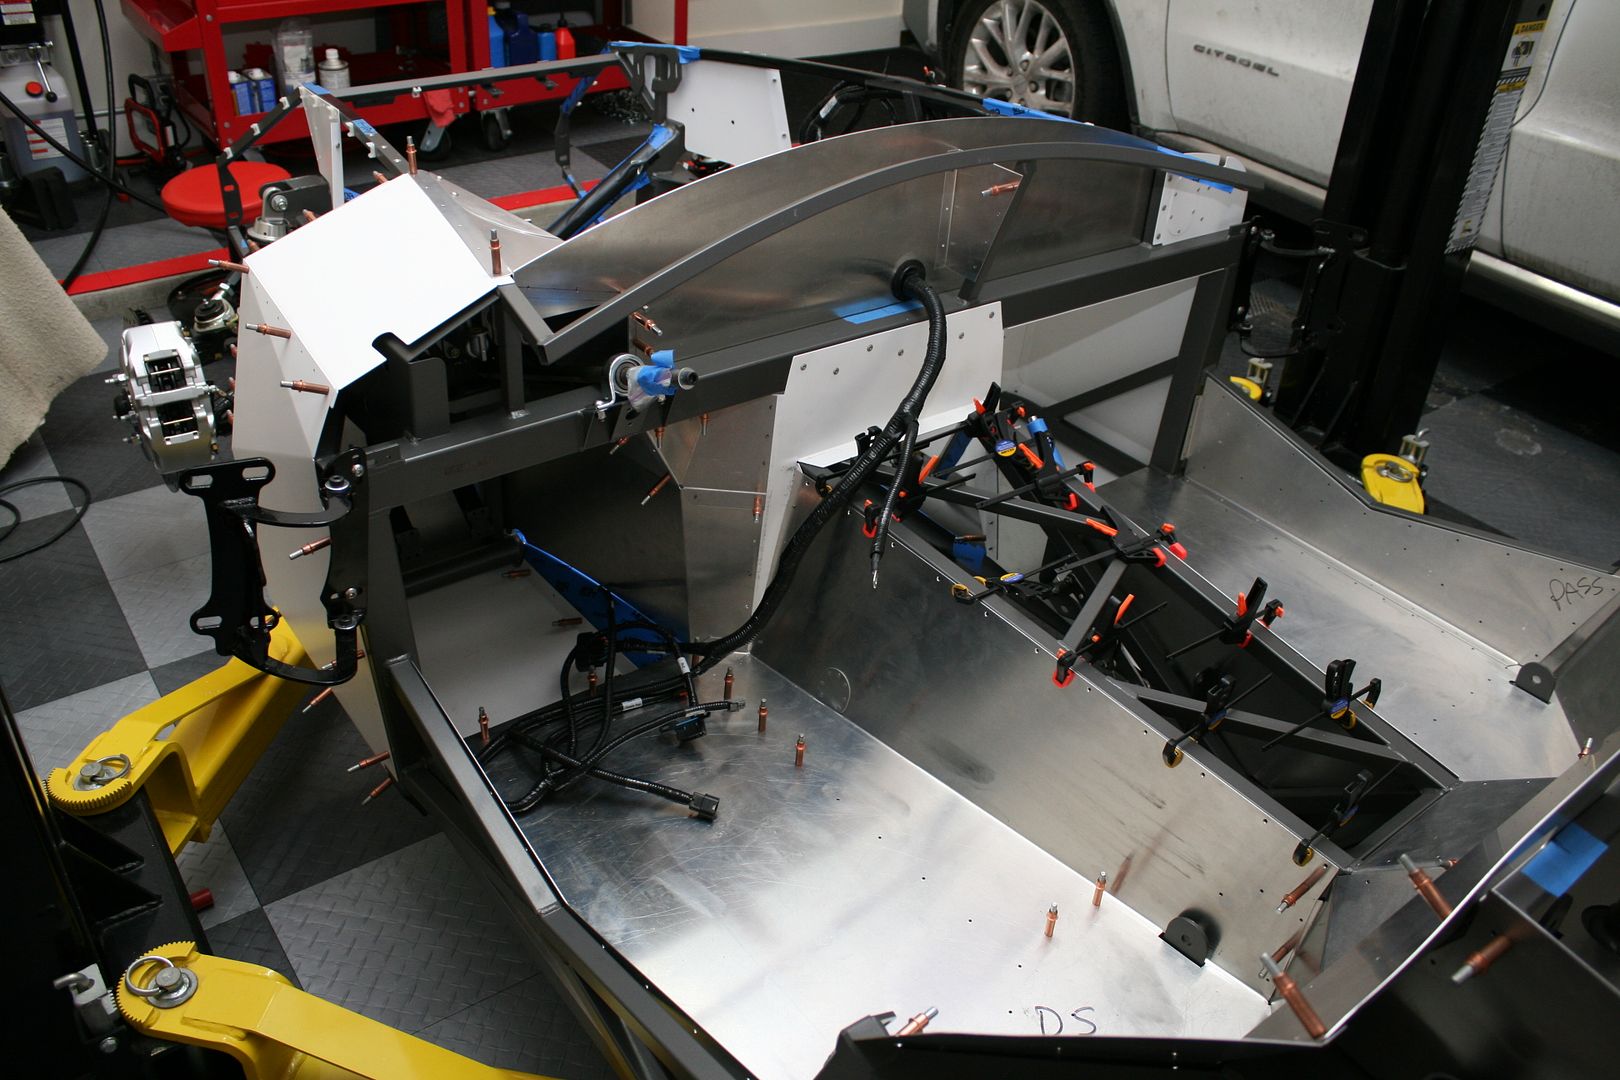
Driver’s side footbox. Again, nothing too exciting. I’m going to do a removable trans tunnel cover. Lots of discussion about whether this is really necessary, and I’ve never done one before or found it necessary. But I’m planning to cover it with something other than carpet. So it just makes sense to go ahead and make it removable. As a result, I drilled for rivets along the top edge. They’ll be flush mounts so the cover can slide past them.
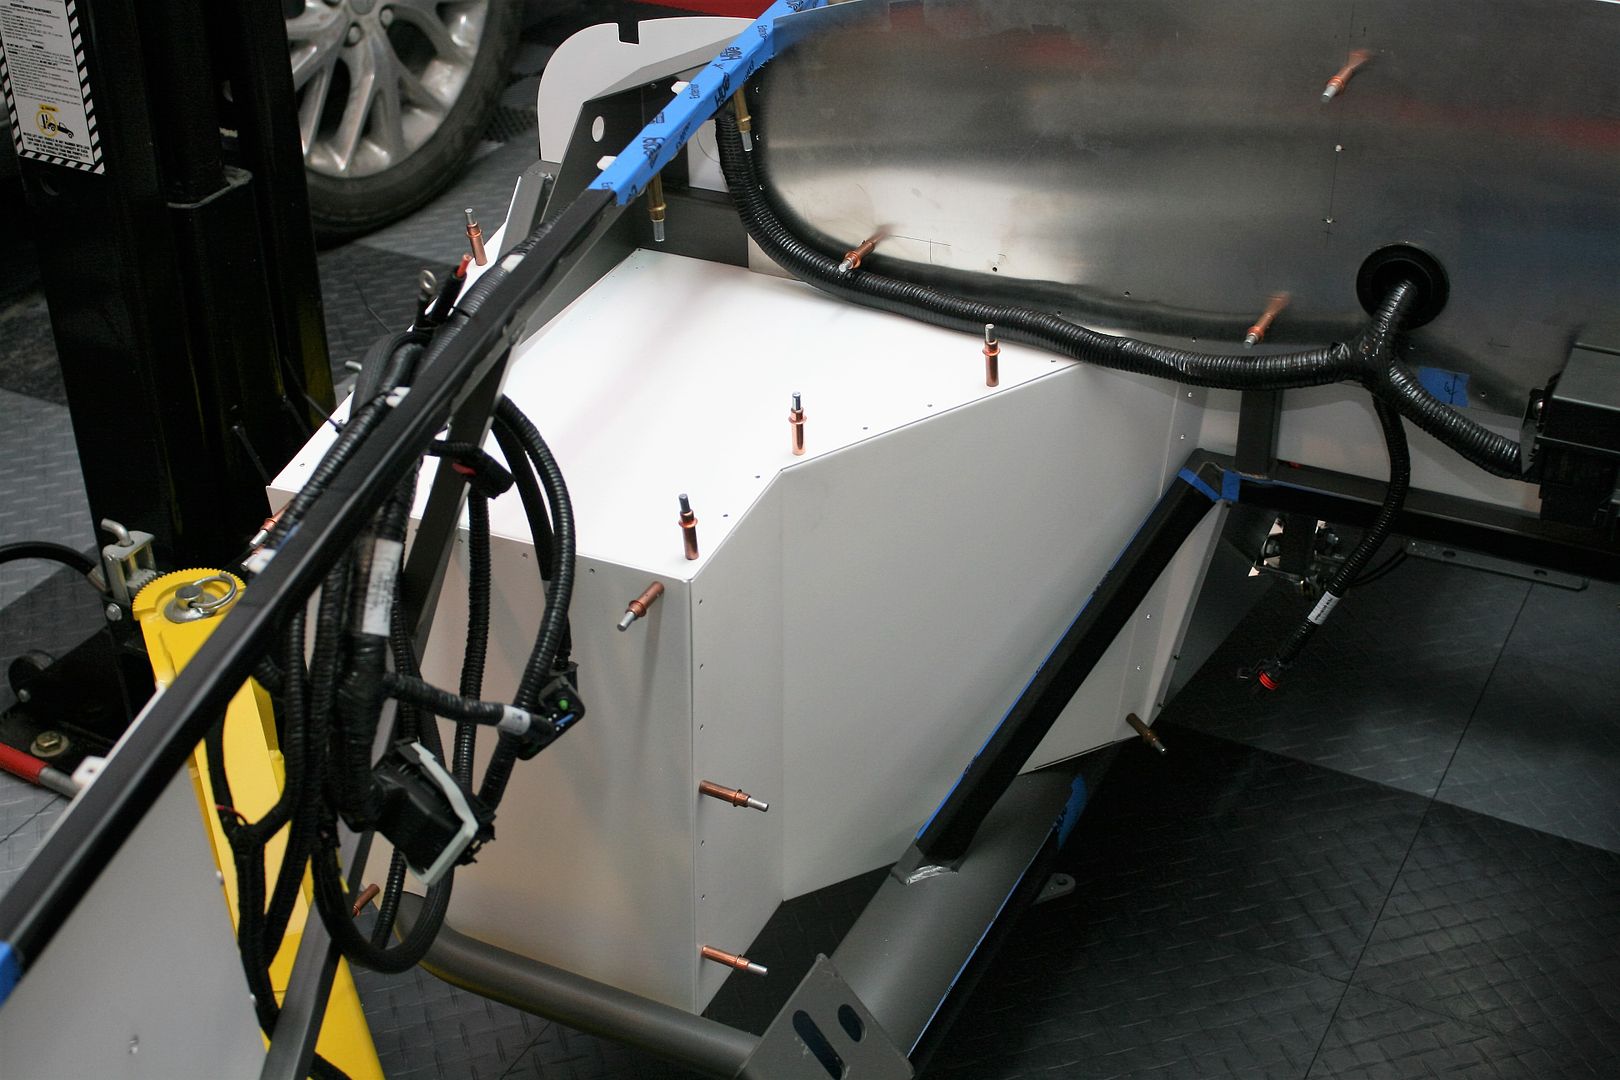
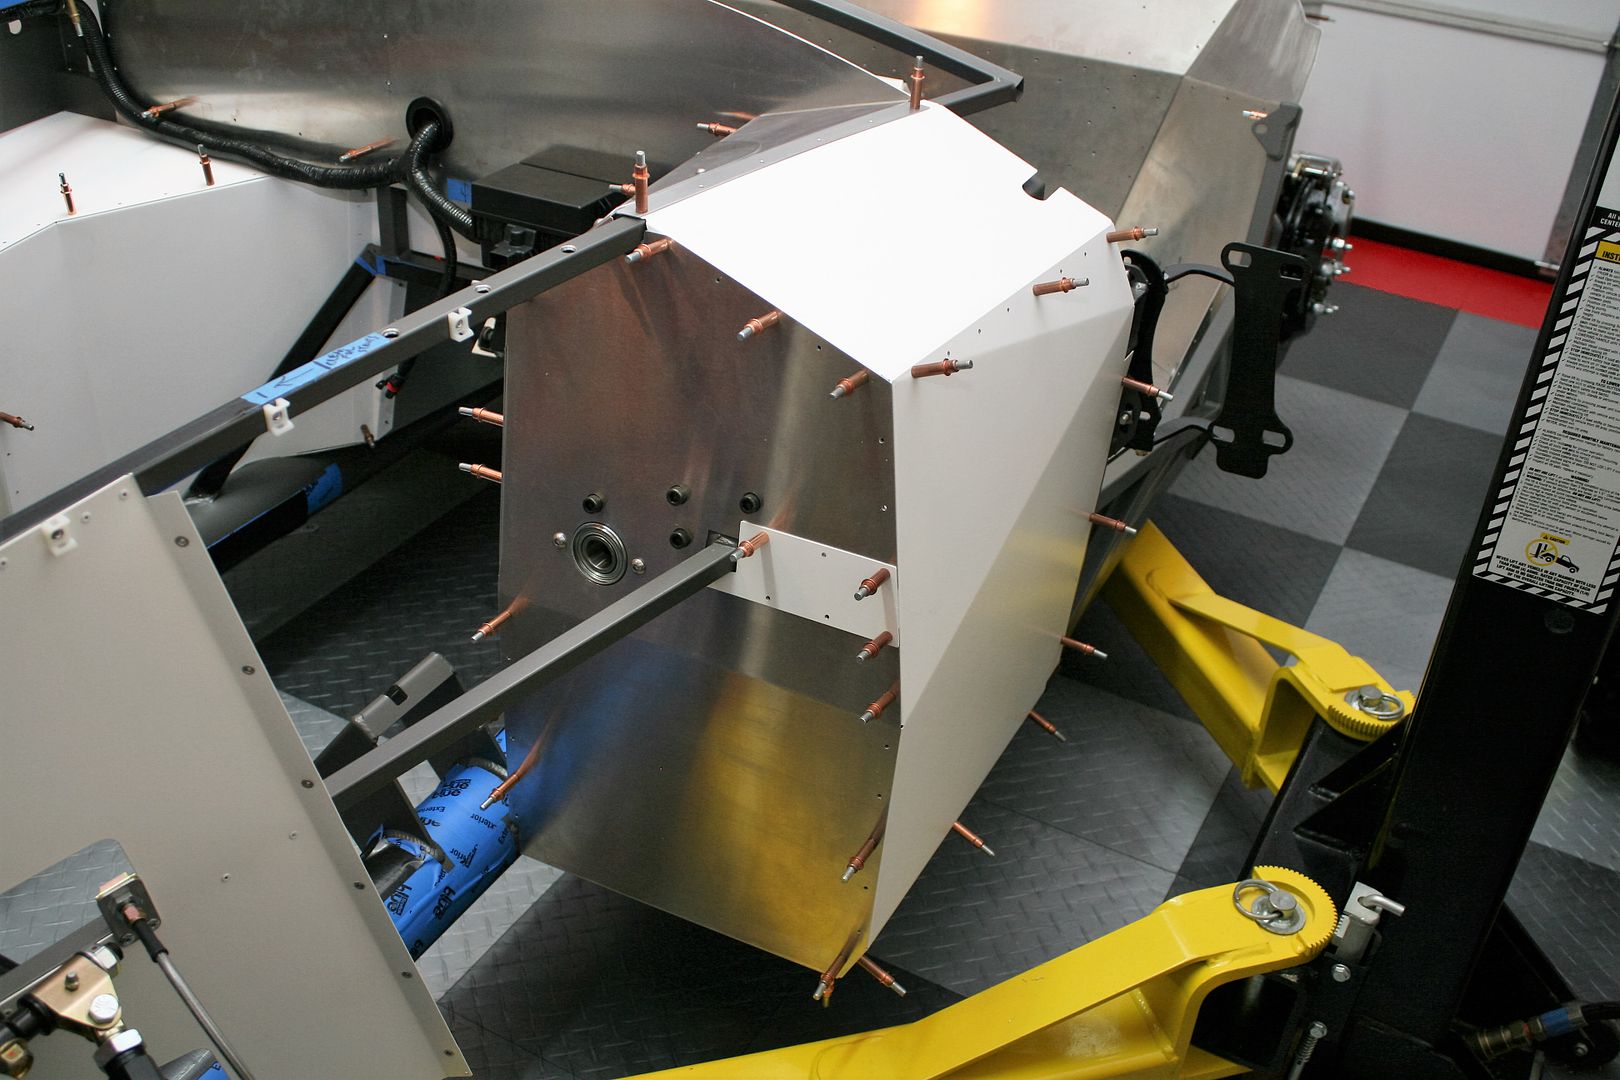
Passenger side footbox from the engine compartment. These are the Factory Five provided white panels. All fit well.
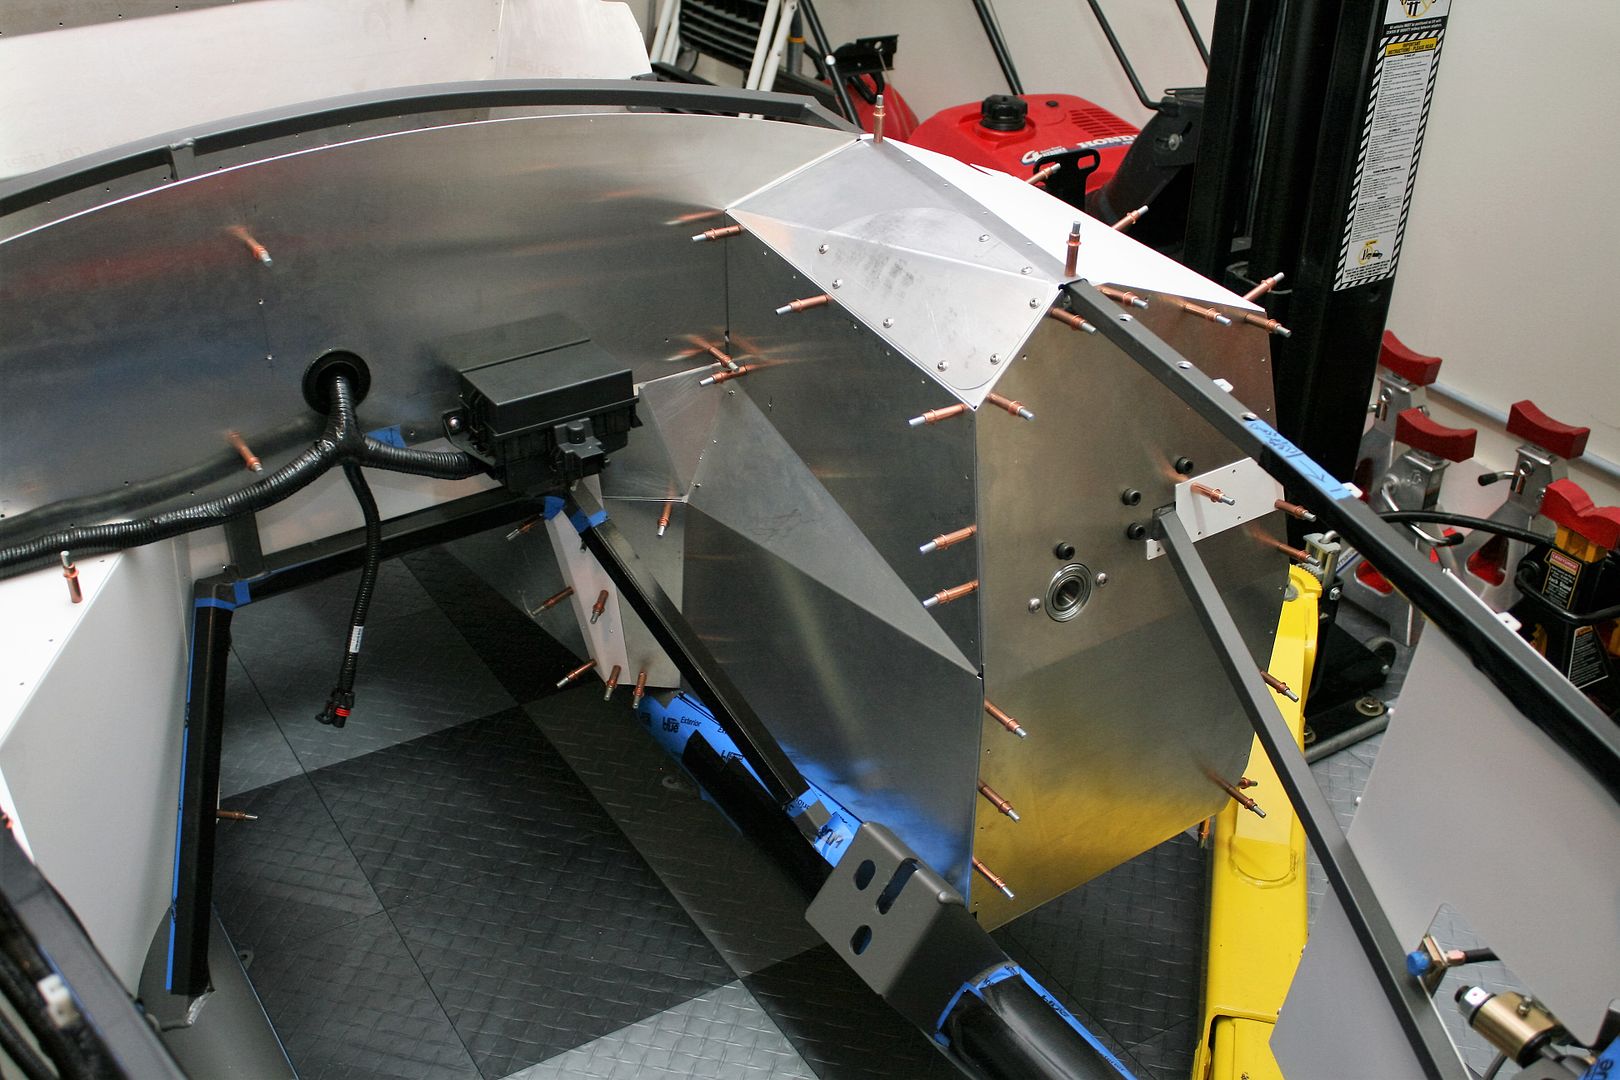
Driver’s side footbox from the engine compartment. Several things here. The inside wall, inside top and cover, and small fill piece are 2bking’s designed Coyote modded panels and supplied to me by another very generous forum member. I mentioned these before. I was able to get them to fit quite nicely. The firewall is also his layout, which I fabbed out of .090 inch aluminum. The front panel is also a piece I made. Factory Five powder coated the Mustang footbox panel instead of the Wilwood footbox panel, which a couple other Anniversary kit buyers also found. Upon further review, I found that if I made a couple minor tweaks to the front panel, the other modded panels fit a little better. That was all the excuse I needed. So I made a new one, and without the clutch or wire harness holes, and also shrunk down the steering column hole since I have the bearing mounted on the inside. Looks nice and clean. A lot of messing around for something that is basically unseen once the build is done. But I like it. I’ll need to punch a couple holes for the front harness and brake lines when the time comes and I determine the exact locations.
Driver’s side footbox from the outside. The outside side and top are set to go, but I won’t mount them permanently until everything else is done. Basically right before the body is finally installed.
One more tip. If you don’t own this tool from Harbor Freight, I would suggest getting one. Best $15 dollars you’ll spend. Works really great to adjust panels and bends as needed. Their item #98728.

Once I get all the parts to the coater, I’m going to start electrical, fuel lines, and brake lines. First up I think will be the instrument panel. So I’ll get that covered, the gauges installed, and start wiring. Then on from there.
Last edited by edwardb; 01-22-2016 at 07:21 AM.
Build 1: Mk3 Roadster #5125. Sold 11/08/2014.
Build 2: Mk4 Roadster #7750. Sold 04/10/2017.
Build Thread
Build 3: Mk4 Roadster 20th Anniversary #8674. Sold 09/07/2020.
Build Thread and
Video.
Build 4: Gen 3 Type 65 Coupe #59. Gen 3 Coyote. Legal 03/04/2020.
Build Thread and
Video
Build 5: 35 Hot Rod Truck #138. LS3 and 4L65E auto. Rcvd 01/05/2021. Legal 04/20/2023.
Build Thread. Sold 11/9/2023.
 Posting Permissions
- You may not post new threads
- You may not post replies
- You may not post attachments
- You may not edit your posts
-
Forum Rules

Visit our community sponsor


 Reply With Quote